Table of Contents
In today’s tantalizingly tattoo-centric post, we’re delving into the vibrant world of tattoo stencils. We’ll explore the roots of this art form, uncover its symbolic significance, and even get our metaphorical hands dirty in the process. Whether you’re a seasoned tattoo veteran or a newbie to the ink scene, I guarantee you’ll walk away with newfound knowledge and appreciation for this often overlooked part of the process.
Tattoo stencils, as humdrum as they may sound, have a history and symbolism as rich and diverse as the tattoos they precede. They are the cartographers of our tattoo journey, creating a roadmap for the needle’s dance across the skin. Originating from the traditional Japanese tattooing technique of Tebori, the use of stencils has evolved over the centuries, influenced by cultural shifts and artistic movements. These once simple guides are now a canvas for creativity, a testament to the evolution of tattooing from a niche subculture to a celebrated form of self-expression.
So, fellow ink enthusiasts, are you ready to dive into the intricate labyrinth of lines and shades that form the essence of a tattoo stencil? Buckle in, because this isn’t your average art class. We’re about to embark on a journey that will forever change the way you view tattoos. From the symbolism that lurks in the lines to the history that informs the aesthetics, we’ll uncover the untold story of tattoo stencils.
Remember, every great tattoo begins with a great stencil. And every great journey begins with a single step. Or in our case, a single line. Let’s draw it together.

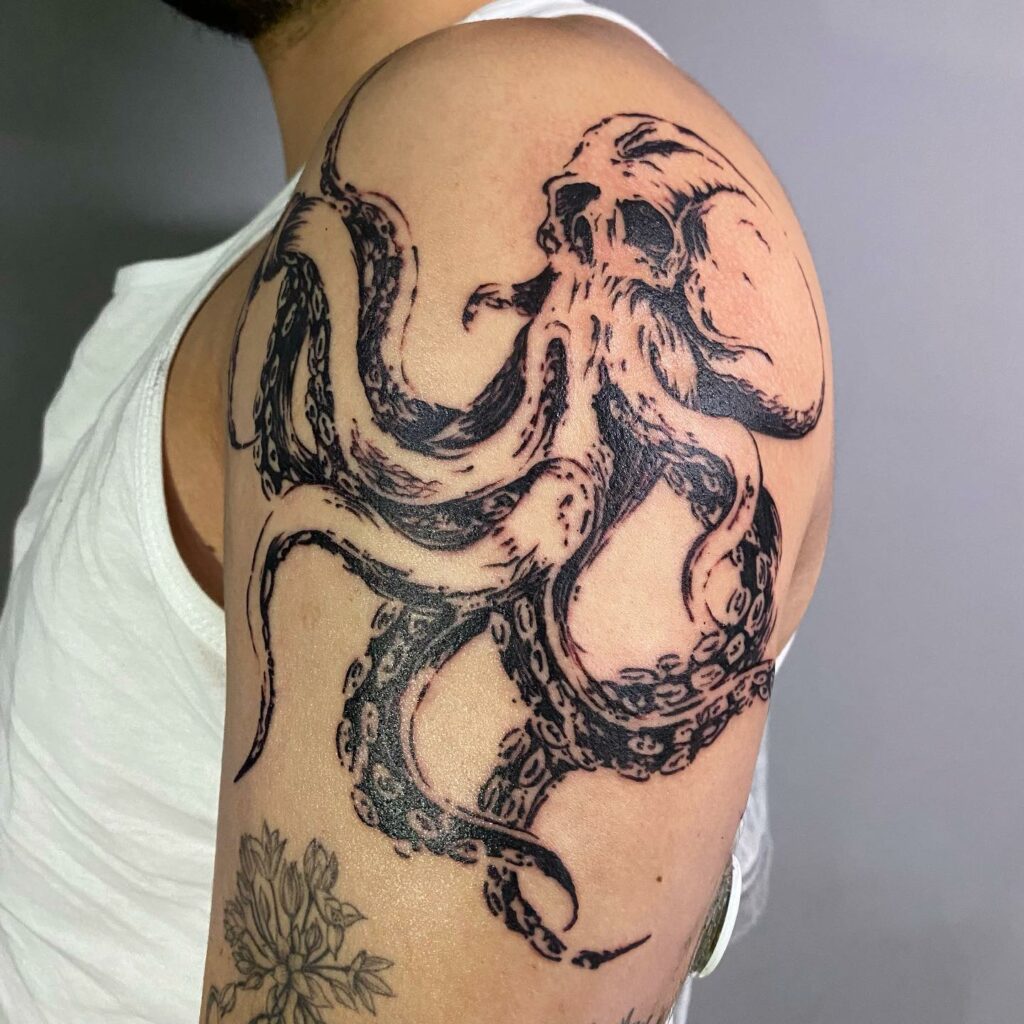
Tattoo stencils are more than just technical tools; they are the bridges that connect the realms of imagination and reality, uniting artists and clients in a shared artistic endeavor. Whether it’s a delicate flower adorning a wrist or a sprawling mural that spans an entire back, the art of tattoo stencils enables artists to weave their magic and create indelible works of art on the human canvas.
Are the tattoo stencils permanent?
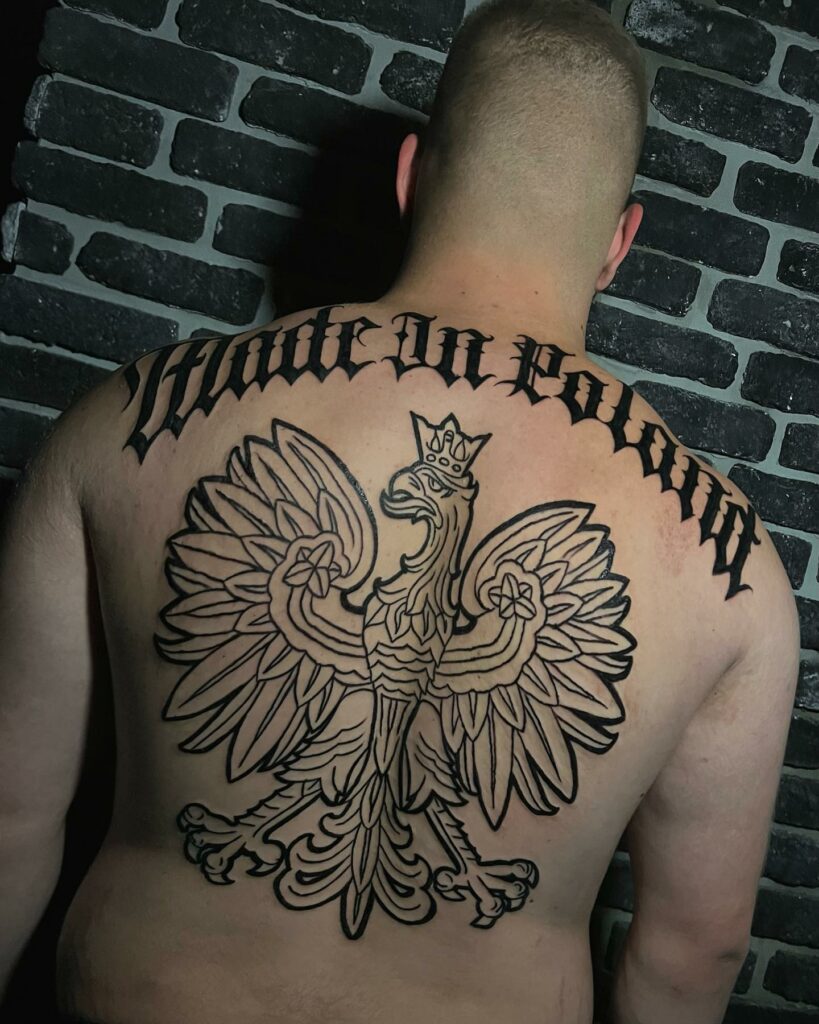
In the realm of tattooing, one question that often arises is the permanence of tattoo stencils. To shed light on this query, we delve into the fascinating world of tattoo artistry, where stencils serve as invaluable tools in the creative process. Contrary to popular belief, tattoo stencils are not permanent, and this very quality bestows upon them a unique advantage. Tattoo artists can apply these stencils to your body as many times as needed, allowing for adjustments in design or placement. In fact, if you find yourself dissatisfied with the initial design or location, fear not, for the stencil can be easily washed away. However, once the needle begins to weave its magic, imprinting the design onto your skin, the artistry becomes permanent, and any further alterations become a challenge.
Materials to make a tattoo stencil
The creation of a tattoo stencil requires a careful selection of materials, each playing a vital role in the process. Tracing paper or wax paper serves as the foundation, while stencil fluid, an ink pen with a fine tip, masking tape, antibacterial soap, a razor, and stick deodorant complete the toolkit. But let us not rush into the practical steps; first, we must explore the artistry behind the design.
Creating a tattoo stencil

Imagination takes center stage as you envision your desired tattoo design on regular paper. Ensure every line and curve embodies your satisfaction. Should you be the artist behind the creation, draw thick outlines to guarantee their visibility through the tracing or wax paper. However, if you opt for a pre-made design or a printed picture, this initial step can be skipped, as these selections often possess clear, prominent lines. Once you have finalized the design, it is time to gather your materials and embark on the next stage of creation.
Place the tracing or wax paper over your meticulously crafted design, taking care to secure both papers with masking tape on a solid surface. This ensures their stability and avoids any accidental movements during the transfer process. With a steady hand, trace the design onto the tracing paper, capturing its essence and intricacies. As you complete this initial tracing, remove the tape cautiously, as abrupt movements may damage the delicate tracing paper. Now, turn the tracing over and place a new piece of tracing paper on top, employing tape once again to secure them together. Proceed to trace the design for a second time, utilizing stencil fluid and an ink pen. This meticulous process guarantees precision and clarity in your final stencil.
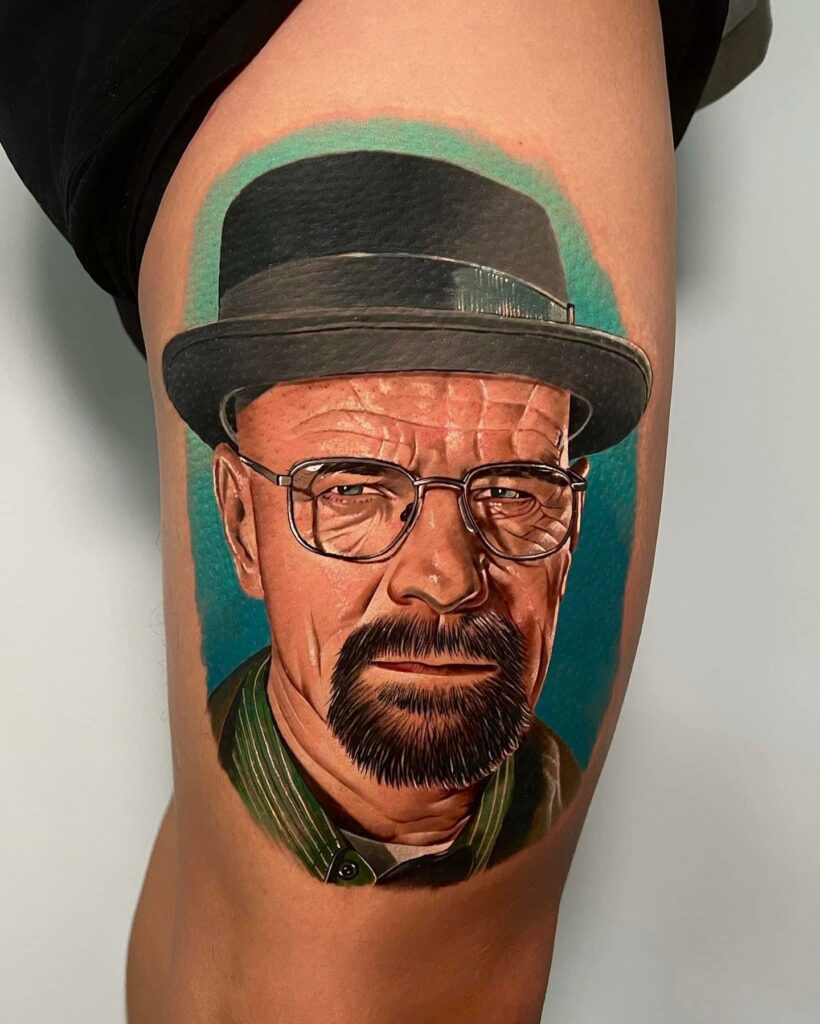
Preparing the skin is a crucial step in ensuring the successful application of your tattoo stencil. Shave the designated area, creating a smooth canvas for your artistry. Follow this by cleansing the skin with antibacterial soap, allowing it to dry completely. To facilitate optimal adhesion, apply stick deodorant to the area where the stencil will be placed.
With the stencil prepared and the skin primed, it is time to bring your design to life. Place the stencil on the skin, ensuring the fluid side is in contact with the surface. Gently pat it down, allowing a few minutes for the stencil to adhere firmly. During this critical period, exercise caution to prevent any accidental smudging or rubbing that may compromise the design.
The difference between the tracing and tattoo transfer paper
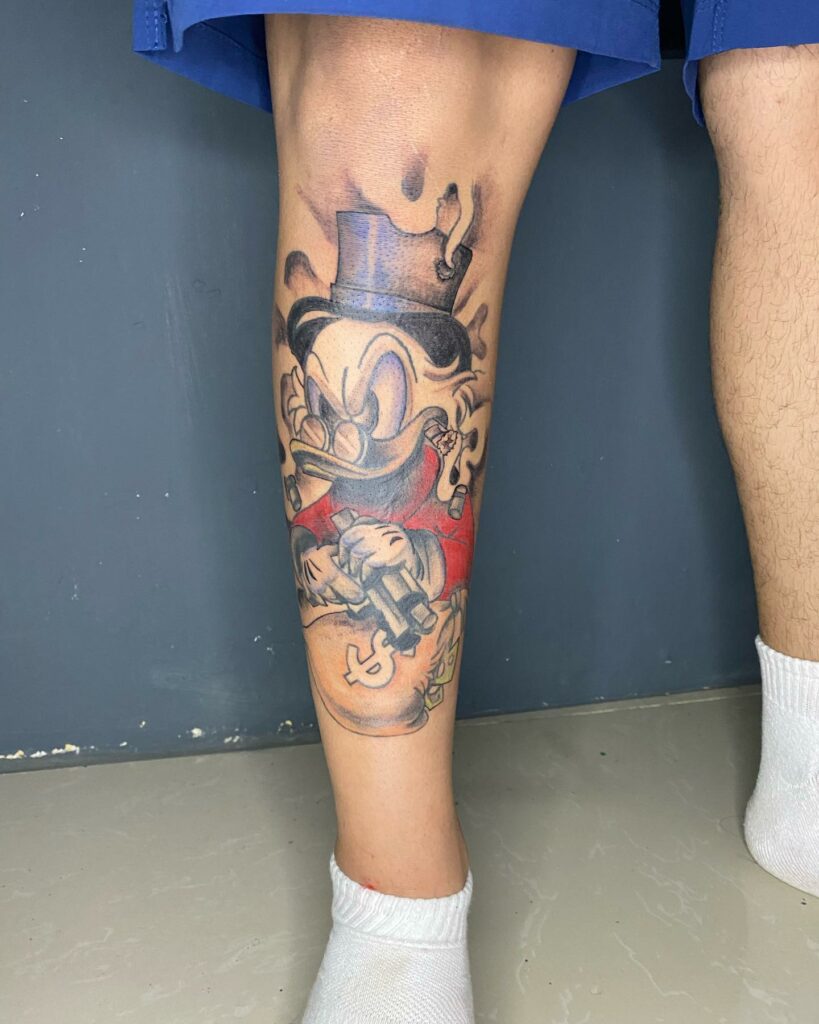
Now, let us explore the difference between tracing paper and tattoo transfer paper, two techniques employed in transferring designs to the skin. While both methods serve the purpose of transference, tattoo transfer paper possesses distinct qualities. Consisting of three layers, this specialized paper features a lower layer that secures all sheets, a middle layer of black carbon paper, and a top layer where the transferred design emerges. The application of the design from the paper to the top layer requires a thermographic transfer maker. In contrast, tracing paper allows for stencil creation without the need for specific equipment, offering a more accessible approach to the art form.
Can You Modify The Design or Location Of The Stencil Once It’s On The Skin?
Yes, you can adjust both the design and placement of the stencil after it’s been applied to the skin. However, it’s important to note that this should be done before the tattooing process begins.
If you’re not happy with the placement of the stencil, it can be wiped off and re-applied. This is why it’s always a good idea to take your time during the stencil placement process to ensure you’re satisfied with its position.
As for the design, adjustments can be made directly on the stencil itself, such as adding or removing details. It’s crucial to communicate any changes you want with your tattoo artist before they start tattooing. Once the ink is in your skin, it’s much more difficult (and painful) to make changes.
Remember, the tattoo stencil is a guide for your tattoo artist, so it’s important that it accurately represents what you want in your tattoo.
How do you transfer the stencil to the skin?
Transferring a tattoo stencil onto the skin involves a few key steps:
- Preparation: First, the skin must be clean and shaved. A special solution, often a mix of soap and water or a specific stencil transfer solution, is applied to the area to help the stencil adhere to the skin.
- Application: Next, the stencil, which has the design drawn or printed with special stencil ink, is placed ink-side down onto the skin. Pressure is applied evenly across the stencil to help transfer the design.
- Removal: After a few moments, the stencil is carefully removed, leaving an outline of the design on the skin. This stencil imprint is what the tattoo artist will follow during the tattooing process.
- Drying: It’s crucial to let the stencil dry completely before starting to tattoo, as this prevents it from smudging or wiping away easily.
Remember, it’s important to be certain about the design and its placement before transferring the stencil, as adjustments can be more difficult after this point.
Conclusion
As we conclude our exploration of tattoo stencils, we leave you with a few final nuggets of wisdom to guide you on your tattooing journey. When deciding on the placement of your tattoo, consider factors such as visibility, comfort, and the longevity of the design. Opt for areas of the body that can be easily covered or exposed based on your preferences and professional circumstances. Additionally, it’s important to discuss pricing with your chosen tattoo artist, as costs can vary depending on factors such as size, intricacy, and the artist’s expertise. While tattooing offers a world of self-expression and artistry, it’s essential to be aware of potential risks and side effects. Research reputable tattoo parlors, ensure proper hygiene practices are followed, and openly communicate with your artist about any concerns or allergies. Remember, a well-informed journey into the realm of tattoos can lead to a lifetime of cherished art and self-expression.


