Table of Contents
Now, we’ve all been there. You’ve just applied your favorite gel nail polish, looking at your nails adoringly, and then you remember – you don’t have a UV lamp. No need to press the panic button just yet, because, in this post, we’re venturing into the magic of drying gel nail polish without a UV light.
If you’re a gel polish lover, you know the struggle of waiting for your nails to dry. Conversely, you’ve probably heard those worrying whispers about UV light exposure. Well, the great news is that safer, quicker alternatives can help you achieve the same high-gloss, long-lasting manicure. In this enlightening journey, we will deconstruct the process, decode the facts, and share some quick tricks of the trade.
By the time we’re done, you’ll understand the science behind gel polish and master several techniques to dry it – sans UV light. Whether you’re a seasoned nail tech or an at-home manicure maven, you’ll love the freedom and flexibility these tips will bring.
So, fasten your seatbelts because we’re about to speed through the no-lamp gel polish drying world, leaving no stone unturned. Say goodbye to wait times and potential UV harm and hello to impeccable, glossy nails! Let’s dive right in, shall we?
The Gel Polish Magic: Why We Love It So Much!
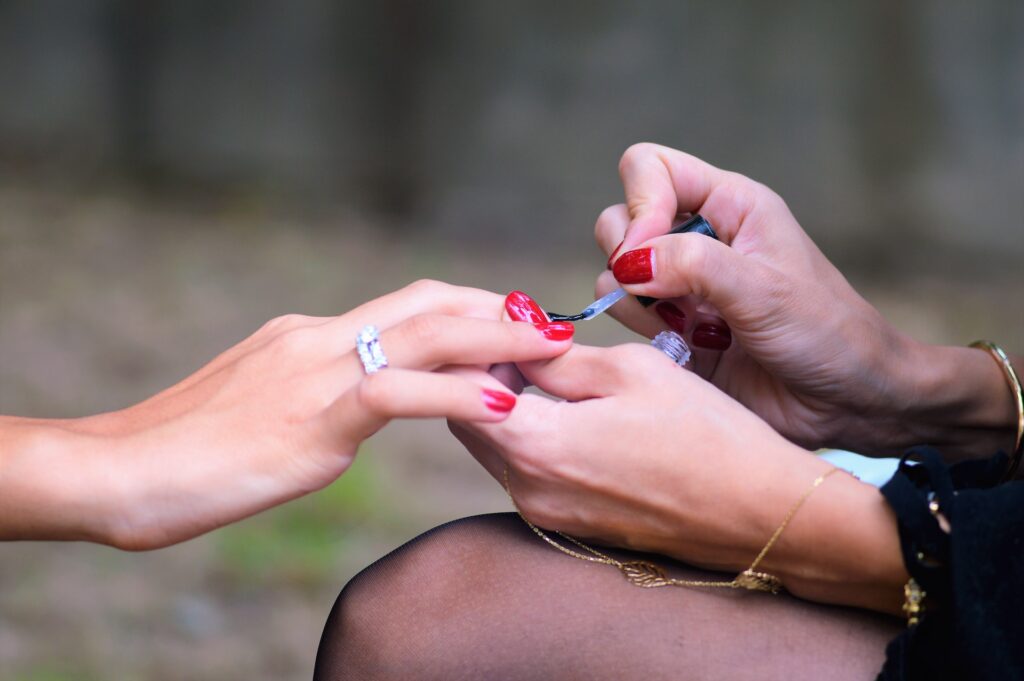
For good reason, gel nail polish is the queen of the nail world. Remember when I was on a two-week vacation, and my nails were still chip-free and shining brightly? That was gel polish working its magic.
Gel polish is not just a pretty face; it’s a resilient protector of our nails against daily wear and tear. It’s like your knight in shining armor, safeguarding your nails against chipping and breakage, which we all know can be the bane of regular polishes.
What makes gel polish even more irresistible is its picture-perfect finish. Smooth, glossy, and oh-so-stunning, especially when sealed with a gel top coat! And let’s not forget, its colors are more vivid and enchanting.
Applying gel polish is like a walk in the park. The UV curing process makes it easier than regular polish and has a quicker drying time. Plus, it’s more resistant to smudges, making those pesky touch-ups a breeze. No wonder my collection of gel polish colors keeps growing!
The Secret Behind Gel Polish: The Art of Curing
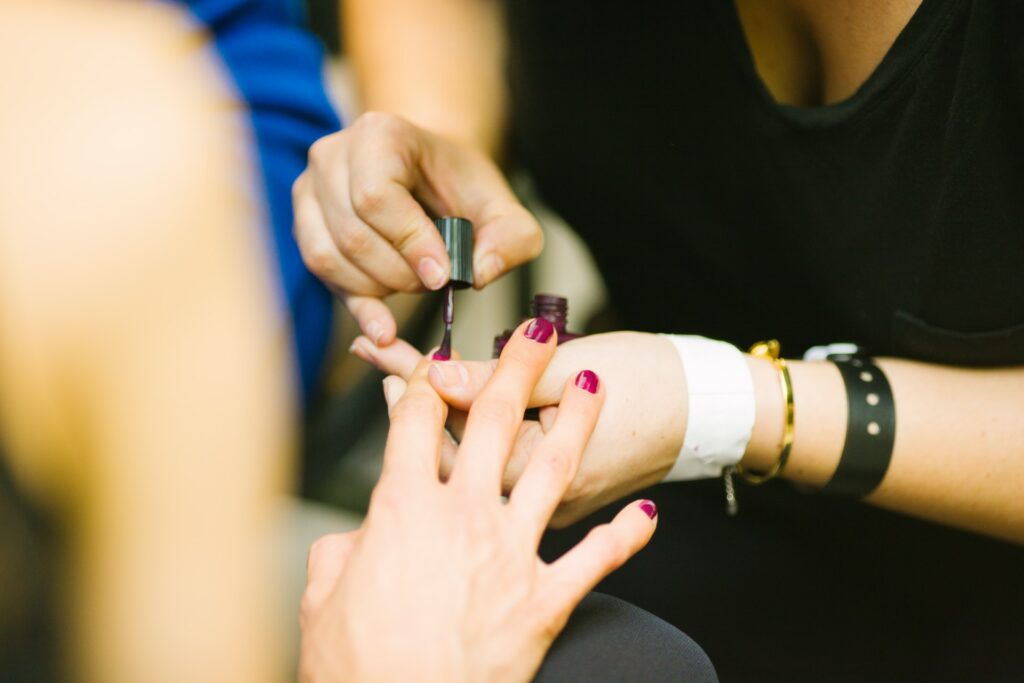
But what gives gel polish its superhero powers? It’s the process of curing. Curing is like the spell that turns your regular-looking nails into a dazzling beauty. It hardens the gel polish, helping it last longer than its regular counterparts.
This magic is performed using a UV or LED lamp, emitting ultraviolet light that cures the gel polish formula, ensuring your nails stay glossy and perfect for weeks. It’s like baking a cake – you’re left with a gooey mess without the heat. Similarly, without curing, your gel polish won’t last and could damage your natural nails.
LED vs. UV Light: The Great Debate
We all love a good beauty debate, don’t we? And in the world of gel polish, it’s the LED vs UV light clash. LED light, the darling of nail salons, is energy-efficient and heat-free, making it a winner for quick and damage-free drying. Imagine getting out of the salon faster and without worries about skin damage – that’s LED light for you.
On the other hand, UV light, while energy-consuming, works faster. It’s like the hare in the “The Tortoise and the Hare” tale, but it doesn’t nap this time! It might give off some heat, but since it takes just a few seconds to cure gels, it’s not much of a concern.
Gel Nails Without UV Light: Can We Do It?
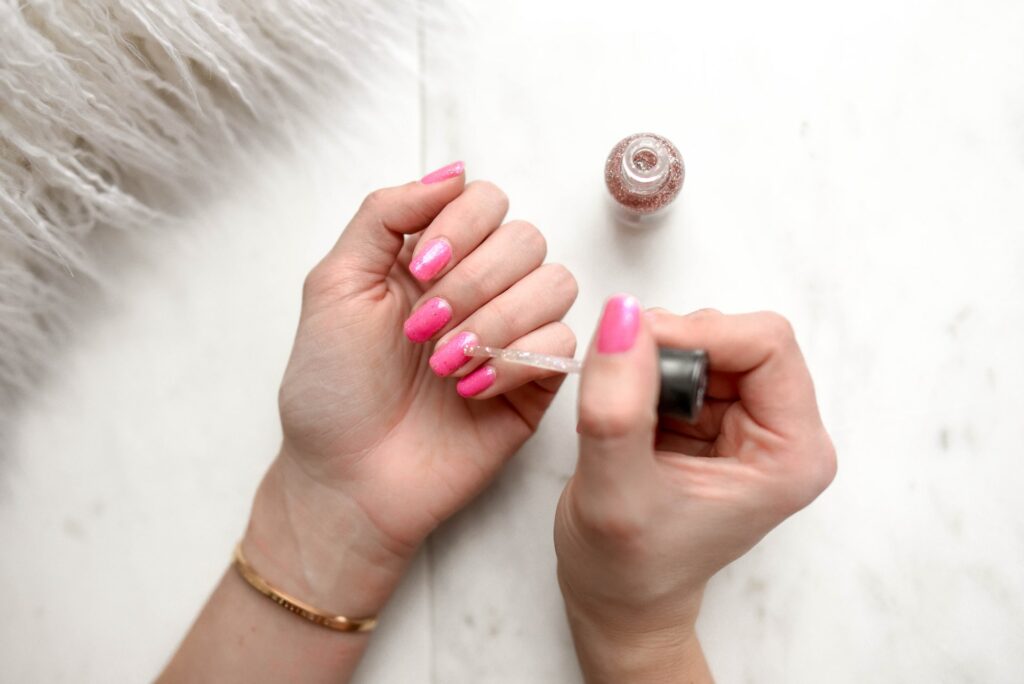
Here comes the million-dollar question: Can you do gel nails without a UV light? The short answer is yes, but it’s like going on a road trip without a map – risky and potentially frustrating.
We mainly use UV light to cure and secure the gel polish properly. With this step, your gel manicure will last for a while. Plus, uncured gel polish can be a hotspot for bacteria and fungus, and we want to ensure guests are invited, do we?
Without UV light, drying your nails will take much longer, and you will likely get damaged or smudged. Imagine spending hours perfecting your nails and then watching them chip and crack. No, thank you!
So, if you plan on doing your gel nails without a UV light, be ready for some adventure. But remember, in the beauty world, we believe in turning challenges into opportunities. In the next section, let’s learn how to navigate this adventure like a pro!
Know Your Gels: The ABCs of Gel Polish
First, let’s get to know the different types of gel polish. Remember, knowledge is power! Some gels, like the soak-off UV/LED gel, need a lamp to cure and harden. Think of it as the diva of gel polishes, needing its spotlight to shine.
On the other hand, regular builder gels, the humble ones we often call ‘sculpting gels,’ are like the friendly girl next door. They are low-maintenance, requiring no lamps to cure, and air-dry independently.
Starting Right: The Perfect Prepping Ritual
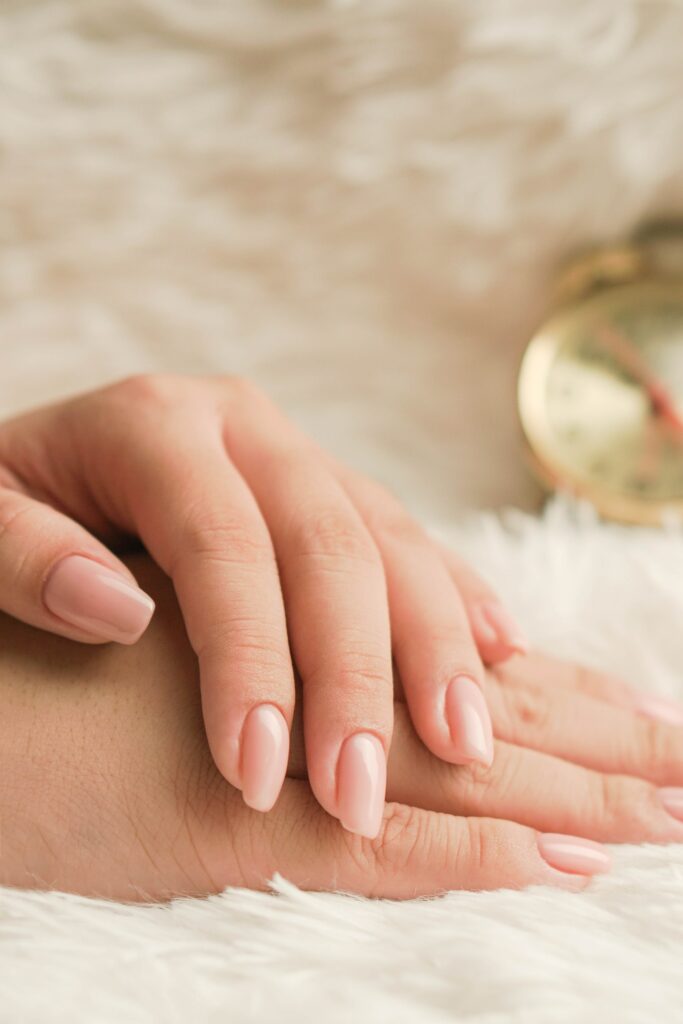
Before we start our no-UV gel manicure journey, let’s ensure our nails are clean and ready. Trust me, prepped nails are the secret to a flawless manicure. Apply your gel polish in thin, even layers. Why? Because the thicker the coating, the longer it takes to dry.
Patience is key here! It takes between 3 to 15 minutes for each layer to dry. So please grab a cup of tea, put on your favorite Netflix show, and let the polish do its magic!
Speeding Up The Process: Bring in The Cool Air!
Are they looking for a way to speed up the process? Use a fan or excellent air blower directly over your nails at low speeds. It’s like providing your nails with their very own blow-dry. But don’t worry about the heat; most gel polishes come with heat-resistant technologies, so they won’t end up cracking or bubbling.
The No-UV Heroes: Non-UV Gel Nail Polishes
Let me introduce you to your new best friends: Non-UV gel nail polishes. They are the superheroes of the nail world, offering you the dazzling gel polish look without the need for a UV lamp. They are air-dry champions, providing the glossy finish we all love just by being exposed to air.
The Ice Bath: A Cool Drying Hack
Here’s a cool trick (literally!) that you might not believe at first – an ice bath. Yes, you heard it right! An ice bath can help dry your gel nails faster. It’s simple: fill a bowl with cold water, add some ice, and dip your nails in it for a few minutes. The cold temperature helps your nails harden and dry quicker. A fantastic trick for a hot summer day, right?
Airing it Out Using a Fan
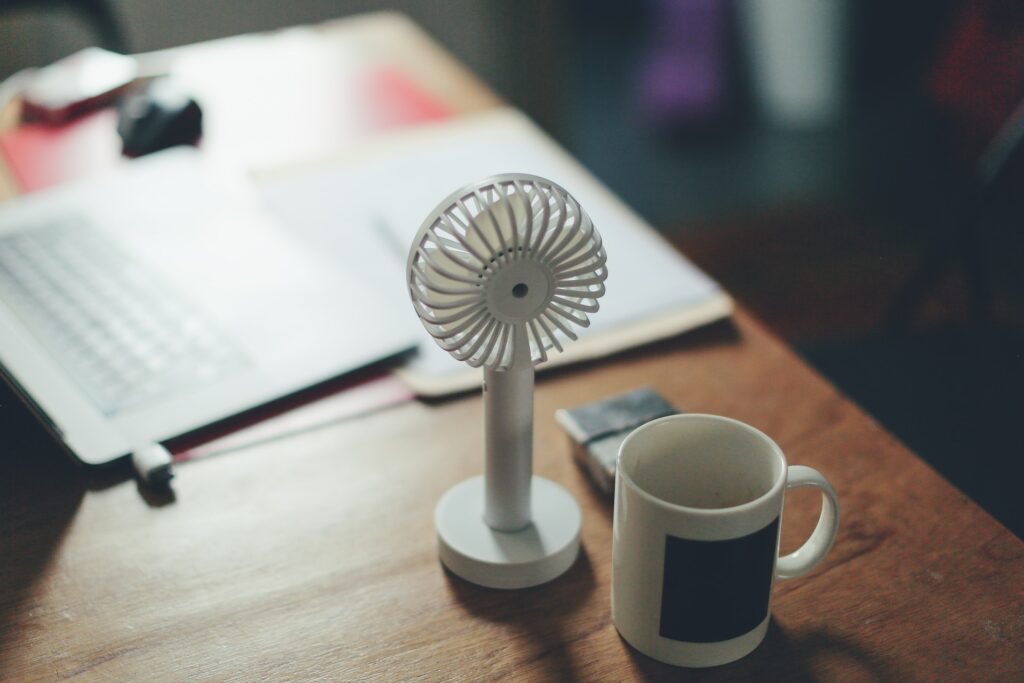
No UV light? No problem! A fan can be a great substitute. Position the fan a few inches away from your nails and let the airflow do the work. Depending on the speed and distance, drying could take six to twenty minutes. If they are not dry after a few minutes, move further away and wait a little longer. You’ll know they are ready when they are shiny and stiff.
The Quick Fix: Quick-Drying Nail Polish Spray
In a hurry? Then a quick-drying nail polish spray is your answer. These sprays are designed to expedite the drying process. Just shake the bottle, mist it over your nails, and wait a few seconds to minutes. Voila! You’re ready to go. But remember, these sprays might not offer as long-lasting results as the traditional methods. They’re more of a quick fix when you’re short on time or don’t have access to a UV lamp.
Clever Cooking Spray: A Quick Fix
When you’re in a pickle, sometimes you’ve got to think outside the box, or in this case, the kitchen cupboard! That cooking oil spray you use for your pancakes? It could also be your next best nail friend.
Here’s how to do it: apply an extra layer of topcoat over your gorgeous gel color, then from about 8 inches away, give each finger a quick 10-second spray. It’s like giving your nails their very own cooking show moment! This spray method could help speed up drying without needing a UV lamp.
Fun fact: Some professional salons even recommend this technique as it can help prevent color smudging during application or removal. Now, that’s a pantry hack to remember!
Slow and Steady: The Air-Drying Method
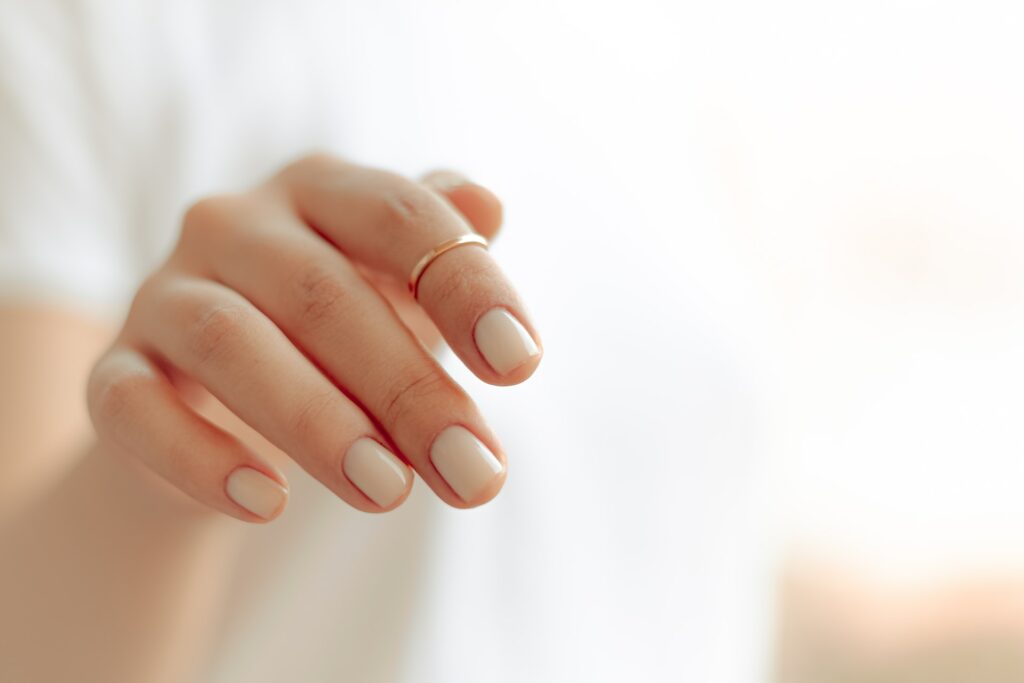
One question I get asked a lot is: “Can you air-dry gel nail polish?” The answer is yes but with a catch. You see, air-drying your gel polish is like taking the scenic route: it’s possible but takes much longer.
And when I say longer, I mean days, not hours, to set completely. Applying a thin layer of gel polish and leaving it to air-dry might feel like waiting for your birthday – it will take forever!
Without a UV nail lamp or a heating mechanism, you’re looking at a nail version of a marathon. And while patience is a virtue, your manicure might only last for a short time, being more prone to smudging and early chipping.
Basking in the Sun: Can Sunshine Cure Gel Polish?
Now, you might be thinking: “Why not use our biggest light source – the sun?” Unfortunately, the sun and your gel polish aren’t the best of friends.
Despite the sun giving us a healthy dose of UV rays, it’s not consistent or targeted enough to set and harden the gel polish effectively. Moreover, too much sun exposure can lead to discoloration or even peeling over time. Yikes!
That said, some brands offer a ‘sun-activated’ top coat that dries in natural sunlight without a cure. But remember, always keep an eye on the clock when sunbathing those nails. Overheating can stress your nails, causing cracks and defeating the gel polish’s purpose.
When in doubt, it’s best to stick to traditional lamp methods, which are reliable, consistent, and don’t come with the risk of sunburn!
What Are Some Techniques For Drying Gel Nail Polish Without A UV Light?
Hello, my beauty aficionados! Let’s delve into gel manicures today, specifically how to dry gel nail polish without a UV or LED lamp. Sometimes, you might find yourself in a pickle without access to these handy tools, but no need to fret—I’ve got you covered with a few crafty techniques to solve this dilemma.
Technique 1: The Air Dry Method
Air drying is not the quickest route, but it’s feasible, especially if you’re using a regular builder or sculpting gels that air dry naturally. Apply the polish in thin, even layers to hasten the drying process. This could take anywhere from 3 to 15 minutes per layer, so it’s best to have a fun podcast or movie ready to keep you entertained!
Technique 2: Fan it Out
Using a fan can be a helpful alternative if patience isn’t your strongest virtue (and we’ve all been there). Position the fan a few inches away from your nails and let the cool air work it’s magic. Depending on the fan’s speed and proximity to your nails, it could take anywhere from 6 to 20 minutes.
Technique 3: Chill Out with an Ice Bath
One surprising method that I’ve found effective is an ice bath. You only need a bowl of cold water with a few ice cubes. Submerge your nails in it for a few minutes after applying gel polish. The low temperature helps speed up the drying process.
Technique 4: Quick-Drying Nail Polish Sprays
For those who love their beauty hacks, quick-drying nail polish sprays can be your new best friend. Spray it over your nails after applying the polish, and voila! Most products will dry your nails in just about 30 seconds to 3 minutes. It’s a lifesaver for when you’re on the go.
Technique 5: Cooking Oil Spray Hack
If you’re in a bind and have none of the above, your kitchen might hold the solution. Cooking oil sprays can function as a quick-drying agent for your nails. Just spray it over an extra layer of topcoat, and you’ll be ready.
Remember, lovelies, all these methods will work better with non-UV gel polishes that are designed to air dry. Always prioritize your nail health and remember that these hacks won’t replace the professional finish achieved with a UV or LED lamp, but they’re perfect for those times when you need a quick fix. Keep on shining and experimenting with your unique nail journey!
Conclusion
And that’s a wrap, my nail-loving friends! While achieving that perfect gel manicure without a UV light can feel like a nail-themed adventure, remember that your beauty journey is uniquely yours. You can go the clever route with a quick cooking oil spray or play the waiting game with air-drying. Though slower, these methods allow you to ditch the UV lamp and achieve that gel polish glam. Sun curing, while appealing, is more unpredictable and potentially damaging, so it’s best used sparingly with sun-activated topcoats. Remember that nothing is without risks, and patience truly is a virtue when it comes to gel nail polish sans UV light. But aren’t the challenges and little victories that make our beauty escapades exciting and worthwhile? So, dare to try something new, be mindful of your choices, and remember to enjoy the process. Keep experimenting, stay beautiful, and, as always, let your nails do the talking! Until next time, lovelies!
Feature image by Chelson Tamares on Unsplash


