Table of Contents
Amid the daily hustle and bustle, our feet tirelessly support us, deserving nothing short of a royal treatment. In this blog post, I am thrilled to escort you on an at-home spa adventure, where indulgence meets convenience. Dive deep with me into the art of the perfect at-home pedicure, a sanctuary where your feet are transformed into pedestals of grace and elegance. Together, we’ll venture through the realms of expert prepping, pampering, and polishing, unveiling the secrets to heavenly feet that resonate with beauty and well-being. Brace yourselves, as a rejuvenating journey, sprinkled with tips and secrets to attaining that salon-perfect finish, awaits. Let’s embark on this refreshing voyage, where your feet step into the limelight, epitomizing grace and tranquility.
Step 1: Nail Preparation Time
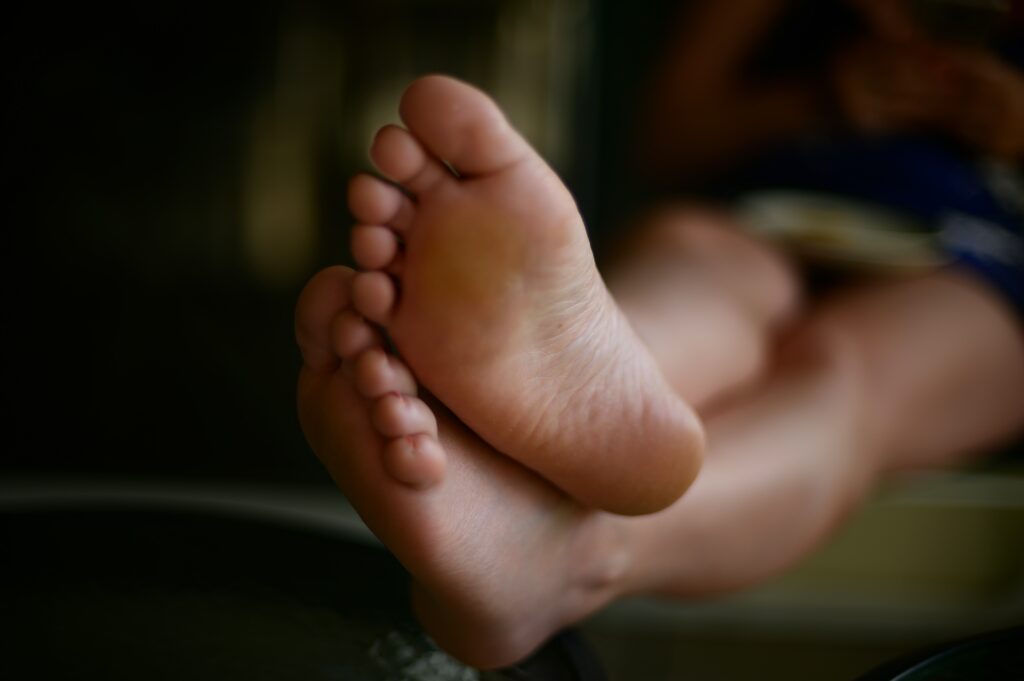
Oh, how we all have had those moments where our nail polish seems to have overstayed its welcome! I remember this one time when my toes showcased a month-old, chipped, vibrant red polish – not a pretty sight, let me tell you! It’s time to bid farewell to that old color and clean up those nails for a fresh start. Use a gentle acetone-free nail polish remover to cleanse each nail meticulously. A little cuticle oil can work wonders to eliminate those stubborn stains, leaving your nails primed and pretty for the next stage.
Step 2: A Relaxing Soak Session
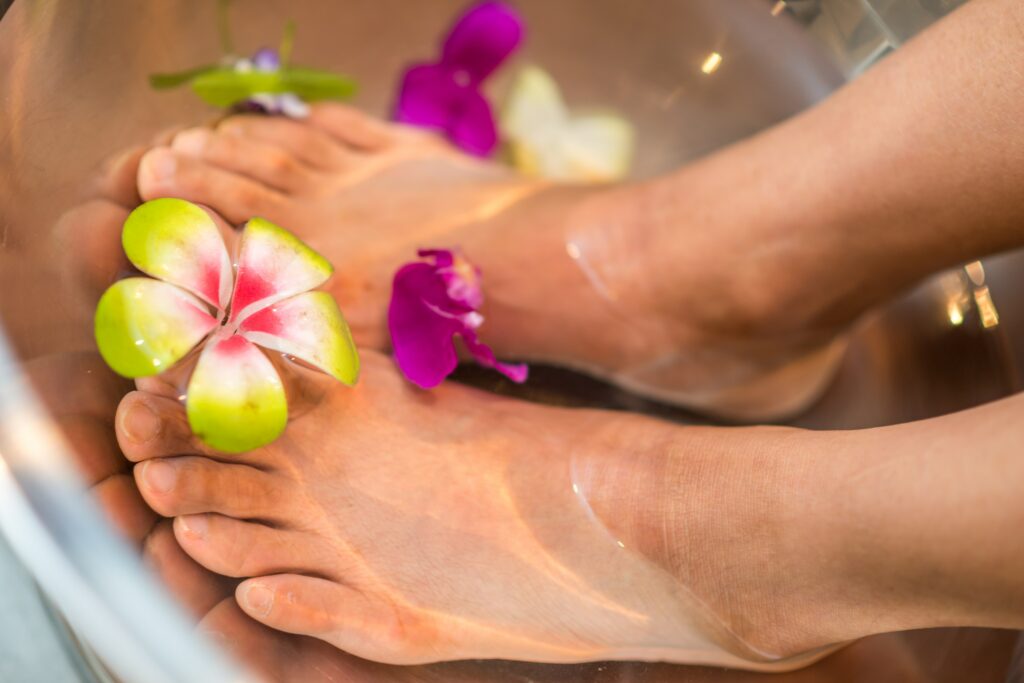
Before we delve deep into the soaking process, let’s talk ambiance. Gather all the candles in your abode, and pour yourself a little wine. You deserve it! Setting the right mood can transform your space into a luxurious spa haven. Once the atmosphere is set, immerse your feet in a warm bath infused with rejuvenating salts to soften the skin and soothe the cuticles. Trust me, this step is the key to transcending into a world of relaxation.
Step 3: Bid Goodbye to Dead Skin
Okay, hands down, this part is a little guilty pleasure. There’s something oddly satisfying about removing the dead skin and revealing the smooth, renewed surface underneath. With a trusty foot file or pumice stone, gently work on your callouses, focusing on the heels and other problematic areas. Remember, the goal is smoothness, not irritation!
Step 4: Neat and Tidy Toenails
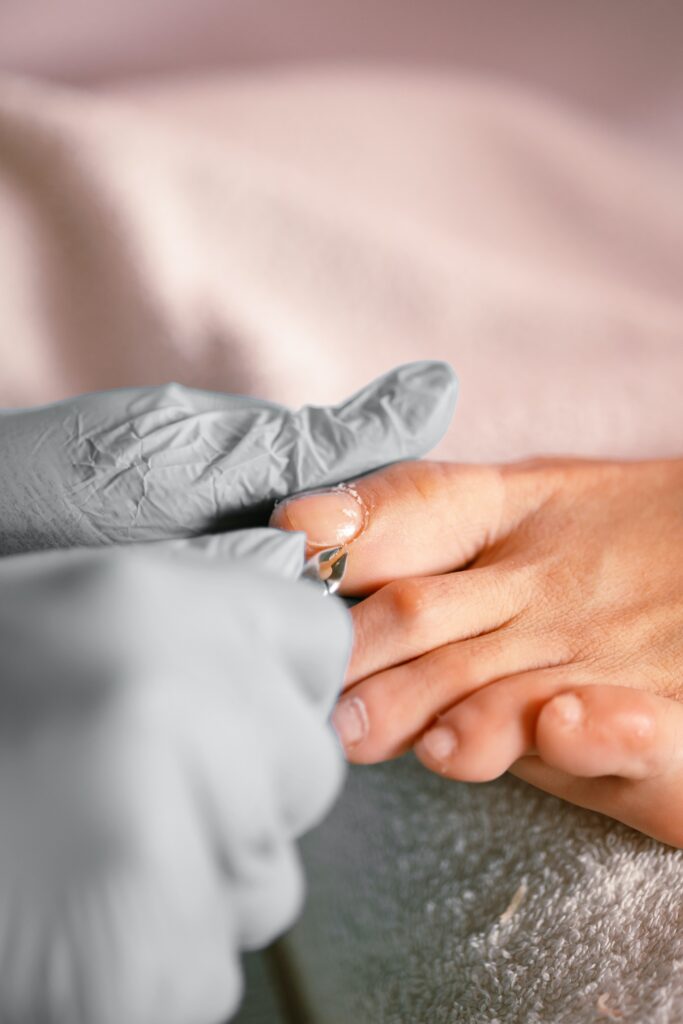
Here comes the transformative bit – giving those toenails a neat trim. I hum my favorite tune while doing this to make it more fun. Use good clippers to cut your nails, keeping the edges even. This is the beginning of witnessing a neat canvas that will soon become a masterpiece.
Step 5: Shaping Your Toenails
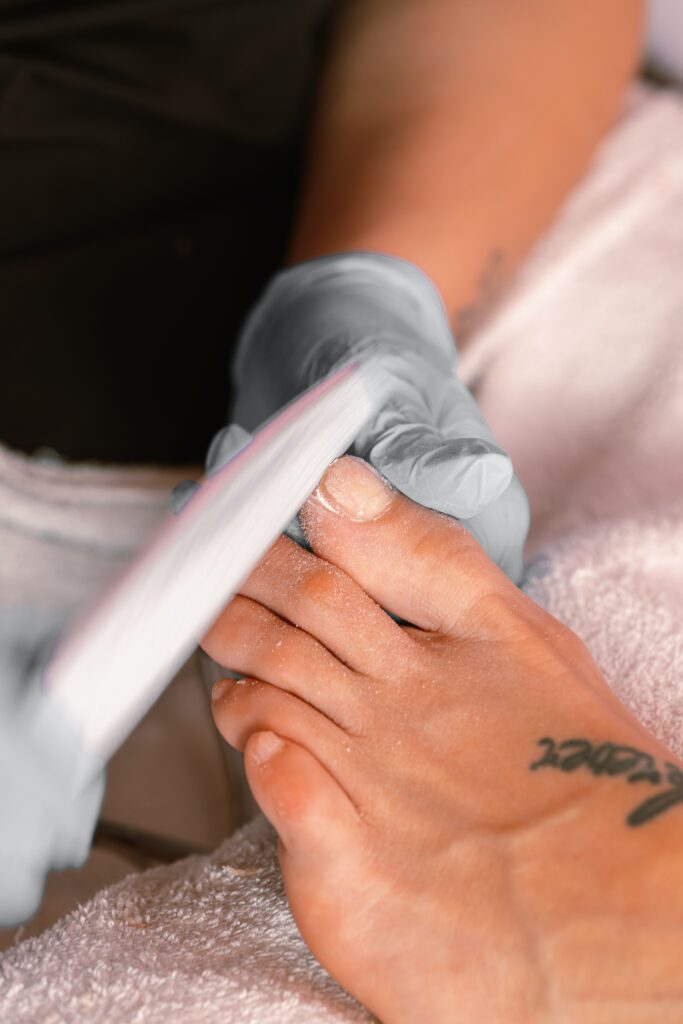
Now that we have removed the excess length, it’s time to finesse the shape. Grab a nail file and meticulously work on the corners and edges. Take your sweet time here, ensuring all nails are symmetrical and smooth.
Step 6: Nourish with Cuticle Oil
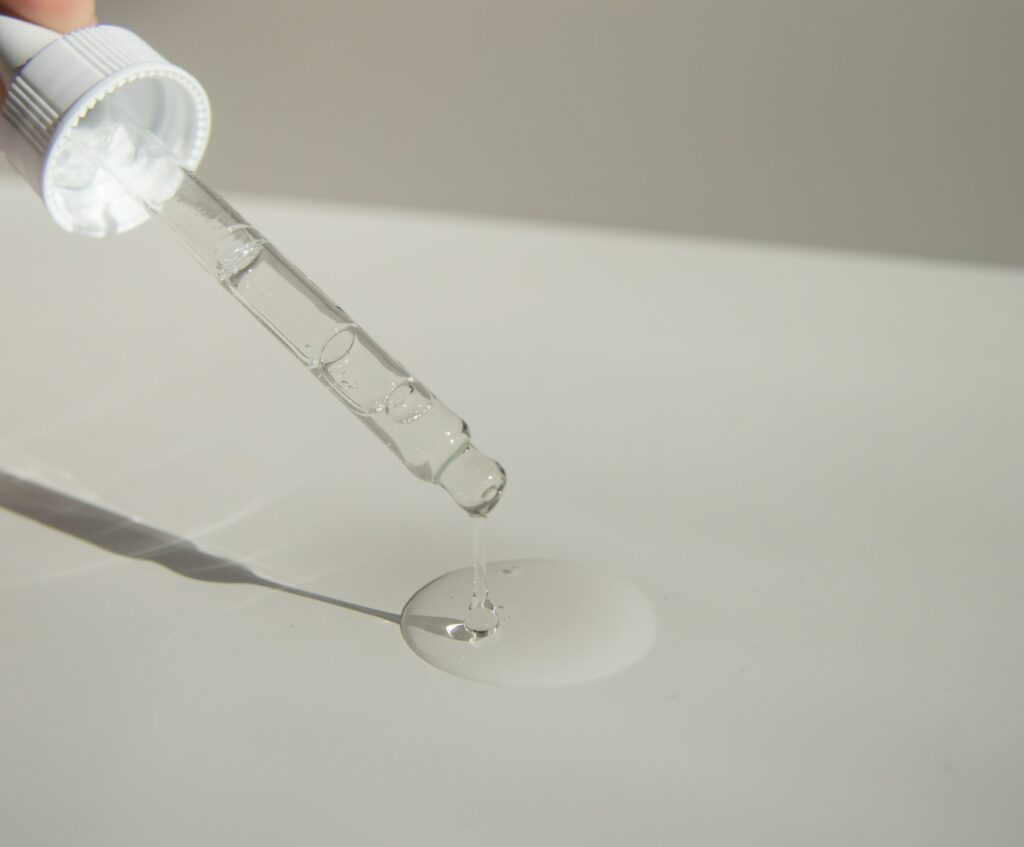
A little secret from my personal experience – nurturing your cuticles is a game-changer. Using a good cuticle oil can improve your nails’ health and impart a lush shine that makes your pedicure look professional. A few drops massaged onto each toe can work wonders, believe me!
Step 7: Foot Massage Magic
Now, for the most delightful part, a nourishing massage! Use a hydrating lotion to massage your feet and calves gently. I usually play some soft music in the background to enhance the experience. And remember to clean the surface of each nail with rubbing alcohol afterward to prepare them for the polish.
Step 8: Lay the Foundation with a Base Coat
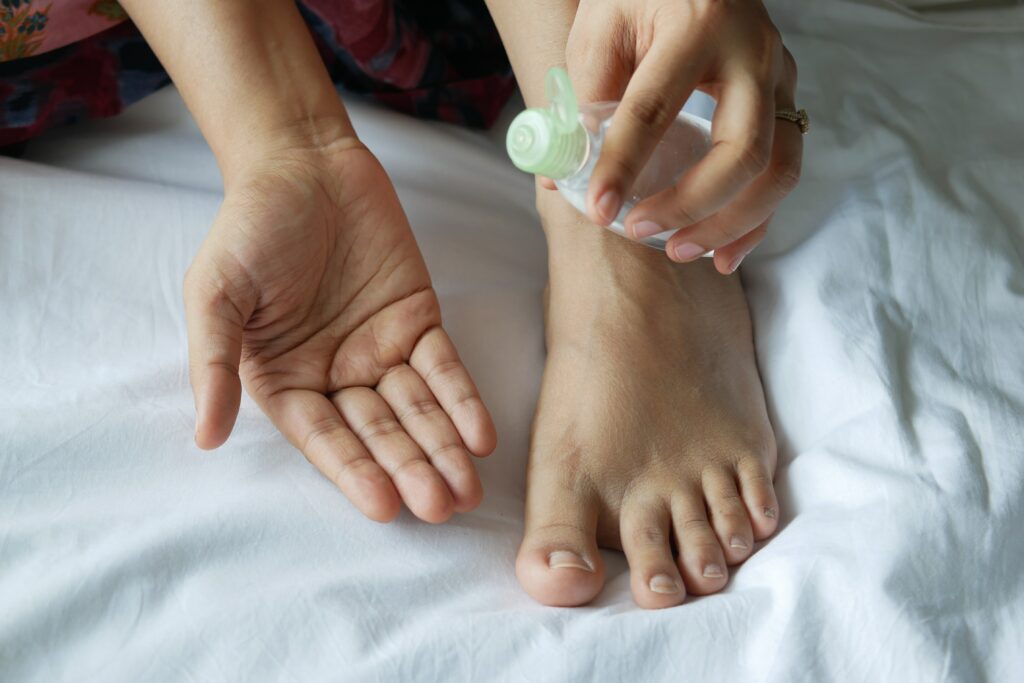
Skipping a base coat is a cardinal sin in the world of pedicures! It creates a perfect canvas for the polish, preventing discolorations and ensuring longer-lasting results. So, please take that extra minute to apply a base coat.
Step 9: Bring in the Color
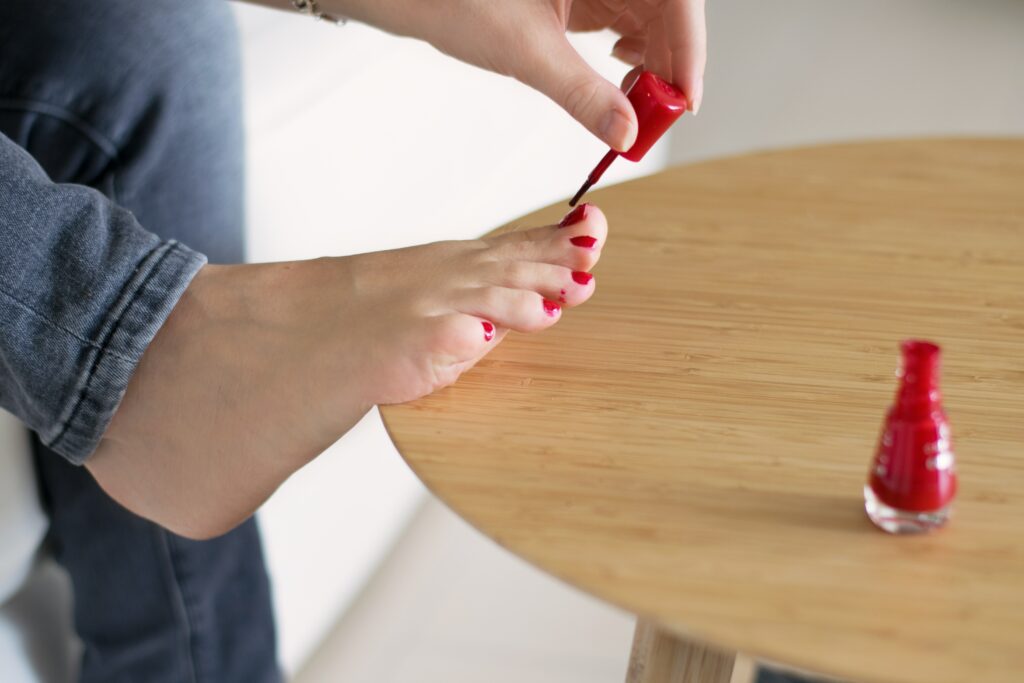
Finally, the moment of transformation! Pick a vibrant color that resonates with your mood, and start painting those nails. Use toe separators or a twisted paper towel between your toes to prevent streaks. And hey, if you are like me and sometimes stray outside the lines, a minor cleanup with an orange stick will do the trick.
Step 10: Seal the Deal with a Top Coat
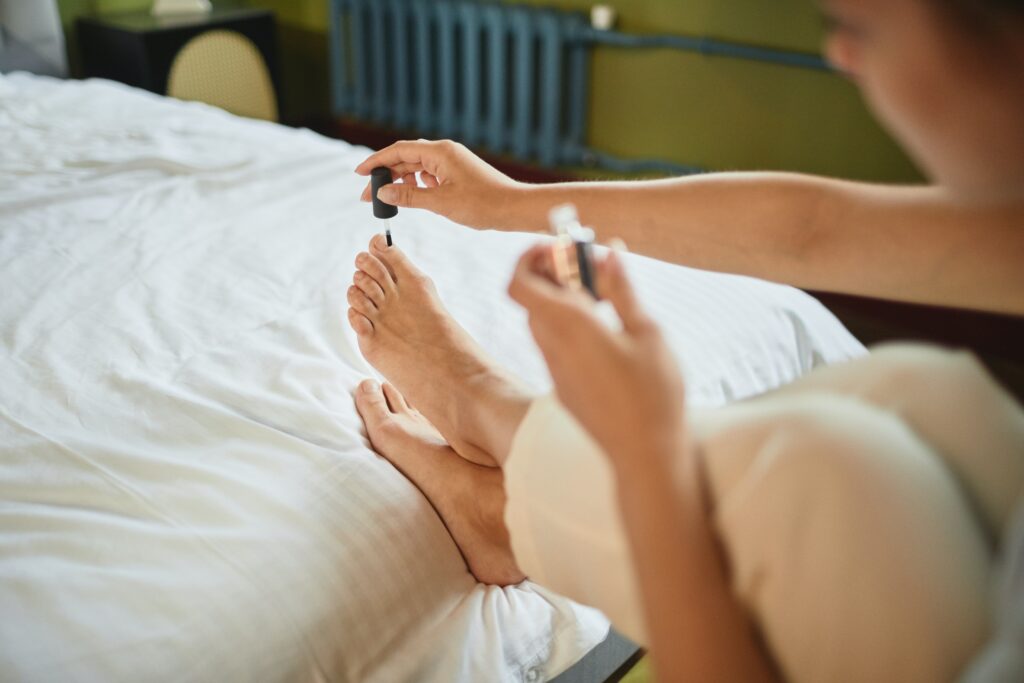
Apply a top coat to lock in the beauty and ensure a glossy finish. This final step guarantees your hard work doesn’t chip away the next day, leaving you with a salon-perfect pedicure to flaunt.
Happy pampering, dear readers! Here’s to fabulous feet!
What Type Of Nail Polish Remover Should Be Used?
When choosing a nail polish remover, I highly recommend opting for an acetone-free formula. It is gentler on your nails and prevents them from drying out, which is a common issue with traditional acetone-based removers. Moreover, acetone-free removers are less harsh on the skin surrounding your nails, helping to maintain the overall health and beauty of your hands and feet. Remember, the goal is to nurture and beautify your nails, not to expose them to harsh chemicals that might strip away their natural vitality. So choose wisely and give your nails the gentle care they truly deserve.
- Ella+Mila Soy Nail Polish Remover: This plant-based nail polish remover is enriched with vitamins A, C, and E, offering nourishment along with removing polish with ease.
- Karma Organic Natural Nail Polish Remover: A fan-favorite, this remover is made from organic ingredients, promising to not only remove polish but also strengthen your nails over time.
- Mineral Fusion Nail Polish Remover: A stellar choice for those looking to maintain the health of their nails, this remover is gentle yet effective, making the polish removal process a breeze.
- Sundays Soy Polish Remover: A luxurious choice, this remover not only tackles polish but also conditions your nails, leaving them looking healthy and beautiful.
- Tenoverten Non-Acetone Remover: This one is appreciated for its nourishing properties, offering a gentle way to remove nail polish without drying your nails.
What Kind Of Hydrating Lotion Is Recommended For The Foot Massage?
I recommend a lotion rich in nourishing ingredients for a truly indulgent foot massage. Consider looking for a cream infused with ingredients such as shea butter, renowned for its deep moisturizing properties, or perhaps something containing oils such as coconut or almond oil, known to nourish and soothe the skin wonderfully.
Consider a lotion enriched with essential oils like lavender or peppermint for added luxury and effectiveness. Lavender can offer a relaxing, calming effect—perfect to unwind after a long day—while peppermint can invigorate tired feet, leaving a refreshing sensation.
A tip from a seasoned beauty blogger: Pay attention to the benefits of ingredients like hyaluronic acid and glycerin, which have excellent hydrating properties, helping lock in moisture and keep your skin soft and supple.
So, during your next pampering session, slather on a generous amount of hydrating lotion that suits your preference, and enjoy a soothing, refreshing, and thoroughly revitalizing foot massage. It’s not just a treat—it’s a vital step to maintaining happy, healthy feet!
Relaxing Foot Soaks: Alternatives to Explore
Moving away from the traditional foot soak, let’s explore some inventive and rejuvenating alternatives that can elevate your pedicure experience:
- Oil Infused Soaks: Enhance your foot soak by adding a few drops of essential oils such as lavender or eucalyptus for a calming and spa-like experience.
- Herbal Foot Bath: Steep some chamomile or green tea bags in your foot bath for a soothing and antioxidant-rich soak.
- Milk and Honey Soak: For a luxurious feel, try a milk and honey soak which not only softens the skin but also adds a beautiful glow to your feet.
- Warm Towel Wrap: If you are short on time, a warm towel wrap infused with a few drops of essential oil can work wonders in relaxing and softening your feet.
What Is The Best Way To Prevent Streaks While Painting Nails?
Preventing smudges while painting nails can sometimes feel like an arduous task, but not to worry, I’ve got some tried and true tips to share with you!
Firstly, begin by ensuring your workspace is comfortable and steady. It’s a good idea to paint your nails at a table where your hands can rest easily, reducing the risk of inadvertent movements that can cause streaks.
Next, invest in quality tools. Toe separators can be a blessing, helping avoid contact between your freshly painted nails. If you don’t have them, no worries! A homemade solution can be crafting separators from twisted paper towels or cotton balls, weaving them between your toes to keep them apart and smudge-free.
Patience is the virtue you’ll need the most during this process. Allow adequate time for each layer to dry before moving on to the next. Rushing through can result in dents and smudges.
Additionally, employing a steady hand is crucial. Start by applying thin coats of polish, as they dry faster and more evenly than thick layers. Use controlled, steady strokes from the base to the tip of your nails.
Lastly, a top-quality top coat can work wonders. It gives a glossy finish and serves as a protective layer, preventing minor smudges from ruining your masterpiece.
Remember, practice makes perfect. The more you nurture your nail painting skills, the better you’ll become at achieving a flawless finish without any streaks. Happy painting!
The Unmissable Top Coat: Benefits Galore
Adding a top coat to your pedicure is akin to sealing the deal with a kiss of perfection. Here’s why it’s an indispensable step in your pedicure routine:
- Longevity: A top coat seals in your nail polish, ensuring that your pedicure lasts longer without chipping or fading.
- Shine and Gloss: It adds a professional finish to your pedicure, imparting a glossy and shiny appearance to your nails.
- Protection: A top coat forms a protective barrier on your nails, guarding them against external damages and staining.
- Quick Drying: Many top coats come with quick-drying properties, making sure you don’t have to wait too long before slipping into your favorite pair of shoes.
- Smooth Finish: A good top coat can smooth out any imperfections or streaks in the nail polish, giving a smooth and flawless finish.
Conclusion
And there we have it, a sanctuary of relaxation and rejuvenation right at your fingertips, ready to be embraced. Remembering that some self-care can go a long way, and giving your feet the pampering they deserve leaves them looking fabulous and promotes overall well-being. While embarking on this delightful journey, be mindful of not over-exfoliating to avoid irritation, and always prioritize your comfort and health above all. As your trusty guide in this beautifying adventure, I encourage you to personalize each step according to your preferences and needs, making this experience your own. Armed with these expert tips and insights, I hope you feel empowered to carve out a moment of bliss in your busy schedule. Until next time, keep shining and stepping forward with those rejuvenated feet, ready to conquer the world, one polished toe at a time!
Photo By Toa Heftiba on Unsplash
