Table of Contents
Have you ever faced one of those mornings where you hit snooze a few too many times, leaving you no time to wash your hair? Or are you looking for a way to extend the life of your gorgeous salon blowout? Fear no more because dry shampoo is your secret weapon. And guess what? It’s not rocket science to make it at home!
In this post, we’ll go through the surprisingly simple process of creating a homemade dry shampoo with baking soda, an ingredient most of us already have sitting in our pantry. And, no, it’s not just for cakes and cookies; this multi-tasking wonder has proven to be a savior for oily and lifeless hair, too!
Through this detailed guide, you’ll learn how baking soda can save your day (and your hair), the exact ratios you need to create your own dry shampoo mix, and my personal tips on how to use it effectively. You’ll also get a sneak peek into customizing secrets for different hair types because one size doesn’t fit all in the beauty world.
So grab your beauty apron, roll up your sleeves, and start this adventure. The power to transform your hair game is literally at your fingertips. Stay with me as we unfold the magic of this DIY dry shampoo recipe that’s cost-effective, environmentally friendly, and oh-so-simple to make!
Getting to Know Dry Shampoo & Its Superpowers
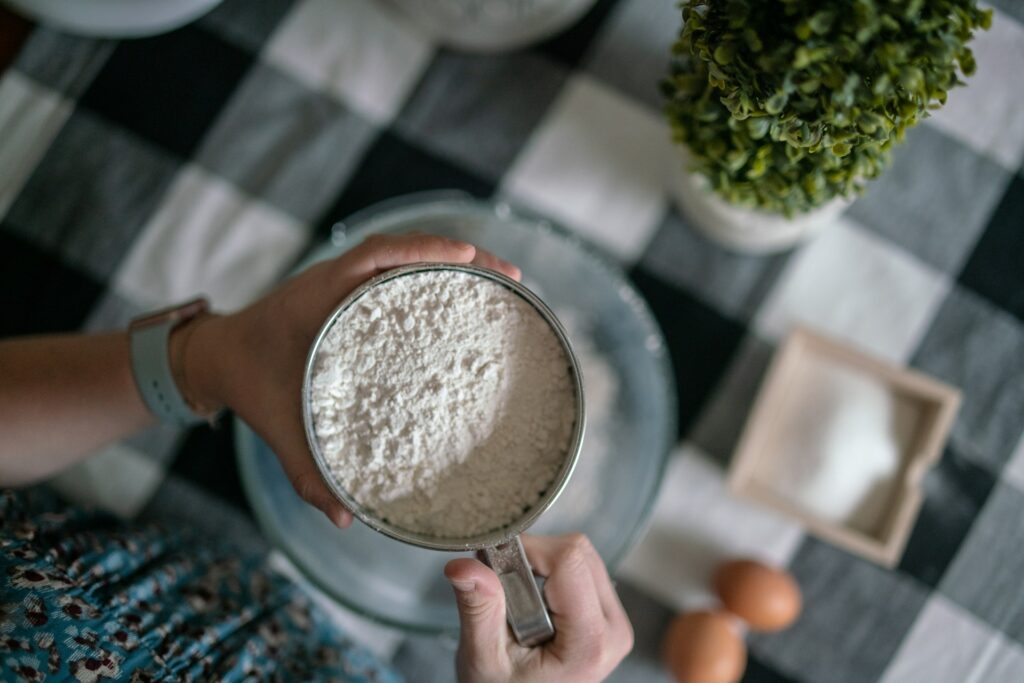
Imagine a magic powder that, when sprinkled onto your hair, soaks up oil and leaves you with a new, voluminous mane. That, my friends, is dry shampoo in a nutshell. It’s a quick-fix fairy godmother for those rushed mornings or midday hair emergencies.
Time-Saver: Dashing to a meeting or a surprise date? Dry shampoo comes to the rescue, making your hair look clean and styled in a matter of minutes. Color Keeper: Too many washes can strip your hair color, leaving it lackluster. Dry shampoo steps in, reducing the need for frequent washes and helping your color last longer. Volume Va-va-voom: Flat hair, begone! Dry shampoo absorbs oil right at the roots, giving your hair a bounce that could rival any shampoo commercial.
Why DIY When You Can Buy?
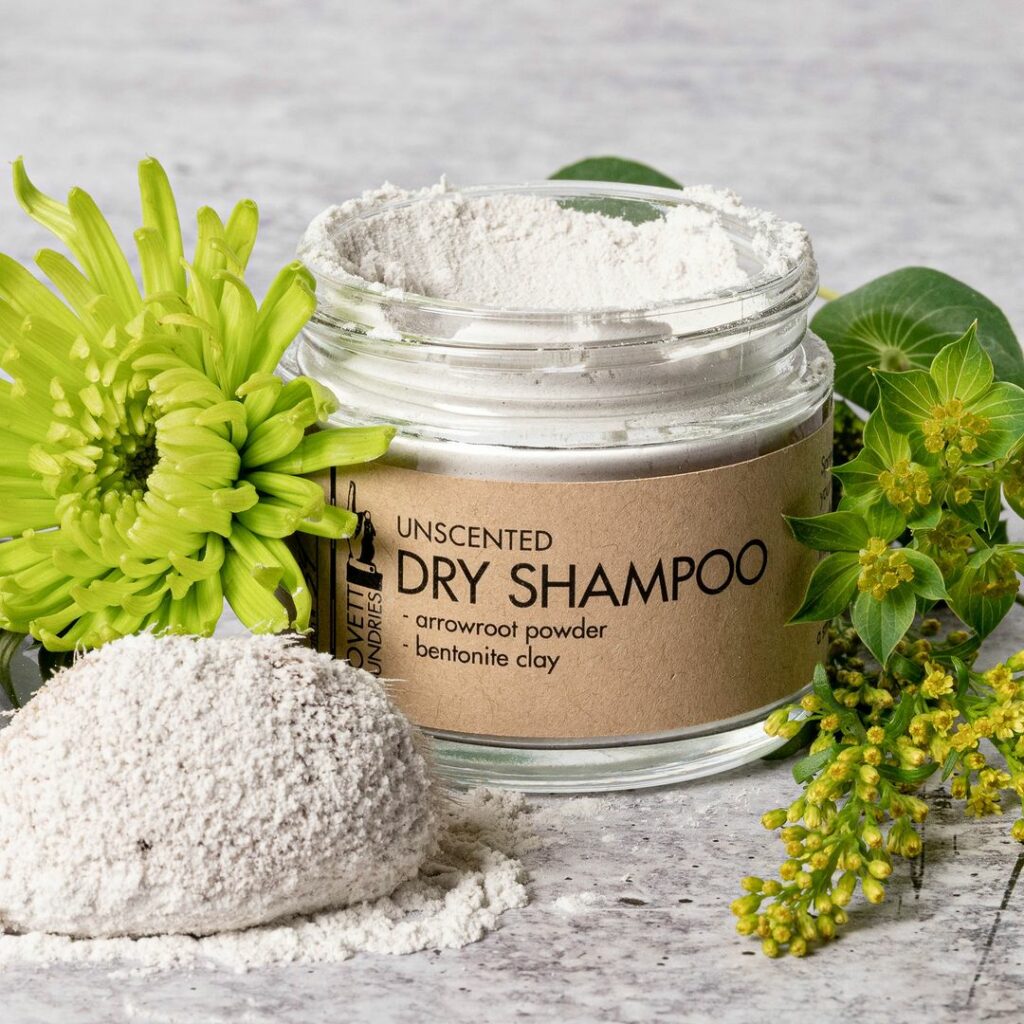
Walking into a store and grabbing a can of dry shampoo is super convenient, no denying that. Have you taken a moment to skim through the ingredients list? Some of those chemical names are longer than my skincare routine! Plus, there’s the added worry about what those harsh elements could do to your scalp and hair health.
On the other hand, creating your own dry shampoo is like having a backstage pass to your beauty products. You know what goes in, and you can tweak the recipe to fit your specific hair type or color. And as a bonus, your wallet will thank you for it!
Homemade Dry Shampoo vs. Store-bought: The Showdown
Homemade dry shampoo steals the show in a few key ways:
- Transparency: You know exactly what you’re feeding your hair.
- Customizable: Your hair, your rules! Adjust the ingredients to suit your hair needs.
- Budget-friendly: DIY can save you quite a few bucks over time.
The Baking Soda Revolution: Making Dry Shampoo at Home
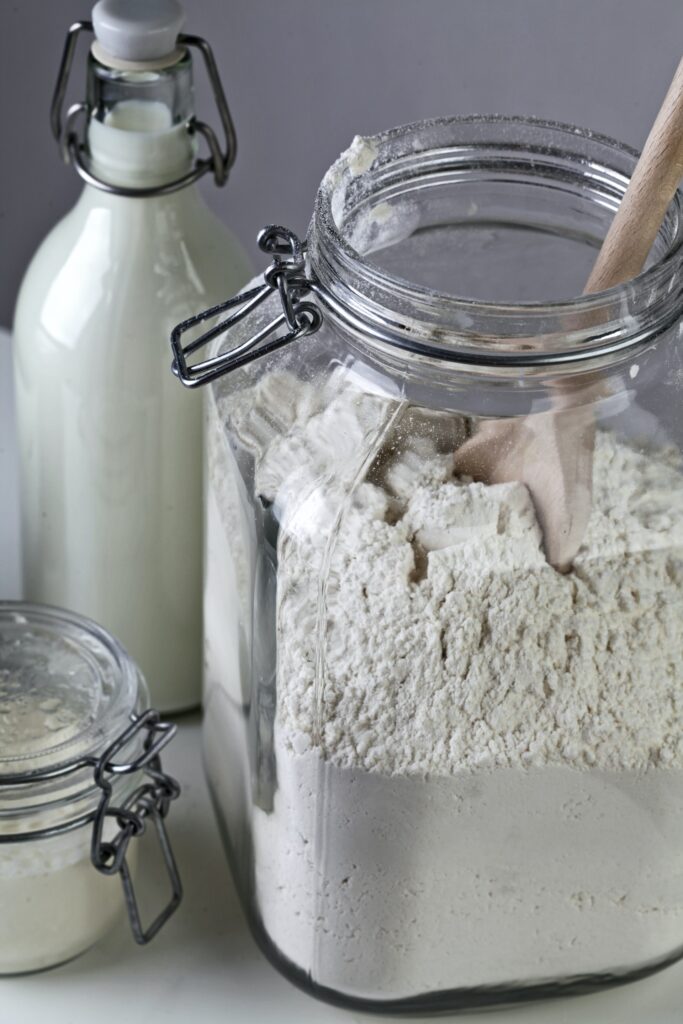
Let’s roll up our sleeves and get to work! Here’s a simple recipe to create your dry shampoo with baking soda and cornstarch:
- Combine 1/4 cup baking soda and 1/4 cup cornstarch in a small bowl.
- To jazz it up a bit, add five drops of your favorite essential oil. This step is optional, but I adore adding a bit of lavender to mine for that calming scent.
- Mix well and store your concoction in an airtight container. I love repurposing old spice jars for this.
- When it’s showtime, dust the powder onto your roots with a makeup brush or shaker. Then, massage it into your scalp and brush out any excess powder. Voila, your hair is ready to rock!
Activated Charcoal: Your Dry Shampoo’s New BFF
Another secret ingredient that can supercharge your homemade dry shampoo is activated charcoal powder. It’s great for soaking up oil and giving your hair that freshly washed feel.
Here’s how you can incorporate it into your dry shampoo recipe:
- Start by mixing 1 tablespoon of cornstarch and 2 teaspoons of activated charcoal powder.
- Blend the mixture well in a bowl until it’s even, then add four drops of essential oil for that extra punch of fragrance.
- Transfer the dry shampoo powder to an airtight container. Mason jars or old spice shakers work a charm!
- When you’re ready, sprinkle the dry shampoo onto your roots and scalp, then work it through your hair with your fingers or a brush. Style as usual and step out with confidence!
And there you have it, my dear beauty explorers – your personalized dry shampoo. With this DIY recipe in your beauty arsenal, you’re ready to take on any hair emergency life throws at you! Happy experimenting!
Dry Shampoo for Dark Hair: Cocoa Powder Magic
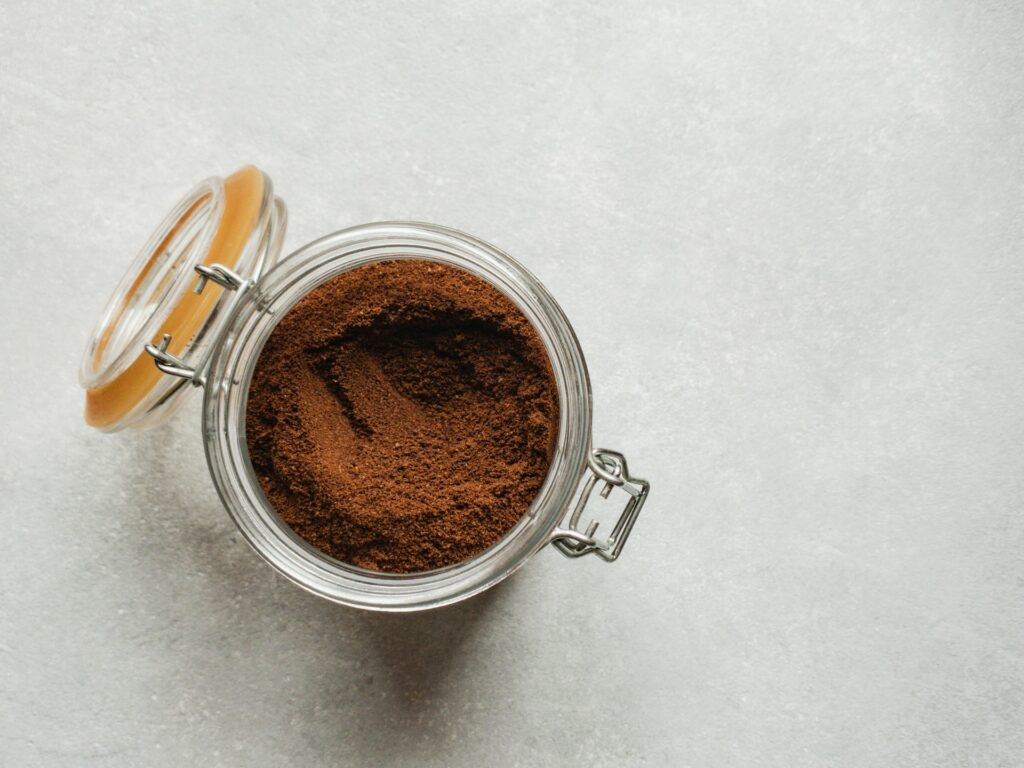
I’ve always found that a streak of cocoa powder blends perfectly with my espresso-colored roots. Here’s how you can create your cocoa-infused dry shampoo:
- Combine 1/4 cup baking soda, 1/4 cup cocoa powder, and 1/4 cup arrowroot powder in a bowl.
- Feel free to add five drops of an essential oil of your choice. I usually opt for peppermint—it pairs incredibly well with the chocolatey scent of the cocoa powder.
- Mix well and store in an airtight container. An old loose powder makeup jar works great for this.
- To use, sprinkle the mixture onto your roots using a makeup brush. Gently massage it into your scalp and brush out any excess powder.
Dry Shampoo for Lighter Hair Shades: Arrowroot to the Rescue
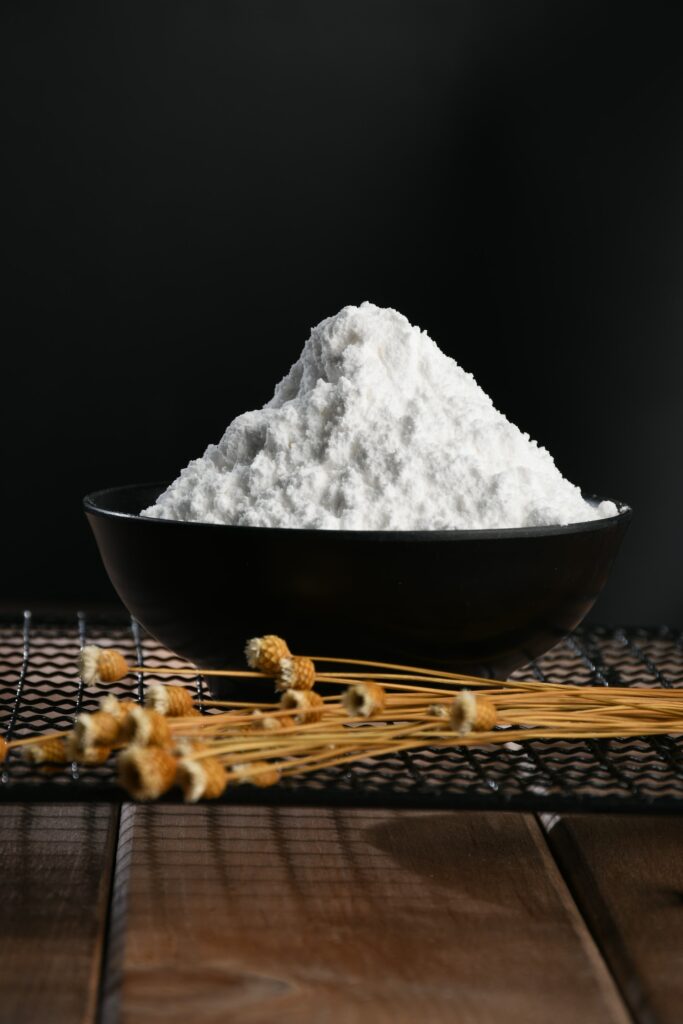
If your hair is lighter, swap the cornstarch with arrowroot powder. It blends effortlessly with blonde or grey hair, and I love how silky it leaves my hair feeling. Here’s how you can make it:
- Combine 1/2 cup baking soda and 1/2 cup arrowroot powder in a bowl.
- Add a tablespoon of your chosen essential oil if you wish. I can’t resist a touch of lavender.
- Stir it up, store it in an airtight container, and voila! You’ve got yourself a personalized, lighter-shade dry shampoo.
What If I Don’t Have Cornstarch? Substitutions and Add-Ons
No cornstarch? No problem. Let’s explore some alternative ingredients you can use:
Baby Powder: Mix 1/4 cup baking soda and 1/4 cup baby powder in place of cornstarch. This combo is particularly effective for fine hair. It’s a trick my mom taught me back in my teenage years!
Starch Alternatives: If cornstarch isn’t handy, try potato starch. Combine 1/2 cup baking soda and 1/2 cup potato starch for an equally effective dry shampoo.
Essential Oils: They’re not just for their gorgeous scents; they come packed with benefits too! Lavender oil boosts hair growth, tea tree oil combats dandruff, and peppermint oil stimulates hair growth and soothes the scalp.
Applying Your DIY Dry Shampoo: A Step-by-Step Guide
Time to put your dry shampoo to the test! Here’s how:
- Section your hair, focusing on the greasiest areas.
- Apply the dry shampoo to your roots using a shaker or makeup brush.
- Massage the powder into your scalp to absorb excess oil.
- Brush out any excess powder, leaving your hair refreshed and clean.
Tips for Oily Hair Users

If your hair tends to be on the oilier side, here are a few tips that can make your dry shampoo experience even better:
Prevention is Better than Cure: Apply the dry shampoo before your hair gets too oily. It’s easier to prevent oil build-up than to deal with greasy hair.
Night-time Magic: Try applying your dry shampoo at night. As you sleep, you’ll have more time to absorb the oil, leaving your hair fresh and clean in the morning.
And there you have it; all you need to know about DIY dry shampoos! Trust me, once you make and use your dry shampoo, you’ll wonder why you didn’t try it sooner. Happy hairstyling, my friends!
Balancing Act: The Right Frequency for Using Dry Shampoo
When it comes to using dry shampoo, balance is the key. The frequency depends on your hair type and scalp. A general rule of thumb is to use dry shampoo 1-2 times per week. For my fellow beauties with oilier hair (I feel your pain, I’ve been there!), You should use it more often. I’d suggest listening to your hair; it often tells you what it needs.
Storing Your Homemade Dry Shampoo: The Dos and Don’ts
Now, let’s talk about storage. “Can I store my homemade baking soda dry shampoo?” You bet you can! And it’s simpler than you’d imagine.
After whipping up your fabulous dry shampoo, store it in an airtight container. I adore using glass jars; they’re chic and prevent moisture from sneaking in.
The Shelf-Life of Your Dry Shampoo: Here’s the Deal
The common question is, “How long can I store my homemade dry shampoo?” If you follow a basic recipe using baking soda and cornstarch (a personal favorite of mine), you can generally store it for up to 3 months.
Here’s a heads up: baking soda tends to expire after that 3-month mark. It’s still usable, but it could be more potent. It’s a good idea to refresh your supply every few months.
And that’s a wrap on this quick chat about dry shampoo usage and storage! While the ingredients might need a refresh after a few months, the convenience and results of homemade dry shampoo remain unbeatable. It’s a lifesaver on those rushed mornings, trust me! Keep on shining, you beautiful people!
6 Tips That I Personally Use
- Apply before bed: One trick I love is applying dry shampoo before hitting the sack. Overnight, the shampoo will absorb excess oil and give your hair a refreshed look by morning.
- Don’t overuse: While it’s tempting to reach for your dry shampoo often, remember to give your hair a thorough wash regularly. Over-reliance on dry shampoo may lead to product buildup and a dry scalp.
- Section your hair: For the best results, divide your hair into sections before application. This helps ensure the dry shampoo is evenly distributed and can reach the most oily areas of your scalp.
- Use a makeup brush: Applying the dry shampoo with a large makeup brush gives you better control over the application. It’s a trick that helps me avoid depositing too much product in one place.
- Blend it in: Don’t forget to blend in the dry shampoo. After applying it to your roots, use your fingertips to massage it into your scalp. If your hair still looks powdery, a quick blow-dry can help distribute the product more evenly.
- Wait before you brush: Give the dry shampoo a few minutes to do its job before you brush it out. This allows it to absorb the oils in your hair thoroughly.
Remember, everyone’s hair is unique, so what works best for me may not work best for you. Don’t be afraid to experiment and find the technique that suits your hair type and lifestyle perfectly. Happy hair-refreshing!
What Are The Risks?
- Scalp Sensitivity: Some individuals may have a sensitive scalp that can react to certain ingredients in dry shampoo, including baking soda or essential oils. It’s always a good idea to perform a patch test on a small area of your scalp before using the dry shampoo extensively.
- Allergic Reactions: People with known allergies or sensitivities to specific ingredients should exercise caution when using homemade dry shampoo. Essential oils, for example, can trigger allergic reactions in some individuals. If you have a history of allergic reactions, it’s best to consult with a dermatologist or allergist before using homemade dry shampoo.
- Product Buildup: Regular or excessive use of dry shampoo, whether homemade or store-bought, can lead to product buildup on the scalp and hair. This buildup may result in dull, weighed-down hair or even clogged hair follicles. To prevent this, it’s important to cleanse your hair thoroughly and regularly with water and a clarifying shampoo to remove any residue.
- Over-reliance on Dry Shampoo: While dry shampoo can be a convenient solution, it should not replace regular hair washing. Over-reliance on dry shampoo without proper cleansing can disrupt the scalp’s natural balance, potentially leading to scalp issues, such as itchiness or dandruff.
Precautions and Recommendations:
- Patch Test: Before using homemade dry shampoo, especially if you have a sensitive scalp or known allergies, perform a patch test. Apply a small amount of the dry shampoo mixture to a small area on your scalp and observe for any adverse reactions over a 24-hour period.
- Moderation: Use dry shampoo as a temporary solution between regular washes rather than a long-term replacement for washing your hair. This will help prevent product buildup and potential scalp issues.
- Customize for Sensitivities: If you know you have sensitivities to specific ingredients, such as baking soda or essential oils, consider modifying the recipe accordingly or seeking alternative ingredients that are better suited to your needs.
- Proper Cleansing: Regularly cleanse your hair with water and a suitable shampoo to remove any product buildup, excess oils, and maintain a healthy scalp and hair.
Conclusion
And there you have it, lovelies! You’re now equipped with all the knowledge you need to rock the dry shampoo game! Remember, moderation is key – aim for 1-2 uses per week, but feel free to adjust that based on your hair’s needs. Your homemade dry shampoo, lovingly crafted with baking soda, can be a game-changer and your new best friend on busy mornings. Remember to keep it fresh and use it within three months for best results. While there’s always a slight risk of overusing dry shampoo or a potential reaction to the ingredients, these are minor compared to the convenience and fabulous hair days that await you. So, are you ready to embrace this greener, healthier hair care routine? Go ahead and take this step toward self-care; you’re worth it! Enjoy your journey to fabulous hair, one quick refresh at a time!
Feature image by Sonia Nadales on Unsplash


