Table of Contents
Spring is not just about blossoming flowers and sun-dappled afternoons; it’s also a season where our fingertips get to showcase the vibrant spirit of the months ahead. As we shed the moody hues of winter, our nails become the canvas for fresh, lively artistry. How do you encapsulate the essence of spring in just a few square centimeters? Well, that’s precisely what we’re diving into today. In this post, you’ll uncover 15 effortlessly chic and delightfully simple nail art ideas that echo the charm of spring. From minimalistic designs to those inspired by nature’s finest, there’s a style here for every aesthetic. So, prepare to be both inspired and informed and let’s give your nails a springtime flourish they truly deserve!
Embrace the Joy: Pastel Smiley Face Nails
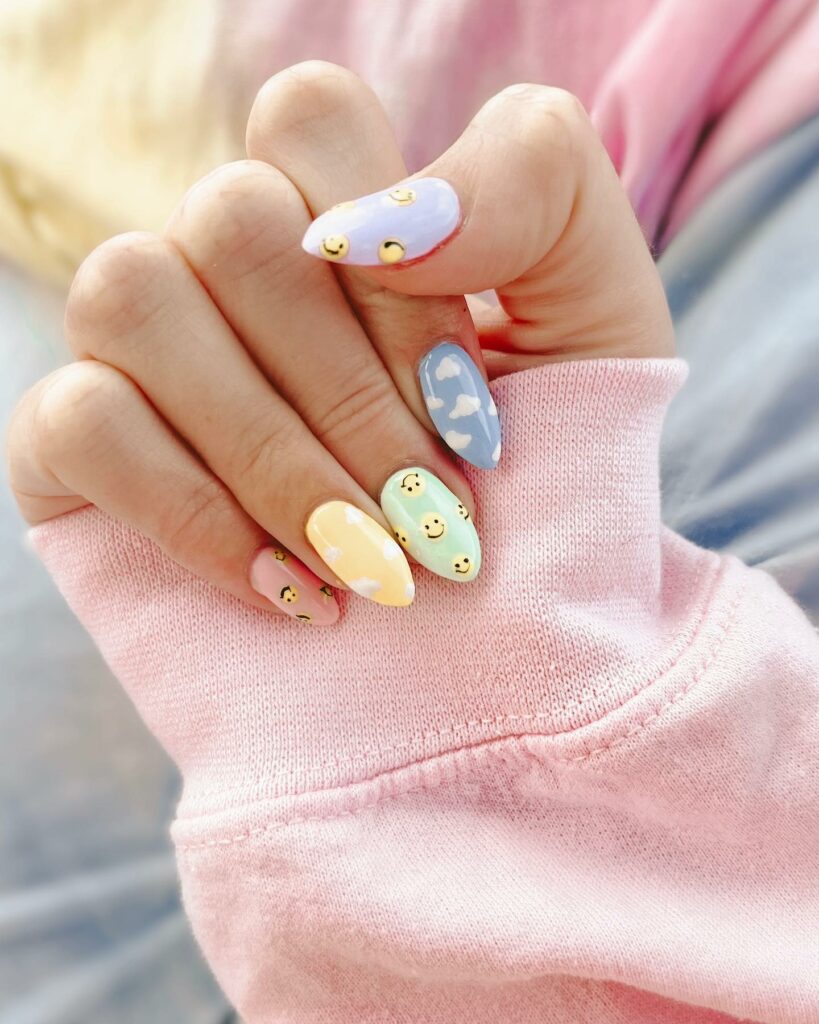
Whenever I feel that gentle warmth of spring, an automatic smile forms on my face. How about wearing that smile on your nails, too? Celebrate the season by giving your nails a touch of happiness with bright and cheeky smiley faces.
Blossom Hues: Pink Ombre Nails
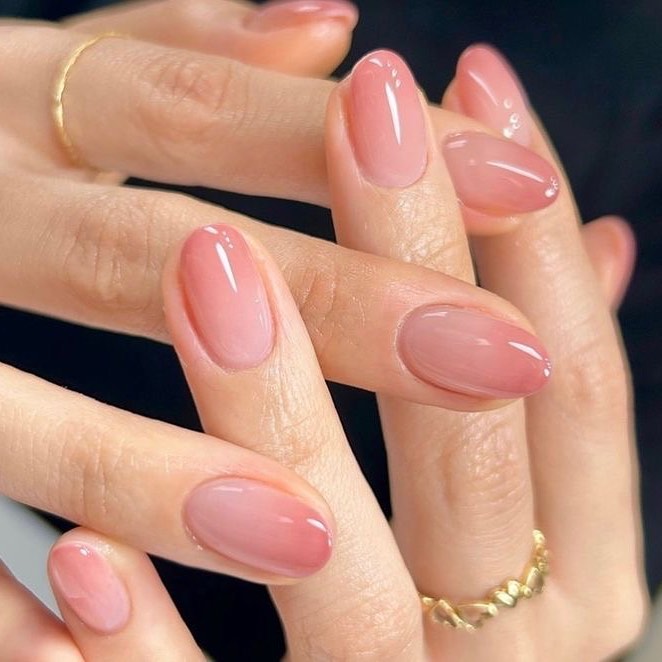
Every spring, a cherry tree near my home explodes into a riot of pink blossoms. Need help deciding on a single shade of pink? Why not draw inspiration from nature and go for a gradient? Ombre nails remind me of those blossoming days.
Elegance Meets Spring: French Tip and Floral Nails
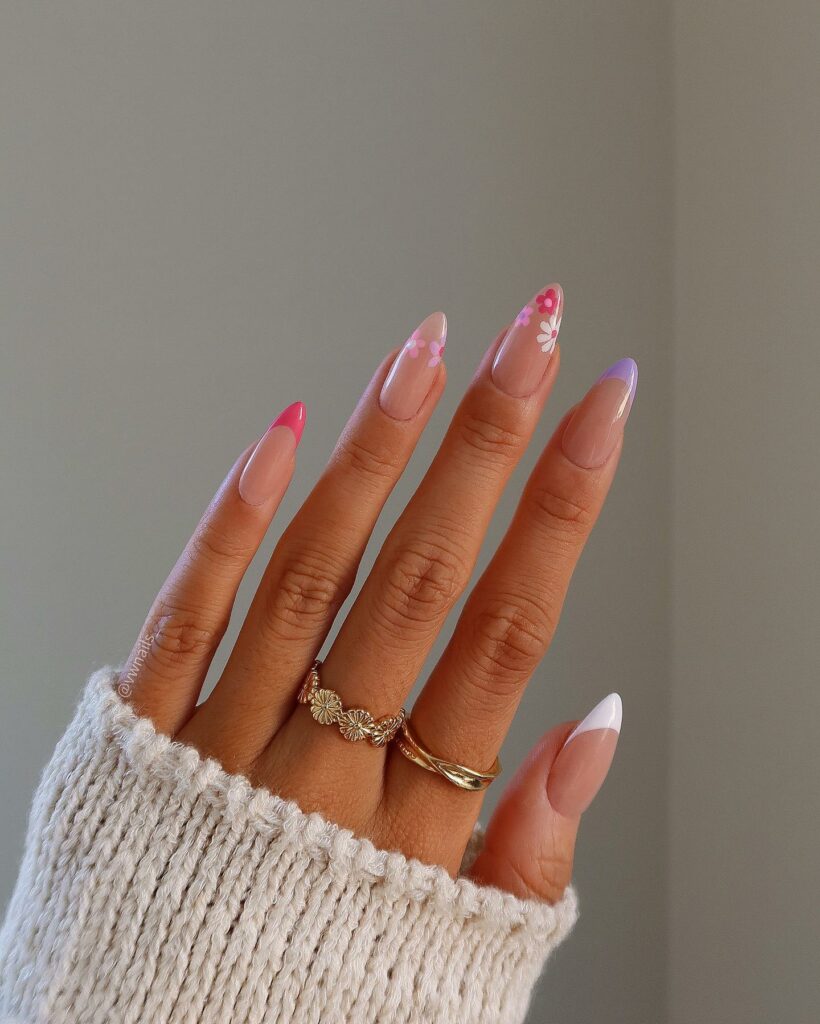
For those who lean towards subtlety, combining a classic French tip with delicate floral art can be enchanting. It’s a timeless look with a sprinkle of spring magic.
Vivid Dreams: Folky Colourful Floral Nails
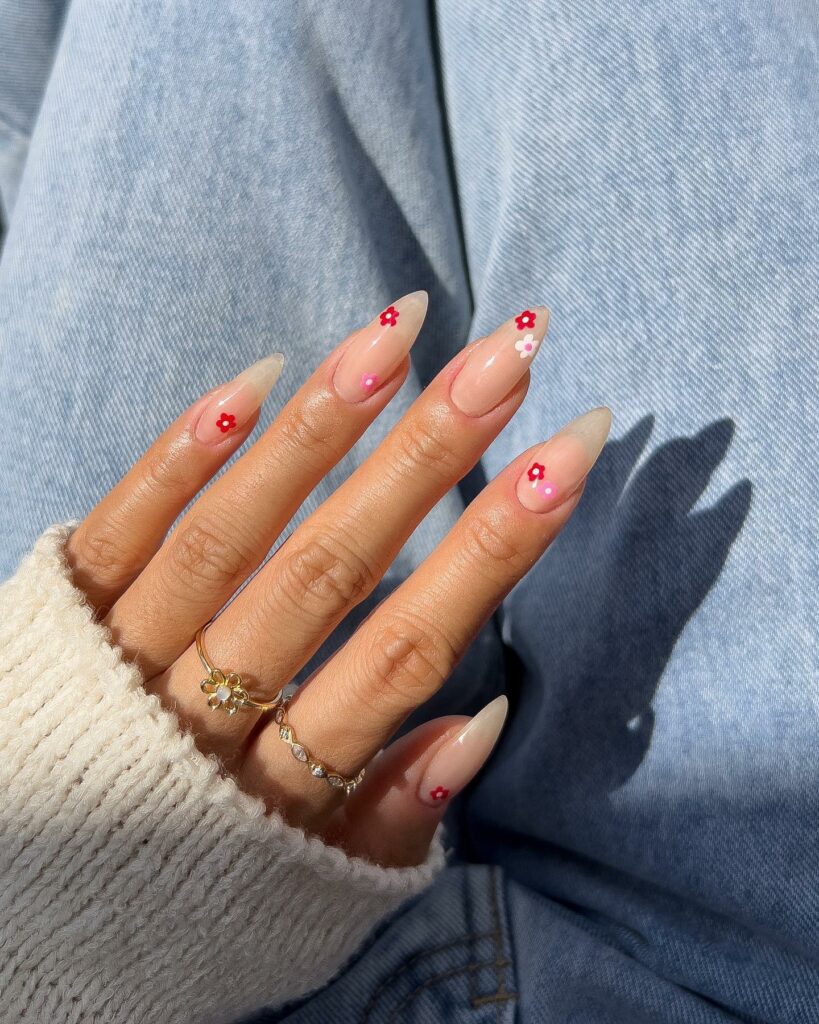
If, like me, you have days where you want all the colors at once, why not dive into a rich, folky floral design? Sure, it’s tricky for DIY, but a trip to your favorite nail artist is worth the pop.
Retro Vibe: 70s Inspired Floral Nails
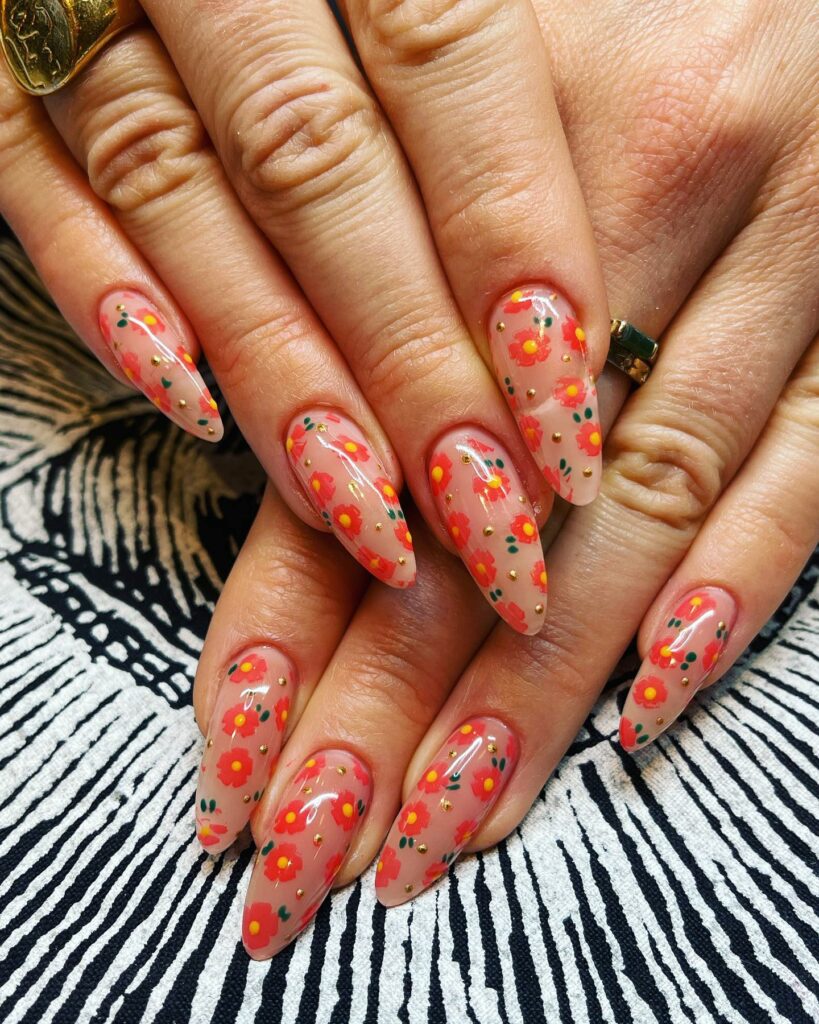
There’s something undeniably mesmerizing about the bright florals from the 60s and 70s. Bring back that flower power by laying bold designs over a natural base. Every time I try this, it feels like a throwback to a vibrant era.
Subtle Glam: Soft Glitter Nail Art
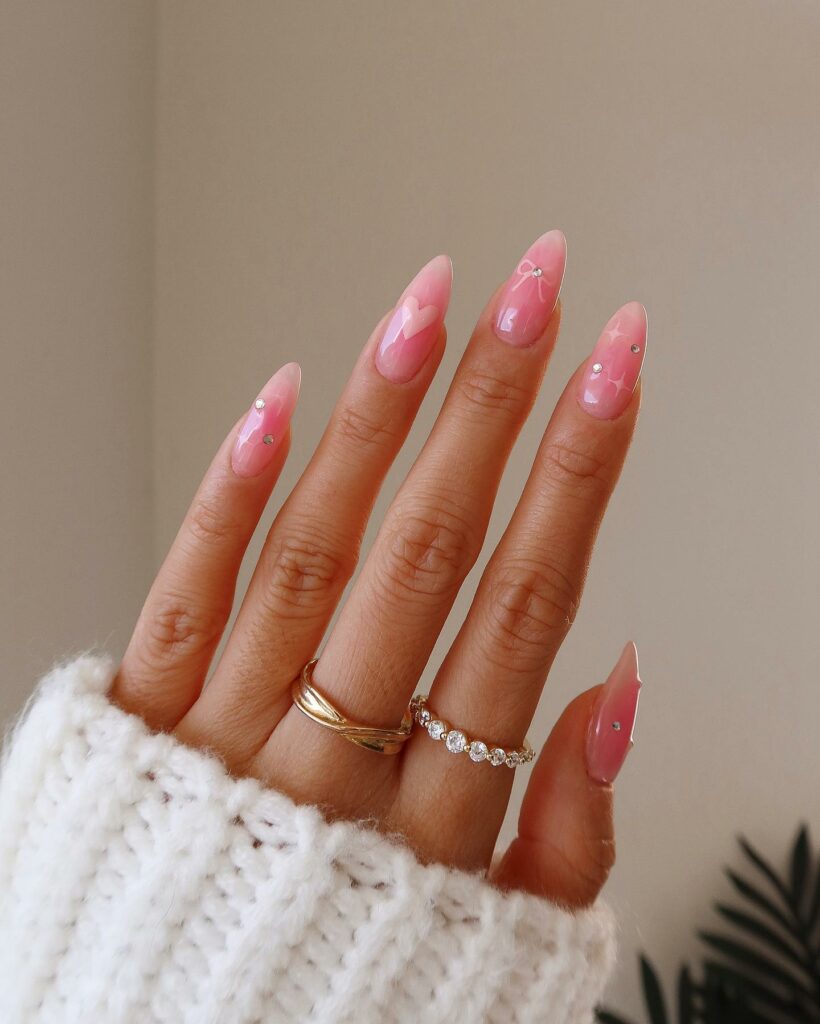
A touch of glitter on a soft pink base is my go-to for simplicity with an edge. It catches light beautifully, adding that spring sparkle.
Curves Ahead: Wavy Pink Nails
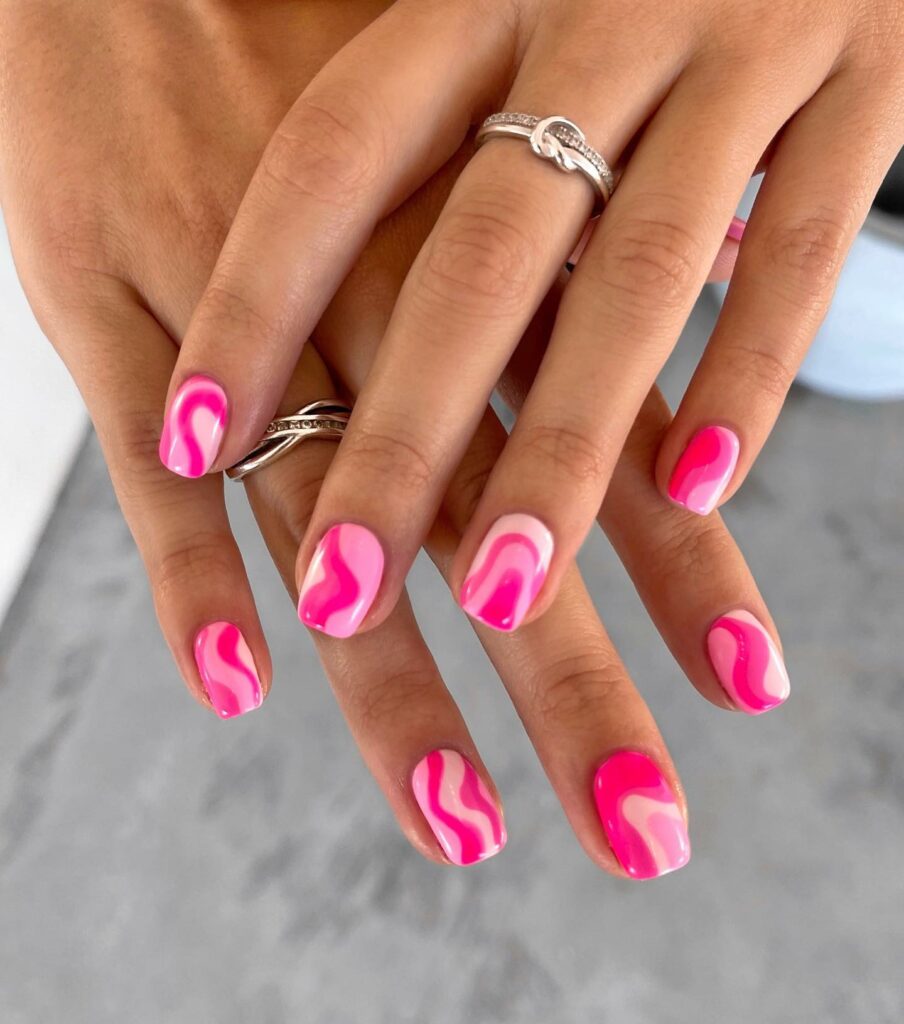
Swirls add a dynamic element to any design. With spring-inspired hues, they can mimic the gentle breezes and flowing rivers, giving your nails life and movement.
Fusion Fun: Colourful French Floral Nail Art
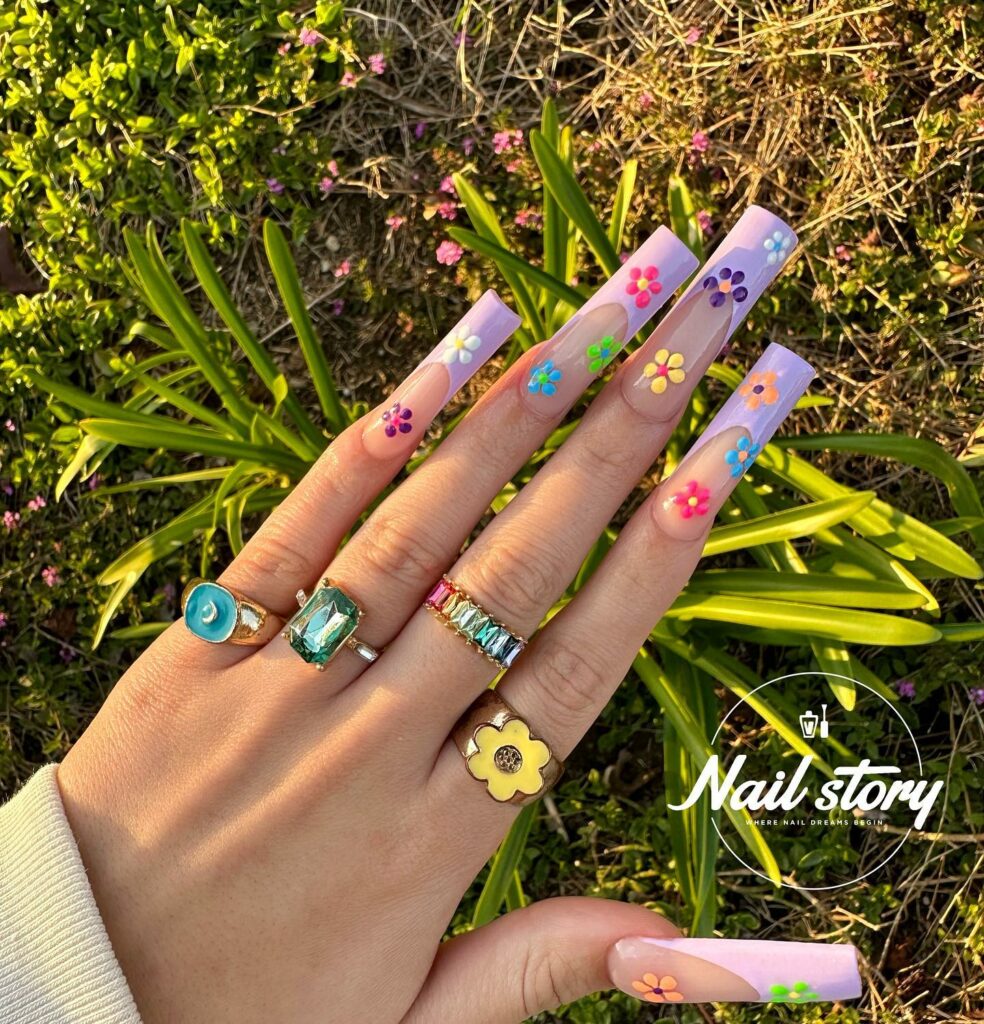
Have you ever tried merging a French polish with tiny, vivid flowers? It’s like a conventional manicure went on a springtime adventure.
Tasteful Tints: Pastel Stripe Nails
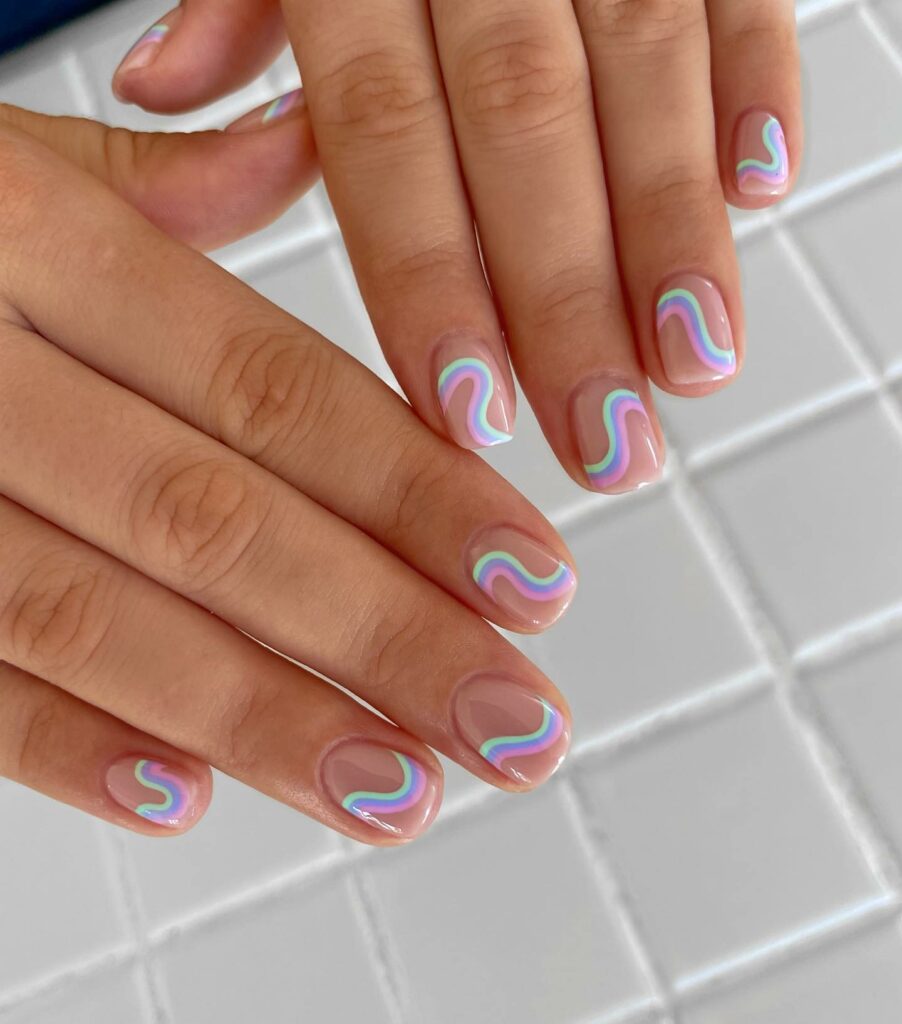
This is about balancing artistry and practicality. Pastel stripes are playful yet sophisticated, echoing spring without being too loud.
Fresh Perspective: Angled Pastel Tip Nails
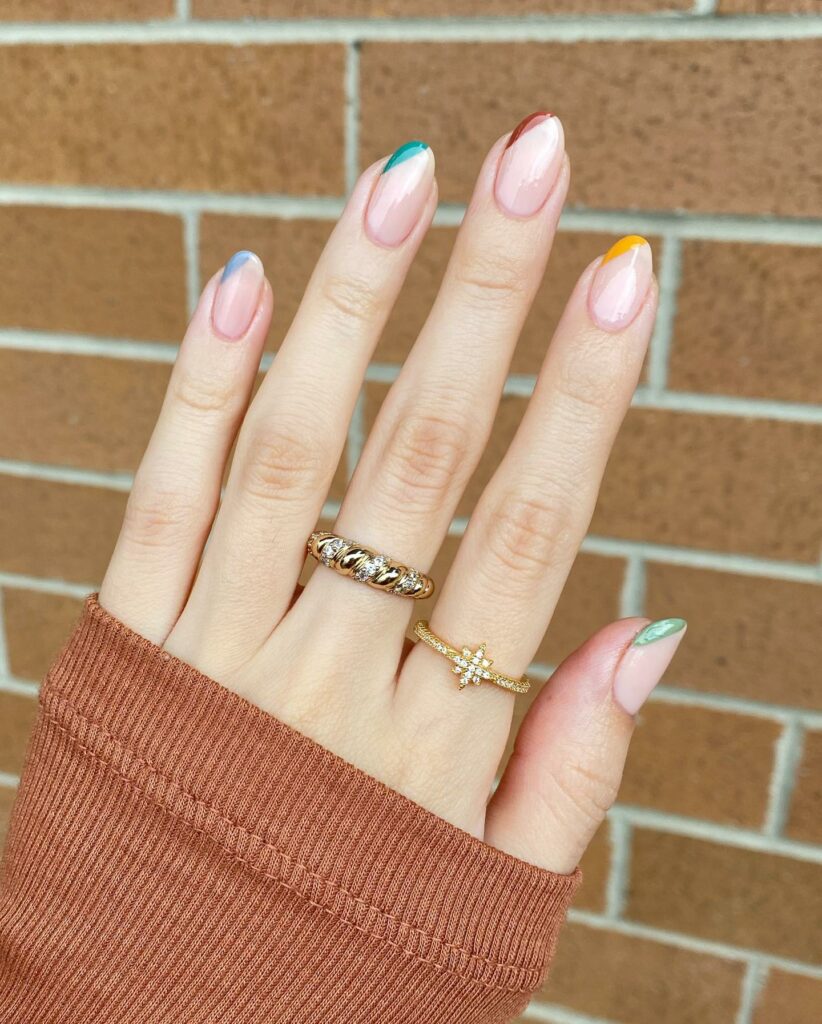
Switching up your regular French polish by angling the pastel tips gives a fresh look. It’s a small twist that makes a significant difference.
Shimmering Pastel Swirls with 3D Floral Embellishments
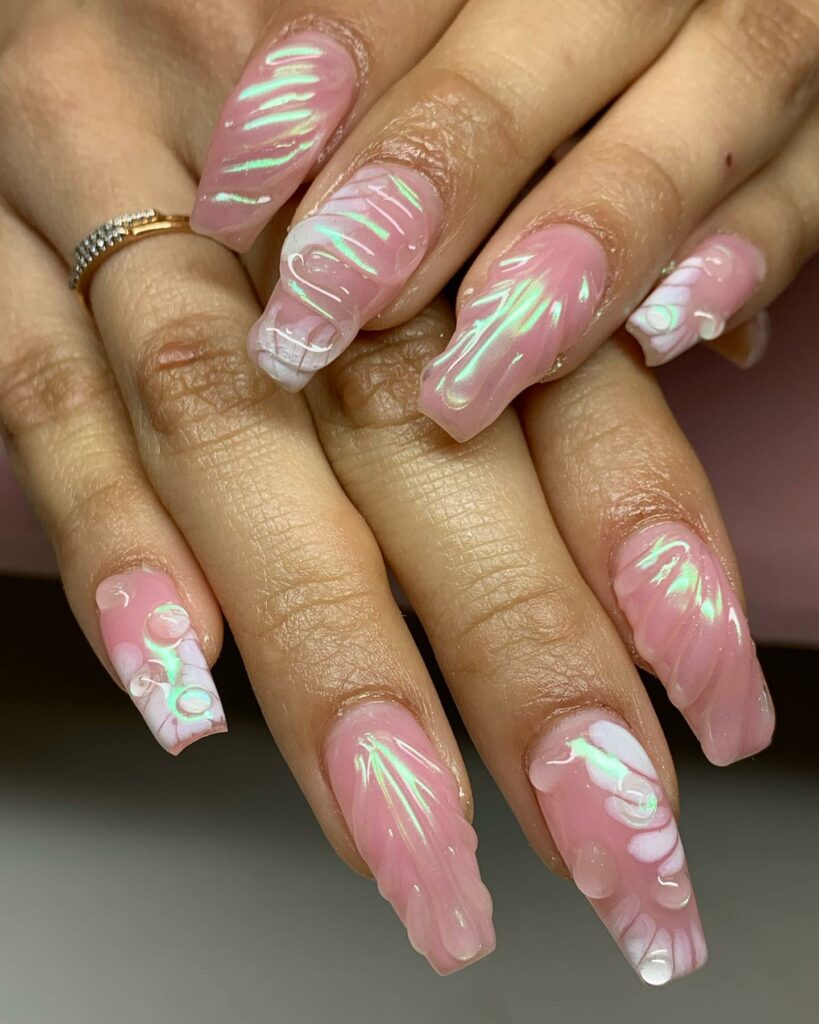
These nails encapsulate the essence of ethereal beauty, combining the delicate allure of pastel pink with mesmerizing iridescent swirls. The 3D floral touches add depth and intricacy, making them perfect for those seeking a sophisticated yet whimsical look
Nature’s Kiss: Yellow Daisy Nail Art with Bees
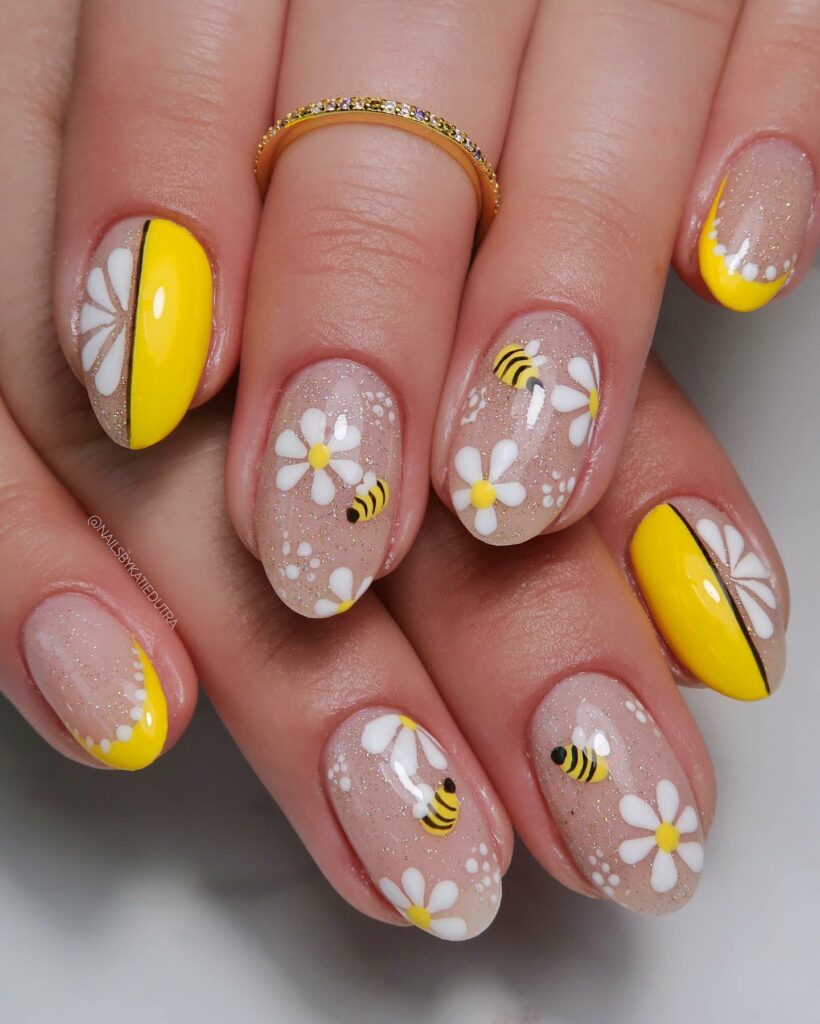
Daisies are synonymous with spring. Taking inspiration from these sun-like flowers can brighten up any manicure.
Asymmetric Allure: Bright Yellow Striped Nails
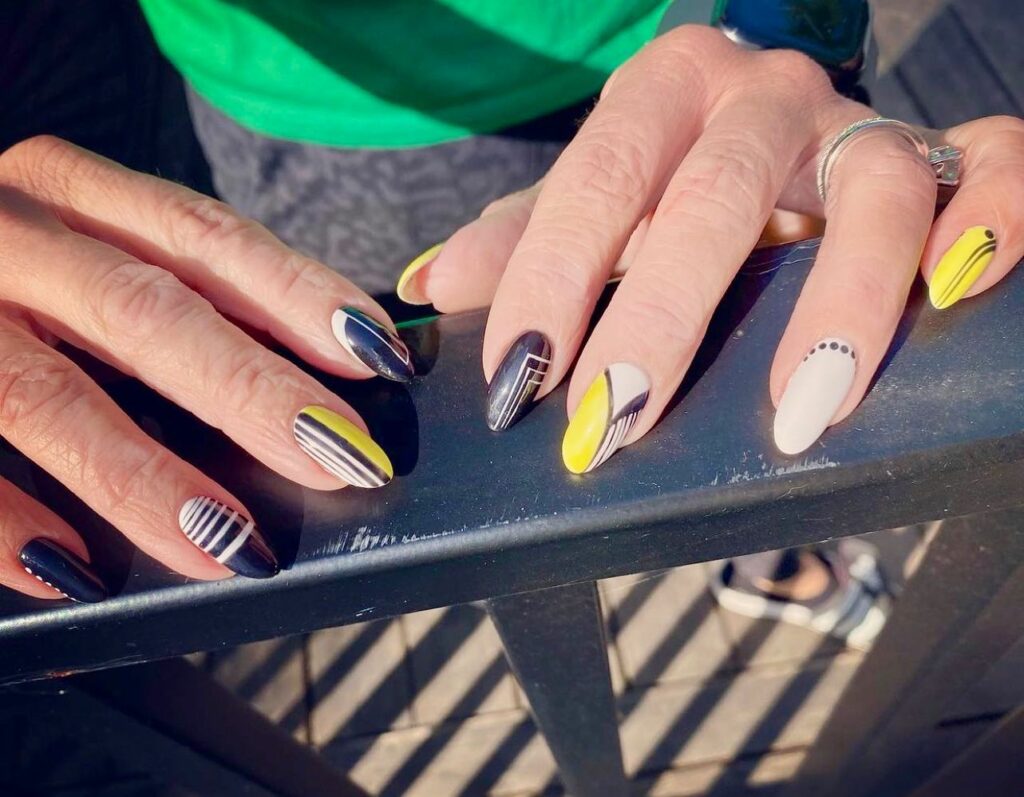
For the bold souls, stripes in vivid colors like yellow, black, or white can be a striking choice. It’s all about letting your imagination run wild.
Dainty Details: Tiny Flower Art Nails
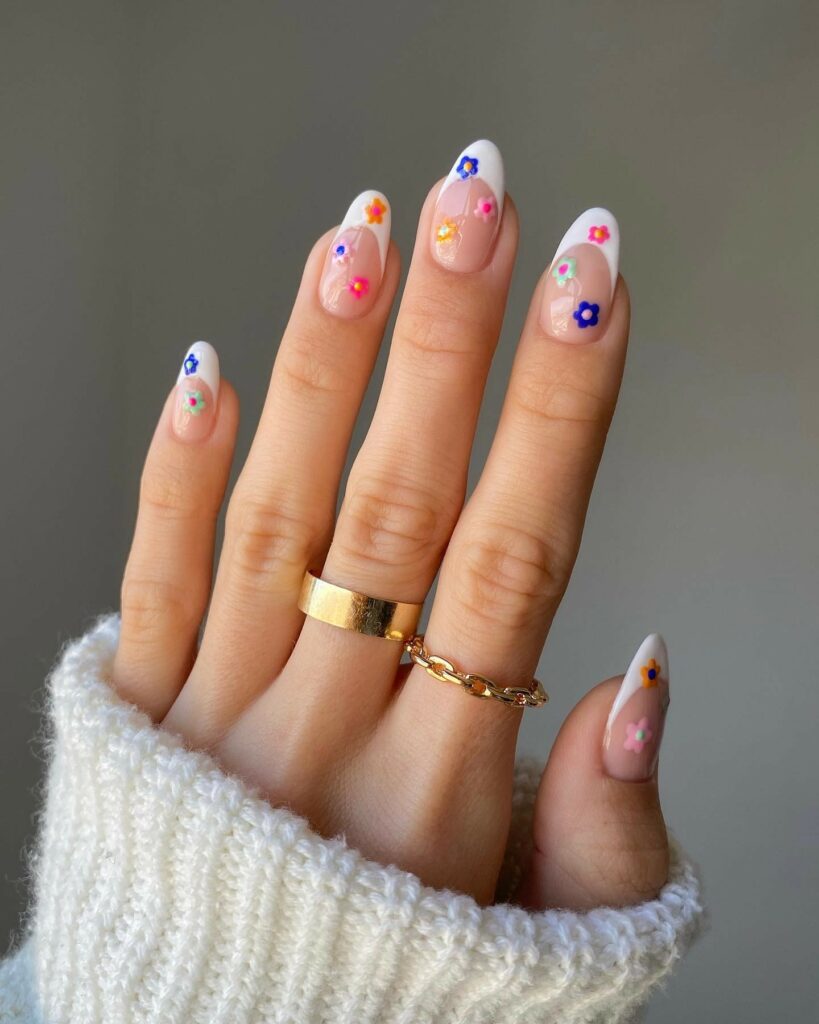
Tiny florals dotted across the nails are an ode to spring’s delicate side. I remember my first attempt at these – they were surprisingly easy to create but left a lasting impression.
Nostalgic Notes: Pink and Green Flower Nails
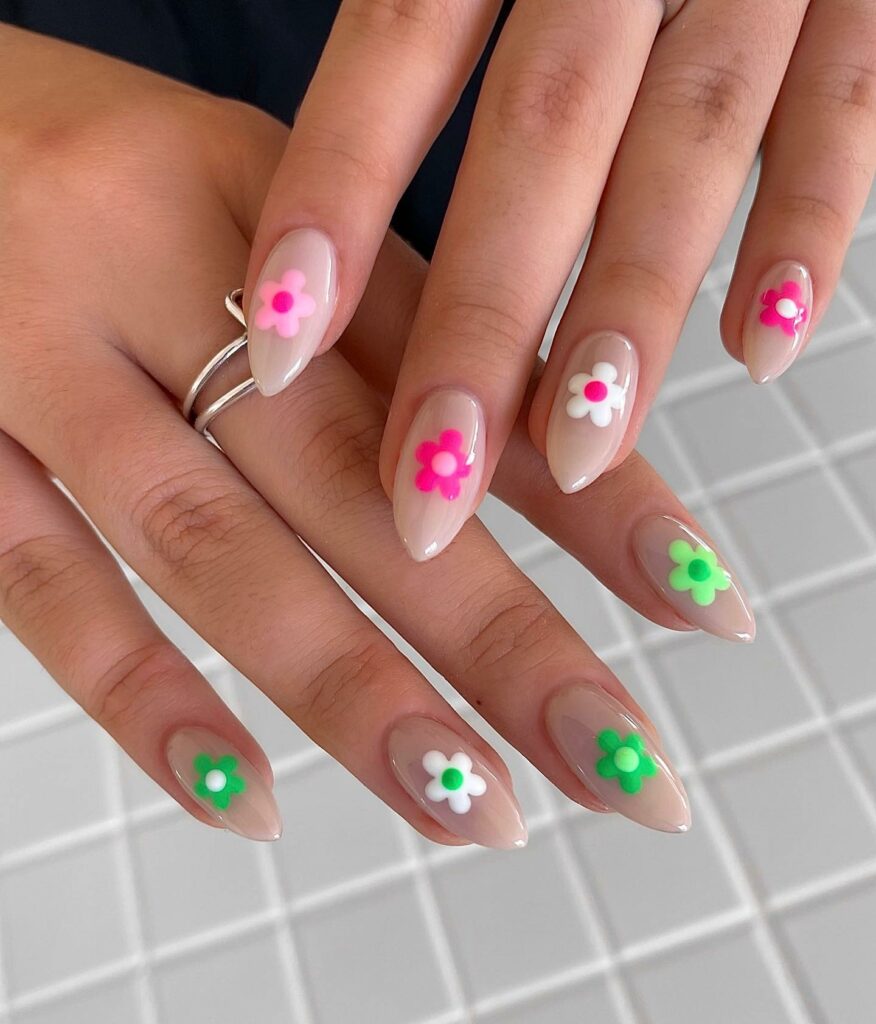
Feature nails are a canvas for creativity. The pink and green combination takes me back to the early 2000s, and there’s no harm in reliving those fashionable moments, right?
Passionate Heart-Tipped Elegance: A Blend of Romance and Modernity
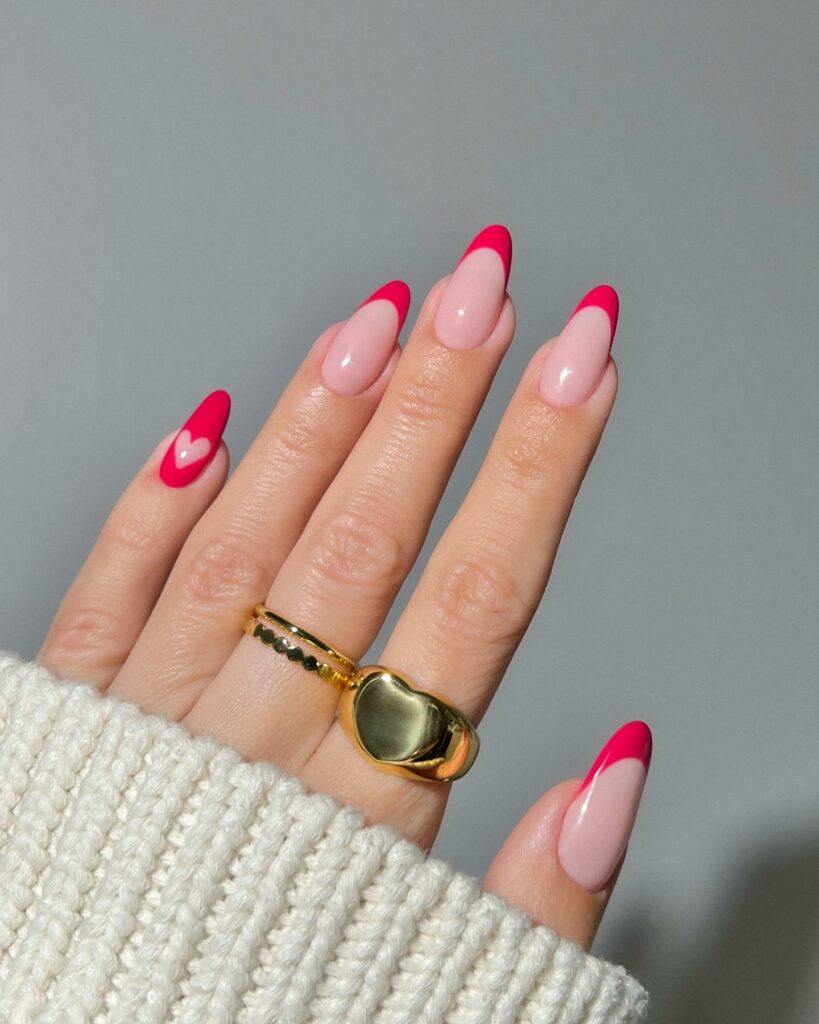
Infusing contemporary nail art with a romantic touch, these nails captivate with their heart-shaped tips in a bold shade of red. Paired with a neutral base, the design exudes sophistication while making a whimsical nod to love and passion.
Ethereal Pink Dreamscape: A Symphony of Pastel Hues and Playful Patterns
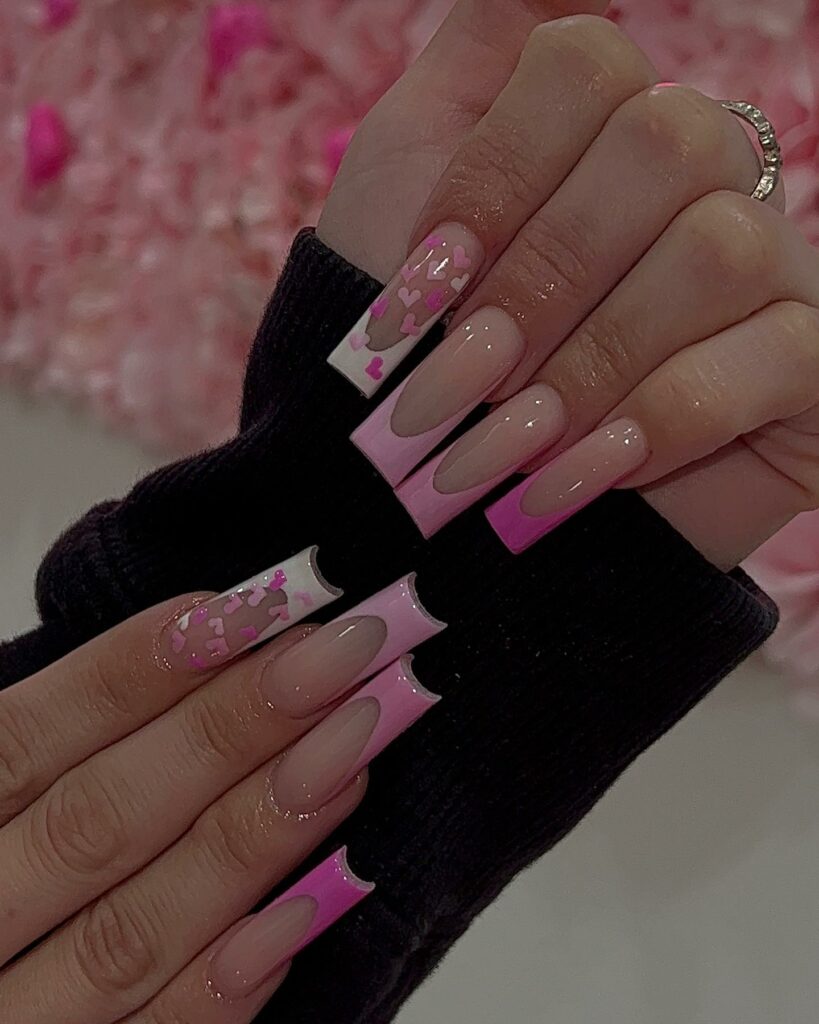
These nails offer a harmonious blend of soft pink undertones complemented by delightful heart patterns and whimsical accents. The subtle glitter sprinkled across some nails adds a dash of enchantment, making this design a perfect choice for those seeking a mix of elegance and playful charm.
Subtle Pastel Symphony: A Celebration of Spring’s Palette
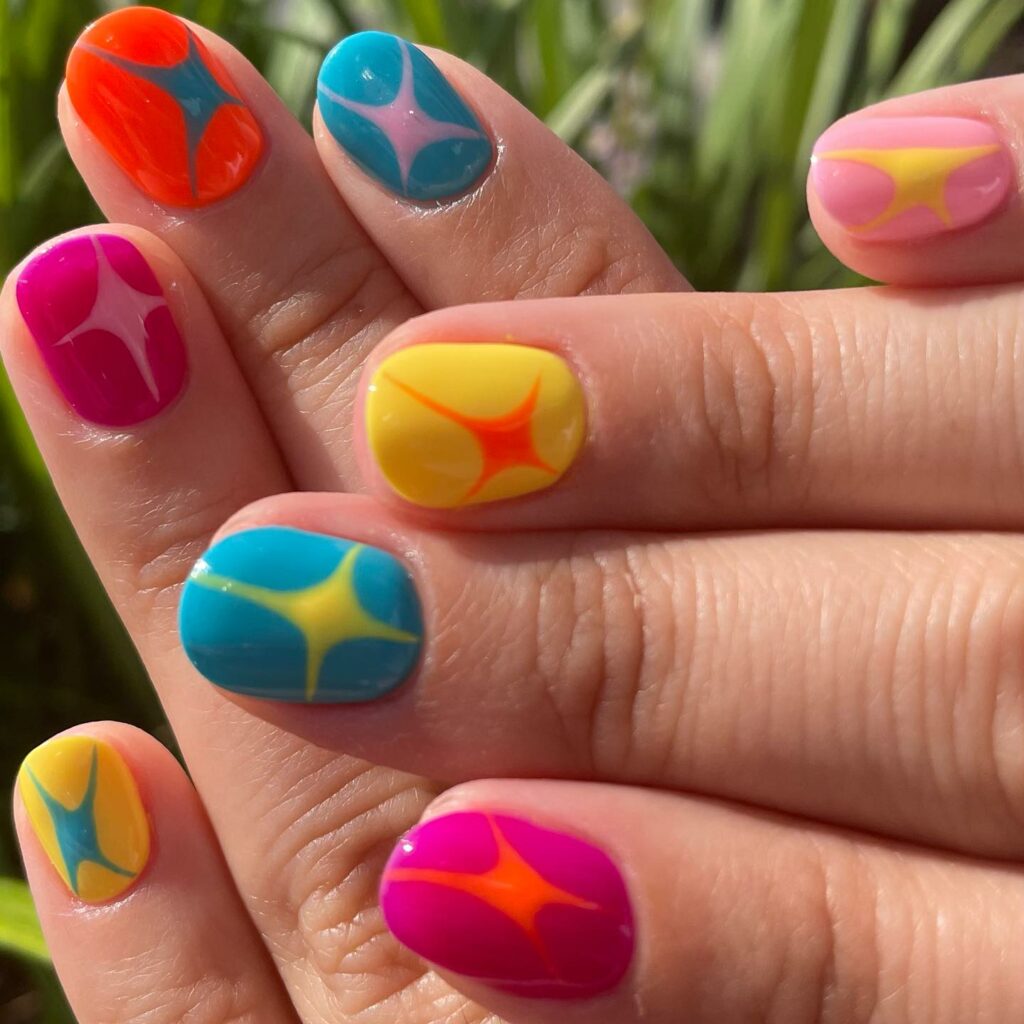
Striking the perfect chord between artistry and subtlety, these nails are adorned with soft pastel stripes. They whisper the joy of spring, offering an understated elegance that’s playful yet refined.
Angled Pastel French Tips: Revamping the Classics
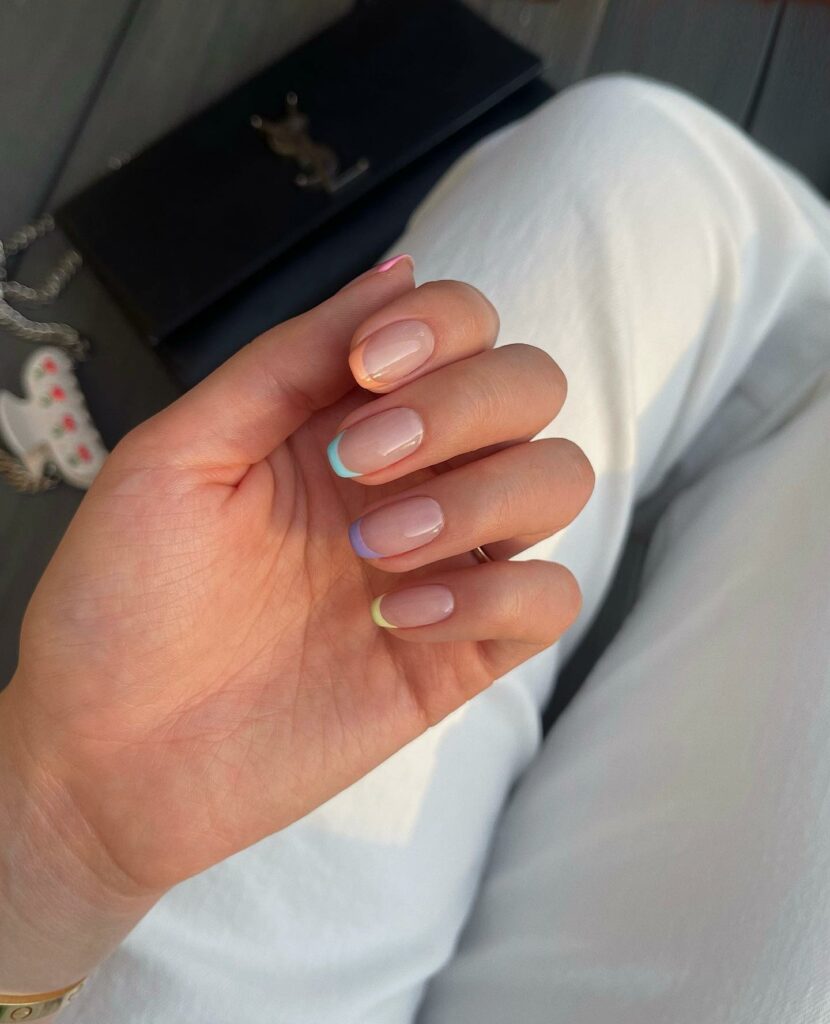
Revitalize the age-old French polish by introducing angled pastel tips. This innovative tweak is more than just a detail; it’s a transformative touch that breathes new life into a classic look.
12 Tips for Creating These Nail Art Designs at Home
Nail art at home can be a fun and therapeutic experience. Here are some useful tips to ensure you achieve salon-like results right from the comfort of your own space:
- Gather Necessary Supplies: Before you start, ensure you have all the necessary supplies. This includes a base coat, desired nail polishes, a top coat, nail art brushes, dotting tools, and possibly some masking tape or nail vinyls.
- Prep Your Nails: Clean nails are essential. Remove any old nail polish, push back your cuticles (using a cuticle stick), and shape your nails with a file. Wash your hands to remove any oils or debris.
- Start With a Base Coat: This helps your nail polish adhere better and prevents staining, especially if using dark or vivid colors.
- Work in Good Lighting: Make sure you’re in a well-lit area. It’s much easier to see and correct mistakes.
- Patience is Key: When creating detailed designs or working with multiple colors, allow each layer to dry thoroughly before proceeding to the next step. This prevents smudging and makes the end result more polished.
- Use Household Items: Need dotting tools? A toothpick, bobby pin, or an old ballpoint pen tip can be great alternatives for creating dots and small details.
- Tape Can Help: Plain old masking or Scotch tape can act as barriers when aiming for straight lines or specific geometric designs. Just ensure the base polish is completely dry before applying the tape.
- Experiment With Sponges: For ombre or gradient designs, makeup sponges can be perfect. Dab the polish onto the sponge and press it onto your nail until you get the desired effect.
- Use Acetone and a Brush for Cleanup: Dip a small brush or Q-tip in acetone or nail polish remover to remove any mistakes or excess polish around the cuticles.
- Seal with a Top Coat: Once your design is complete and dry, seal it with a clear top coat. This provides shine and helps protect your design from chipping.
- Practice Makes Perfect: Don’t be disheartened if you don’t nail it (pun intended) the first time. Like any art, practice helps you refine your skills.
- Get Inspired: Browse nail art designs online or in magazines for inspiration. Sometimes, seeing someone else’s design can spark your own creativity.
Remember, the goal is to have pretty nails and enjoy the process. Embrace creativity, and don’t be afraid to experiment and make it your own!
6 Non-Toxic Polishes Recommended for Nail Health?
Nail health is essential, and choosing non-toxic polishes can significantly reduce the risk of damage to your nails and overall well-being. Typically, non-toxic nail polishes are referred to by how many harmful chemicals they don’t contain. You’ll hear terms like “3-Free,” “5-Free,” “7-Free,” and so on, with higher numbers being better.
Here are some of the chemicals often avoided in non-toxic polishes:
- Toluene: A solvent that can affect the central nervous system and lead to reproductive harm.
- Dibutyl Phthalate (DBP): Used for added flexibility and shine; linked to reproductive issues.
- Formaldehyde: A known carcinogen used as a nail hardener.
- Formaldehyde Resin: A derivative of formaldehyde, less toxic but can be an allergen for some.
- Camphor: Can cause nails to become yellow and brittle.
- Triphenyl Phosphate (TPHP): A chemical that can disrupt endocrine functions.
- Xylene: An irritant and potential allergen.
Here are some popular non-toxic nail polish brands to consider:
- Zoya: Known for its long-lasting nature and a vast array of colors, Zoya offers 10-Free formulas.
- Ella + Mila: A 7-Free brand that boasts a range of beautiful, playful shades and offers nail care products.
- Tenoverten: An 8-Free brand focused on promoting nail health. Their range might be smaller, but their formulations prioritize nail well-being.
- Butter LONDON: Initially known for its 3-Free polishes, Butter LONDON now has an 8-Free line called Patent Shine 10X.
- Deborah Lippmann: This luxury nail brand offers 7-Free formulas in many shades.
- Piggy Paint: If you’re looking for non-toxic polishes suitable for children, Piggy Paint is a water-based, virtually odorless option.
Lastly, consider investing in a good, non-toxic base coat and top coat when focusing on nail health. They act as protective layers, ensuring longevity and minimizing potential staining or damage.
It’s worth noting that while these brands market their products as non-toxic and healthier alternatives, individual sensitivities can vary. Always read the label and consider testing a product if you have known allergies or sensitivities.
8 Tips To Find A Professional Nail Artists To Help With These Designs
Finding a professional nail artist can enhance your nail art experience and ensure you get the exact look you’re aiming for. Here are some strategies to locate the best nail artists in your area:
- Instagram: Many nail artists showcase their work on Instagram. Search for hashtags related to your city or region combined with “nail art,” for example, #NYCNailArt or #LondonNails. Check out tagged photos of local nail salons as well.
- Yelp or Google Reviews: Check out local nail salons on Yelp or Google to read reviews. Customers often share pictures of their nail designs, allowing you to judge the quality of the salon’s work.
- Ask for Recommendations: Word of mouth is one of the best ways to find quality services. Ask friends, family, or coworkers if they know of any skilled nail artists.
- Visit Nail Salons: Sometimes, it’s best to walk into a few salons to get a feel for the environment’s cleanliness and see some of the nail artists’ work firsthand.
- Nail Art Forums and Blogs: Online communities dedicated to nail art often have recommendations and reviews for nail artists and salons. Platforms like Reddit, for example, have dedicated beauty and nail art communities.
- Beauty Conventions or Expos: If a beauty convention or expo is happening in or near your city, it’s an excellent opportunity to meet professional nail artists, see their work, and even get firsthand experience of their skills.
- Nail Art Classes: Some nail artists offer classes or workshops. Participating in one can not only help you improve your DIY skills but also introduce you to professionals in the field.
- Certifications and Training: When identifying potential nail artists, check their certifications. Those who have undergone specific nail art training or have certifications from reputable institutions are often more skilled.
Remember, while skill is essential, finding a nail artist with whom you’re comfortable is equally important, especially if you’re looking for more intricate or custom designs. Always communicate your ideas clearly and avoid asking for adjustments if something doesn’t look right. Good luck in your search!
Conclusion
Wrapping things up, fashion enthusiasts! Nail art, as we’ve seen, is a delightful way to express yourself and embrace the beauty of changing seasons. A few tips: always start with a good base coat to protect your nails and help the design last longer, and always finish with a top coat for that glossy finish. While experimenting is half the fun, be mindful of your products; always opt for non-toxic polishes to ensure nail health. If you need more clarification on a DIY design, seeking a professional nail artist is a worthy investment. Remember, the world of nail art is vast, and every design uniquely reflects your style. Here’s to a vibrant, stylish, and memorable spring manicure journey! Embrace your creativity, stay informed, and, most importantly, enjoy every brushstroke.
Feature image by Bryony Elena on Unsplash


