Table of Contents
As the clock ticks down on another year, our thoughts inevitably turn to new beginnings—and what better way to express our hope and excitement for the new year than through the artistry of our nails? This isn’t just about adding a splash of color; this is about making a statement, ushering in a new year with a touch of flair that uniquely represents you. In this exclusive blog post, you’ll discover the most amazing, mind-blowing New Year’s nail art ideas that are mesmerizing. From sparkling constellations to chic minimalist designs, you’ll get expert tips and step-by-step guides to make sure your fingertips stand out when the clock strikes midnight. So, whether you’re a DIY novice or have a standing appointment at the salon, prepare to be inspired. Let’s set the stage for a year filled with creativity, beginning at your very fingertips.
Chrome Winter Night Sky
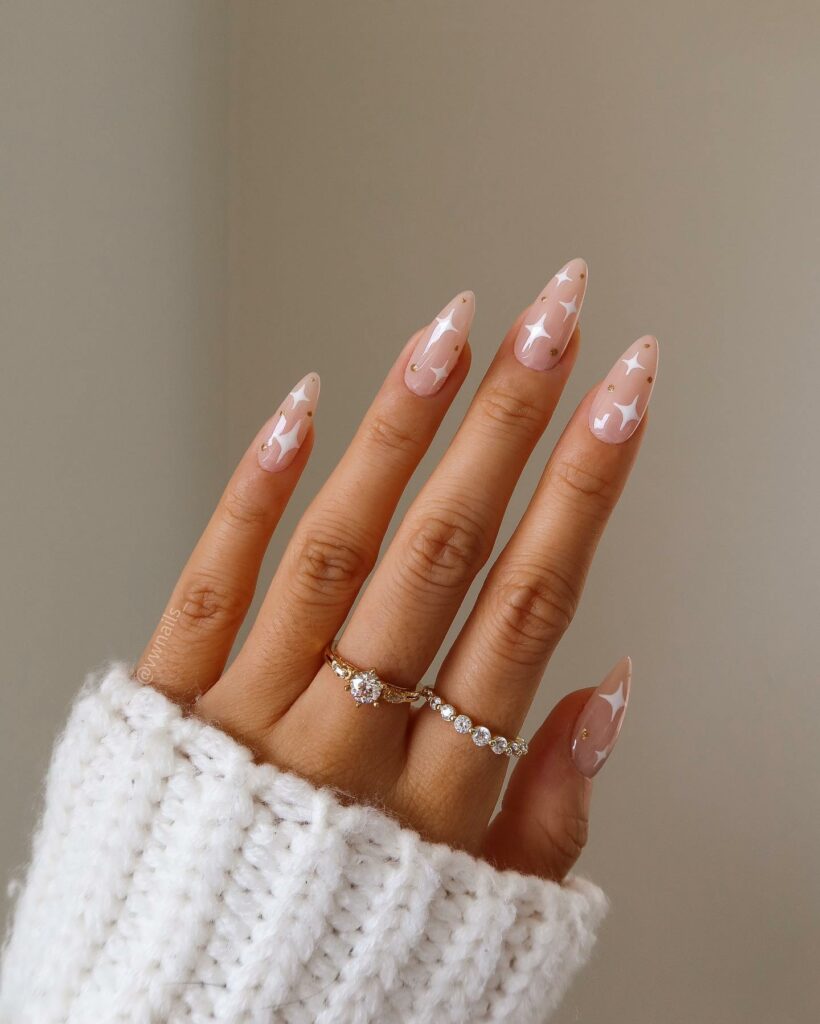
A couple of hand-painted white stars—or nail stickers, if freehand isn’t your strong suit—and a high-shine top coat, you’re set to twinkle all night long.
Dripping in Gold
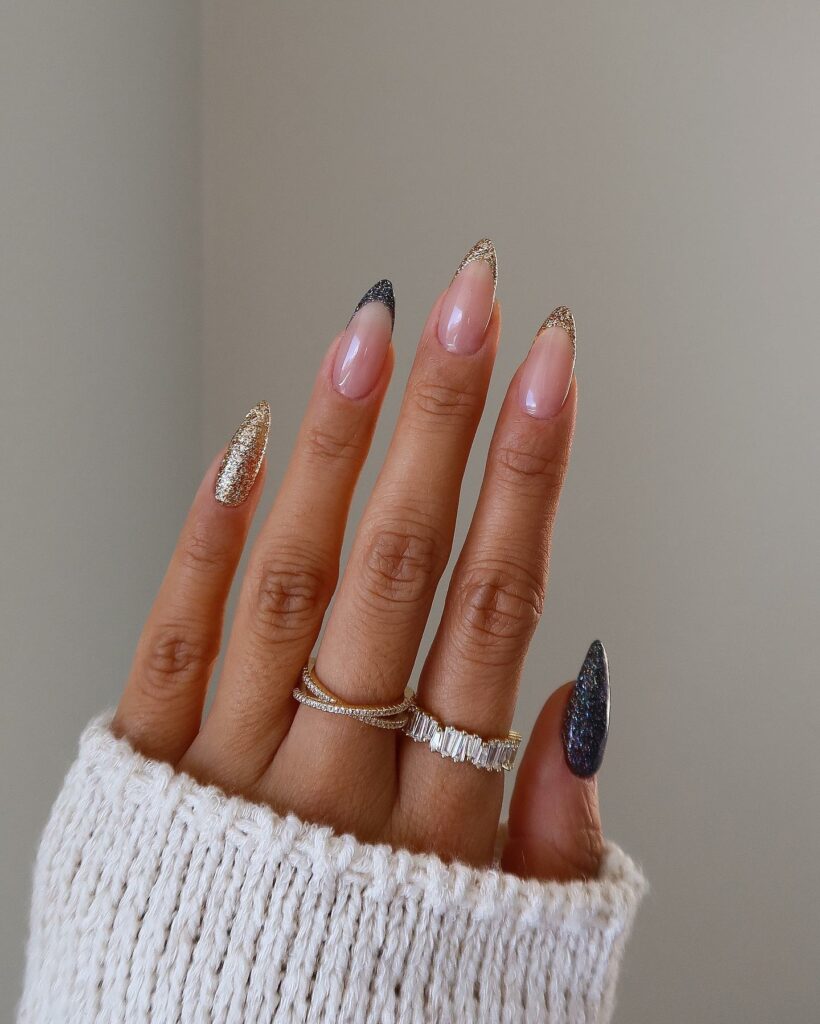
This gilded creation isn’t just festive; its translucent base layer means you can flaunt it well into January without drawing any side-eyes. And the best part? You can DIY this one with a clear base coat and a sprinkle of your favorite glitter polish—I’m partial to Essie’s Rock at the Top.
Aura Gold Stars
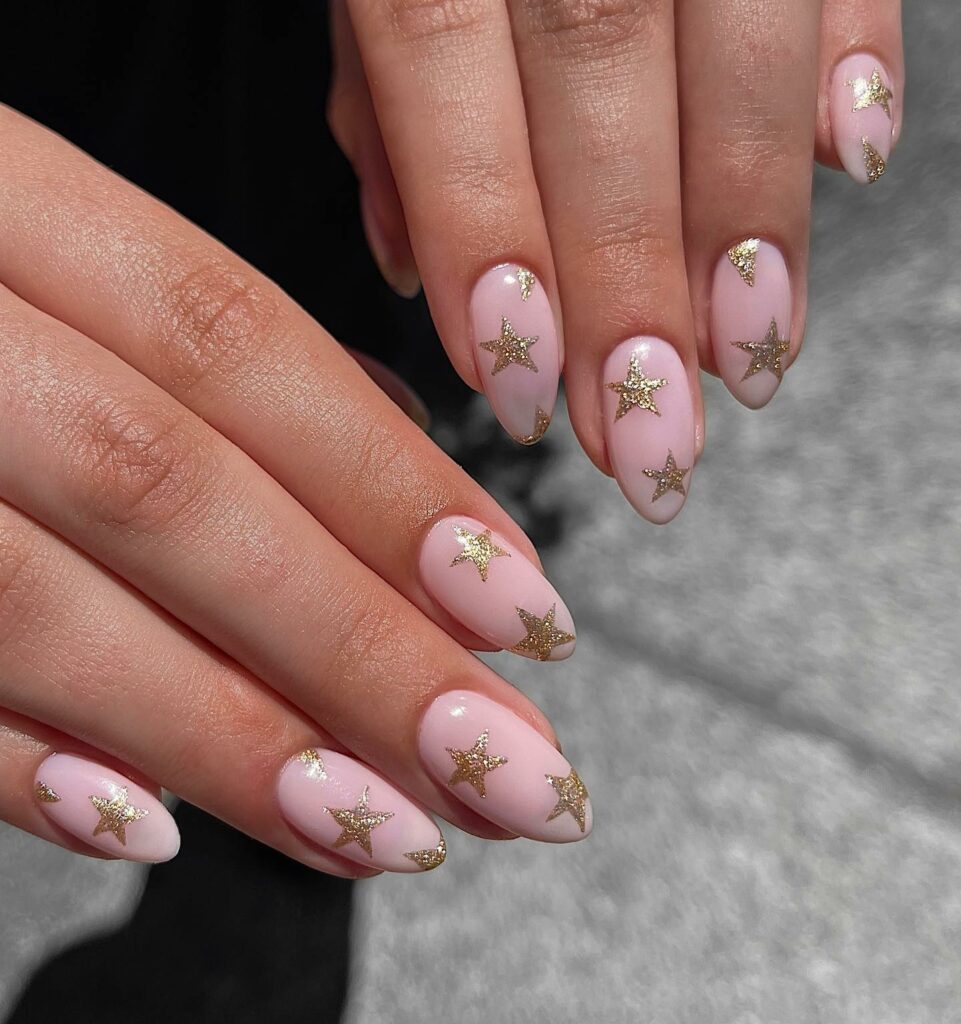
Let’s venture off the beaten track with Michelle Won’s Aura Gold Stars. Instead of the usual NYE glitter and bling. For this look, think of dainty gold stars and multi-color gems that capture your essence and intentions for the upcoming year. It’s a manicure that’s as thoughtful as it is Instagrammable.
Deck the Halls
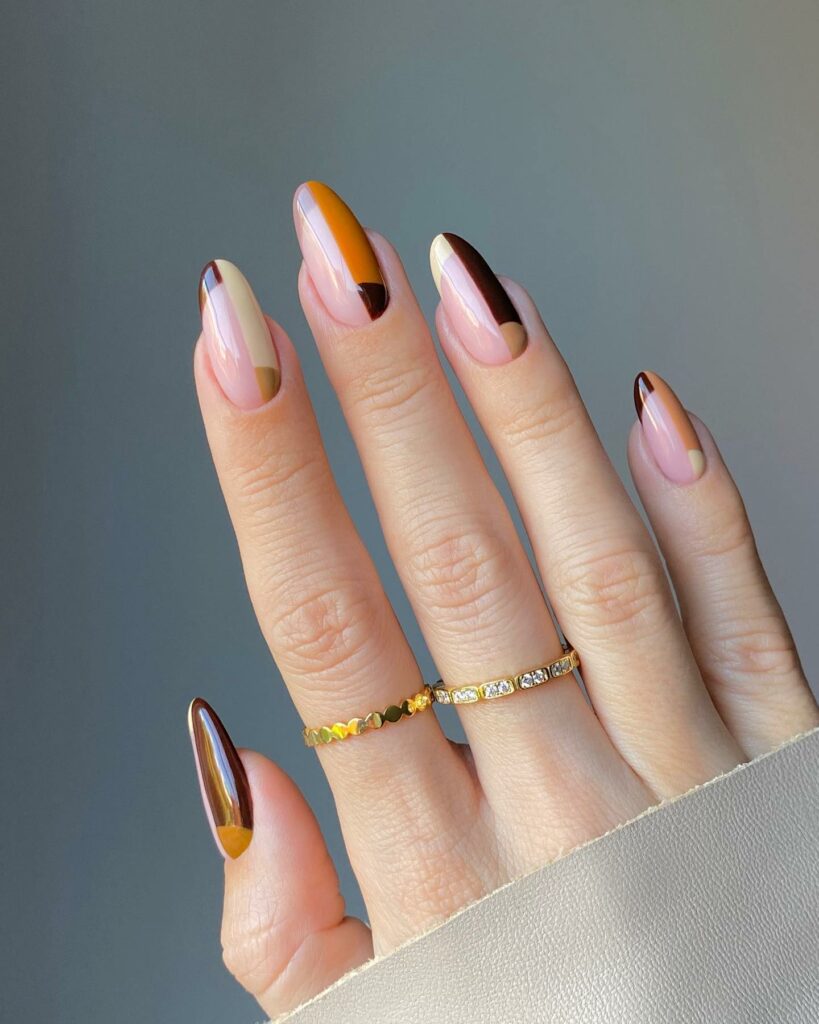
Ah, who doesn’t love a dual-holiday look? Nail artist Audrey Faith has perfected a manicure that’ll take you from unwrapping presents to popping champagne. She’s used Gel Bottle Inc in Diana for the base coat and then added decals to give the design a unique, textured feel. But here’s the kicker: those aren’t just gold half-moons and crystals. They’re Christmas ornaments! A sleek combination of silver and gold ensures this look transitions seamlessly into the new year.
Cobalt Iridescence
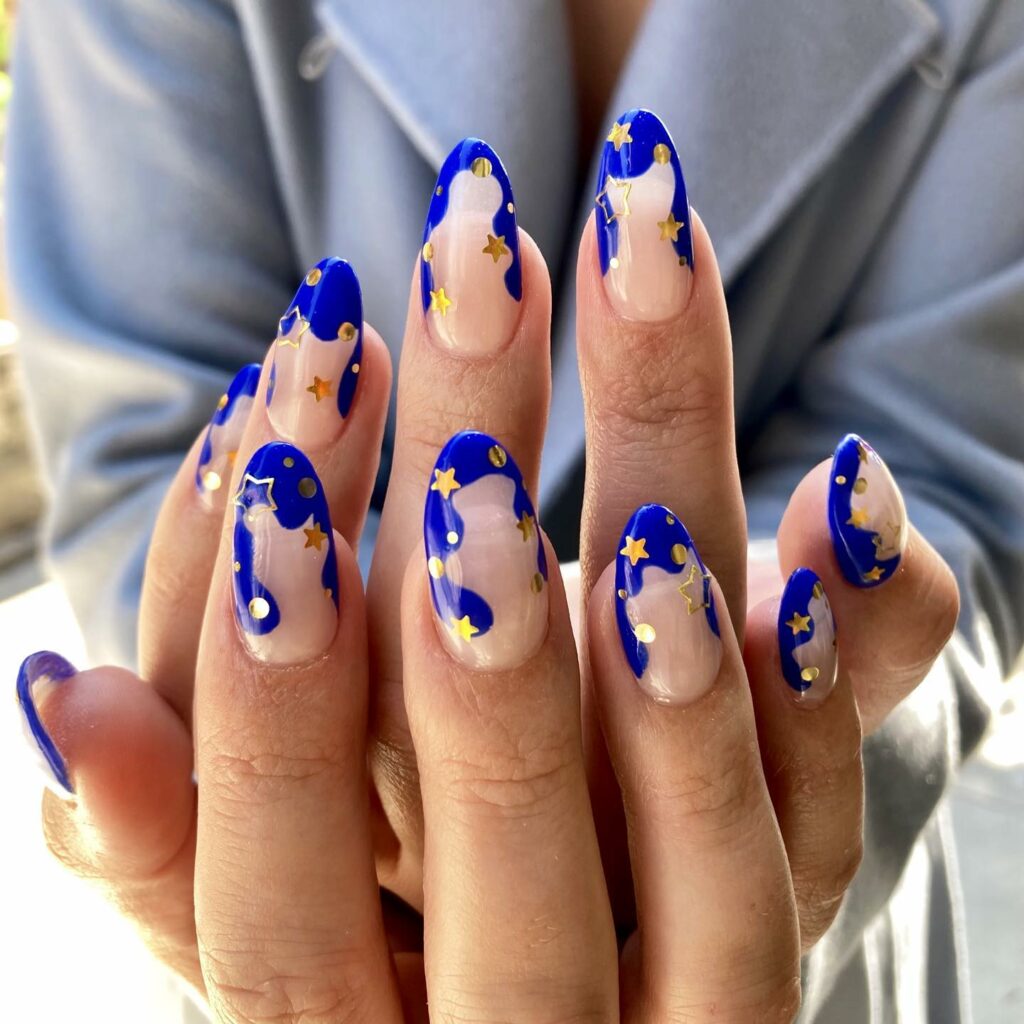
If you’re up for a challenge, grab a fine nail art brush and some holographic foil to create this hypnotizing design. Essie’s Butler Please works wonders as a base coat here.
Dipped in Gold
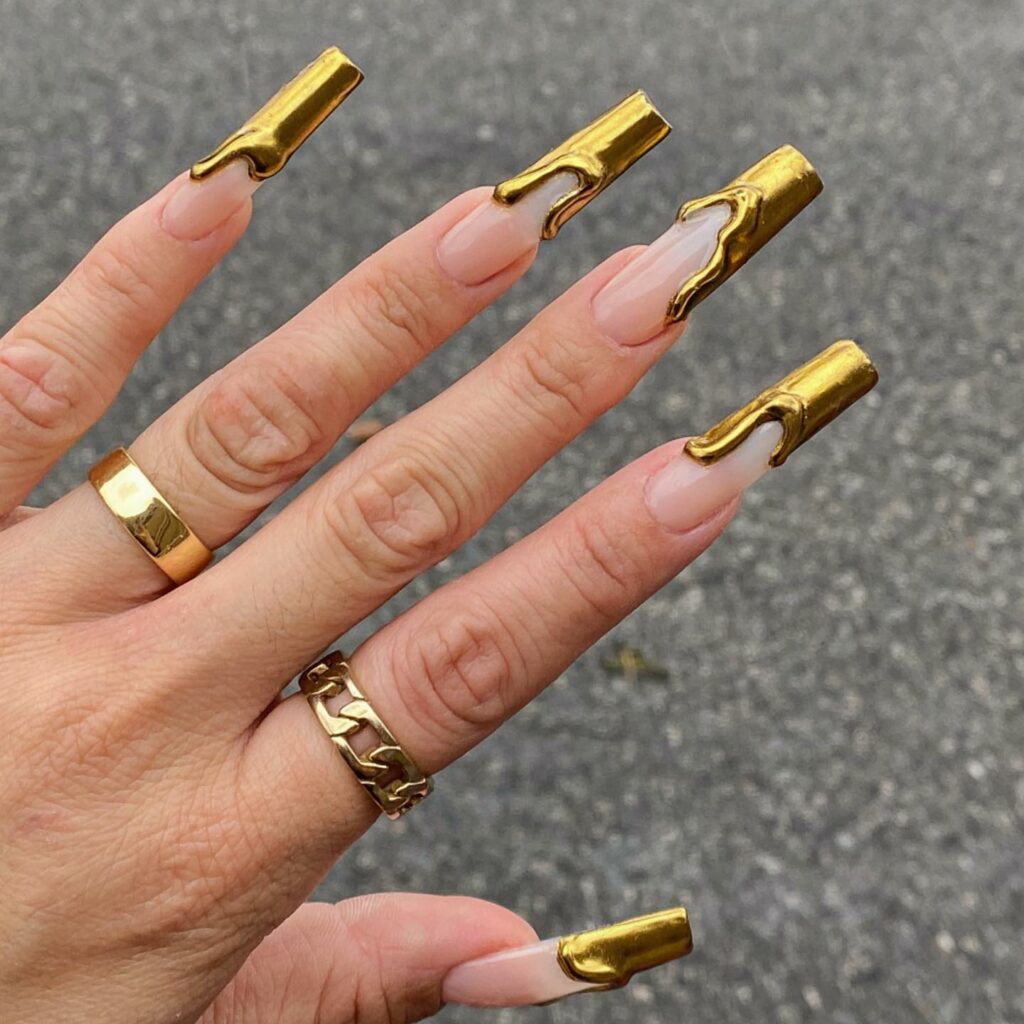
French manicures never go out of style, and this rendition from Vanity Projects takes it to the next level. You’ll need a robust gold polish or chrome powder to recreate this luxe look. And don’t worry if your nails are shorter; a micro-French tip works just as well.
Great Gatsby Gold
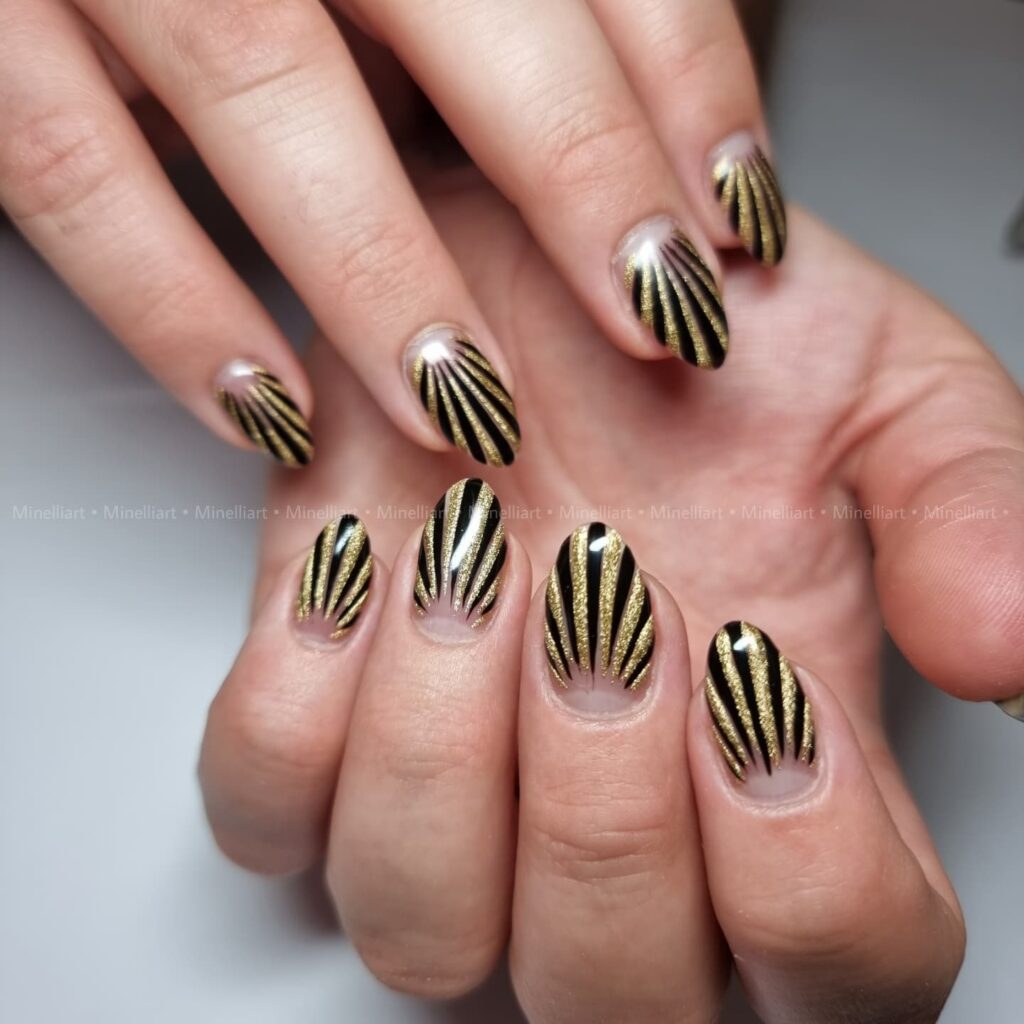
Let’s return to the Roaring Twenties with a matte black and gold combo. Another DIY-friendly option is using some striping tape and your favorite gold and black polishes. The key to success? Removing the tape before the black polish dries ensures those crisp, clean lines. Top it off with a matte coat, ready to party Gatsby-style.
Pink Golden Glaze
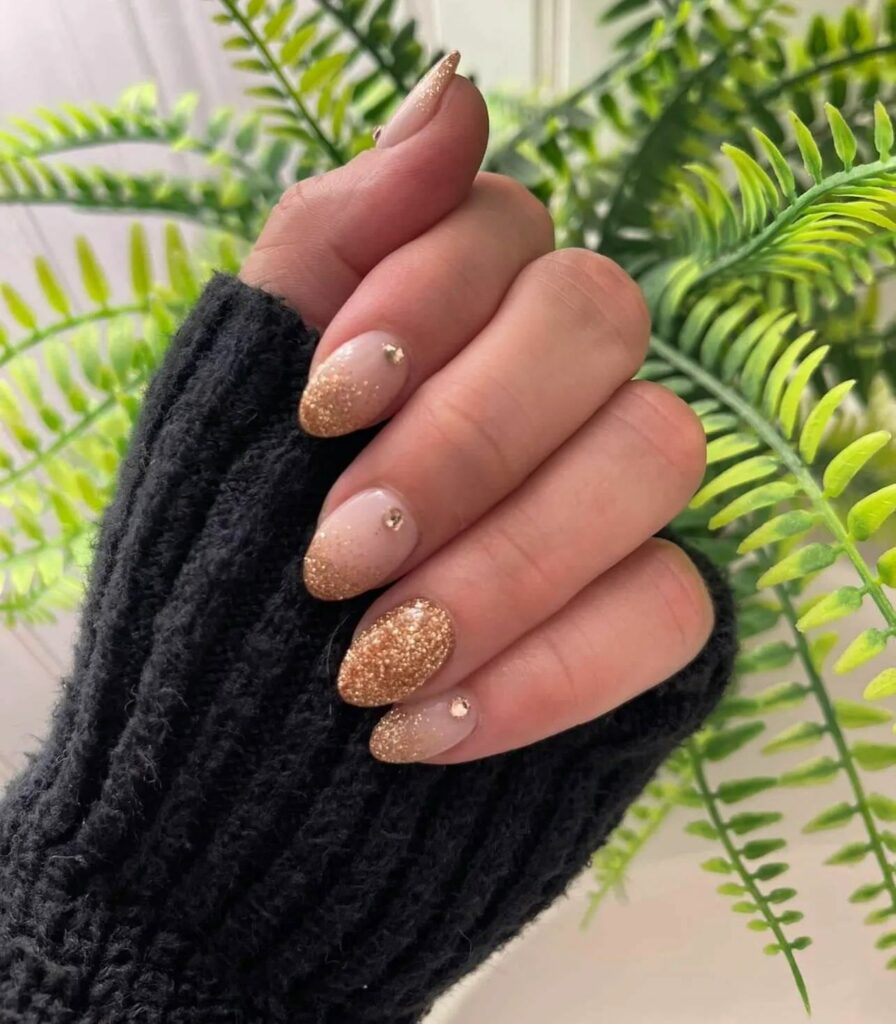
For the minimalists among us, the Pink Golden Glaze is pure elegance. The secret? A sheer gold chrome finish, ideally executed by a seasoned nail artist. Paired with almond-shaped nails, this manicure is sophisticated yet low-key, perfect for those who prefer understated glam.
Hypnotic Swirls
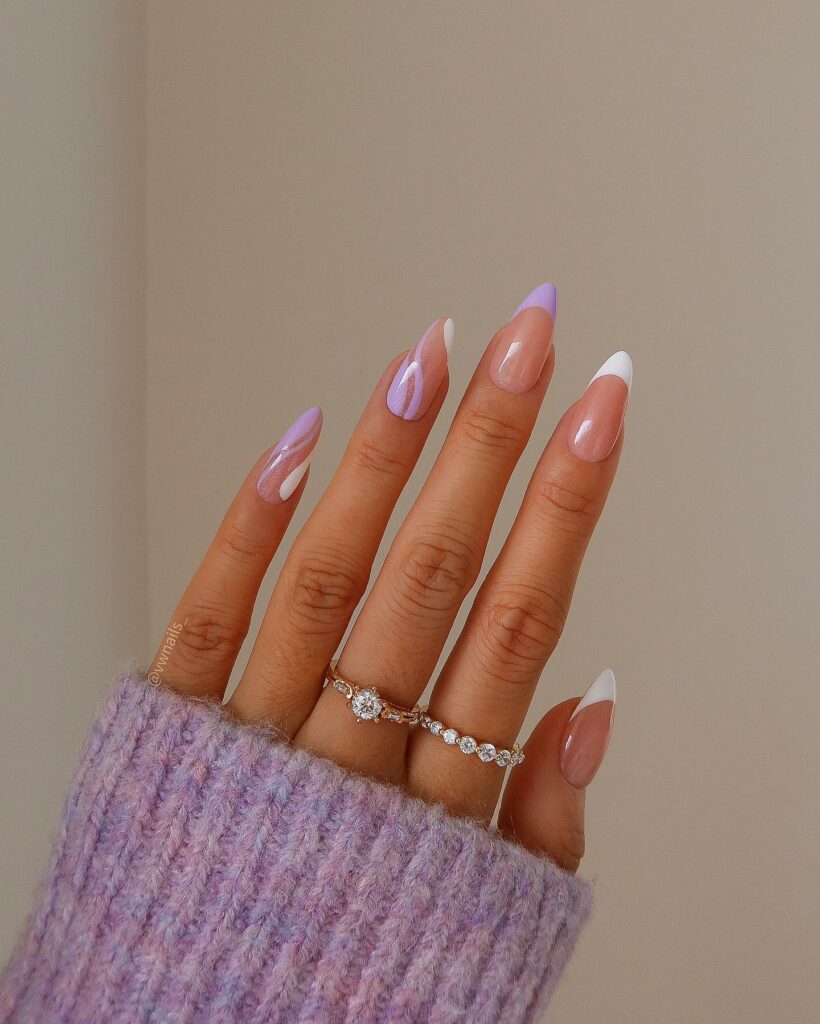
Prepared to be mesmerized? This swirling masterpiece from Hard As Nails Studio is designed to turn heads. Aim your phone’s flash at your nails as your little party trick to make this intricate design come to life in any setting.
Snowy Opal Stilettos
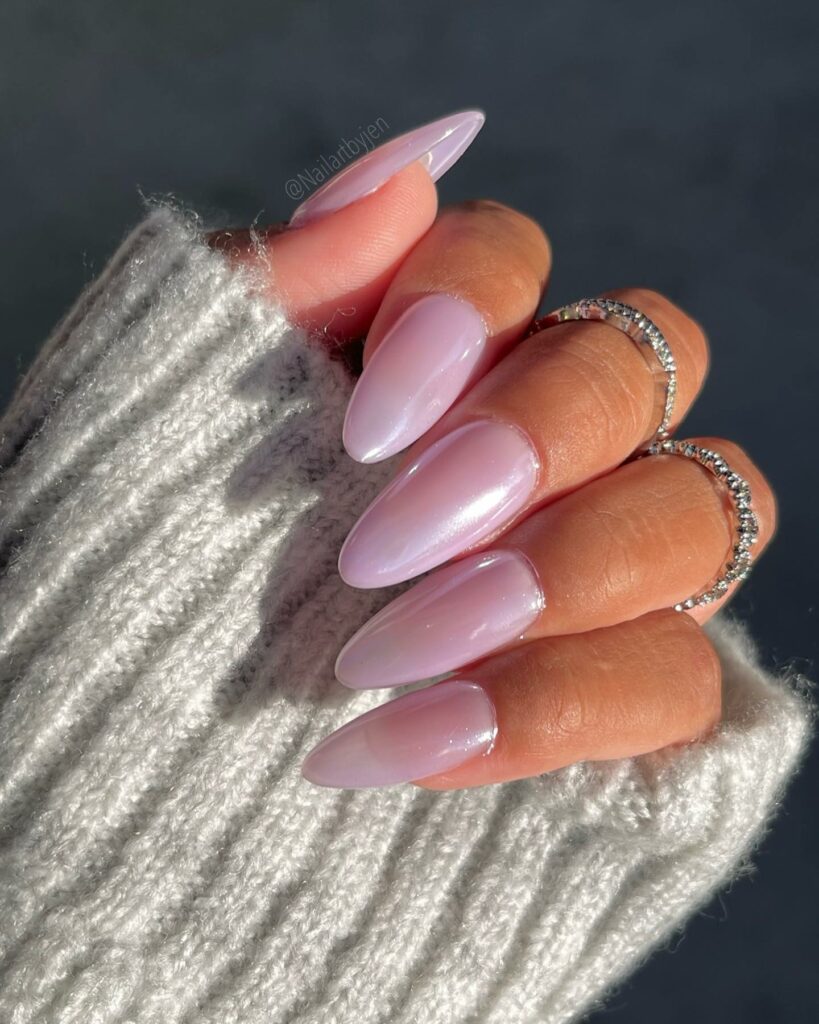
Last but definitely not least, we have Snowy Opal Stilettos, a look that elevates the ‘glazed donut’ aesthetic to an ethereal plane. This stiletto shape with an opal-toned iridescent finish is not for the faint of heart—it’s a statement-maker. You might want to book an appointment with a pro to nail (pun intended) this high-impact look.
Seeing Stars: The Transitional Beauty
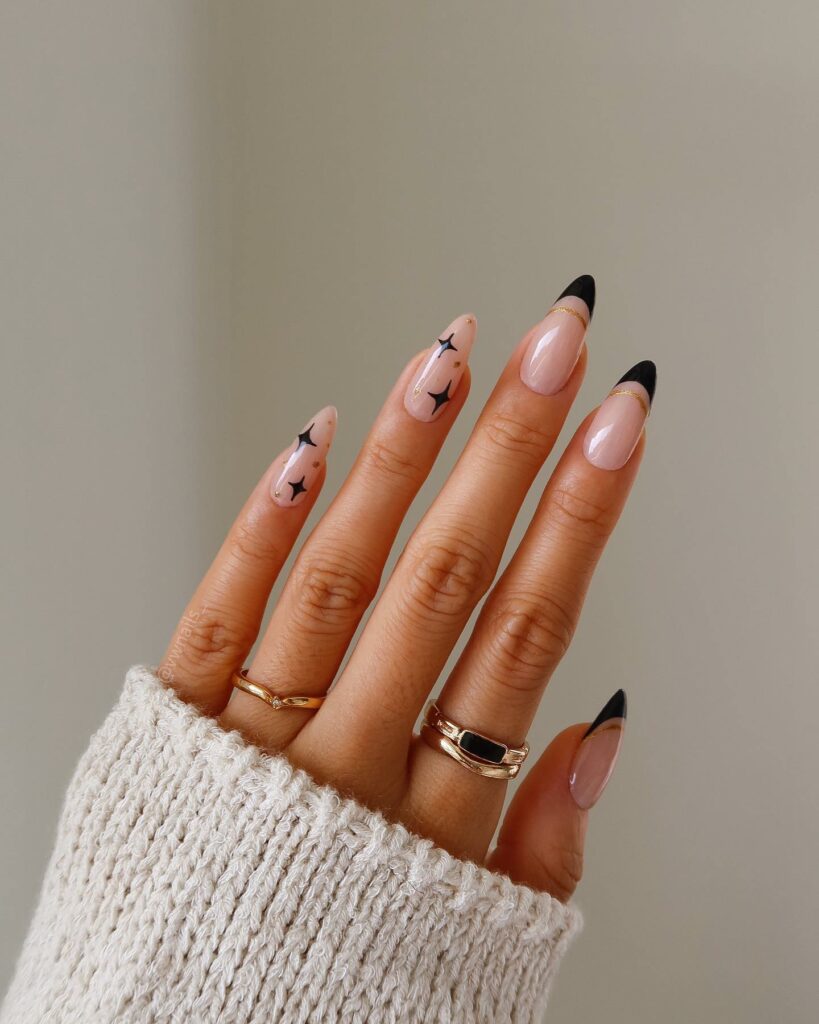
Starry designs are evergreen. This one by Jaz caught my eye because it goes amazingly well with dark, wintery shades of polish. I remember wearing a similar design to a holiday party; everyone was intrigued by it! Use a dark hue like midnight blue or jet black as your base, and sprinkle on some metallic stars. Seal it with a glossy top coat, and you’re set!
Starry Night: Minimalism Meets Glam
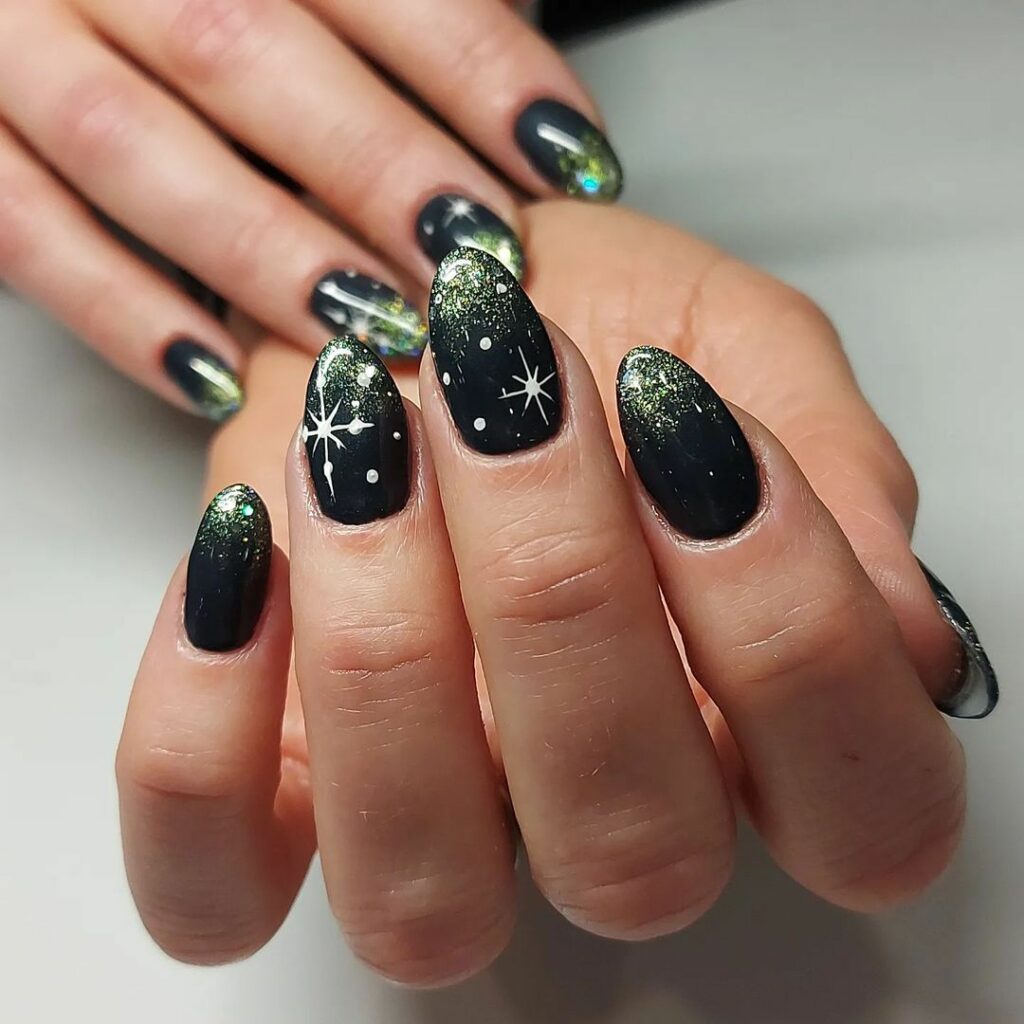
Michelle Humphrey is doing something oh-so-right with her high-shine starry design. All you need is a beige base. Remember, the stars should be applied while the base is still wet. I found that using tweezers made placing those tiny stars a breeze. Finish off with a super shiny top coat, and voila! Less is more, and your nails are proof.
Everything in Abstraction: The Fashion-Forward Pick
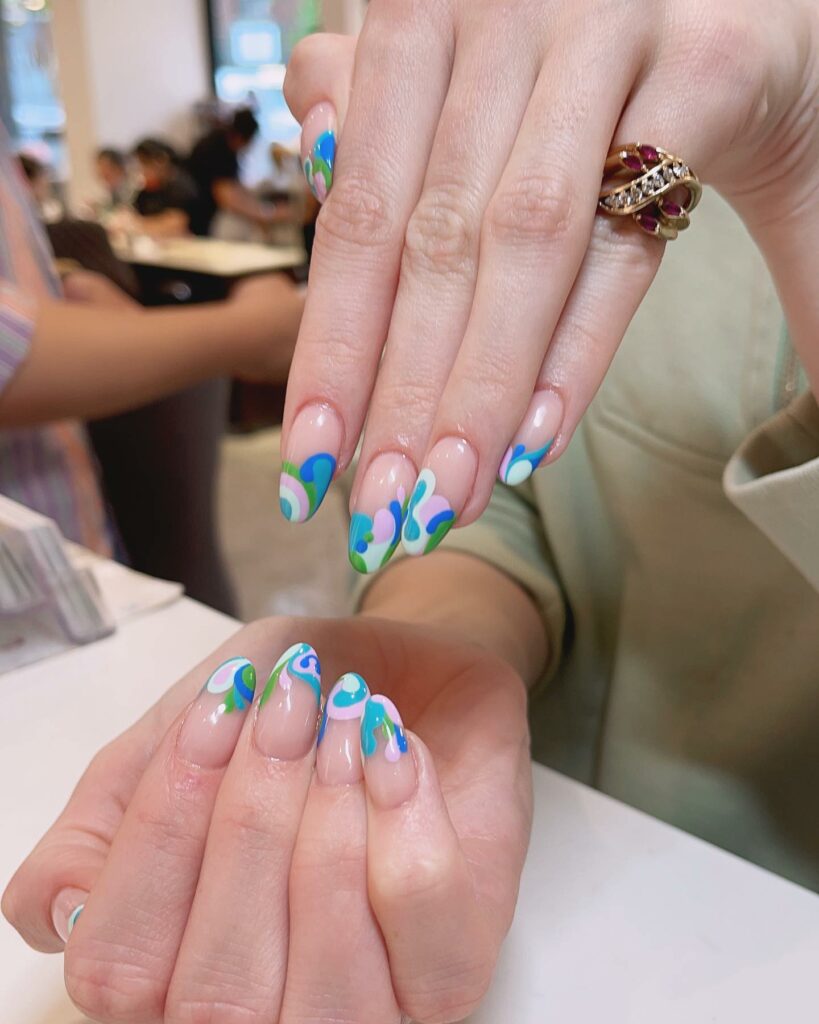
Layering technique with chrome pigment sandwiched between two layers of non-wipe top coat. The result? A unique, textured effect that looks almost three-dimensional. It’s a different and chic way to say goodbye to the old year.
Space Gems: NYE Ready
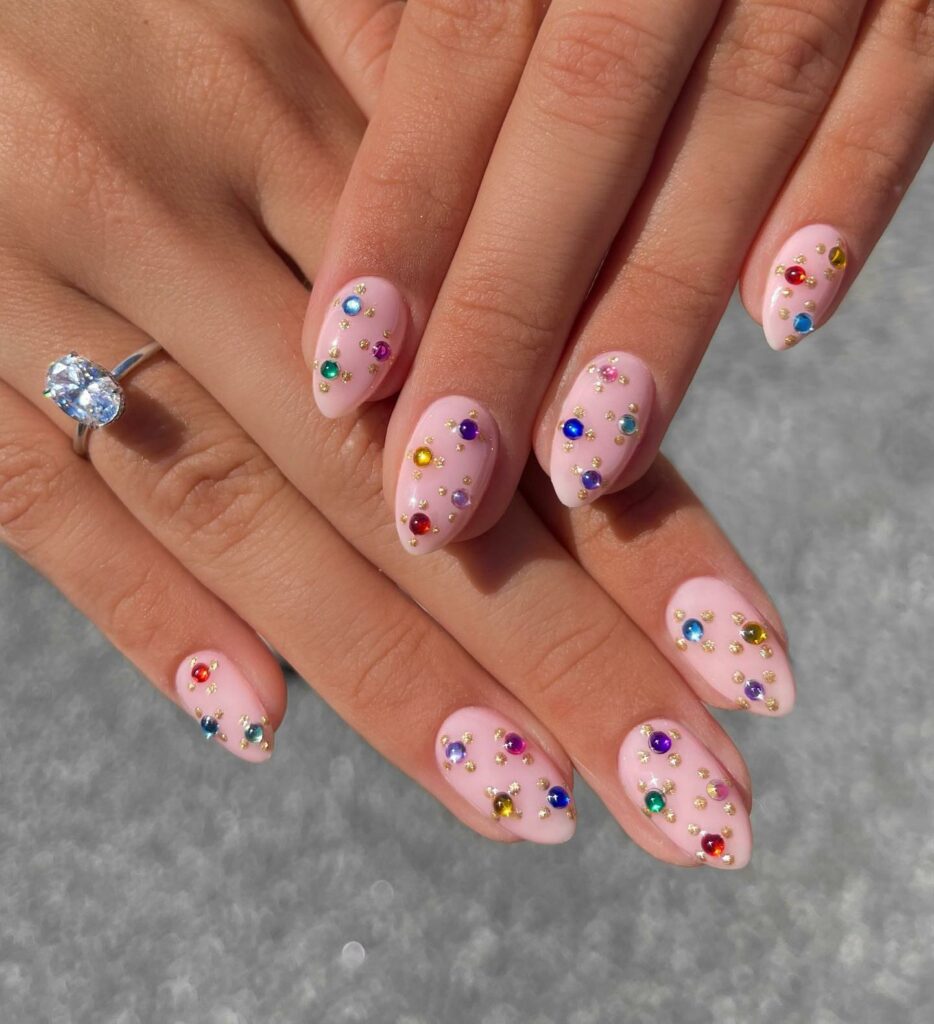
Need help deciding what to wear for New Year’s Eve? Make your nails the star of your ensemble. I adore the cosmic energy of this design. A chrome base adorned with colorful gems will make you feel like you’re holding the galaxy in your hands. Seriously, get ready for tons of compliments!
Pure Alchemy: Moon Magic
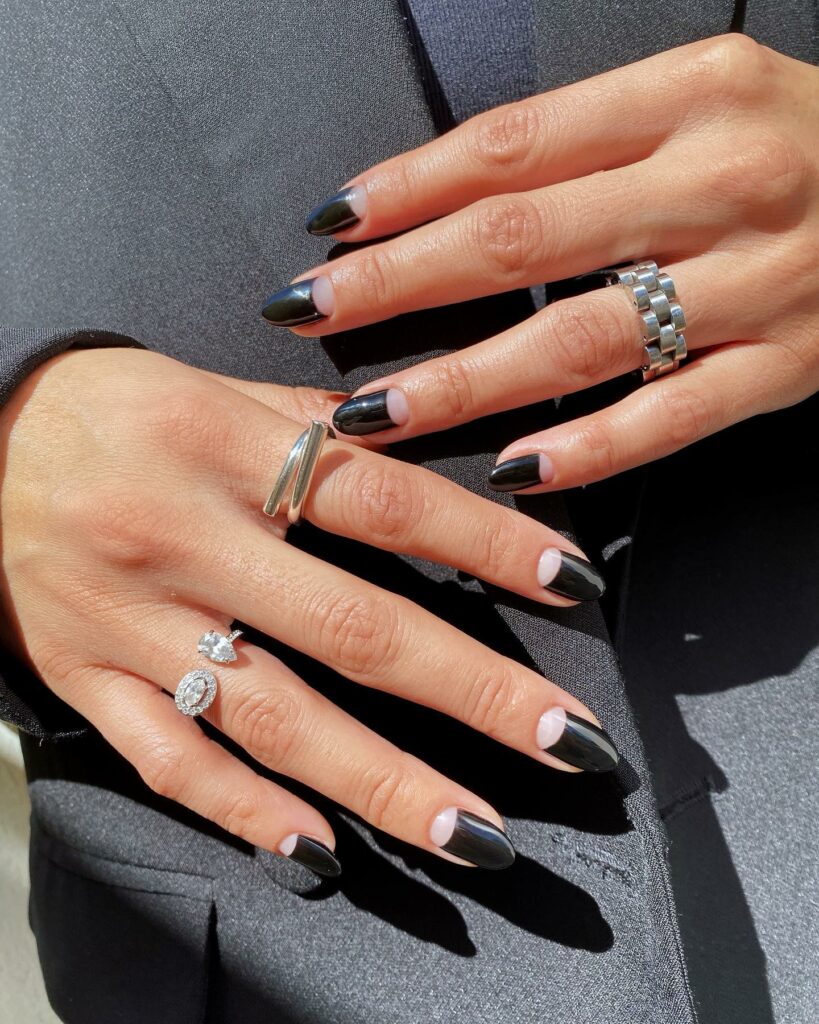
If you want to add a mystical touch, Mimi D’s double-moon design is perfect. She uses clear gel for the moon texture and tops it with gold chrome. I tried it once, and it does bring an otherworldly vibe to your nails. It’s a must-try if you’re into mystical aesthetics.
Five Cheers: For the Love of Champagne
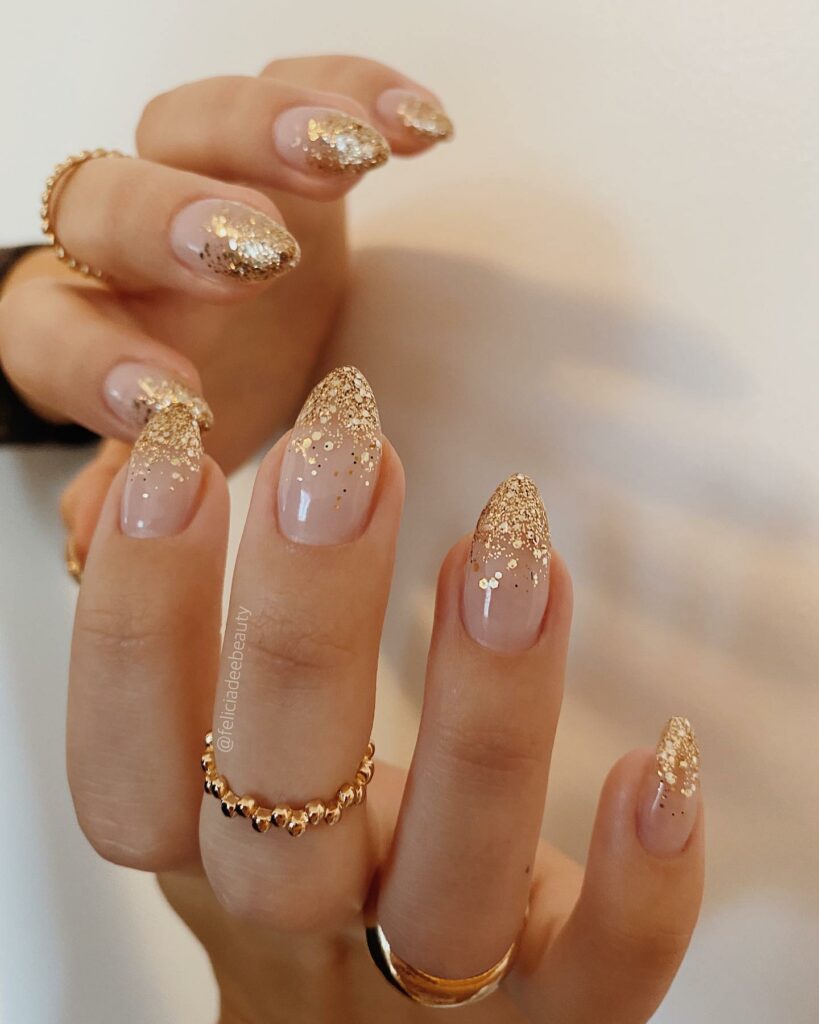
When I thought French manicures couldn’t get any cooler, adds this whimsical twist. I used tiny beads to emulate the bubbles, and it turned out fabulous. What better way to toast the New Year than with your nails?
Olive Martini: The Sophisticate’s Choice
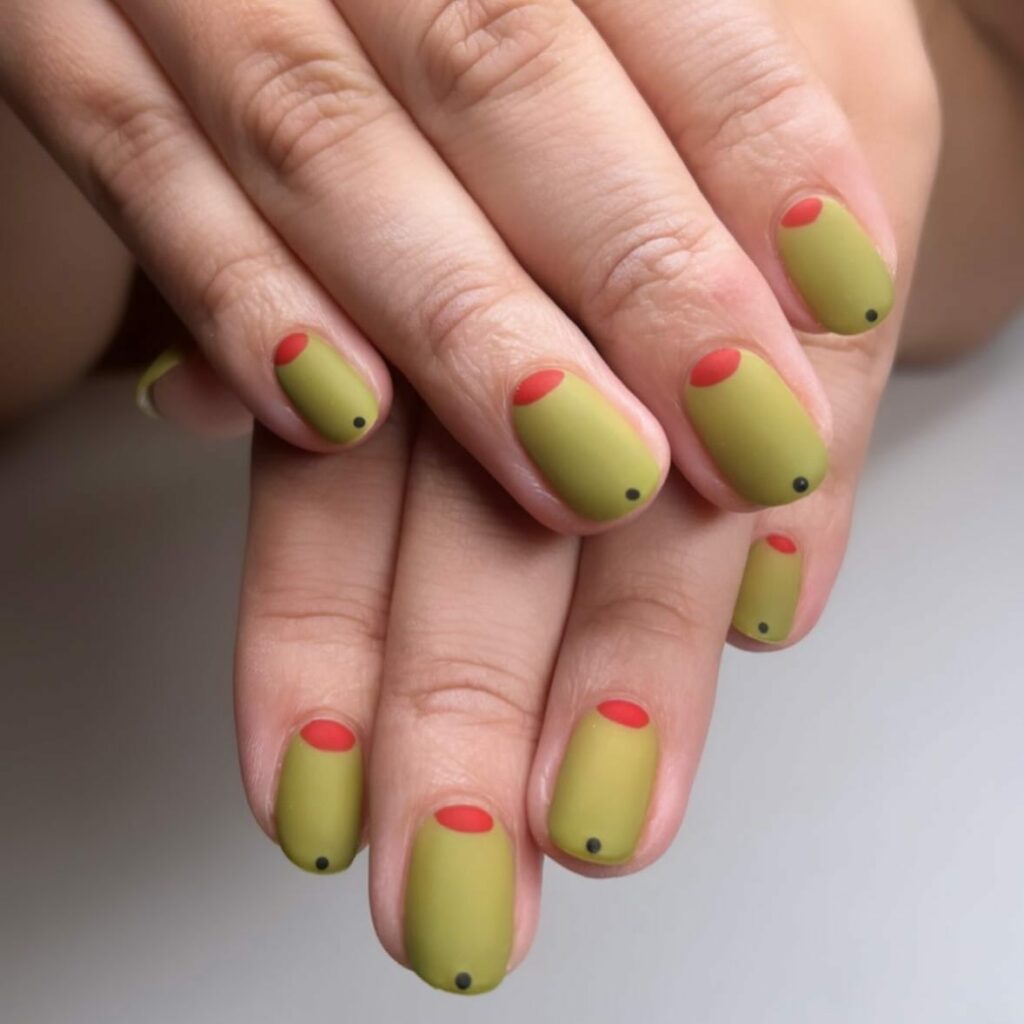
ManiMe’s 3D-printed nail wraps are making it easy to sport intricate designs. The olive martini look is classy for those who prefer martinis over champagne. I’ve ordered these wraps, and they fit like a dream. Cheers!
The Dark Forest: Enchanting Vistas
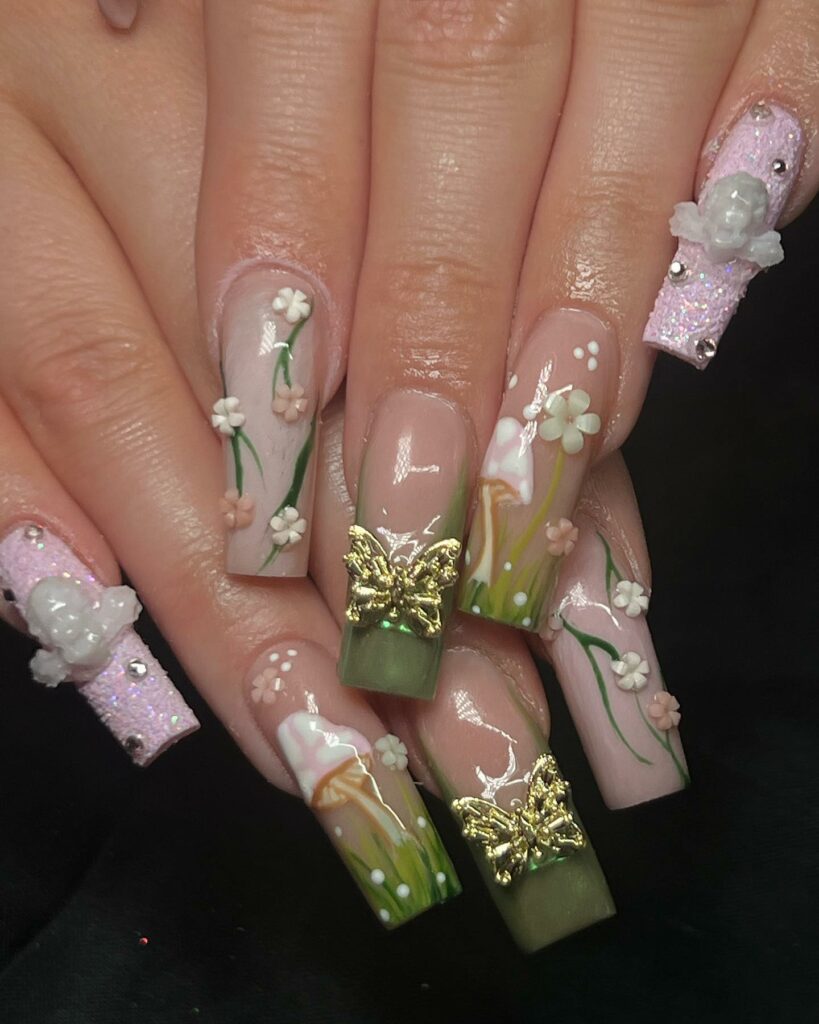
Remember that peaceful feeling you get when walking through a snowy forest? Grobman’s design takes you there. She uses varying shades of blue to give it depth and perspective. I watched her step-by-step video and got an almost identical result! For an extra pop, try layering it with an iridescent top coat.
Winter Wonderland: Snowflake Simplicity
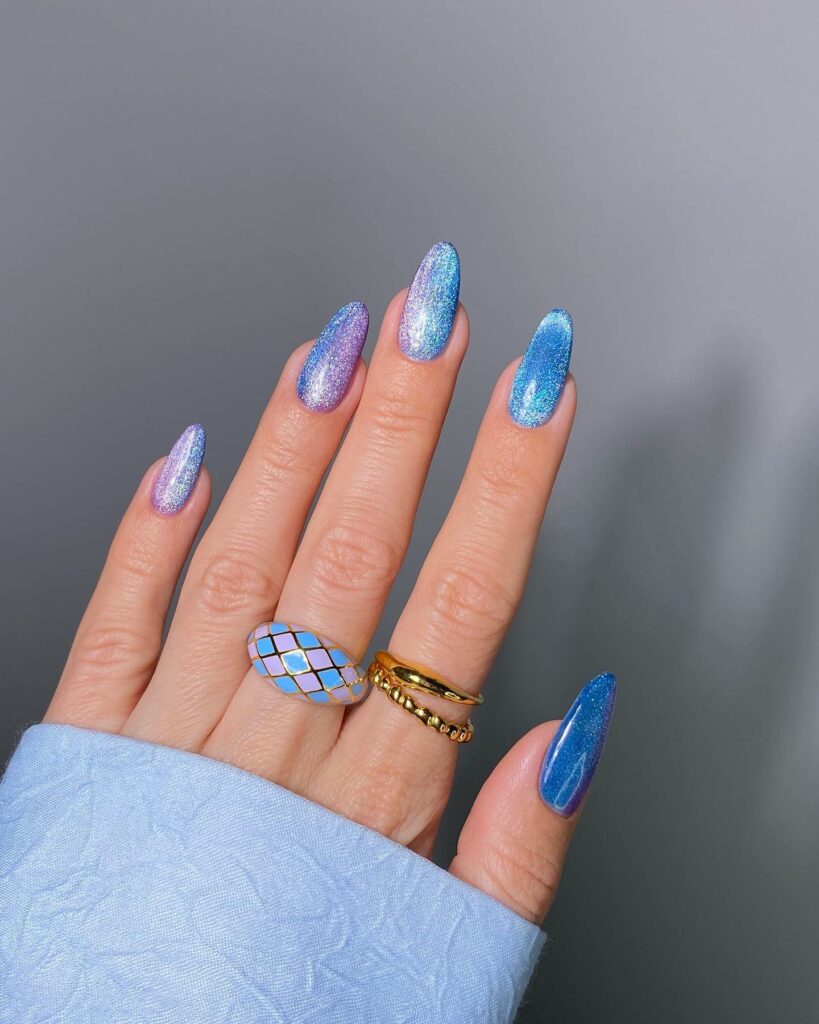
Snowflakes are a classic winter theme, but drawing them? A challenge. Emily Zheng solves this with Born Pretty snowflake stickers. I found them easy to apply and lie flat against the nail. It’s an instant winter wonderland at your fingertips.
All That Glitters: The Ombre Effect
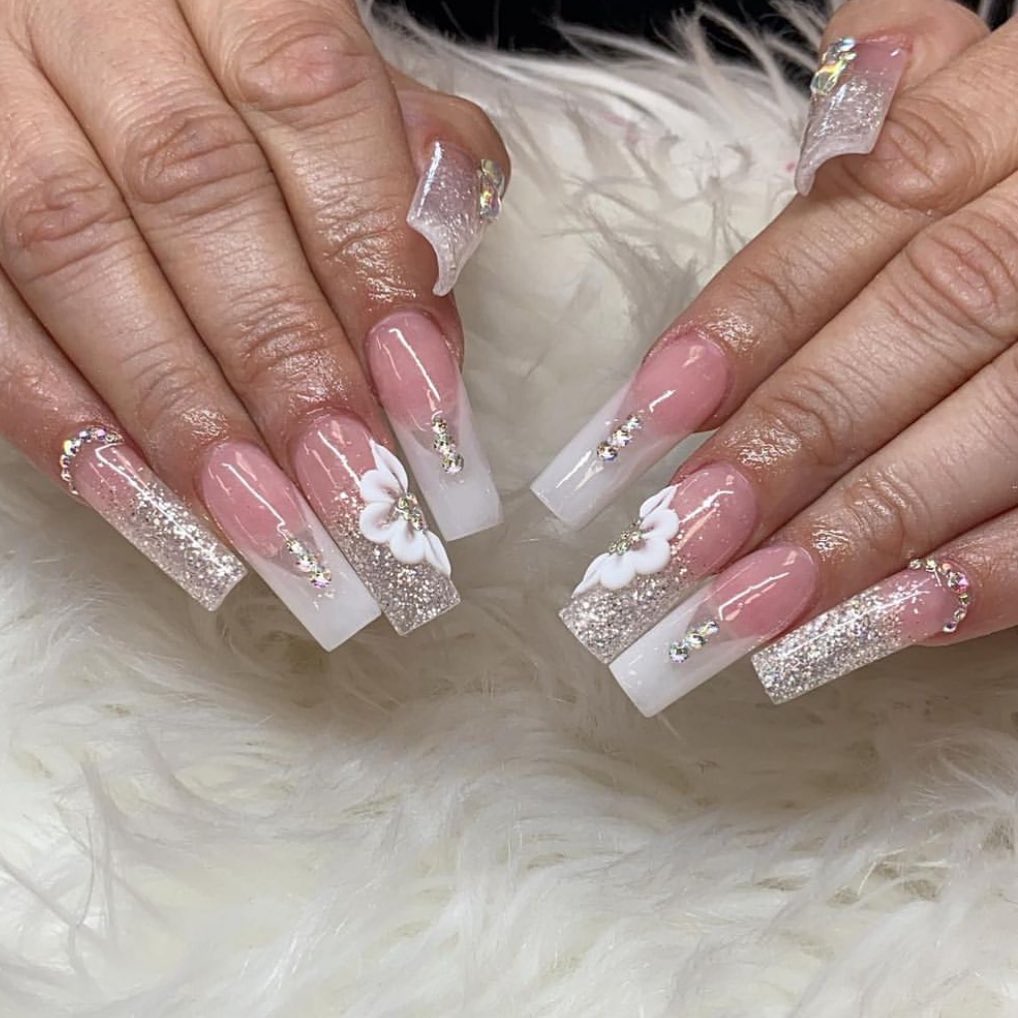
Creating a glitter ombre effect may seem complex, but it is surprisingly easy. Layer your glitter polish at three-fourths of your nail and work to the tip. The result is a mesmerizing gradient that’s reminiscent of midnight fireworks.
Bursting With Joy: Festivity Explosion
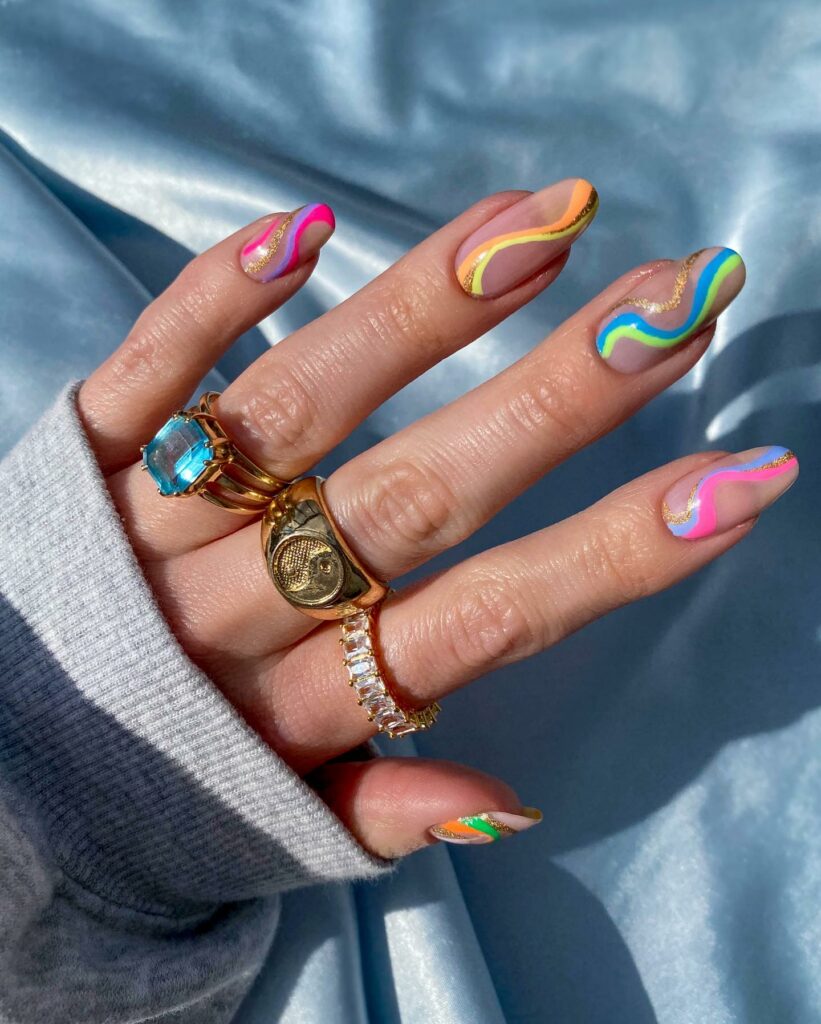
I remember the first time I mastered the firework design—it was like an art class on my nails! Chenoa Marie suggests using a skinny nail art brush to freehand fireworks. Make short lines at the top and longer ones at the bottom, and throw in a few glittery lines. Elevate it with nail tape and gold foil. New Year’s resolutions, anyone? Here’s a chance to up your nail art skills!
Chill Vibes: Unique Snowflakes
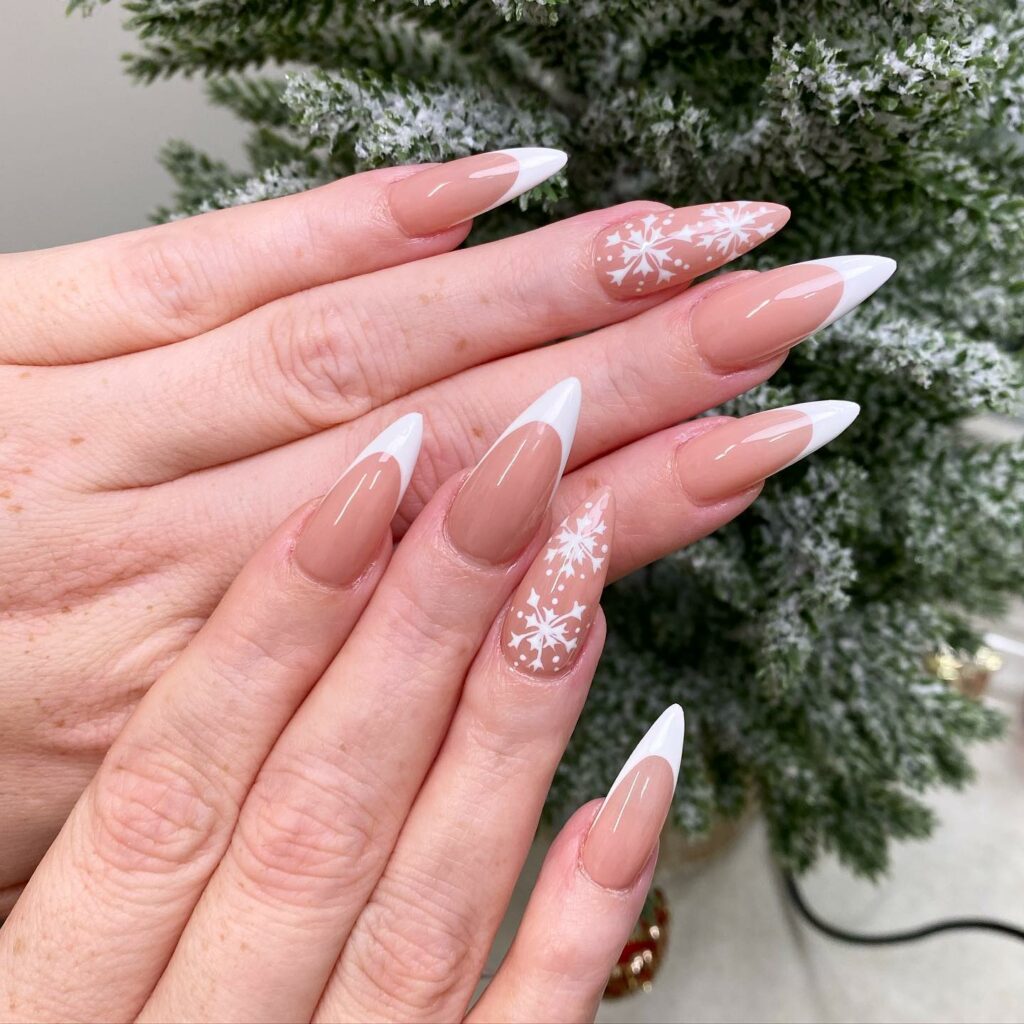
Dayanna Issey is the go-to for ethereal French manicures. You can’t go wrong with a frosty French base using Lights Lacquer Lyla and white creme Paper Snow for the accents and tips. Use a dotting tool and a fine nail brush to draw those snowflakes. Pro tip: practice on paper first. I learned that lesson the hard way last winter!
Walk on the Wild Side: A Roaring Start
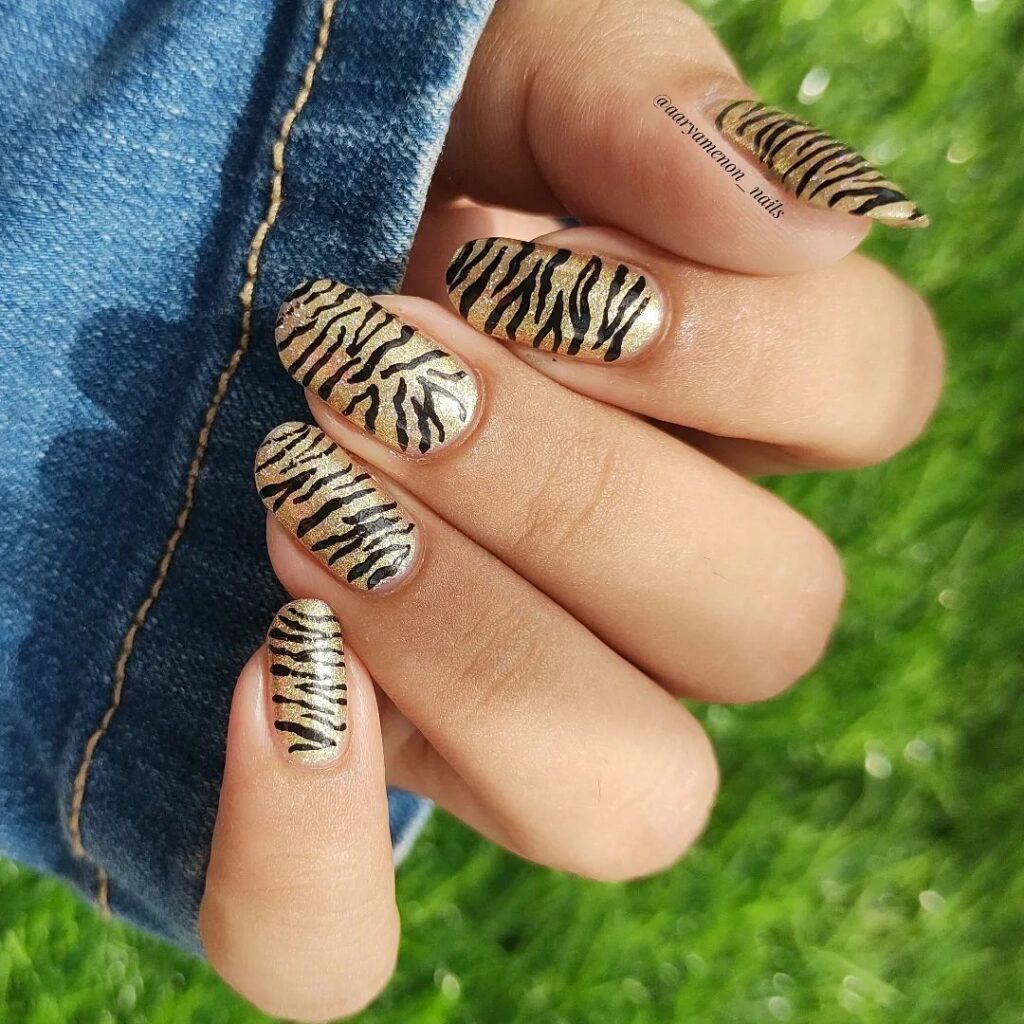
How about some glittery zebra print for those craving a fierce entry into the New Year? This gives me “New Year’s Eve party at a glam safari lodge” vibes. Use a glitter polish to give your stripes that extra oomph. Trust me, your nails will be the talk of the party.
Spiritual Start: The Evil Eye
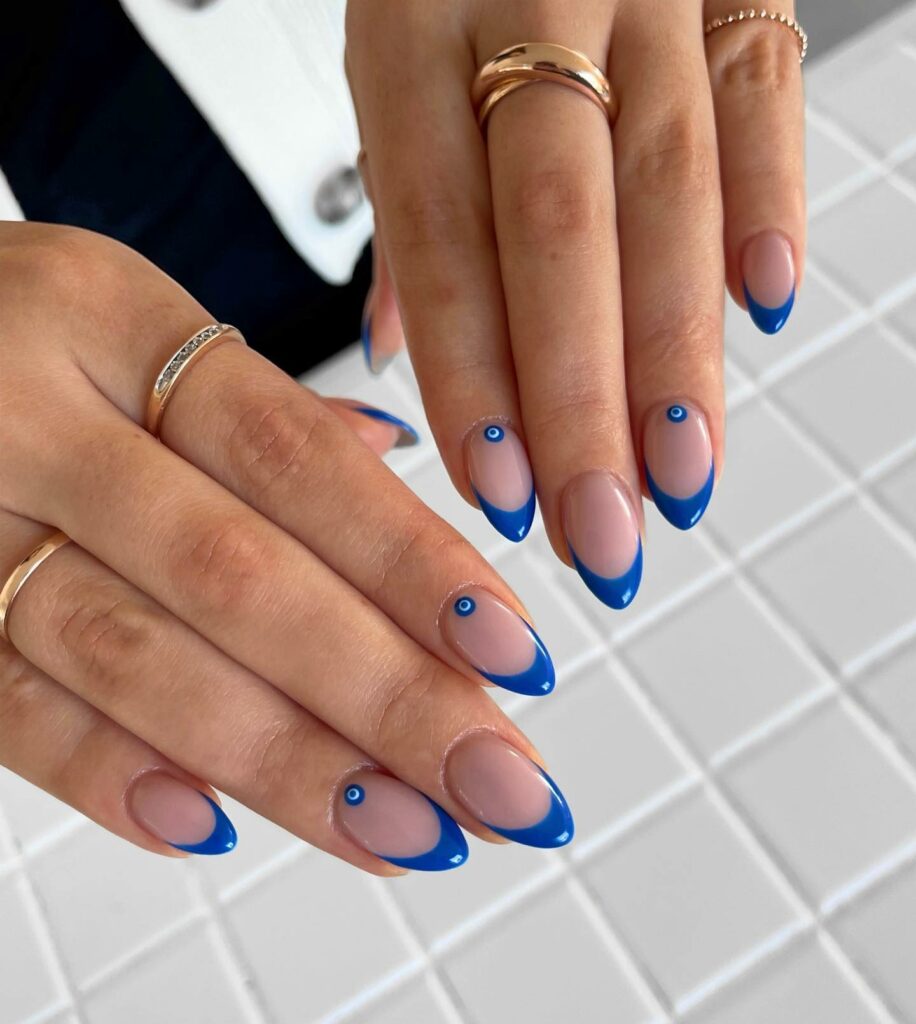
I’ve always been intrigued by the evil eye concept—it’s like a talisman on your nails. Betina Goldstein nails it by keeping the base translucent and painting an evil eye over gold-leaf paper. You can easily recreate this look with a dotting tool, toothpick, or bobby pin!
Starry Sophistication: The Illusionist
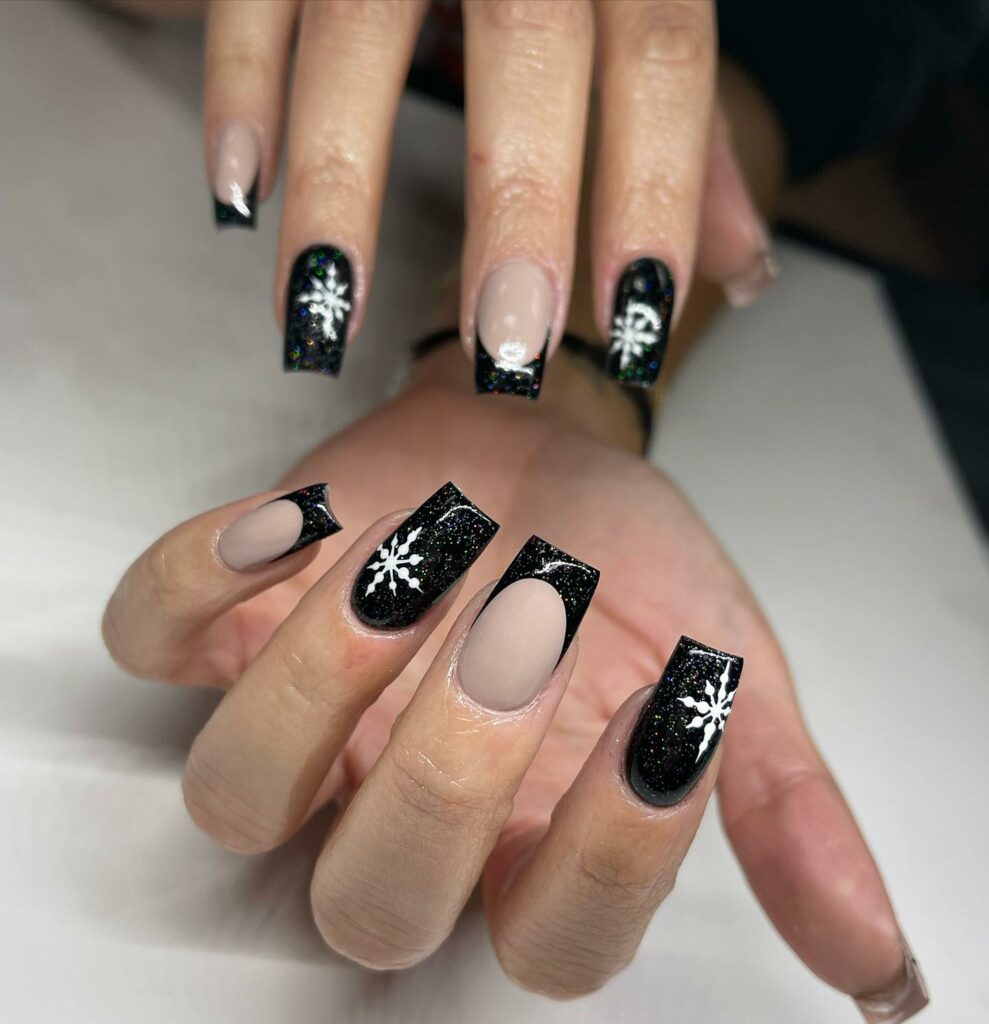
Oh, the allure of a five-pointed star. Start with a shimmery white base and decorate a few accent nails with star stamps. White-on-white makes it subtly mesmerizing, like twinkling stars in a winter sky.
Party in the Palm of Your Hand: At Midnight
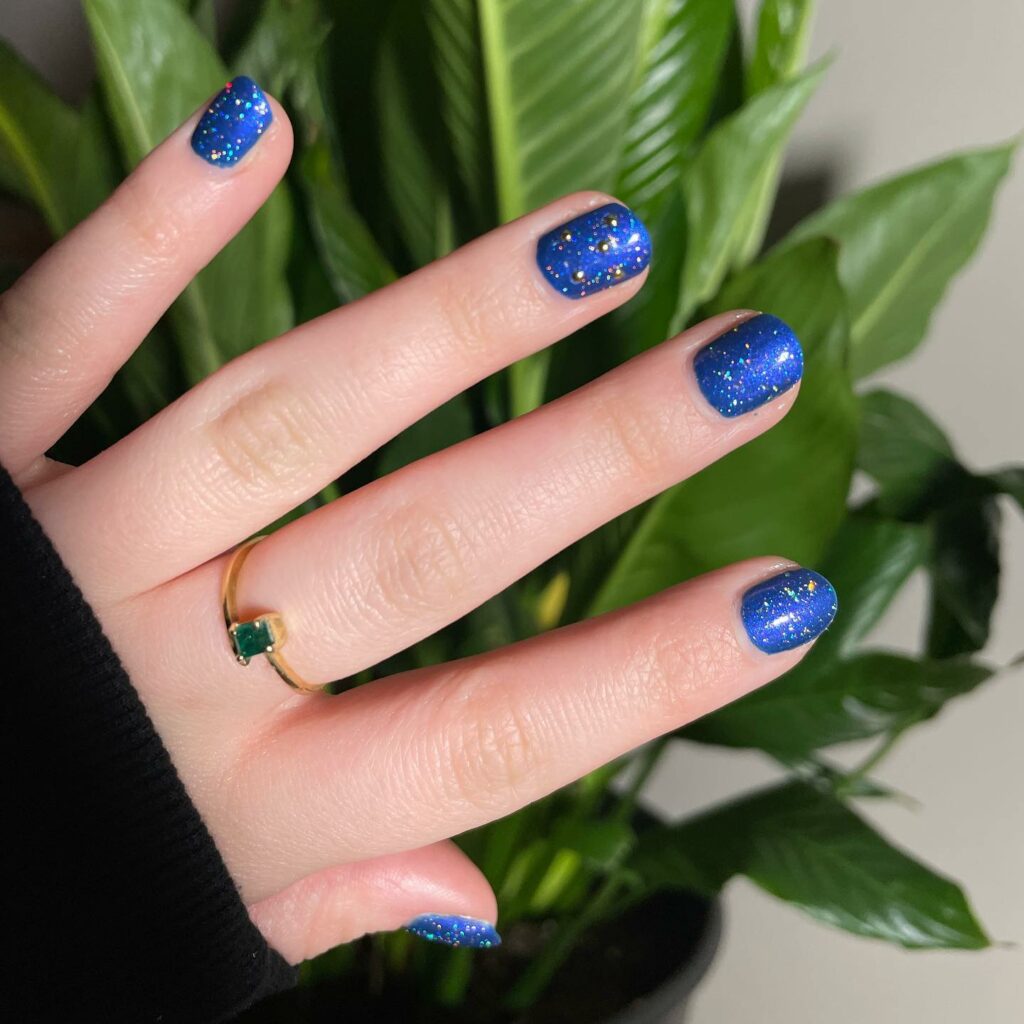
The confetti design by Miss Pop is a flashback favorite. To achieve this festive look, start with splotches of bright Essie shades. Then, outline confetti shapes with a striper brush dipped in silver. The result is as eye-catching as the midnight fireworks!
The Wise Words: The Unburdening
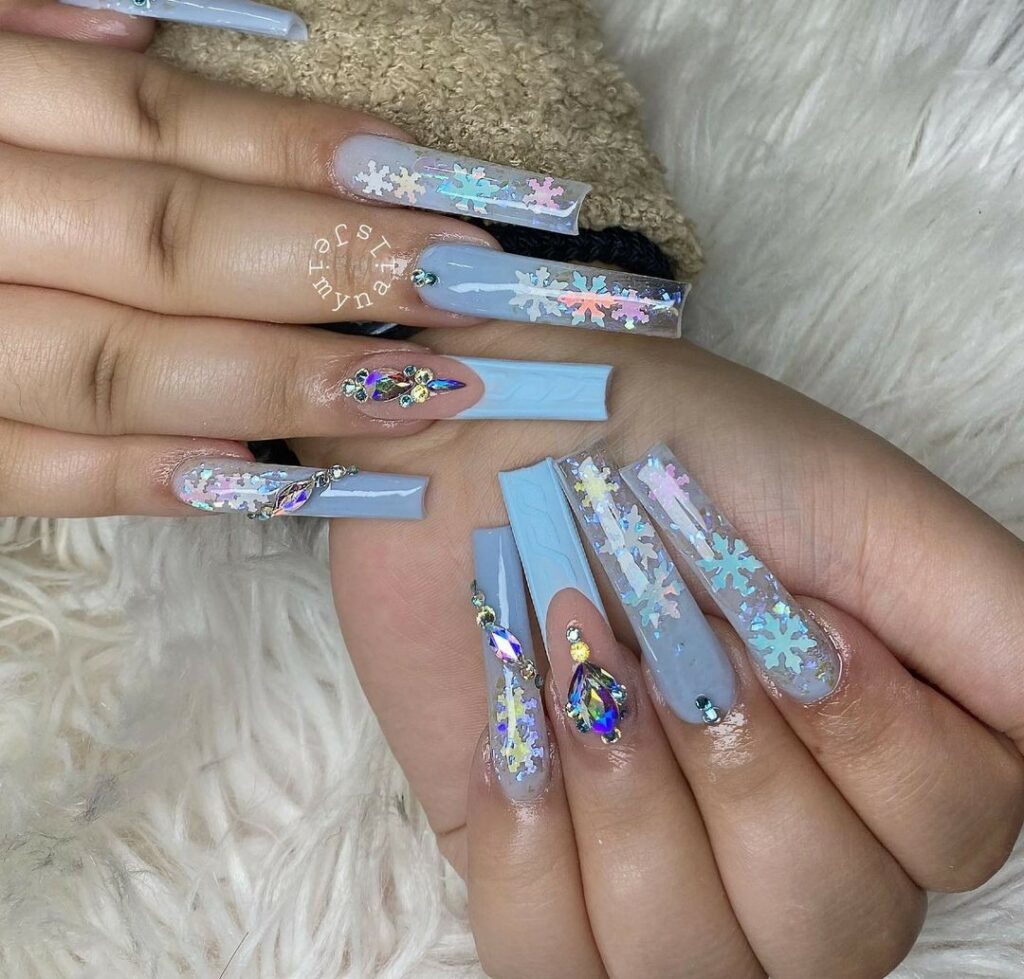
What better way to enter the New Year than by letting go of the old? Sierra Unsicker tells it like it is, right on her nails, with a message inspired by her favorite t-shirt. For this one, patience is key—it took her two and a half hours to perfect the design. Worth it!
Dabble in Chaos: The Merry Anarchist
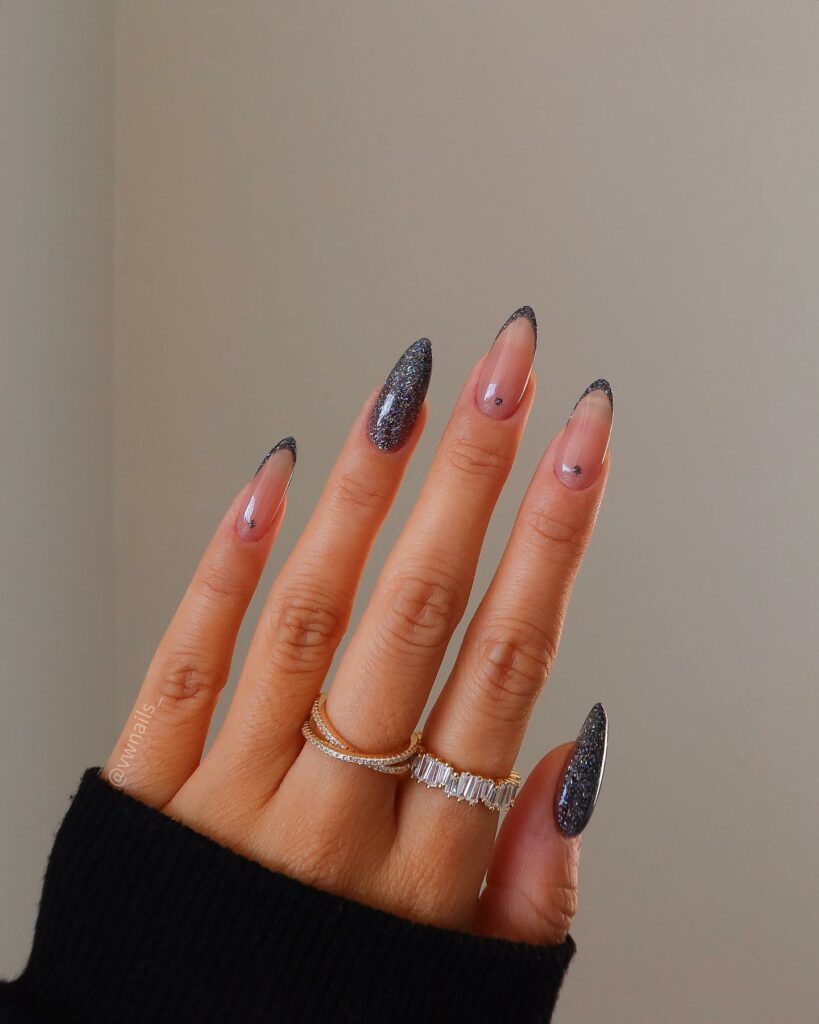
This abstract creation has chaotic silver and black accents with gold leaf. It’s a piece of art. Try not to match it exactly; let your imagination run wild.
Straight-Up Elegance: Check It Twice
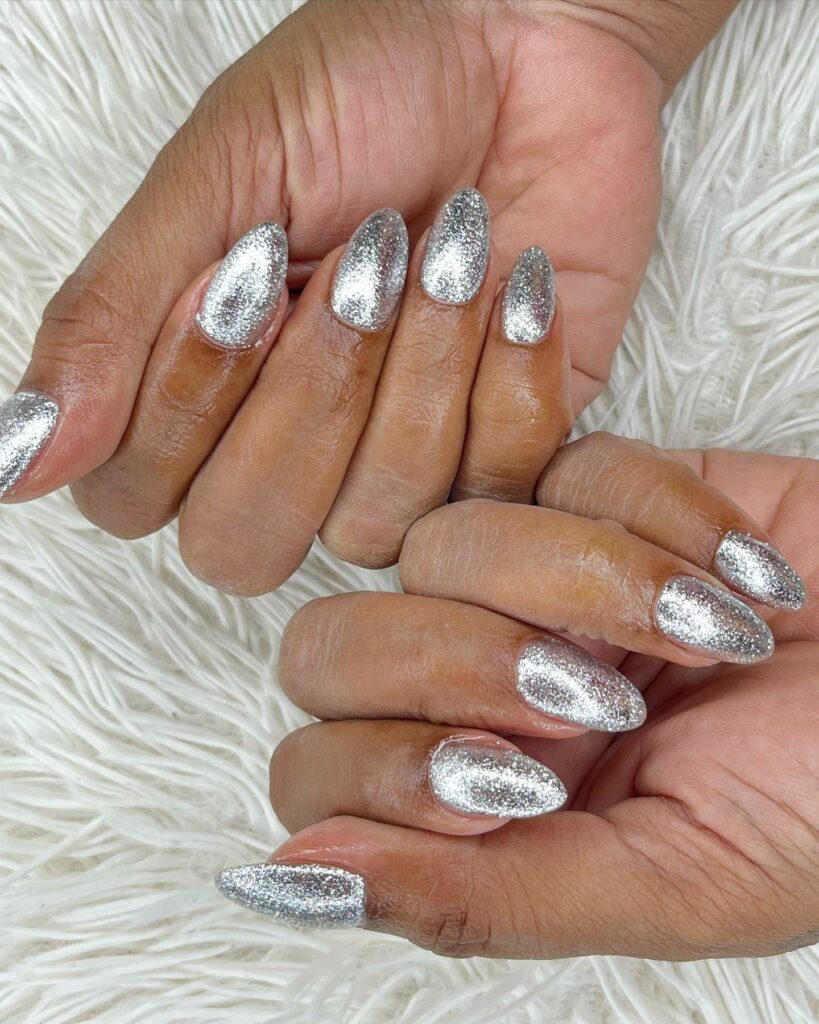
The grid design by Audrey Faith is an OCD dream—everything lines up perfectly. Once the silver glitter base is dry, use a long striping brush and white art gel to hand-paint those gridlines. The precision in this one gives me life!
Quick and Slick: The Joker
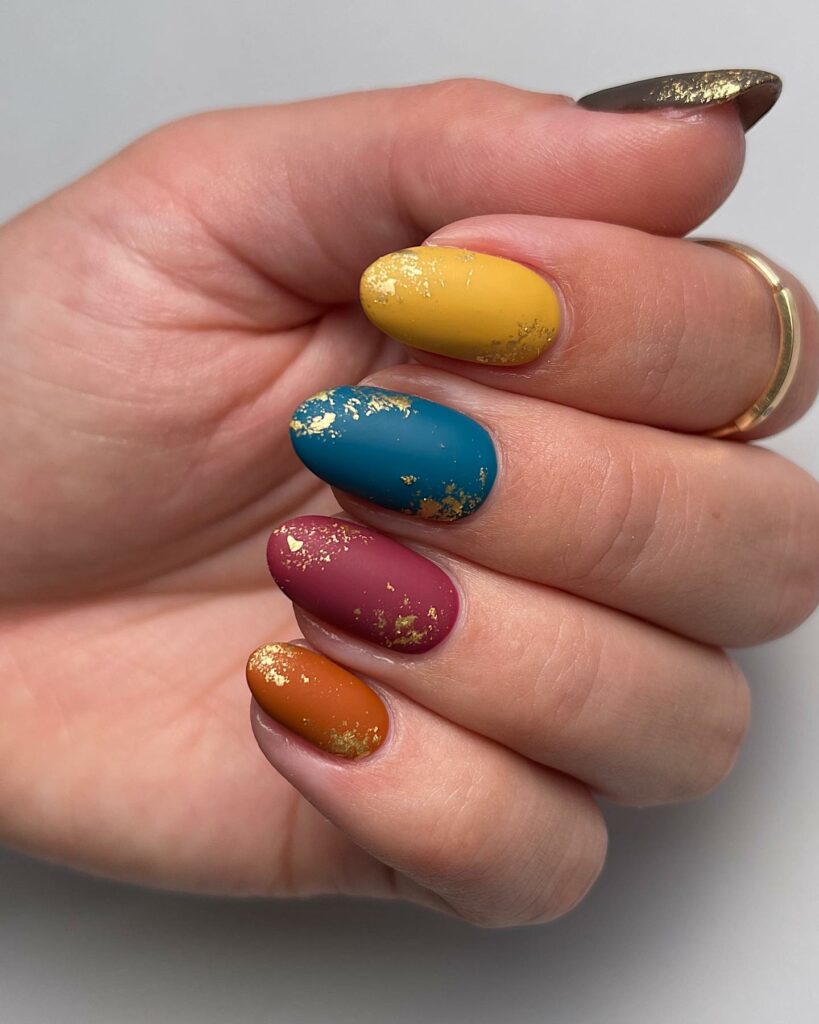
Running late? This design is your savior. Just paint your nails black and place colorful foil squares with tweezers. Voila! It’s a masterpiece in minutes.
Fresh Palette: Onwards
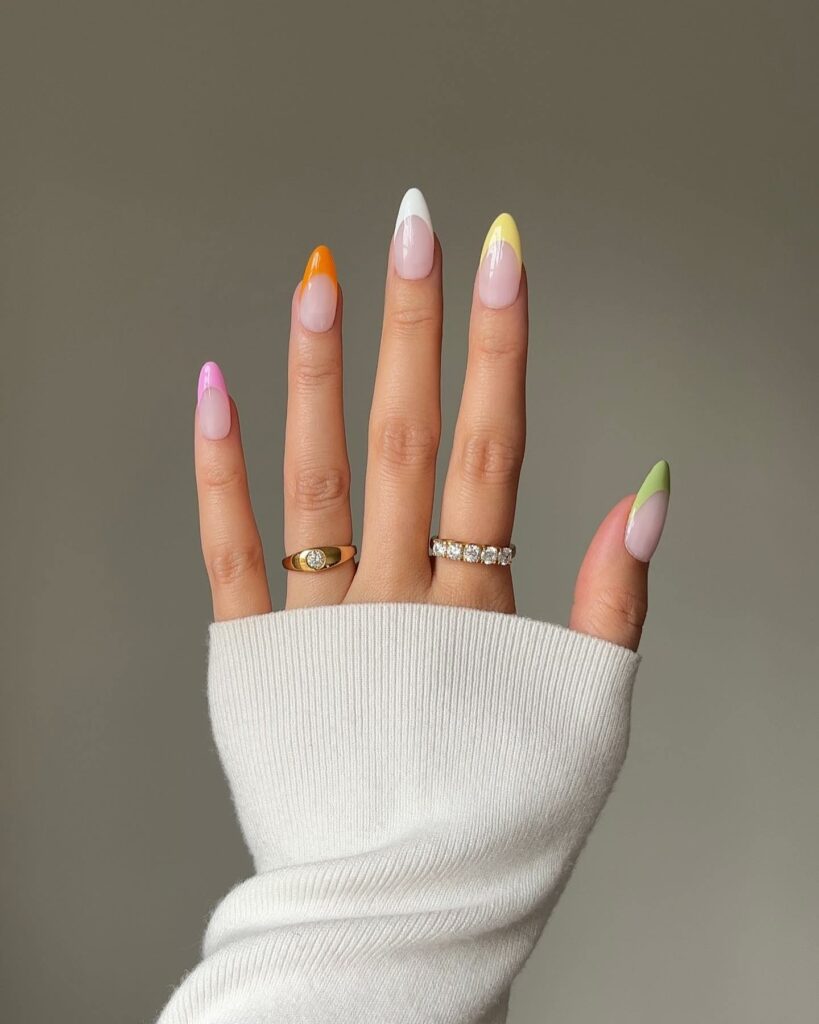
Feel free to stick to something other than the classic New Year’s shades. Betina Goldstein shows us how it’s done with a bright and playful color scheme. These nails will have you feeling anything but dark and stormy.
Seeing Stars: Cosmic Delight
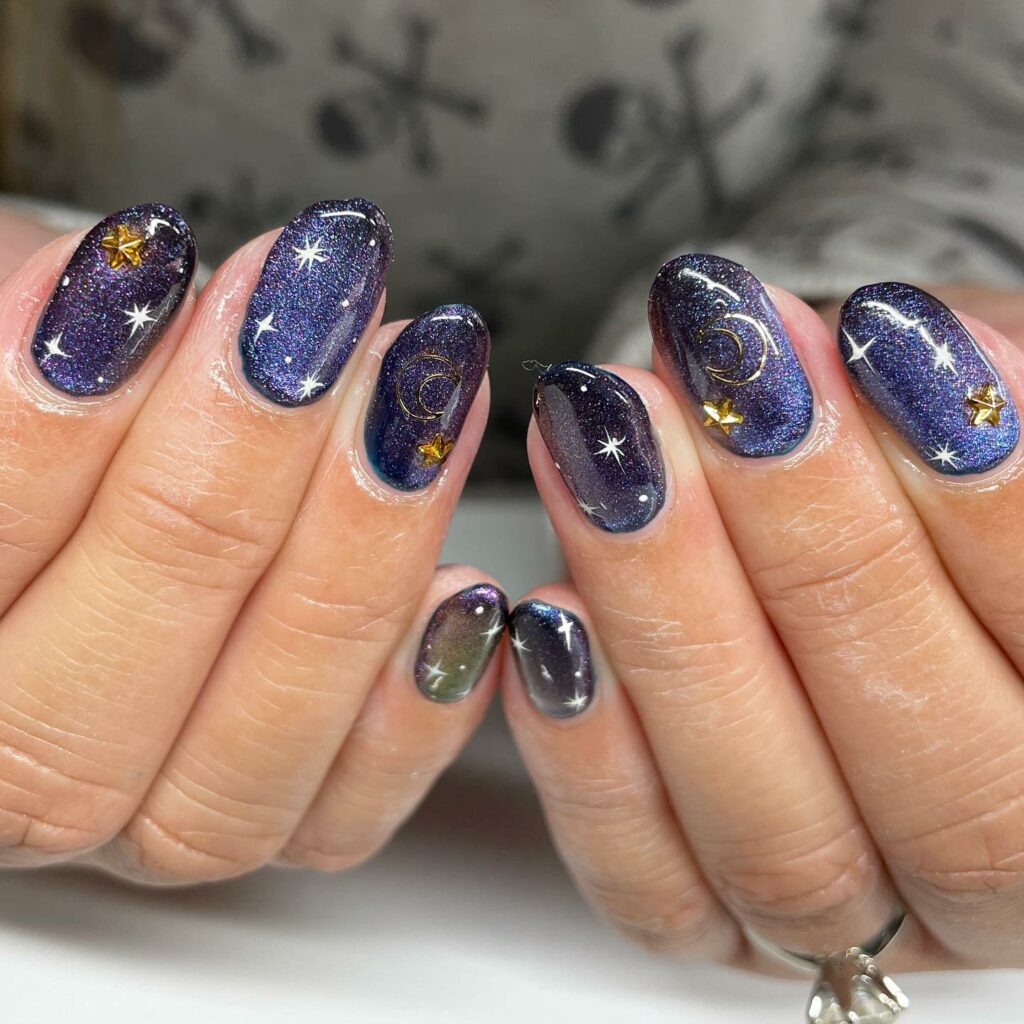
Reach for the stars by painting a night sky on your nails. Add a dark blue or black polish layer and sprinkle some tiny star decals. The effect is like holding the universe at your fingertips.
Metallic Hues: Chrome Craze
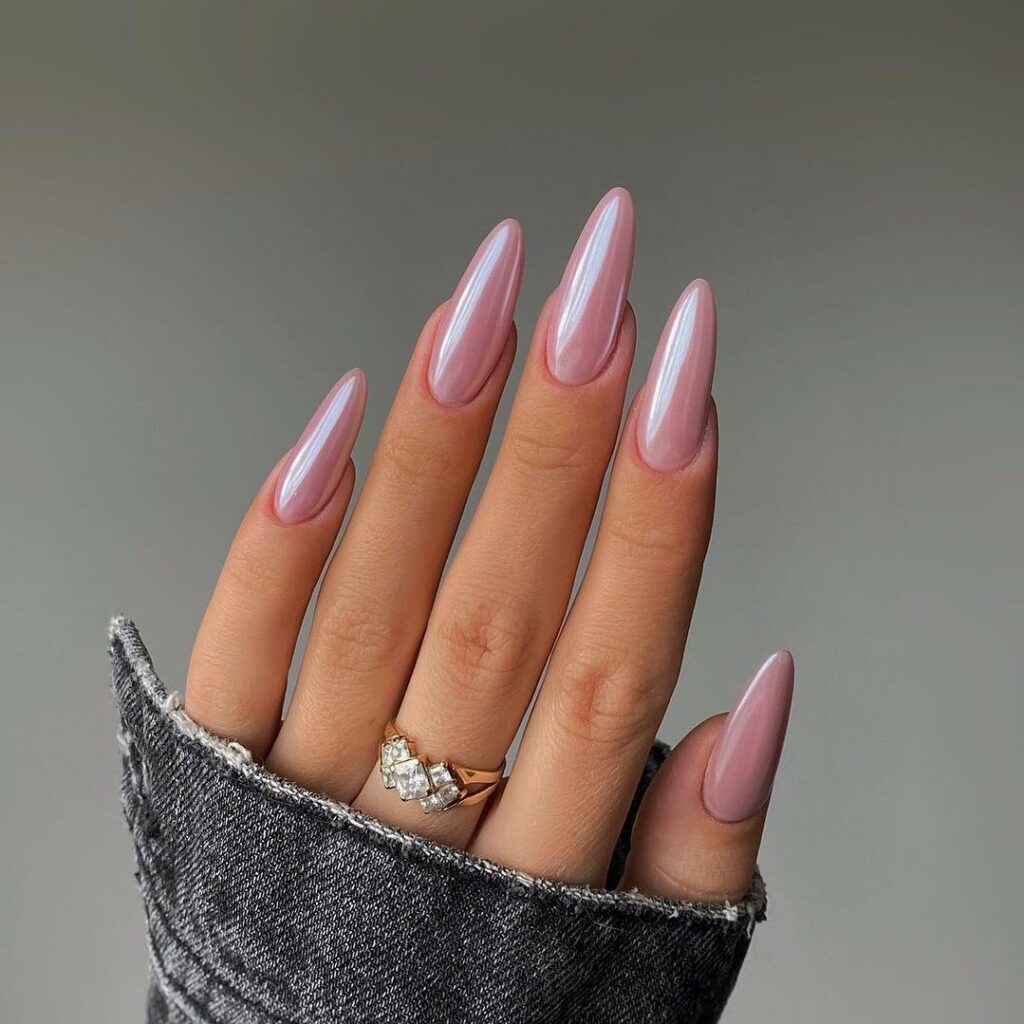
Who says metals can’t light up the night? Go for a monochromatic metallic look with chrome and gold shades. This design pairs perfectly with any New Year’s Eve outfit and adds a modern twist.
Ice Queen Vibes: Crystal Overlay
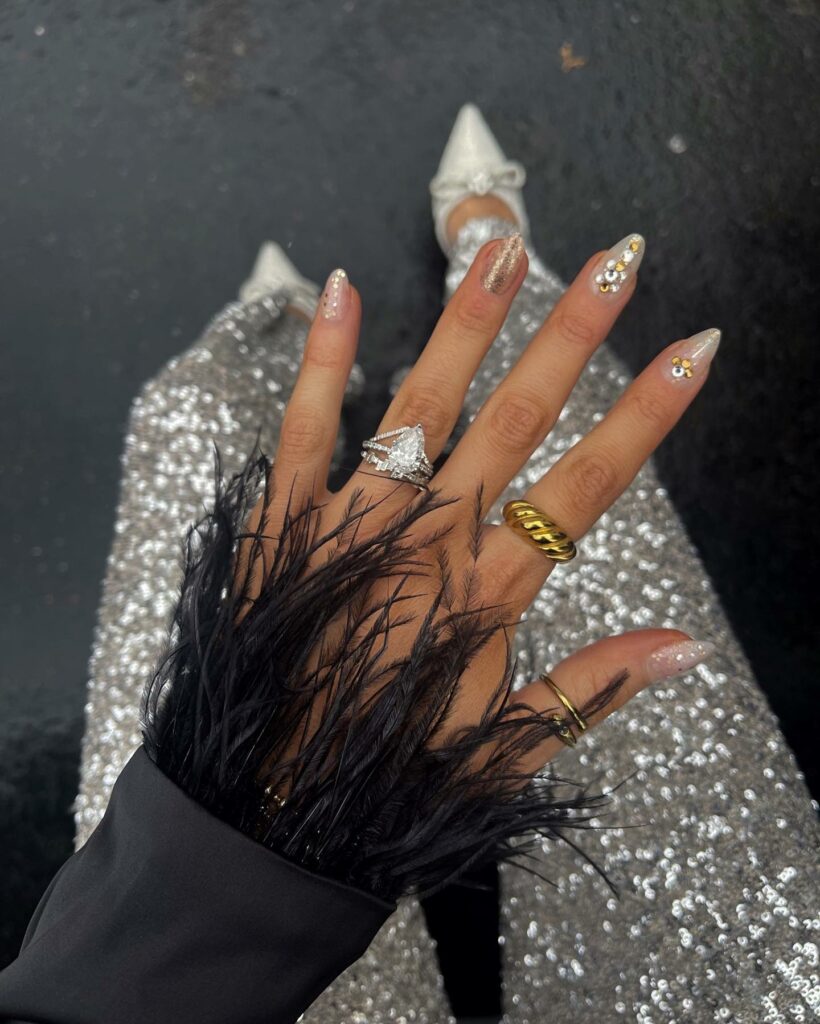
Opt for an icy winter theme by adding a transparent layer sprinkled with microcrystals. This look is great for those who love a dash of sparkle without the intensity of full-on glitter. The icy aesthetic keeps it cool and classy.
Love Notes: Written in Polish
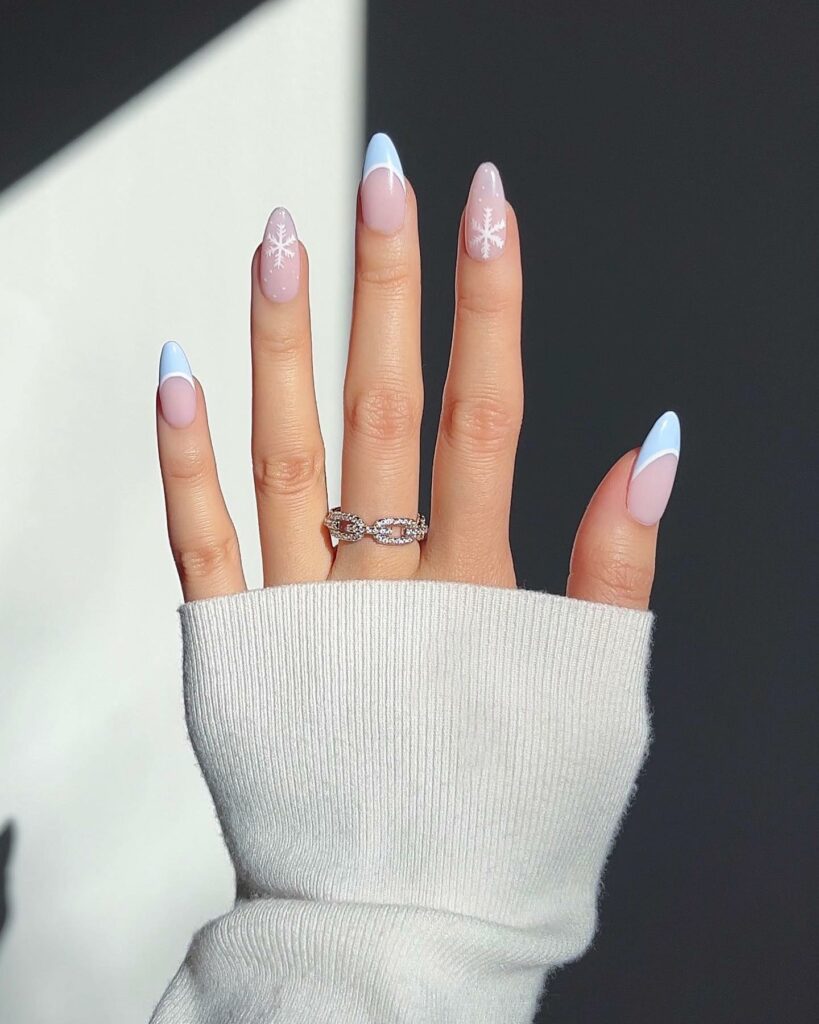
Simple but incredibly pretty, these nails are one of my favs
The Golden Ratio: Geometric Glam
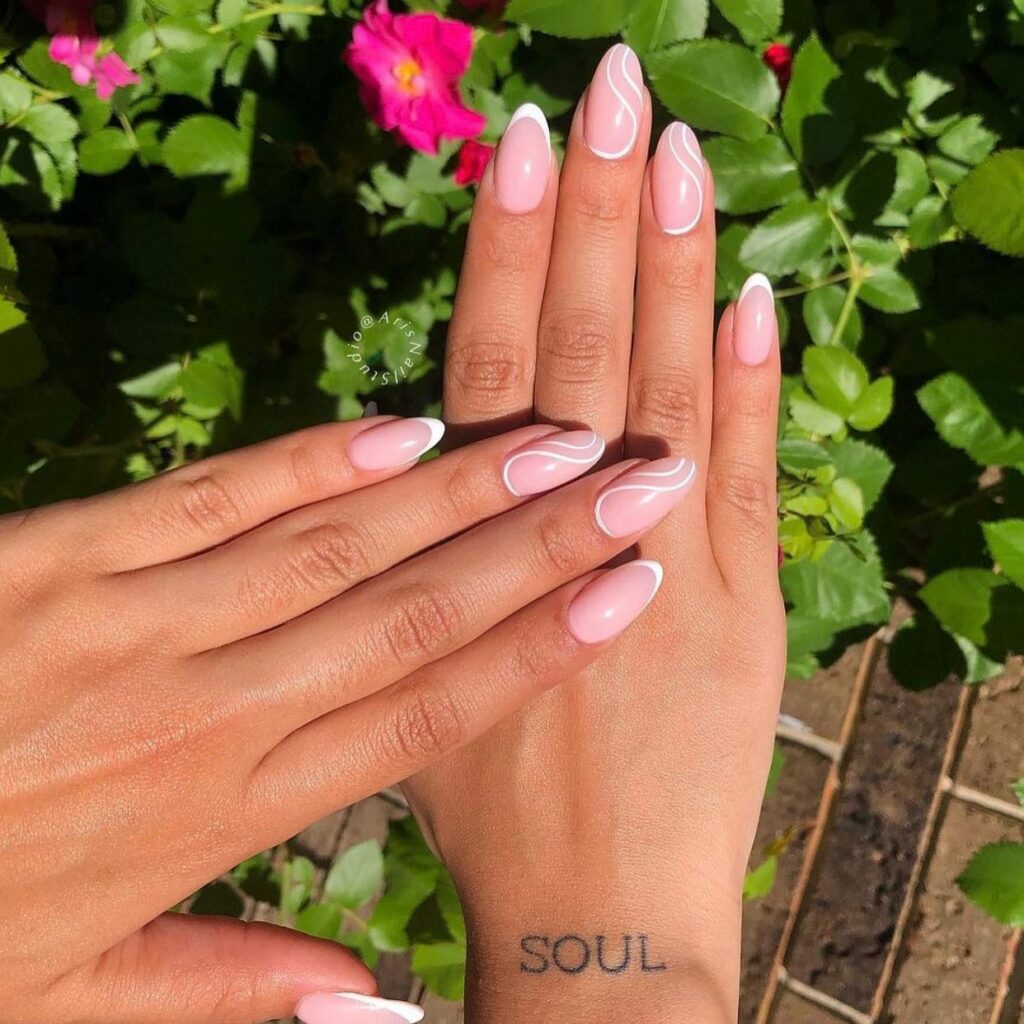
Geometric shapes are a quick way to add sophistication. Use strips of nail tape to create triangles or hexagons, then fill them in with contrasting colors like gold and black. This is for those who appreciate the art of symmetry.
Ombre Magic: Sunset Illusion
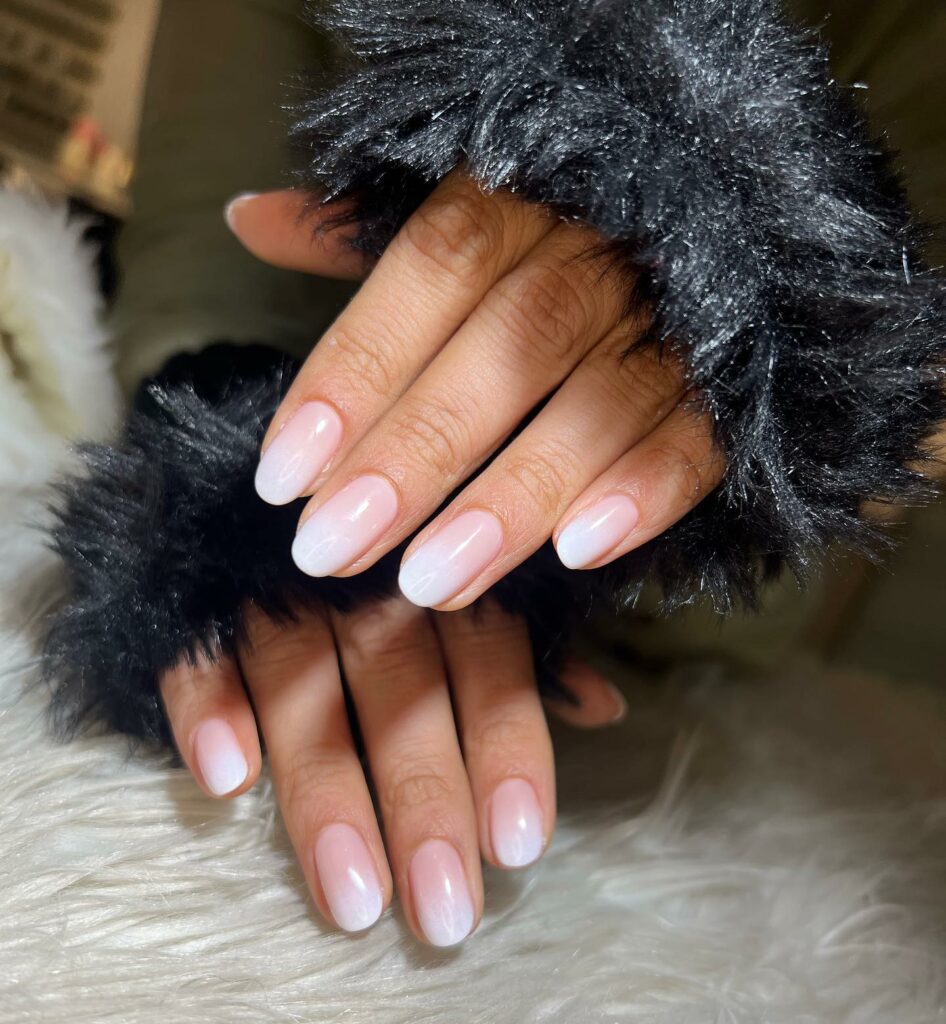
Take your nails on a journey with a beautiful ombre effect from dusk to dawn. You can achieve this with a sponge application—ensure your colors blend well. It’s like watching a New Year’s sunrise on your nails.
Mini Art Gallery: Abstract Strokes
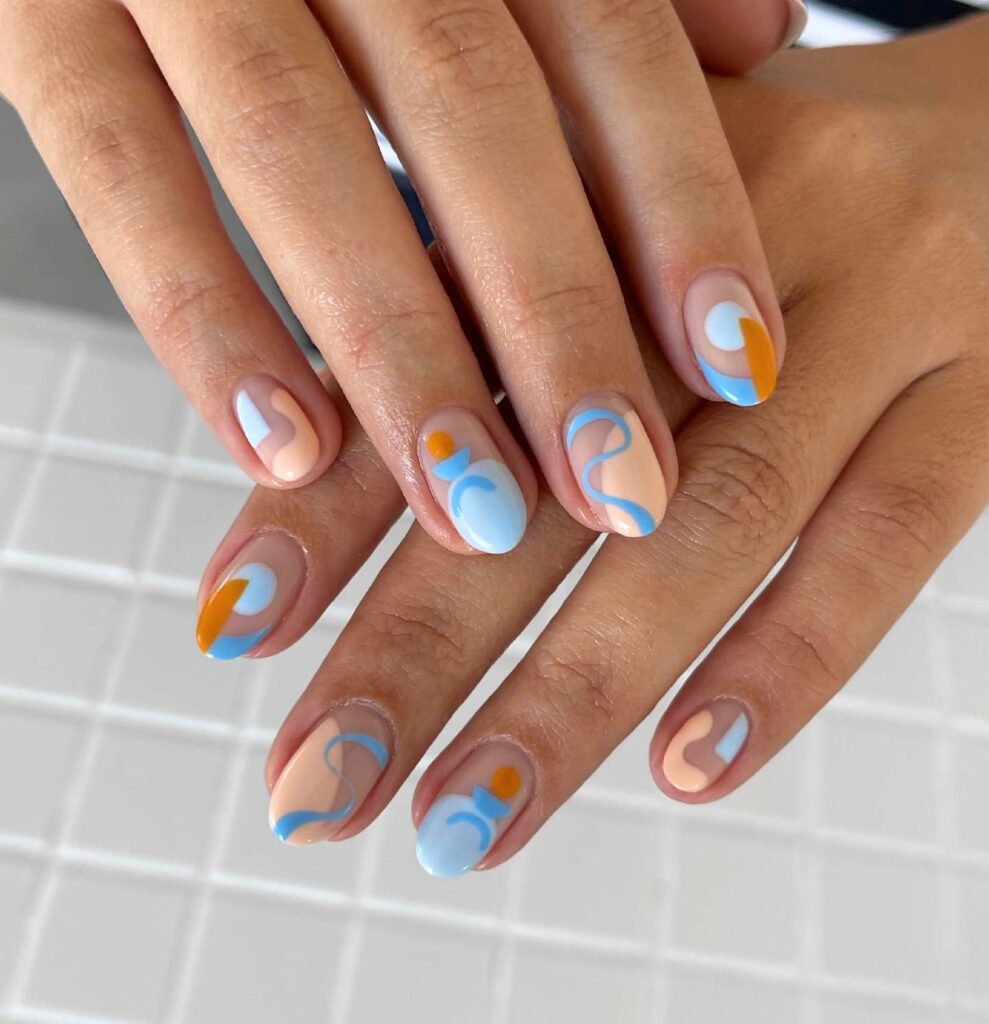
Unleash your inner artist by painting abstract strokes on a neutral base. Use vibrant colors to create a mini-masterpiece on each nail. It’s a fun and eye-catching way to ring in the New Year.
Time’s Ticking: Clock Face
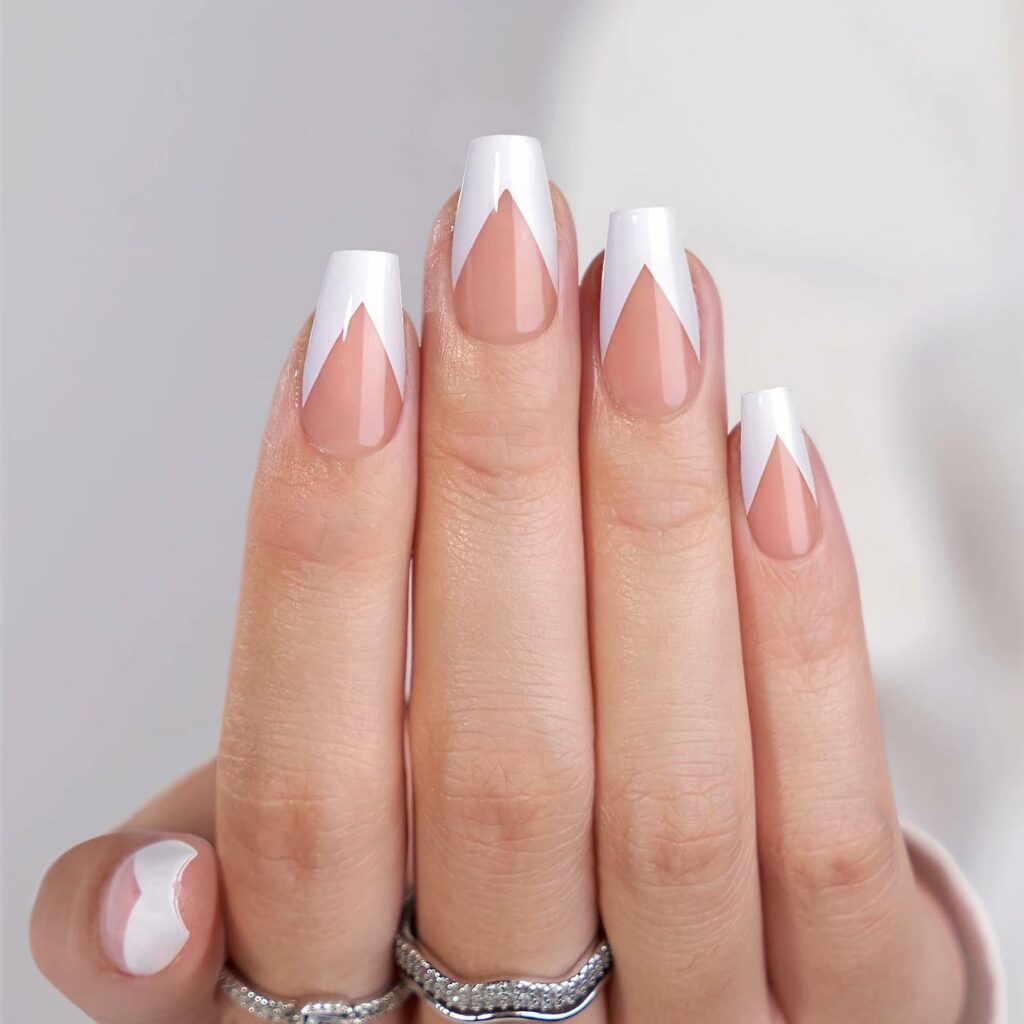
There’s something incredibly poetic about having a clock face on your nails for New Year’s. Use a fine brush to draw the clock, hands pointing to midnight. It’s a subtle reminder that a fresh start is just a tick-tock away.
Velvet Touch: Textured Elegance
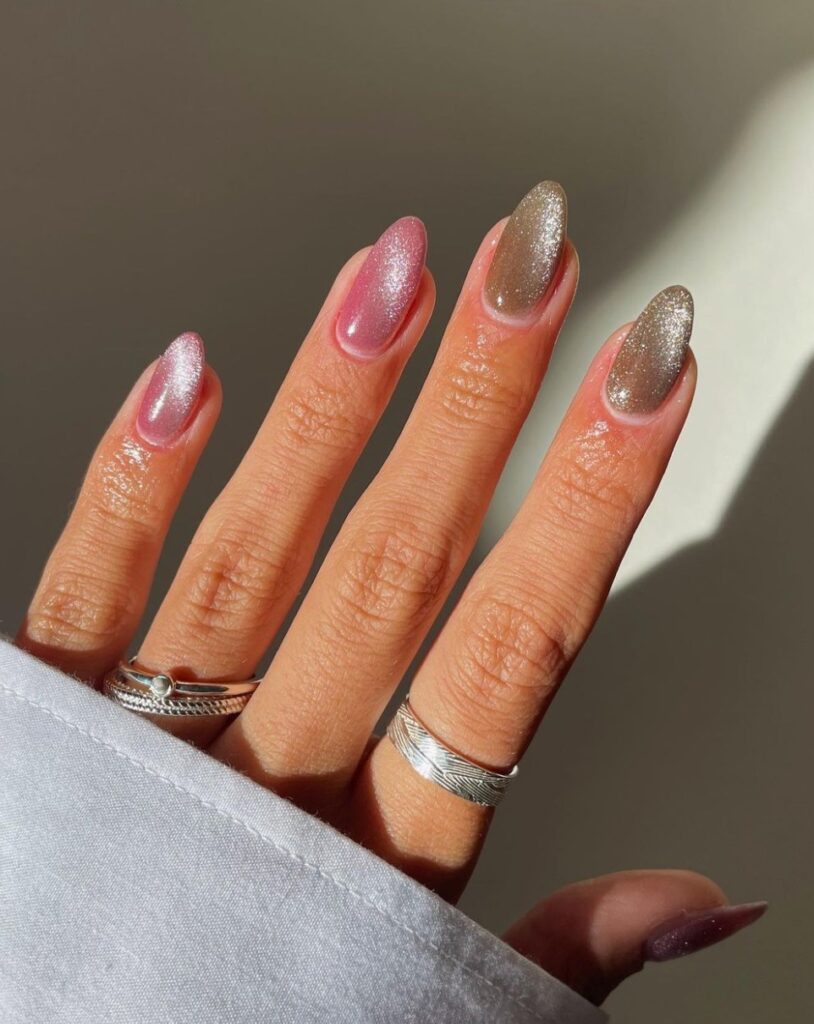
Ever tried velvet nail powder? The New Year is the perfect occasion. Apply a coat of adhesive and sprinkle the velvet powder over your nails for a plush, textured finish. It’s comfort and luxury right at your fingertips.
How Difficult Are These Designs To Recreate?
The level of difficulty for these nail designs varies widely. Some are easy peasy—like the designs involving nail stickers or foil squares—that even those new to nail art could replicate without much fuss. Others require a more practiced hand; for example, designs with intricate hand-painted details or those involving multiple layers and techniques. You’ll want to gauge your skill level and time commitment before diving into each design.
If you’re a beginner, you may want to start with simple patterns and upgrade to more elaborate designs as you become more comfortable with various tools and techniques. Alternatively, you could always visit a skilled nail technician to bring these festive visions to life.
Bottom line? Don’t be discouraged if you don’t nail it the first time. Practice makes perfect, and there’s a design out there for everyone! So why not give it a go? After all, nothing says “New Year, New Me” like a fresh set of nails.
8 Tips for Maintaining the Nail Art Beyond The Big Night
- Use a High-Quality Top Coat: A good top coat is worth its weight in gold. It provides a protective layer over your nail art, offering extra shine and longevity. Reapply the top coat every 2-3 days to keep chips at bay.
- Oil Up: Cuticle oil isn’t just for your cuticles; it can help maintain the health of your entire nail. A daily application will keep your nails and cuticles moisturized, which in turn helps your manicure last longer.
- Wear Gloves for Chores: Wear gloves if you’re doing any household chores involving your hands being in water or handling chemicals (like dishwashing or cleaning). It’s an easy way to protect your artwork from the elements.
- Avoid Harsh Products: Products like acetone can be harsh on your nails and can strip away the top coat. If you need to make corrections or adjustments to your nail art, use non-acetone removers.
- Be Mindful of Your Hands: It sounds simple, but the more cautious you are with your hands, the longer your nail art will last. Avoid using your nails as tools to open things, and try not to knock them against hard surfaces.
- Keep ’em Short: Longer nails are more prone to chipping and breaking, which could ruin your beautiful design. If you’re sporting intricate nail art, consider keeping your nails shorter.
- Touch-Ups are Your Friend: Keep the colors you use on hand for small touch-ups throughout the week. A tiny chip can often be easily fixed if you catch it early.
- Switch to Gel: If you find that regular nail polish doesn’t have the power you need, consider switching to gel polish for your art, as it tends to last much longer.
Conclusion
And there you have it, folks! We’ve explored a galaxy of nail designs that are perfect for ringing in the New Year and surefire conversation starters. From starry skies and metallic hues to more complex designs like abstract art, there’s something for everyone, regardless of skill level. If you’re new to DIY nail art, starting simple and working your way up is okay. And hey, if you mess up a little? That’s what New Year’s resolutions are for—learning and growing. Just be sure to invest in quality products and tools, and take your time for the best results. With the variety of designs, you’re only limited by your imagination and perhaps a bit by your steadiness of hand. So why not prepare those nails New Year’s and step into 2023 with your best hand forward? Happy painting!
Feature image @nailsbyalsn via Instagram

