Table of Contents
Hey there, fellow beauty lovers! Let’s face it, we’re all super busy these days, and hitting the salon might not be top of the agenda. But that doesn’t mean you have to skip out on the joy of a relaxing pedicure. I’m here to show you how to bring that salon bliss straight into your living room. In this blog post, I’ll walk you through everything you need to pamper those feet till they’re soft, happy, and utterly spoiled. It’s your time to shine, right at home, no appointment necessary! Grab a comfy seat and a warm drink, because we’re about to dive into the ultimate guide to crafting the perfect at-home pedicure experience. Let’s get those toes twinkling!
Setting Up Your Pedicure Haven
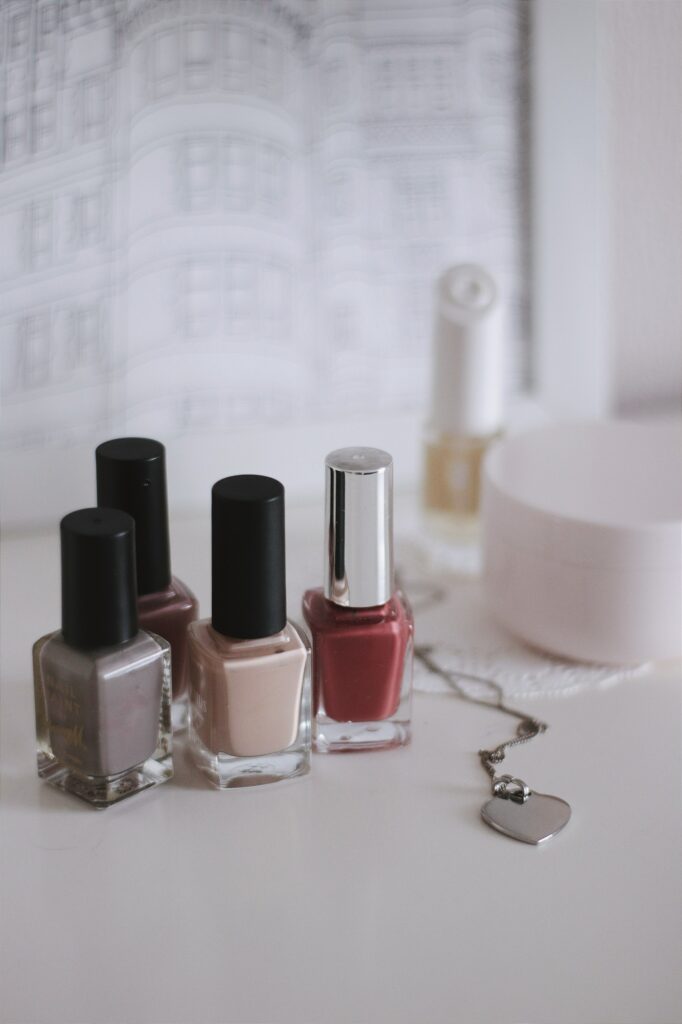
Before you start, it’s crucial to carve out a little sanctuary for yourself. Clear a space and lay out all your pedicure essentials, creating a mini spa in your living room. Picture this: a clutter-free area with a stable surface where you can steadily rest your foot while transforming it into a beautiful thing. It reminds me of my little nook at home, where I enjoy some ‘me’ time, a space that brings a sense of tranquility and organization. Trust me, you don’t want to be scampering around with wet nails looking for that elusive nail file.
Here are the magic wands you’ll need for this transformation:
- Nail polish remover
- Cotton pads
- Straight edge clippers
- Dual grit file
- Nail buffer
- Foot file
- Scrub
- Lotion
- Foot soak or liquid soap
- A cuticle pusher or orangewood stick
- Cuticle serum
- Towel
- Base coat
- Nail polish
- Quick-drying top coat
Erasing the Canvas
The first milestone in our pedicure journey is bidding farewell to the old nail polish. And here’s a tip straight from my personal experience: ditch those cotton balls that leave annoying fuzzies behind and opt for lint-free cotton pads. I found my favorite Ulta Premium Cotton Pads to be a lifesaver in this regard.
Choosing a nail polish remover can be tricky, but investing in a healthier option like the Mineral Fusion Nail Polish Remover, which is acetone-, paraben-, and phthalate-free, promises a safer haven for your nails in the long run. If you are like me and have a penchant for those dark, stubborn nail polishes, Cutex’s Gel Nail Polish Remover might be your knight in shining armor!
Once you’re all geared up, drench the cotton pad in the remover and press it gently onto your nail, letting the old polish soak up the remover before you wipe it away. For those pesky nail stains, a touch of lemon juice works wonders – a little tip I learned from Tuttle, and it has been a game-changer.
Foot Spa at Home
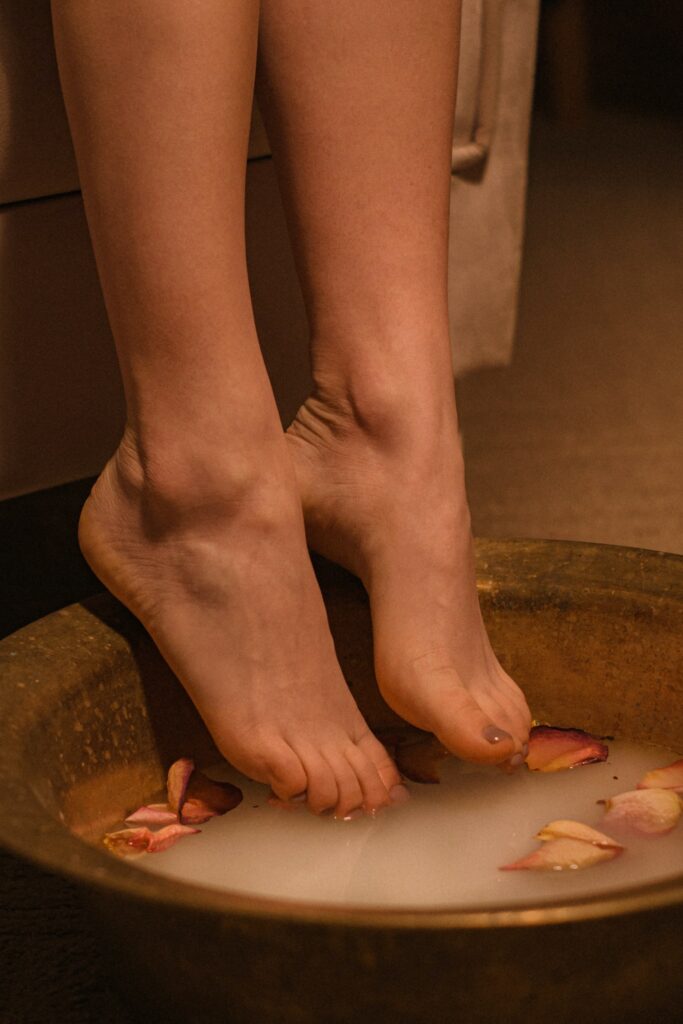
Now, onto my favorite part! There’s nothing like a soothing foot bath to relieve the day’s stresses. Immerse your feet in a delightful soak that softens the skin and pampers your senses. MT BareLuxury comes highly recommended by Haile, promising a cleansing and detoxifying session that leaves your skin glowing.
But worry only if you have a specialized foot soak at hand. Your trusted bath soak or a splash of your favorite liquid soap can work wonders, too. Let your feet bask in this luxury for about 10 minutes before patting them dry with a clean towel, ready for the next step in their transformation.
Smoothing the Way
With your feet feeling soft and supple, it’s time to address those rough edges with a gentle yet effective scrub. Equip yourself with a reliable pumice stone or foot file and work your way around, focusing on the balls of your feet, the sides of your heels, and around your toes. Remember, the goal is to smooth the rough patches without going overboard. A lesson I learned the hard way – let’s say too much enthusiasm can be a bad thing!
Cultivating Cuticles
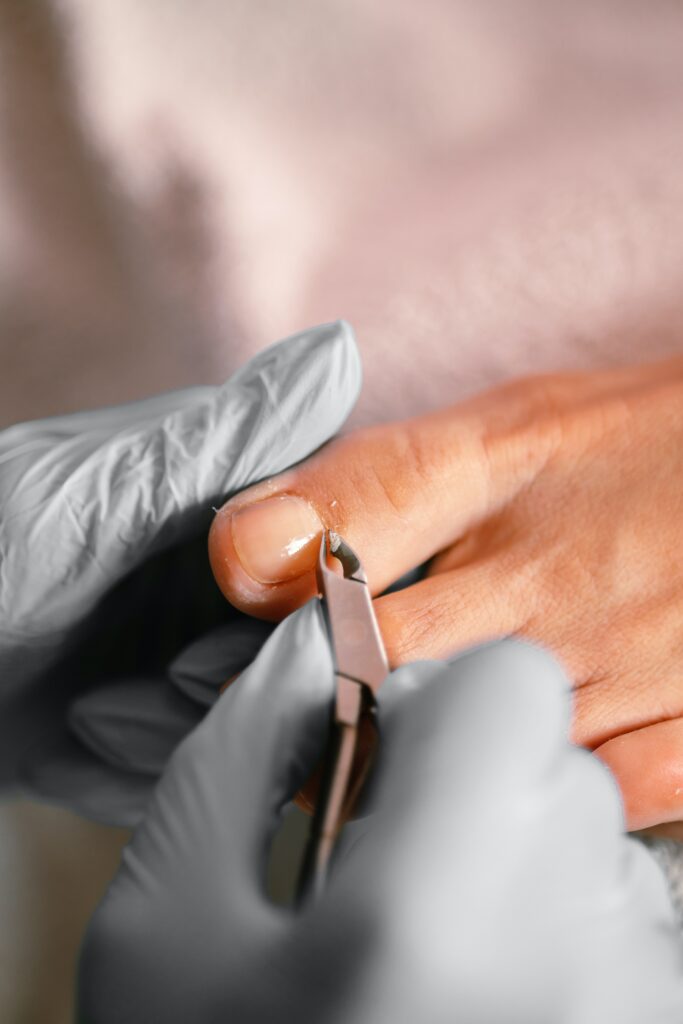
As we near the end of our pedicure adventure, let’s talk cuticles, the guardians of our nails. While pushing back and buffing your cuticles is perfectly fine, cutting them is a task best left to professionals. In my early days of exploring home pedicures, I realized how important it is to tread carefully with cuticles to avoid unwelcome accidents.
Dive into this final step with a revitalizing soak, an essential prelude to tending to your cuticles. This process not only cleanses and purifies the skin but also helps reduce inflammation, setting the stage for the grand finale of your pedicure session. Once your cuticles are soft and pampered, a cuticle remover will be your ally in achieving that neat, polished look.
Setting the Stage: Trim and Buff
Let’s begin with the golden rule of any nail endeavor: proper nail prep. Imagine this as setting a flawless canvas for a masterpiece to unfold. Dive into this phase with a reliable pair of clippers, like the Mehaz Professional Angled Toenail Clipper. Trust me, a good clipper can make a world of difference!
A little advice from my heart: to prevent nail woes, always trim your nails straight across, keeping them just above the skin. Then, unleash the magic of a buffer to even out any irregularities, creating a perfect base for your polish later on. Haile champions this step as a gateway to a flawless finish.
Crafting Your Canvas: File and Shape
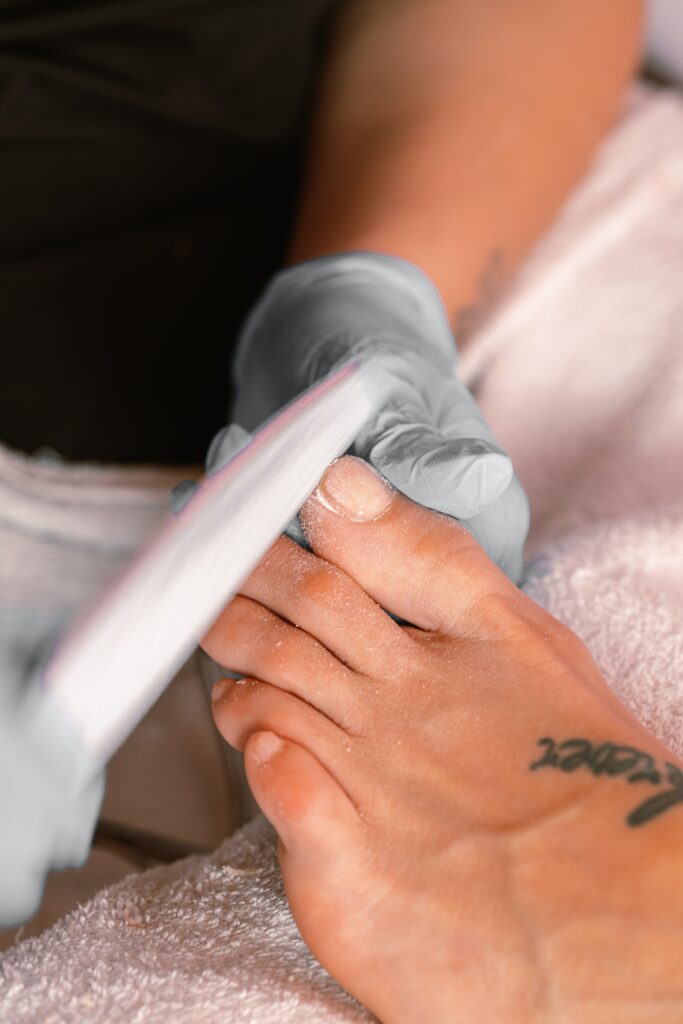
Next up is a session of filing and shaping set to bring out the authentic charm of your nails. Remember when I ventured into nail shaping with much enthusiasm but little expertise? Oh, the uneven edges still haunt me! Well, I learned the hard way so you don’t have to. Always work in one direction with a dual grit file to achieve that perfect shape without hassle.
Take a leaf from Tuttle’s book and choose a nail shape that complements your lifestyle. If you’re constantly on the move like me, shorter, round nails are your best bet to prevent those painful nail snags during workouts or outings.
Exfoliation Magic: Scrub Your Feet and Legs
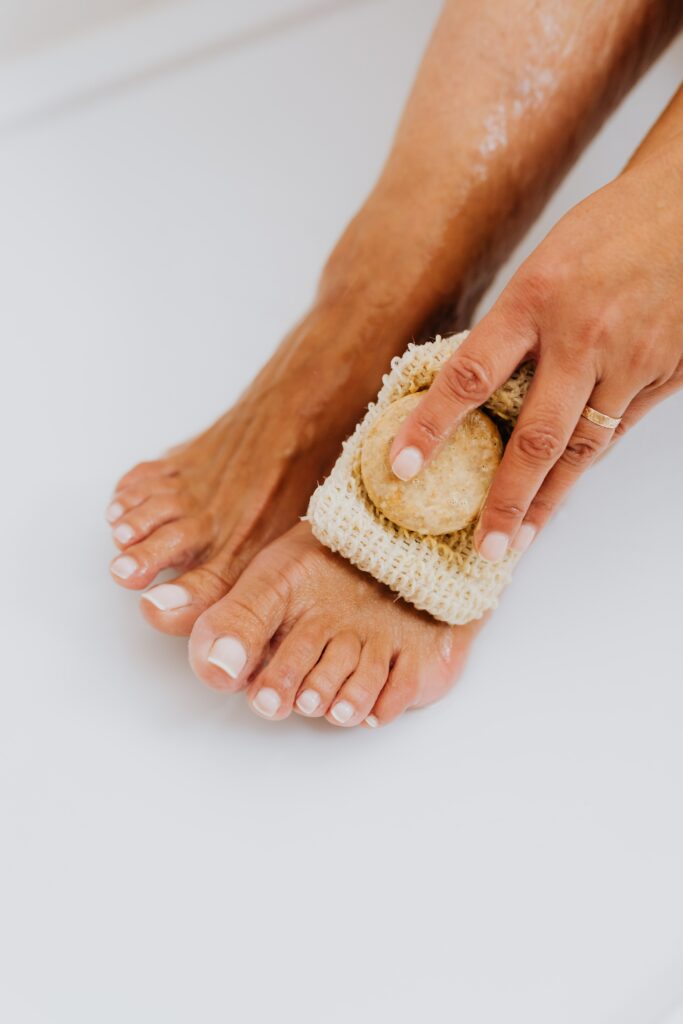
Now, who doesn’t love a spa-like experience at home? It is time to pamper yourself with a rejuvenating scrub that targets your feet and lower legs, too. You could whip up a DIY scrub or opt for ready-made ones like MT BareLuxury’s offerings that promise exfoliation and a delightful sensory experience.
I absolutely swear by this step. After a long day, this scrub session feels like a mini vacation, leaving your skin glowing and ready to soak up the goodness of a moisturizer. Haile echoes this sentiment, emphasizing the transformative power of a good scrub.
Hydration Heaven: Moisturize Thoroughly
Let’s lavish some love on our feet with a luxurious moisturizer. My personal favorite is The Body Shop’s Hemp Foot Protector. It feels like wrapping your feet in a hydrating hug, right? Start from your toes and work your way up to your calves, enjoying a mini massage session that leaves your skin nourished and pampered.
The Grand Finale: Apply Nail Polish
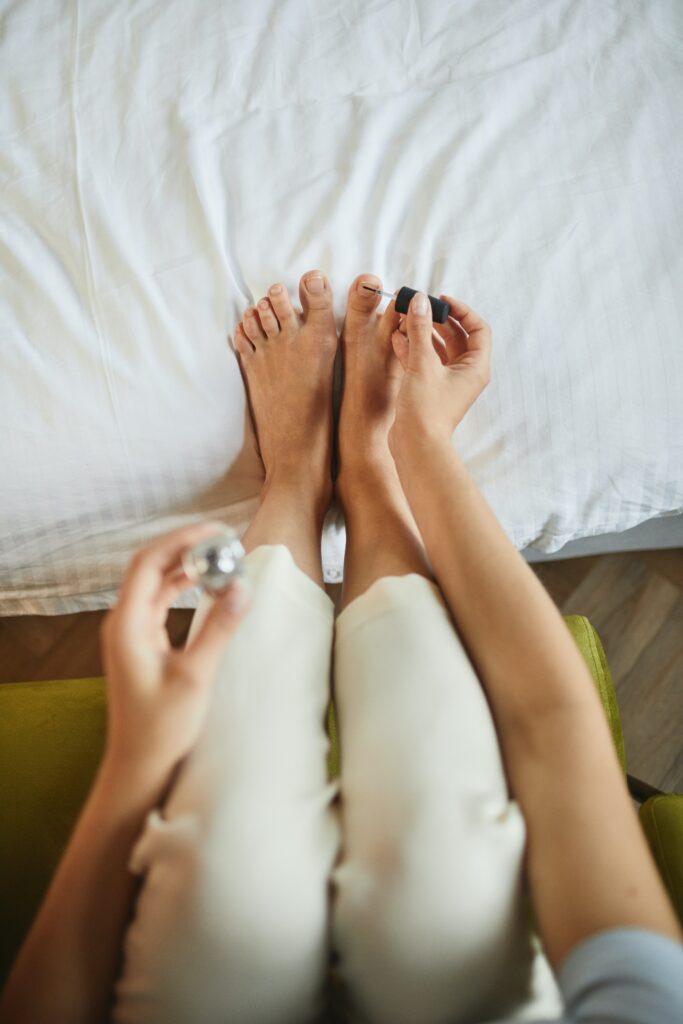
Now, we enter the exciting phase of adding color to our prepped nails. Before you start, ensure a clean slate by swiping your nails dry to remove any residue. Then, glide on a thin base coat, setting the stage for your favorite nail color. I must confess, painting within the lines has never been my strong suit. But Tuttle introduced me to Olive & June’s The Poppy, a handy tool that has been a game-changer for steady application.
As you adorn your nails with vibrant hues, remember to start with a thin coat, followed by a second layer for that perfect finish. Trust me, patience here pays off with a flawless outcome!
Seal the Deal: Top Coat and Cuticle Serum
As we near the end of our delightful pedicure journey, let’s seal our masterpiece with a quick-drying top coat, ensuring your lovely color stays put for days to come. I like to think of this as adding a protective shield, keeping those vibrant colors safe and shiny.
Remember to pamper your cuticles with a nurturing serum, a ritual that guarantees a longer life for your pedicure. Tuttle’s suggestion of daily cuticle serum application has been a precious tip in my beauty routine, promising days of chip-free happiness!
5 Products I Use For The Foot Soak
- Epsom Salt: A staple for any foot soak, it helps to soothe aches and soften the skin. You can enhance it with a few drops of essential oils like lavender or eucalyptus for a spa-like experience.
- Tea Tree Oil Foot Soak: Renowned for its antifungal and antibacterial properties, it’s excellent for keeping foot infections at bay while providing a refreshing sensation.
- MT BareLuxury: As mentioned in your earlier text, this specialized product range offers various options, including detoxifying and calming packs for a luxurious foot spa experience at home.
- DIY Natural Foot Soak: You can soak at home using warm water mixed with honey and lemon juice. This concoction will help to soften and refresh the feet naturally.
- Lush Volcano Foot Mask: This cooling and deodorizing foot mask helps soften hard skin and freshen the feet.
Remember to choose products based on your preferences and your feet’ specific needs, such as dryness or sensitivity. You can also consult product reviews or even seek recommendations from fellow beauty enthusiasts to find the perfect match for your pampering session!
3 Steps You Can’t Afford To Skip!
Painting nails beautifully is an art that goes beyond just applying a base coat, nail polish, and a top coat. Here are a few additional steps and tips that can enhance the process and result:
Prepping the Nails
- Clean the Nails: Before reaching for the base coat, make sure your nails are clean, dry, and free from oils or old polish. You can use a nail polish remover or a nail cleanser for this.
- Buffing: After cleaning, gently buff your nails to create a smooth surface. This step helps to even out ridges and create a better adherence surface for the polish.
The Painting Process
- Using a Nail Primer: Before the base coat, some people prefer to use a nail primer. It helps to create a bond between the nail and the base coat, making the polish last longer.
- Applying a Base Coat: As you mentioned, a base coat is essential. It protects your nails and ensures a smooth canvas for the polish.
- Thin Coats are Your Friends: When applying the polish, go for thin, even coats. It might be tempting to use a thick layer, but thinner coats dry more evenly and prevent bubbles.
- Seal the Tips: After applying the polish, run the brush along the nail’s tip to seal it and prevent chipping.
- Use of Nail Art or Accents: If you’re feeling creative, this is the time to add any nail art or accent nails. From simple dots to intricate designs, the sky’s the limit!
Finishing Up
- Applying a Top Coat: A top coat seals in your color and provides a glossy finish. It also protects your nails from chipping and extends the life of your polish.
- Cleaning the Edges: If there are any minor mistakes or polish on the skin, clean it up with a small brush dipped in nail polish remover.
- Quick-Dry Drops or Spray: Consider using quick-dry drops or sprays to speed up the drying process. These products help to solidify the polish faster, preventing smudges.
- Moisturizing: After drying everything, moisturize your cuticles and hands with a good hand cream and cuticle oil to keep them soft and nourished.
Patience and practice are the keys to a perfect nail paint job. Happy painting!
How Often Should A Home Pedicure Be Done For Optimal Results?
The frequency of home pedicures can depend quite a bit on individual preferences, lifestyle, and the specific needs of your feet. Generally, indulging in a pedicure every 3-4 weeks is a good standard to follow for maintaining well-groomed and healthy feet. This timeframe allows your nails to grow enough to benefit from a fresh shape-up, and it’s a suitable interval to keep calluses under control without overdoing it.
For those who frequently wear open-toed shoes or sandals, you might prefer to freshen up your polish more frequently to keep your toes looking their best. Conversely, during the winter months, when your feet are often bundled up, you can go a little longer between pedicures.
Regardless of the exact frequency, regular foot soaks and moisturizing can be done more often, even weekly, to maintain soft, comfortable feet. It’s also an excellent opportunity to check in with your feet, keeping an eye out for any potential issues, such as ingrown toenails or fungal infections, which you certainly want to catch early.
Remember, the goal is to keep your feet pampered and looking their best, so adjust the schedule to what feels suitable for you and enjoy your at-home spa time!
Conclusion
And there you have it, fellow self-care aficionados! We’ve ventured through each step of crafting the perfect pedicure in the comfort of our own homes. Remember, the secret to a salon-like pedicure lies in the prep work – so don’t rush those initial steps. But also, it’s essential to recognize that beauty routines are deeply personal, and it’s okay to customize this routine to suit your individual style and needs. As you embark on this pampering journey, consider a few caveats: always prioritize hygiene to prevent infections, and choose products that suit your skin type to avoid adverse reactions. As you step into this world of home pedicures, may your feet look fabulous and feel revitalized, too. Here’s to taking a moment for ourselves and stepping back into the world with renewed energy and spectacularly pampered feet! Let’s turn our humble abode into a mini spa sanctuary, one pedicure at a time. Happy pampering!
Feature Image Photo by Marcus Aurelius on Pexels


