Table of Contents
Are you in a sticky situation? You’ve invested time, effort, and passion into crafting a stunning gel manicure, only to find the finished result to be more gummy bear than glossy glamour. Well, polish your patience and breathe; you’ve just stumbled upon your ultimate guide to demystifying this common gel nail predicament.
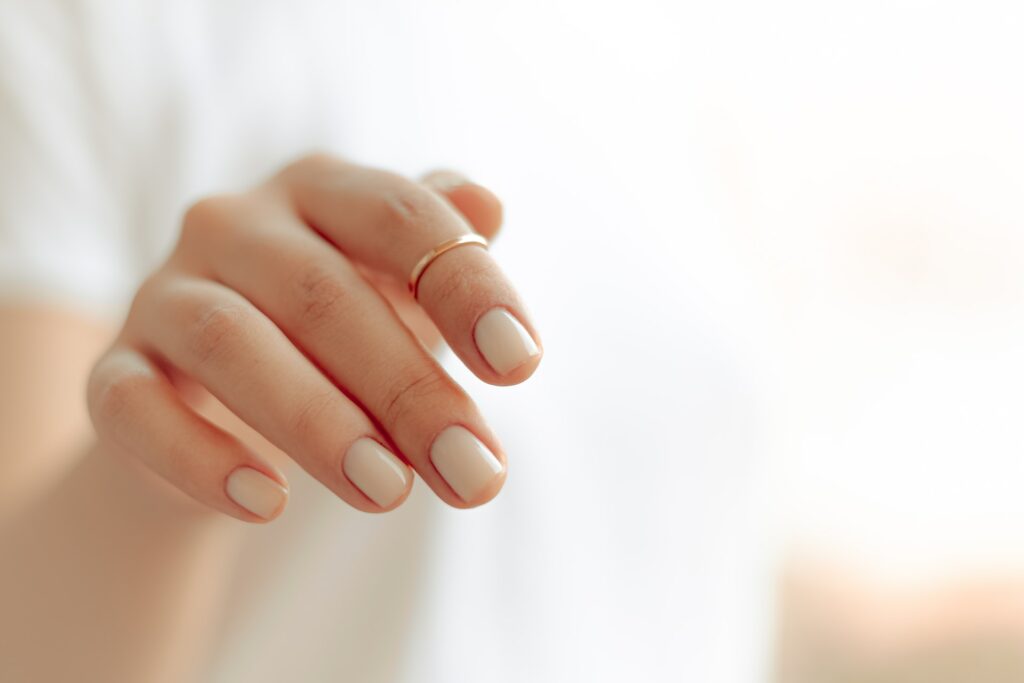
In today’s post, titled “Gel Nails Are Sticky – What Is The Reason?” we’re embarking on a deep-dive exploration into the enchanting yet sometimes exasperating world of gel nails. Whether you’re a seasoned nail tech, a DIY manicure maven, or a beauty enthusiast on the quest for flawless fingertips, this comprehensive guide will elevate your nail game.
Together, we’ll uncover the reasons behind that pesky stickiness, debunk common myths, and unravel the art and science behind achieving the perfect gel manicure. From understanding the importance of each layer and knowing your UV from your LED lamps to practical tips and solutions – we’ve got it all covered.
So, please sit back, relax, and let me help you turn that tacky touch into a smooth sensation. Let’s embark on this colorful journey to perfect those gel nails because every beauty queen deserves a crown, and your nails are no exception. Stay tuned, and let’s get unstuck together!
Why So Sticky? Your Gel Nails’ Untold Story
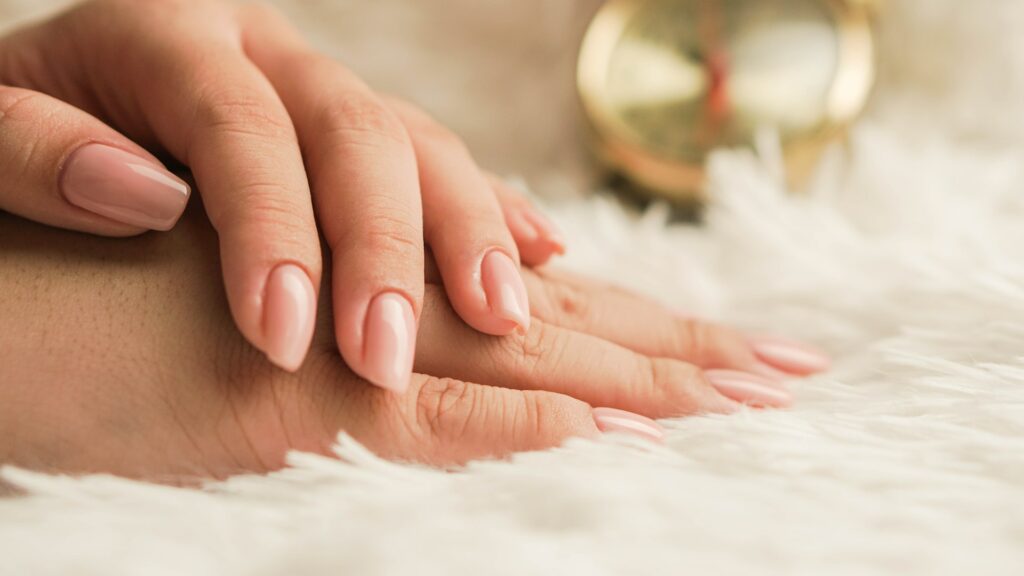
Gel nails turning sticky is like the beauty equivalent of finding out your favorite lipstick has been discontinued – frustrating, uncomfortable, and downright inconvenient. But darling, understanding the ‘why’ can help you manage this situation with grace and agility.
From my gel nail journey, I’ve discovered that the thickness of the gel polish layer plays a considerable part. In the initial days of my gel nail affair, I’d lavishly apply thick layers, resulting in an unwanted stickiness that I couldn’t understand. Remember, moderation is essential, and a heavy hand can leave you in a tacky spot, quite literally!
Gel polish can pull a sticky trick if it’s not cured correctly. Once, I removed my nails prematurely from under the lamp to save time. The result? A sticky situation that took me longer to fix than if I’d just waited a few extra moments.
When Beauty Products Collide: The Chemical Story
Surprisingly, stickiness can also occur due to our beloved beauty products! Yes, you heard it right. When it gets too cozy with your gel polish, your hand cream or oil can cause a chemical reaction that leads to this stickiness. Think of it like mixing polka dots with stripes – sometimes, they don’t go well together.
Inhibition Layer: The Invisible Culprit
Another invisible culprit can be the inhibition layer – an uncured gel layer that can be left behind after curing with UV light. Once, after a late-night gel manicure session, I noticed my nails were unusually sticky the following day. After some research, I realized I was dealing with this inhibition layer. Sneaky.
The Ghost of Gel Nails Past
Also, let’s pay attention to the ghost of our past gel applications. If we don’t correctly exorcise these remnants, they could lead to – you guessed it right – sticky nails.
Stick No More: Banishing the Gel Nail Ghosts
Having battled these sticky situations myself, I’ve come up with a few trusty solutions:
- The Magic Potion – Isopropyl Alcohol: Dab a bit of this on a cotton ball and swipe it across your nails. Voila! The sticky residue will vanish, leaving your nails feeling fresh and fabulous.
- Old School Wisdom – Soap & Water: Warm soapy water can effectively remove dirt, oils, and products contributing to stickiness. Plus, it’s a soothing mini-spa session for your hands.
- Nail Polish, the Unsung Hero: I discovered this trick during my beach vacations when I only had a bottle of regular polish. Slapping a layer of it over my gel nails eliminated the stickiness and added a surprising pop of color!
- UV Lamp – Your Mani’s BFF: If an inhibition layer is your issue, giving your nails an extra 30-60 seconds under the UV lamp can make a difference.
- Gel Cleanser – The Ultimate Lifesaver: A gel cleanser is your knight in shining armor regarding sticky residue. It’s specially designed to tackle this issue, leaving your nails fresh, clean, and ready for the next adventure.
So there you have it, my lovelies. My go-to solutions for sticky gel nails. No more settling for tacky; let’s embrace the smooth and shiny.
Deflecting the Sticky Woes: How To Prevent Sticky Gel Nails
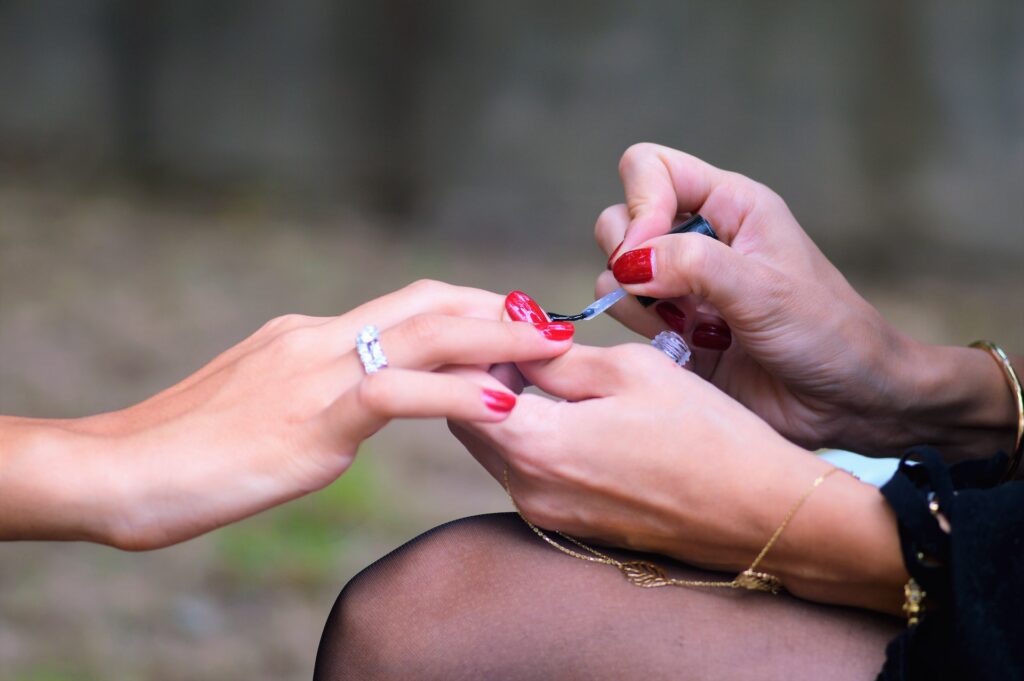
First things first, prevention is our beauty mantra. Here’s a handful of tips and tricks from my beauty journal to help you keep those sticky issues at bay:
- Begin with a Solid Base: Always, and I mean always, use a base coat before your gel polish. It’s like the solid foundation to your dream house, acting as a barrier to prevent any buildup and, of course, stickiness.
- The Art of Applying Gel Polish: Application is where the magic happens. Nail this part (pun intended), and you’re already winning. Use just the right amount of polish and cure it properly to say goodbye to potential stickiness.
- Clean Nails for the Win: Just like we appreciate a clean canvas for our masterpieces, our natural nails crave cleanliness before gel application. No dirt or oils means no reactions with the gel polish.
- Patience is Key – Let Layers Dry: One of the most important lessons in my beauty journey – never rush the drying process. Let each layer of polish dry thoroughly before you apply the next. It prevents the layers from mixing and causing stickiness.
- Proper Removal – The Final Act: Removing gel nail polish properly is a game-changer. Invest in high-quality acetone and gently buff away the residue. It’s like ensuring you’ve left no trace behind for the next fabulous nail adventure.
Operation: De-Stick Your Gel Nails
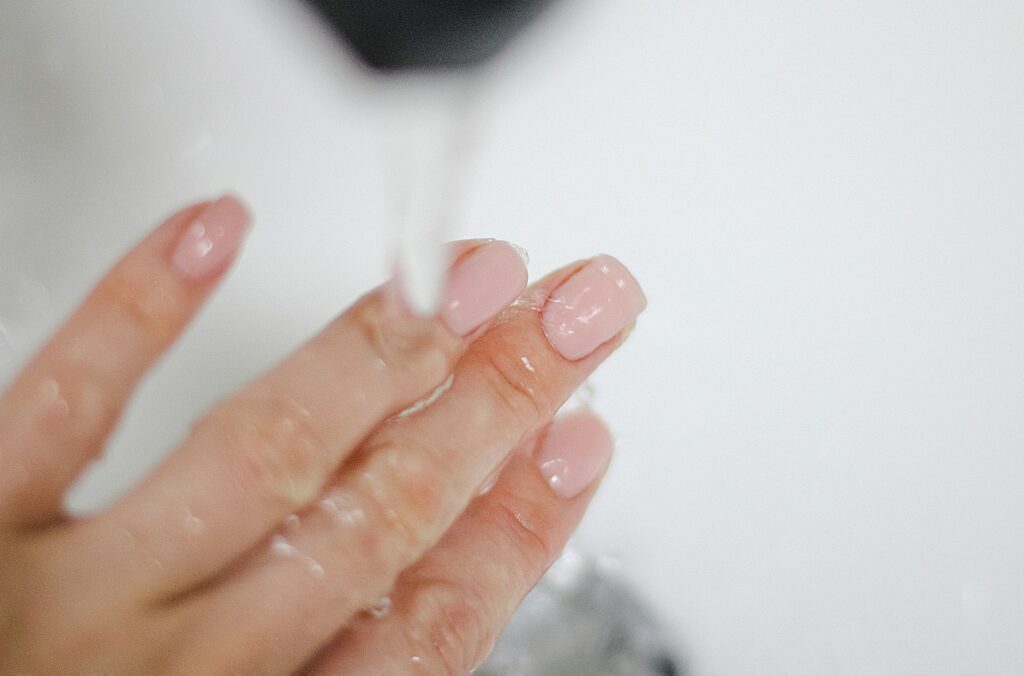
Now, on to the next bit. Despite our best efforts, sometimes we end up with a sticky residue. But don’t fret – I’ve got you covered with some tried and tested solutions from my beauty arsenal:
- Isopropyl Alcohol – The Miracle Worker: This readily available alcohol can work wonders. Apply it to a cotton ball and gently rub away that stubborn stickiness. Remember to follow up with soap and water, as it can dry.
- Soapy Savior: Warm soapy water, besides being a pleasant mini spa session, can effectively clean your nails. It’s my go-to when I want a gentle yet effective solution.
- Nail Polish – A Surprising Solution: Regular nail polish can come to your rescue too. Apply it to your gel nails, let it dry, and then use a nail polish remover. It’s a fun way to solve the problem while changing your nail color!
- UV Lamp Magic: Placing your hands under a UV lamp can make the gel residue easier to wipe away. It’s my preferred method to avoid using chemicals on my nails.
- Gel Cleanser – The Sticky Residue Vanisher: Gel cleansers are like secret agents, specifically designed to remove any remnants of gel nail polish. A few gentle strokes, and voila – you’ll have smooth and shiny nails!
Remember, my lovely readers, beauty should be fun and fulfilling, not frustrating. With these handy tips and solutions, you can say goodbye to sticky residues and hello to gorgeous, salon-worthy nails.
Let’s Ward Off The Stickiness: Preventing Sticky Gel Nails
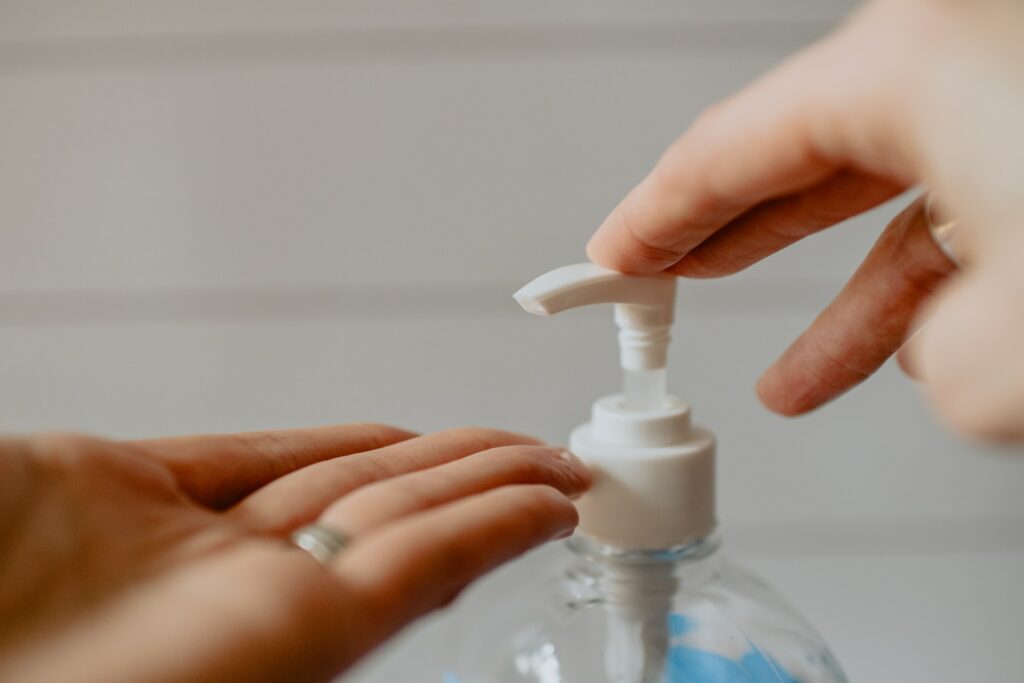
The Mighty Base Coat:
My first golden rule, the absolute non-negotiable, starts with a good base coat. Picture it as your gel manicure’s knight in shining armor, defending your nails from that dreaded stickiness. It’s like a protective blanket that also ups the longevity of your beautiful gel polish, bidding farewell to chipping or peeling.
Nailing the Gel Polish Application
Applying gel polish might seem like an uphill task, but practice makes perfect. One blunder that can land you in the ‘Sticky Situation’ is using too thick or too thin of a layer. Too thick a layer is a direct ticket to tacky town, while too thin might make your polish bid you goodbye sooner than you’d like. Aim for a light, even layer to hit that sweet spot.
Cleanliness is Next to Gel-is
That may not be the exact saying, but it should be! Clean your natural nails thoroughly before the gel polish meets your nails. Oils or grime can turn your dream gel manicure into a sticky nightmare. A simple soap and water routine or a nail polish remover can ensure they’re primed and ready to go!
Patience, My Dear
Applying the next layer of polish when the previous one hasn’t thoroughly dried is like stepping out with half-dried hair. It just invites trouble! So, patience, my lovely readers. A wholly dried layer before the next application is the secret to avoiding any stickiness, smudges, or smears.
Moisture, The Hidden Enemy
Water and your freshly done gel nails can sometimes be like cats and dogs. Water, steam, or moisture exposure might land you in the dreaded ‘Sticky Situation.’ My pro tip? Slip on some gloves when washing dishes or whenever you’re around water post-manicure.
Gloves – Your Nail’s Best Friend
While we’re on gloves, they aren’t just useful around water. Wearing gloves while doing chores can create a protective barrier between your nails and any potential stickiness-triggering factors. It’s an easy trick to keep your gel nails looking as fabulous as you are!
With these preventive measures, sticky gel nails will be a worry of the past. Remember, the key to an Instagram-worthy manicure is in these details – a base coat, correct gel polish application, pre-application nail cleaning, patience for drying, avoiding moisture, and trusty gloves. So, here’s no more stickiness and only fabulous, glossy, and perfect gel nails!
How Do I Prevent My Gel Nails From Becoming Sticky?
Preventing your gel nails from becoming sticky is all about understanding and adhering to the proper application process. Here’s a quick step-by-step guide to ensure you maintain smooth and beautiful gel nails:
- Start with a Clean Canvas: Before anything else, ensure your nails are clean, oil-free, and completely dry. You can achieve this by using a nail polish remover or washing your hands with soap and water.
- Apply a Base Coat: This is a crucial step that creates a barrier between your natural nails and the gel polish, helping to prevent potential stickiness and extending the lifespan of your manicure.
- Apply Gel Polish Correctly: Make sure you’re applying the right amount of gel polish – not too thin that it peels off easily and not too thick that it becomes sticky. The key is to use a thin, even layer.
- Allow Each Layer to Dry Fully: Patience is a virtue in nail art. Let each layer of your polish dry completely before moving on to the next. This helps prevent any layers from mixing, which can cause a sticky finish.
- Avoid Moisture: Keep your nails away from water, steam, or any forms of moisture right after application. This could make the polish sticky. Consider wearing gloves when washing dishes or performing other tasks involving water.
- Use Proper Removal Techniques: When it’s time to change your polish, remove it correctly. This involves using high-quality acetone and gently buffing away the residue with a nail buffer, ensuring no sticky residues are left behind.
Sticking to these steps can help prevent your gel nails from becoming sticky, ensuring a flawless, salon-quality manicure every time!
What Is The Inhibition Layer And How Does It Contribute To Stickiness?
The inhibition layer, often called the ‘tacky layer’, is a normal part of the gel nail curing process. It’s a thin, uncured layer of gel that forms on the nail’s surface after you cure (or harden) your gel polish under a UV or LED light.
Now, let’s break down why this layer exists: gel polish contains photoinitiators that activate when exposed to UV or LED light, causing the polish to harden or cure. However, the outermost layer is often left slightly uncured, forming the inhibition layer. This layer feels sticky and, if left uncared for, could smudge or chip your beautifully polished nails.
But don’t panic! The inhibition layer serves a purpose. It’s intentionally designed to stay sticky to help the next layer of polish adhere better, allowing for a smoother application and stronger bond.
However, if it’s the final layer of your manicure, you’ll need to remove this inhibition layer to avoid that undesirable stickiness. This is done quickly using a lint-free wipe soaked in isopropyl alcohol or a specialized gel cleanser, giving it a quick swipe over each nail. This removes the sticky layer and gives your nails a beautiful, high-gloss shine. Remember, it’s vital to creating that perfect at-home gel manicure!
4 Other Solutions For Fixing Sticky Gel Nails
There are always different paths to solving a beauty dilemma, and sticky gel nails are no exception. Here are a couple more potential solutions you might want to consider:
Use a Non-Wipe Top Coat: As mentioned earlier, the tacky inhibition layer is a typical result of curing gel polish. A non-wipe top coat could be your new best friend if this layer is particularly bothersome. These top coats are specially formulated to cure without leaving a sticky layer behind, letting you skip the cleanse-and-wipe step altogether.
Check Your Lamp: If you’re doing gel manicures at home, remember that the type and age of your lamp can affect your cure. Both UV and LED lamps have their specifics, and not all gel polishes are compatible with both types. Make sure to use a lamp that fits your gel polish’s requirements. Also, remember that bulbs don’t last forever, and an old or sub-par light may not fully cure your polish, leaving a sticky residue.
Inspect Your Gel Polish: If you’re continually facing the issue of sticky nails, it may be worth checking out the gel polish itself. Old or low-quality polishes can sometimes lead to less-than-perfect results. Also, some colors, significantly darker or heavily pigmented ones, require more curing time than the lighter shades.
Ask a Pro: If all else fails and you can’t shake the stickiness, it might be worth having a professional take a look. A skilled nail tech will have a wealth of knowledge and experience to draw from and can likely pinpoint what’s causing your sticky situation.
The world of gel nails can be tricky to navigate at first, but with a little patience and practice, you’ll be a pro in no time. Don’t let a little stickiness stop you from having the shiny, durable nails you love!
Conclusion
And there you have it, my friends! We’ve navigated the tricky world of gel nails, and together, we’ve learned how to prevent that pesky sticky situation. Remember, it all begins with that crucial base coat, followed by the perfect balance in gel polish application, ensuring our nails are squeaky clean before starting, patiently allowing each layer to dry completely, being aware of moisture’s sneaky sabotaging ways, and not forgetting our trusty gloves. It might seem daunting initially, but these steps will soon become second nature to you. Always remember that every precaution you take is an investment in your nails’ health and appearance. After all, your hands are your canvas and deserve to shine! Go ahead and conquer the gel nail world. Stay fabulous, stay beautiful, and most importantly, keep having fun on your nail journey. Here’s to gorgeous, sticky-free gel nails! You’ve got this!
Feature image by Chelson Tamares on Unsplash

