Table of Contents
Acrylics can be a game-changer, a style statement, a confidence booster. But oh boy, when one snaps? It’s not just a chipped canvas but a mini heartbreak, a dramatic gasp-worthy moment of “Why, the universe, why?” But fret not! Your distress signals have been received, and it’s time we banish that nail-dread once and for all.
You’ll become your own nail savior through the upcoming words of wisdom, learning the crucial steps to manage that unexpected acrylic nail mishap like a pro, whether at home, work, or even on a dream vacation. From immediate first-aid to longer-term fixes, I’ve covered you with easy, effective, and safe techniques. We’ll discuss how to minimize pain, prevent further damage, and restore your fabulous flair. Because let’s face it, nothing should stop us from being the fantastic divas we are. So, ready to conquer the world of broken acrylics? Let’s get started!
The Art of Proper Application
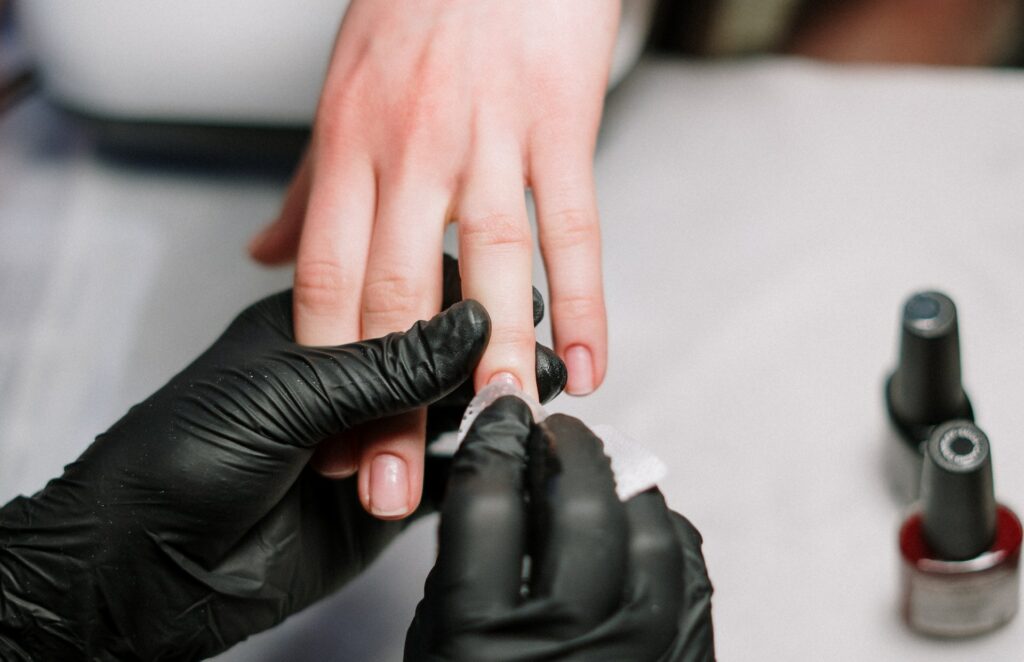
Imagine an artist with a lopsided canvas – the masterpiece would be somewhat skewed, wouldn’t it? Acrylic application is much the same. If the acrylic mix isn’t smoothed perfectly over your nails, it’s like wearing a dress two sizes too big – you’re bound to trip! The mixture must be just right, not too thick, and spread evenly across your nail beds.
And here’s a secret, straight from the bustling salons of Beverly Hills – getting the right balance of monomer liquid to adhere to the acrylic powder is critical. Think of this as the perfect cocktail blend. Too dry? Your nails lose their flexibility, and voila, we have a breakage.
I know we love a good DIY session, but learning from professional sources is crucial for acrylics. I can’t tell you how many YouTube tutorials I’ve watched to perfect this skill.
Prepping for Perfection
Did you know the secret to long-lasting, strong acrylics lies in the prep work? Skipping proper nail preparation is like forgetting to apply primer before your foundation – a recipe for disaster. Trust me, I learned this the hard way when I was just a green beauty enthusiast.
So, ladies, file away any rough spots or hangnails and trim excess skin around the nail bed. You’re building a base here that’ll make your acrylics look and last better.
Nail Removal: The Right Way
You wouldn’t rip off your favorite dress, would you? The same respect should be given to your acrylic nails during removal. Ditch those harsh chemicals and sharp tools and opt for a professional nail set. My go-to includes a cuticle pusher and manicure scissors – gentle, safe, and without a chance of causing nail damage.
Prevention: The Acrylic Armor
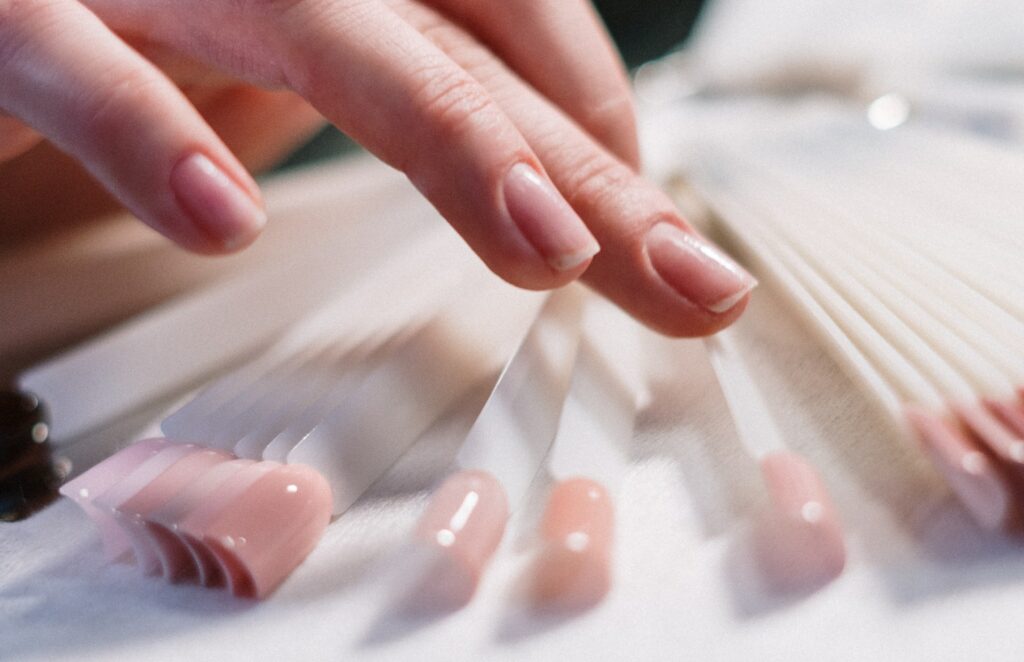
Having dabbled in acrylics for part of my blogging journey, I’ve learned that prevention is the ultimate secret weapon. My top tips? Choose quality products (I have a list of recommendations on the blog!), limit nail-straining activities, and please, don’t use your nails as tools!
Also, protect your nails from water or harsh cleaning chemicals – a good pair of gloves does the trick during house chores. When it comes to removal or refilling, if in doubt, seek professional help. I’ve spent many hours in my favorite salon chair – worth it!
Your cuticles deserve some love, too – a dab of lotion or oil works wonders, trust me! And finally, invest in a good nail strengthener. My favorite saved my nails from a few close encounters, and I’ve got a top ten list for you.
Navigating the world of acrylics can be a roller-coaster ride, but armed with these tips, I’m confident we can face any nail adversity that comes our way. Remember, my dears, in the world of beauty, there’s no hurdle too high to leap over with style!
Acrylic Woes: A Threat to Your Natural Nails?
So, you’ve broken an acrylic nail – ouch! Been there, done that, and yes, it’s not just a pain but a pain to handle. The real villain of this story? It could be the damage caused to our cherished natural nails underneath.
Picture this: a once radiant city (your nail bed) under attack by a fallen skyscraper (the broken acrylic). The aftermath can be rough, with layers of your natural nail torn away, leaving a vulnerable landscape behind. Those pesky microscopic invaders can also breach your natural nail’s defenses, causing potential infections.
Remember my summer trip to Hawaii? Sun, sand, and – a broken acrylic nail! It was a minor accident while surfing, but ignoring it led to an unwelcome bacterial visitor. Let’s not repeat that episode, shall we?
First Aid for Your Fallen Acrylic
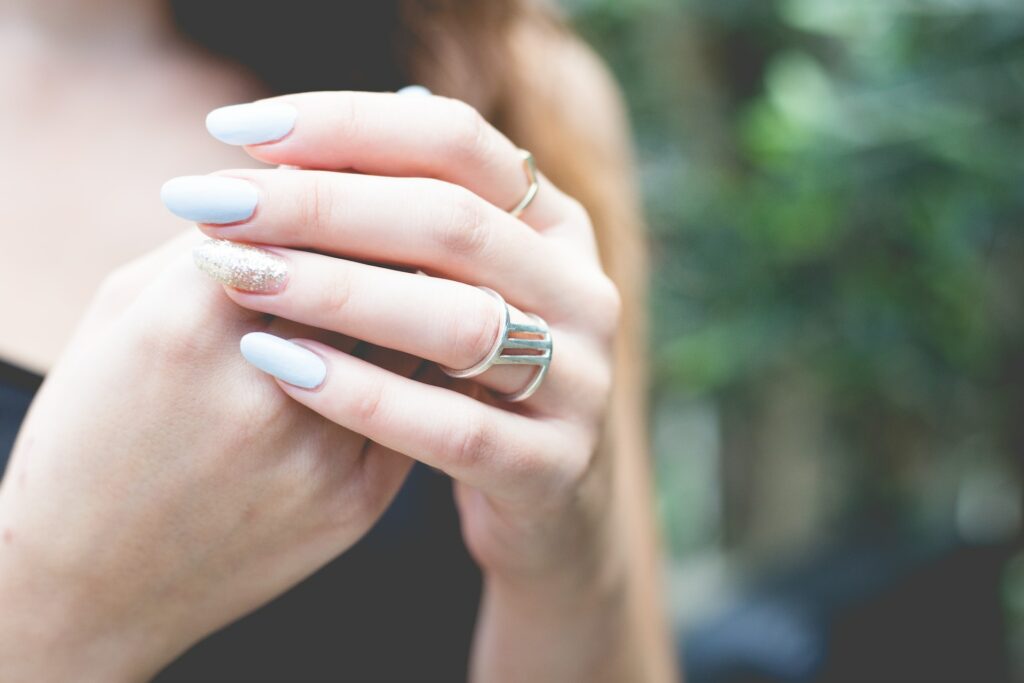
When you face an acrylic casualty, the battle plan is simple – don’t pick at it! Think of it as scratching a wound – it only makes things worse. Instead, bring out your handy clippers or gentle scissors to trim around the broken nail, dulling those sharp edges.
Post-trimming, file down the residue until your nail bed is as smooth as a baby’s bottom. My best friend during this process? A file with gentle grit. The aim is to prevent further tears or scrapes to your natural nails.
Next, channel your inner cleanliness guru. Clean your nail with disinfectant products like alcohol-based wipes or antiseptic sprays before adding any new polish. I swear by this practice – it keeps my nails looking great and feeling healthy.
And here’s my secret weapon – Vitamin E oil! Apply it to the affected area to strengthen any weak spots and protect your nails from future breakages.
The Battle of the Nail Bed
Breaking an acrylic nail isn’t just an ‘ouch’ moment; it can wage war on your natural nail. Poorly applied acrylics or those caught against surfaces can chip away, leaving pesky pieces that can cause damage to your nail bed.
If you’ve been following my blog, you’d know about that time I lost a nail while hastily unpacking my suitcase. Self-removal went from a quick fix to a horror show, exposing my natural nails to damage and making them more prone to infections. We want to avoid this at all costs, lovelies!
The Beauty Recovery Plan
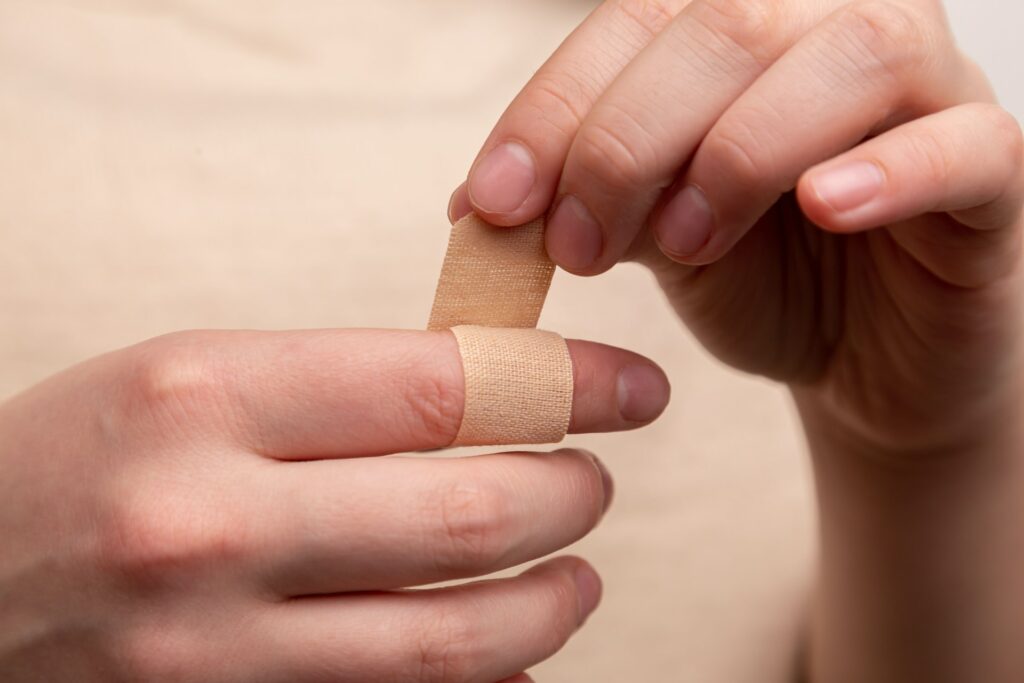
Let’s go through the drill if you’re faced with a broken acrylic nail. The first line of defense is careful removal. Arm yourself with an orange wood stick or a manicure tool and gently peel the acrylic away from your natural nail, avoiding skin tears.
Once removed, buff down any rough edges with an OK emery board or buffer. And here’s a tip – always go for an acetone-free remover. As much as we love acetone for its efficiency, it can be a bit of a double-edged sword for your nails and skin.
Next up, soothe any lingering pain. Clean the area with water and soap, and apply a thin layer of antiseptic cream. If there’s any bleeding, apply pressure until it stops, and consider a bandage for extra protection.
Once you’re ready to return to the glamorous world of acrylics, opt for safe products like non-toxic polish, base coat, top coat, cuticle oil, etc. Follow the wisdom of salon professionals to ensure correct application and maintenance.
Say Hello to Your Broken Nail Repair Kit
First, to fix a broken nail, we need to trim the fractured part as close as possible to get an even surface. Consider it a fresh start, a clean slate, if you will. Then, gently file the edges until they’re as smooth as your favorite silk scarf. Trust me, I’ve been in your shoes, and once I almost filed down my nail to a point sharp enough to be a weapon!
Remember to clean the area around the break. Any dirt hiding there can irritate or, even worse, infection. The last thing we want is to add insult to injury.
Now it’s time to bring in the big guns: acrylic powder, liquid monomer, and some fine-grit sandpaper. Remember when I used my DIY slime kit to fix a broken nail? Well, it’s a similar concept here. Mix a small amount of acrylic powder with the liquid monomer until it feels like frosting. Then, fill in the break on your nail, ensuring it completely covers the gap.
Once it dries, buff out any unevenness with the fine-grit sandpaper. Remember to be gentle – we’re polishing, not sanding down furniture! Finish up with a coat of clear polish for that added protection against future breakages. Voila! Your broken nail is now a thing of the past!
Fixing Cracked Acrylics at Home
Have you got a cracked acrylic nail? Don’t panic! Follow these steps, and your pin will be as good as new without salon visits. I once fixed a nasty crack while binge-watching my favorite series – talk about multi-tasking!
First, use a fine-grit sanding block to buff away the crack. Then, reach for that trusty acrylic nail kit. Use the glue and dip powder to stick the pieces back together, then file down your nail until it’s level with the rest.
Soothing the Pain of a Broken Acrylic
Let’s face it, breaking an acrylic nail hurts. The throbbing pain can be unbearable, but ways to soothe it exist. Here’s what I learned after breaking a nail while opening a jar of pickles (of all things!).
Clean the area around the break first. Use soap and water to clear away any dirt or debris. Disinfecting the site is necessary, so reach for that rubbing alcohol or antibacterial cream.
Next, bring out the cold compress or ice pack. Apply it to the affected area for 15 minutes every hour. Not only does this reduce swelling, but it also numbs the area, alleviating some of the discomfort. If the pain persists, contact your doctor for more potent medication.
Also, did you know vinegar compresses can relieve a burning sensation caused by acrylic glue? Just another household item that doubles as a beauty hack!
Remember to apply an ointment like petroleum jelly to protect the skin cells around the damaged area. This will speed up the healing process. Lastly, moisturize your nails to prevent them from drying out after their traumatic experience.
Disinfecting Damaged Fingernail Edges
Let’s talk about keeping your damaged fingernail-free edge clean. We don’t want to give bacteria a free pass! Clean the nail with warm water and soap, then apply an antibiotic lotion or cream. Or, use hydrogen peroxide on a cotton ball or Q-tip to clean the affected area.
Then, apply a topical ointment to keep excessive moisture at bay. We want to avoid creating a breeding ground for bacteria.
And a pro tip from yours, honestly, always wear gloves while cleaning or washing dishes to keep any additional infections at bay.
Broken Acrylic Nail: When to Call in the Pros
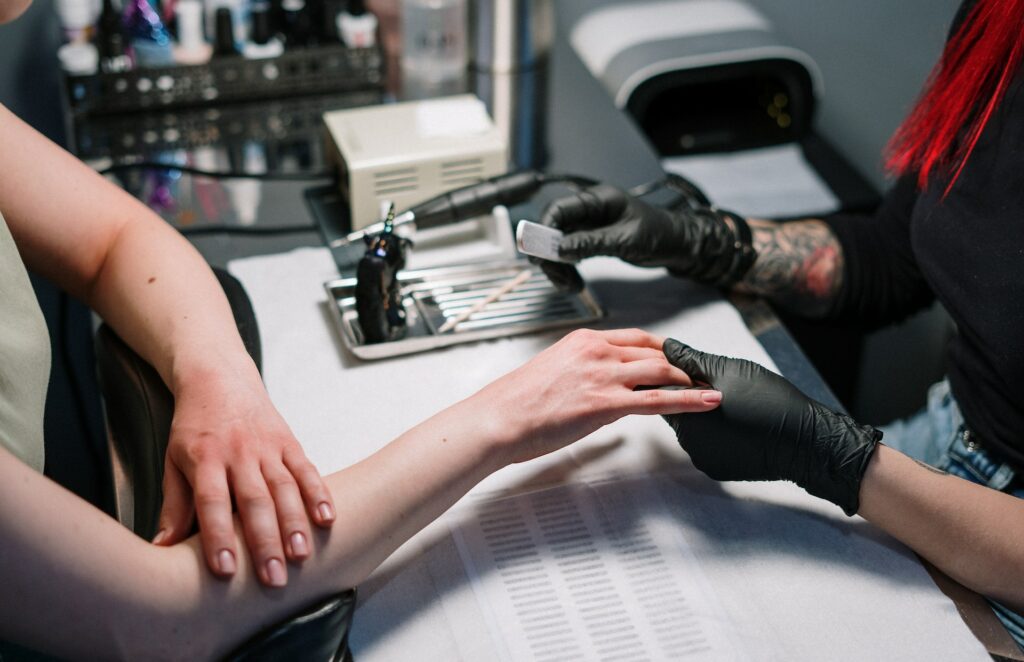
Breaking an acrylic nail can be quite a traumatic experience. I remember snapping one while opening a jam jar – not my sweetest moment! Depending on the severity of the break and its location, some leaves might be beyond DIY fixes.
When should you be booking an appointment with your nail technician? Here’s the scoop: if your broken acrylic is causing pain or discomfort, it’s time to make that call.
A qualified technician will assess the damage and advise you on the best action. They might recommend a strengthening solution to protect your nail from further harm – like a knight in shining armor for your nails!
And if you’ve fallen prey to a case of ingrown or infected nails due to poor grooming habits – like using clippers instead of manicure scissors (yes, we’ve all been there), seeking professional help becomes even more critical. They can guide proper nail care and eliminate bacteria by meticulously cleaning under the nail or using nail glue for repair. The result? A faster healing process for your brand-new pin!
Broken Acrylics and Nail Polish: Not a Perfect Match
As tempting as covering a broken acrylic nail with your favorite polish might be, it’s a big no-no. Think of it as putting lipstick on a chapped lip – it just worsens matters!
A broken acrylic nail is already weak, and applying polish might lead to further breakage or lifting. Repairing the tack before using any polish or adhesive product is best. Imagine trying to paint a crumbling wall – not quite the canvas you’d want, right?
When you’re ready for a fresh coat of color, start with a base coat for that perfect finish, just like priming a wall before painting!
Your DIY Guide to Removing Broken Acrylics
If you can’t fix the broken acrylic, it might be time for a complete removal. Gather your tools: acetone-free remover, cotton balls, scissors, a cuticle pusher (or an orange stick), and a buffer block.
Start by soaking a cotton ball in the remover and carefully applying it around the edges of the broken acrylic. It’s a bit like preparing a band-aid to be taken off – you want to loosen it up without causing more damage!
Then, gently lift the edge of the acrylic with another cotton ball until it separates from your natural nail. Be patient – I once hurried this process; trust me, it was not a pleasant experience!
Please remove any remaining pieces with tweezers or trim them away using scissors or nail clippers. Now, it’s time to buff out the residual acrylic from your natural nail using your buffer block or an orange stick.
Rinse your fingers with warm water and pat dry, remembering to moisturize afterward to restore any lost moisture. If there’s any glue residue left, gently remove it (remember, no scratching!). It’s a bit like cleaning up after a party – the fun part’s over, but the cleanup’s worth it for the memories!
5 Tips For Proper Acrylic Application And Removal?
- Prep your nails: Clean your nails thoroughly and push back your cuticles. Remove oils on your nail bed with a gentle swipe of acetone, but remember to moisturize your hands afterward!
- Nail tip application: Select the right-sized nail tips for each finger and glue them onto the edge of your natural nails. Make sure they’re on straight and securely attached.
- Shape ’em up: Using a nail file, shape the tips to your desired style. This could be round, square, stiletto, or almond, depending on your flair!
- Apply the acrylic: Mix the acrylic powder with the liquid monomer and apply this mixture to your nails. Start from the cuticle, pushing the product towards the tip. Remember, smooth and even is the way to go.
- Final touches: Once the acrylic has dried, fluff your nails to smooth any uneven areas.
Gentle and Effective Acrylic Removal
- File away: Start by filing down the top layer of the acrylics to break the seal of the topcoat.
- Soak it off: Soak your nails in acetone for 15-20 minutes. A handy tip – use a bowl of warm water under your acetone bowl to help speed up the process.
- Gently does it: Gently remove the loosened acrylic with an orange stick or a cuticle pusher. If it’s still firmly stuck, don’t force it. Soak your nails a bit longer instead.
- Buff and moisturize: After removing all the acrylic, buff your nails to smooth them out. Remember to hydrate your nails and cuticles with oil afterward, they’ve been through a lot!
Acrylic nails can offer the glam factor, but they also require care and attention. By following these tips, you can enjoy beautiful nails while ensuring they’re looked after too. So, next time you’re heading for a fancy manicure or waving goodbye to your current acrylics, remember these pointers.
4 Tips To Prevent Acrylic Nail Breakage In The First Place
Keep them Short and Sweet
While long, extravagant acrylic nails can look glamorous, they’re more prone to breakage. If you’re new to acrylics or lead an active lifestyle, consider opting for shorter lengths. They are easier to manage and less likely to get caught or snag on things, reducing the risk of breaks or cracks.
Maintain a Regular Filling Schedule
Acrylics require regular upkeep to stay strong and beautiful. Typically, you should get a fill every 2-3 weeks, depending on your nails’ growth rate. Regular fills prevent lifting, which can lead to breakage.
Be Mindful of Your Nails
Acrylics are strong, but they’re not invincible. Avoid using your nails as tools to open cans, remove staples, or anything else that places excessive stress on them. Remember, they’re jewels, not tools!
Pay attention to your acrylics once you leave the salon. Regularly moisturize your cuticles with oil to keep them healthy and hydrated. Wear gloves when doing dishes or cleaning, as harsh chemicals can weaken your acrylics.
Choose a Qualified Technician
A skilled nail technician is key to preventing nail breakage. They will apply the acrylic properly, reducing the risk of lifting and breaking. It’s a classic case of “you get what you pay for” – a cheaper salon might be tempting, but the higher risk of damage isn’t worth it.
Armed with these simple yet effective tips, you can sport beautiful, sturdy acrylic nails without fearing unexpected breakage. Remember, nail care doesn’t stop at the salon. With a little mindfulness and routine upkeep, you’ll always keep those nails looking gorgeous! Rock on, nail queens!
What Damage Can Broken Acrylic Nails Cause To Natural Nails?
Let’s get down to some serious business: understanding the potential damage broken acrylic nails can cause to our natural nails. While acrylics are a fabulous way to express your style and personality, it’s crucial to be aware of the risks involved and how to minimize them. Remember, knowledge is power, especially when it comes to nail care!
Risk of Infections
A broken acrylic nail can create a gap between the acrylic and your natural nail, providing a perfect hiding place for bacteria and fungi. This situation can lead to infections, especially if left untreated. You might notice symptoms such as redness, swelling, and sometimes, pus. Yikes! I learned this the hard way after I ignored a broken acrylic nail for too long. Let’s just say, it wasn’t pretty.
Nail Bed Damage
When an acrylic nail breaks, it can sometimes take a part of your natural nail along with it. Ouch! This can lead to thin, weakened, and damaged natural nails. Worse, the exposed nail bed could be susceptible to injury and infection. I can’t stress this enough, be gentle when dealing with a break!
Onycholysis or Nail Separation
This is a condition where the natural nail separates from the nail bed. It can be a painful consequence of a severe acrylic nail breakage. Once you have onycholysis, it can be challenging to reattach the nail. And trust me, it’s not a fun experience!
Potential for Ingrown Nails
Improper removal of broken acrylics can lead to ingrown nails, a painful condition where the nail grows into the skin. Not only is it uncomfortable, but it can also lead to infections if not treated properly.
Brittle and Dry Nails
Frequent breakages and improper care of acrylic nails can leave your natural nails dry, brittle, and weak. This can make your nails prone to more breakages, splits, and cracks, creating a vicious cycle.
Conclusion
And there you have it, my beautiful readers! Dealing with broken acrylics can be daunting, but remember, every cloud has a silver lining. It’s an opportunity to give your natural nails a breather and treat them with the care they deserve. Start with cleaning, disinfecting, and moisturizing your nails regularly. If you see signs of pain, infection, or ingrown nails, don’t hesitate to seek professional help. And remember, patience is a virtue, whether waiting for the nail glue to loosen or for your natural nails to heal and regain strength. As tempting as it might be to cover the damage with nail polish, wait until your nails are strong enough. The risks are real, but you can avoid most of them with the proper care. Keep these tips in your beauty arsenal and use them when you need them the most. Remember, your beauty routine should be as much about care as about flair. Stay gorgeous, keep shining, and don’t let a broken nail break your spirit. You’ve got this!
Feature image by Giorgio Trovato on Unsplash


