Table of Contents
Hello, sun-kissed seekers and bronze aficionados! Welcome to another fascinating episode of your favorite beauty hotspot. Today, we’re diving into an often overlooked yet crucial topic: “Does Self Tanner Expire?” It’s a question that might raise your eyebrows, but the truth is, like the fading sunset, self-tanners don’t glow forever. So whether you’re a regular bronzing babe or a newbie just dabbling in the art of faux glow, understanding the life span of your self-tanner is as essential as knowing how to apply it flawlessly.
In this post, we’ll unmask the enigma surrounding self-tanner expiry, exploring the signs of an over-the-hill product and the potential consequences of using an expired one. We’ll also delve into best practices for storing these tan enhancers to prolong their potency and share tips to help you determine whether your tanning pal is still in its prime or ready for the beauty product graveyard.
Behind the Bronze: Key Active Ingredients in Self-Tanner
The first step in understanding our bronzing buddies is knowing the star ingredients that turn our pale blues into summer hues. Self-tanner, a blessing for those who crave the sun’s touch without its harmful rays, gets its magic from two key players: DHA (Dihydroxyacetone) and Erythrulose.
DHA is your rapid responder, reacting with proteins and amino acids on your skin’s surface to paint an instant golden brown that darkens over about 8 hours—just enough time for you to plan your beach-themed party. On the other hand, Erythrulose likes to take it slow, gradually developing pigmentation over 24–48 hours.
Working in harmony, these two compounds give you a temporary bronze hue, being mindful not to clog pores or sore, sensitive skin, unlike some synthetic ingredients we won’t invite to the party.
And let’s not forget the ensemble cast, often including vitamins A & E, aloe leaf extract, hyaluronic acid, and even caffeine extract (who knew your skin also needed a wake-up call!). You may also find fragrances adding a touch of luxury to your tanning experience.
When The Bronze Fades: The Expiration of Self-Tanners
Yes, my fellow tan enthusiasts, our coveted self-tanners have an expiry date! Like all beauty products, there comes a time when your self-tanners peak performance fades, leaving behind a potential for irritation and an uneven tan. Which is usually around 18 to 24 months! Always check the expiration date on the packaging to ensure you’re not caught out.
But what are the signs of a self-tanner past its prime? Look out for a strange smell, discoloration, and the ingredients separating the bottle. Old bottles can become a playground for bacteria, which could lead to skin infections—not the glow-up we were going for.
Another pro-tip from my tanning diary: Keep track of how long you’ve had your bottle and how often it’s been opened and closed. This can significantly influence the expiration date as air tends to dilute the potency over time.
If you’re suspicious of your tanner’s health status but need to remember its birthday, test it on a small area. If it does turn out to be expired, at least your mishap won’t be on full display.
The Fading Act: Do Self-Tanners Lose Their Potency?
Time and exposure to air or natural light can affect the integrity of some active ingredients in your self-tanning products, like our fast-working friend DHA. This doesn’t mean your unopened tanner will become a bronzing fossil, but it may lose some of its power over time.
For your self-tanners optimal performance, store it out of direct sunlight and always heed the manufacturer’s advice regarding its expiration date once opened.
Is Your Sunless Tan Going Stale? Signs of Expired Tanning Solutions
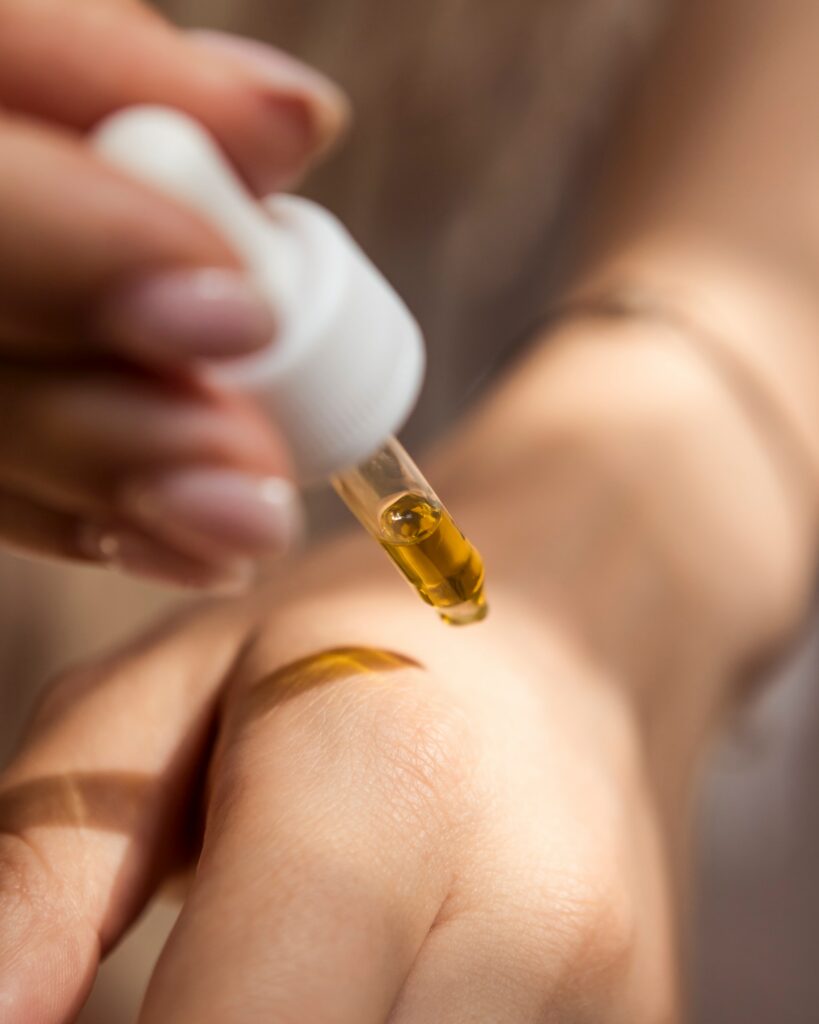
The telltale signs of an expired tanning solution are color, smell, or consistency changes. My trusty tanning lotion started smelling more like a science lab than a tropical beach at that time. It might turn darker as the active ingredients break down, react with air, or become watery. And if you’re experiencing any burning, stinging, or itching, that’s a clear sign your product has seen better days. It’s like your skin’s saying, “Let’s not do this, darling.”
Before slathering your entire body, do a patch test to ensure no weird reactions or side effects. We want our self-tanners to glide smoothly and evenly, not cling to fine lines or wrinkles.
Shelf Life 101: How to Store Your Self-Tanning Products
Want to extend the life of your self-tanning products? Storage is the secret, my friends. You wouldn’t leave your favorite lipstick in the sun; the same goes for your tanning products. Please keep them in a cool, dark place, far away from heat or sunlight.
Ensure the cap or lid is sealed tightly after each use because air exposure can speed up oxidation, reducing the quality and lifespan of your tanning savior.
Oops, I Did It Again: Consequences of Using Expired Self-Tanning Products

Expired products may contain harmful bacteria that can cause irritation, breakouts, or even inflammation. Adding to the risk, many self-tanners contain dyes and fragrances, which can trigger allergic reactions if they’re past their prime. If your tanner looks clumpy, smells off, or feels sticky on your skin, it’s time for a replacement. And remember that expired tanning products might lack the SPF protection that new, in-date products offer.
Fast Fading Formula: Which Self-Tanner Expires Quickest?
In the race to the expiration date, tanning mousse often takes the unfortunate first place. Why? Because mousse is mostly water, making it easy prey for bacteria. Manufacturers add preservatives to extend the mousse’s shelf life, but improper storage can still lead to a faster expiry. Always check the expiration date on the product.
But fear not; other tanning options have got your back. Tanning lotions usually stay fresh for up to a year, while drops can maintain their potency for up to 24 months. Thanks to their bacteria-resistant propellants, tanning sprays, stored correctly, keep the bronzy goodness intact for up to three years.
My favorite, the tanning towels, has the most extended shelf life. Handy for on-the-go touch-ups, they offer a longer window of tanning joy.

“But it Looks and Smells Fine!” Can I Use an Expired Self-Tanner?
Even though your tanner may look and smell okay, its effectiveness might be well past its prime. You could risk skin irritation or a patchy, uneven tan – and who wants that? It’s better to treat yourself to a new product to ensure those optimal bronzy results we all love.
“Do They All Expire?” Shelf Life of Self-Tanners
Yes, all self-tanners, like any beauty product, have a shelf life. The active ingredients naturally degrade over time, hence the expiration date. Always check this date and use your product within the suggested timeframe. Think of it as your sunless tan’s “best before” date – it’s there for a reason!
“Will an Expired Self-Tanner Ruin My Tan?”
Let me tell you, a streaky, unnatural-looking tan was not the radiant sun-kissed look I was going for. Using an expired tanner can result in less-than-stellar results, and we all deserve to look our absolute best. For a top-quality faux glow, use products within their expiration date.
“Any Tricks to Make My Self-Tanner Last Longer?”
I get it; we all want to make the most out of our favorite beauty products. To keep your self-tanner at its best, store it in a cool, dry place away from direct sunlight or heat. I always ensure the lid is on tight after each use – it helps prevent the product from drying out or getting contaminated. Think of it like preserving a fine wine!
“Could an Expired Self-Tanner Harm My Skin?”
While it might not land you in the ER, using an expired self-tanner could lead to some unpleasant skin reactions, like irritation, redness, or a patchy tan. If you experience any adverse reactions, stop using the product immediately, and consult a dermatologist if needed. Always put your skin’s health first!
“How Often Should I Replace My Self-Tanning Lotion?”
For that perfect, fresh-off-the-beach glow, it’s best to use self-tanning lotion within its expiration date. Typically, self-tanners last around 12 months but can vary depending on the brand and specific product. Always check the expiration date on the packaging and replace it when necessary.
Choosing the Perfect Self-Tanner for Your Skin Type: A Comprehensive Guide
There’s nothing quite like that bronzy gleam of a perfect tan. But, as we’ve chatted about before, finding your perfect self-tanner is much like finding your perfect match. Today, I’m here to help you navigate this world of self-tanning products and choose one that complements your skin type beautifully. So, let’s dive in!
Understanding Your Skin Tone
One of the first things to consider when choosing a self-tanner is your skin tone. This can be the difference between a radiant, natural-looking tan and one that’s noticeably fake.
- Fair Skin: For my porcelain beauties, start with a light to medium shade of self-tanner. The goal is a soft, sun-kissed look that isn’t too harsh against your naturally lighter skin. I have a friend who swears by gradual tanners for fair skin. They build up slowly, giving you control over your tan’s intensity.
- Medium to Olive Skin: If you have medium or olive skin like me, you have a little more room to play. You can opt for medium to dark tanners, depending on how deep you want your tan to be. I personally love a dark tanner to give me that just-returned-from-the-Mediterranean vibe.
- Dark Skin: For my darker-skinned beauties, a deep, dark self-tanner can add a lovely glow and even out your skin tone. It’s like adding a beautiful, warm filter to your skin in real life!
Considering Sensitivity and Skin Conditions
It’s crucial to think about your skin’s sensitivity level and any skin conditions when choosing a self-tanner.
- Sensitive Skin: If your skin tends to react to new products, look for self-tanners labelled as “suitable for sensitive skin” or “hypoallergenic”. These usually have a gentler formula and fewer irritants. My sister has sensitive skin, and she’s found aloe-infused tanners to be her best friend. They give her a gorgeous tan and soothe her skin at the same time.
- Dry Skin: If you struggle with dry skin, search for self-tanners that pack a hydrating punch. Look for ingredients like hyaluronic acid, glycerin, or natural oils. They’ll help keep your skin moisturized while giving you a radiant tan.
- Acne-Prone Skin: For those who deal with breakouts, opt for non-comedogenic self-tanners. These products are designed not to clog your pores – a lifesaver when you’re trying to keep your skin clear!
- Mature Skin: If you have mature skin, you might love self-tanners with anti-aging benefits. Some products contain ingredients like retinol or peptides, which can smooth fine lines and improve skin texture while you tan.
Mastering the Art of Self-Tanning: A How-To Guide
I’ve spent more time than I care to admit perfecting my self-tanning routine, so today, let’s dive into the magical world of faux glows together!
Prep Work: The Foundation of Flawless Tanning
Proper preparation is the secret sauce behind a stunning, streak-free tan. Imagine trying to paint on a rough, uneven canvas; it wouldn’t look pretty, would it? That’s what you’re trying to avoid with your skin.
- Exfoliation: Start by exfoliating your skin to remove any dead skin cells. This will give you a smooth canvas to work with. I have a soft spot for sugar scrubs, especially on the night before a big self-tanning day. This way, I ensure any patchiness or dry areas are buffed away. Pay special attention to notorious rough patches, like knees, elbows, and ankles.
- Moisturize: Right after exfoliating, follow up with a hydrating moisturizer. Just remember, moisturize early enough so that your skin is not greasy by the time you apply your self-tanner. I typically moisturize right after my morning shower, and apply the tanner later in the evening.
The Art of Application: A Step-by-Step Guide
Applying self-tanner doesn’t have to be intimidating. Trust me, I’ve been there. Follow these steps, and you’ll have a beautifully bronzed glow in no time.
- Use a tanning mitt: This has been a game-changer for me. It helps spread the product evenly and saves you from the dreaded orange palms. Been there, done that, no thank you!
- Start from the bottom: Always start with your legs and work your way up. Trust me, you don’t want to bend over with a freshly tanned torso. I learned that one the hard way!
- Apply in sections: This has been my mantra. Work on one section of your body at a time, and make sure the product is thoroughly rubbed in before moving on to the next.
- Less is more on joints: Apply less product on the knees, elbows, and ankles. These areas tend to absorb more product, so going light helps to avoid the dreaded ‘dirty’ look.
Post Application Care: Make It Last
- Let it dry: Be patient and let the tanner dry completely before getting dressed to avoid any streaks. I usually wait 10 minutes and do a little dance around the bathroom.
- Avoid water: Try to avoid showering, sweating, or getting wet for at least 6-8 hours to allow the color to develop fully. Plan your self-tanning around your schedule so you won’t have to worry about this part.
- Moisturize daily: Keep your skin hydrated to help your tan last longer. I make sure to moisturize every day after self-tanning. It makes all the difference in the world, I promise!
Remember, practice makes perfect! Don’t get disheartened if your first self-tanning attempt isn’t flawless. You’ll get the hang of it, and before you know it, you’ll be rocking a stunning faux glow year-round. Happy tanning!
Oops! I Overdid My Tan: Solutions and Remedies for Self-Tan Blunders
We’ve all been there: you wanted that sun-kissed, bronzy look, and you ended up more ‘orange disaster’ than ‘tropical goddess’. But fear not, as your trusted beauty ally, I’ve got your back with foolproof solutions for common self-tan mishaps. Let’s save that tan, shall we?
Dealing with Streaks and Patches
Streaky or patchy tan? First off, don’t panic. Remember that time when I tried a new self-tanner right before a big event? Yes, it was streak city, but I fixed it and so can you!
- Exfoliate: Light exfoliation can help smooth out those pesky patches. Use a gentle body scrub or an exfoliating mitt and lightly go over the streaky or patchy areas. Don’t scrub too hard, though – we’re not trying to remove the entire layer of the skin, just blending the tan.
- Lemon Juice and Baking Soda: This DIY remedy can work wonders for a patchy tan. Mix equal parts of fresh lemon juice and baking soda to create a paste. Apply it to the problematic areas and let it sit for a few minutes before rinsing. The citric acid in lemon is a natural lightening agent, and when combined with baking soda, it can help lighten those overly tanned spots.
Overly Dark Areas
If some areas of your skin have turned out darker than others (looking at you, elbows and knees!), here are some tricks I’ve found to be effective:
- Tan Remover: Nowadays, many brands offer tan remover products that are specifically designed to lighten a botched tan. They usually work by breaking down the DHA (the active tanning ingredient) faster than your skin would naturally.
- Oil and Soak: Another method you can try is applying baby oil or coconut oil to the darker areas and let it soak for about 30 minutes, then take a warm bath. The oil loosens the top layer of your dead skin cells (which hold the tan), and the warm water helps to lift it off.
Remember, nobody’s perfect, and neither is any self-tan! We’ve all had those ‘yikes’ moments with our tans, but they’re always fixable. Keep these tips in your beauty arsenal, and you’ll never fear a self-tan mishap again.
Conclusion
And there you have it, my complete guide to the lifespan of your beloved self-tanners! We’ve delved into the nitty-gritty, from recognizing signs of an expired product to tips on prolonging its shelf life. Always remember using an expired self-tanner may give you an uneven tan and can potentially cause skin irritation. For that fresh, flawless glow, use your tanning products within their specified expiration dates and store them in a cool, dry place. And hey, an expired tanner is just an excuse to explore new and exciting tanning products out there! So, keep your skin’s health paramount, and let’s embrace the joy of safe, sunless tanning. Shine on, beauties! It’s time to step into your radiant future with confidence and care.
Feature image by engin akyurt on Unsplash

