Table of Contents
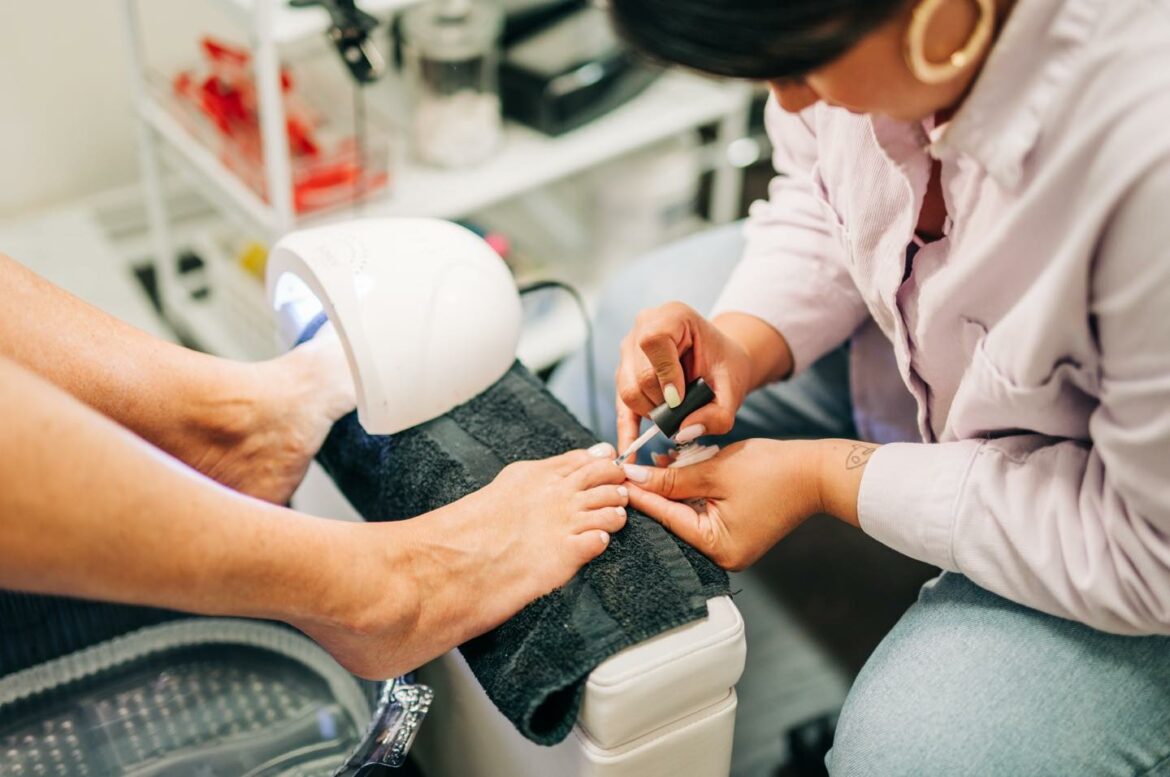
Craving that golden hour glow from head to toe? Well, we’re here to dive into the game-changing world of Shellac pedicures – where luxury meets lasting beauty, right at your fingertips…or should we say toe tips? In this article, we’ll cut straight to the chase and guide you through everything you need to know about this fabulous foot treat. We’re talking longevity, that enviable shine, and tips to make it a regular in your beauty regimen. Whether you’re considering hitting up your local salon or trying it out at home, by the end of this read, you’ll be stepping out with confidence and maybe even some sparkle in your step. Let’s get started on this fun and fresh beauty adventure, shall we?
Myth or Reality?
Let’s get this straight from the outset: we’re not talking about a manicure style but a product — one that has revolutionized the way we perceive gel manicures. Picture this: a few years back, I found myself in a quaint nail salon, dazzled by the myriad colors in the Shellac range. But here’s the twist: I soon realized that Shellac isn’t a type of manicure but a remarkable CND product.
Like we often call any adhesive bandage a “Bandaid,” the name Shellac has become almost synonymous with gel manicures, thanks to its renowned quality and popularity. So, it’s a product used in gel manicures, standing proudly amidst various other brands. You’ll find it’s quite a common misconception, but no worries, now you’re in on the secret, too!
Dive Deeper: What is Shellac and What Makes it Special?
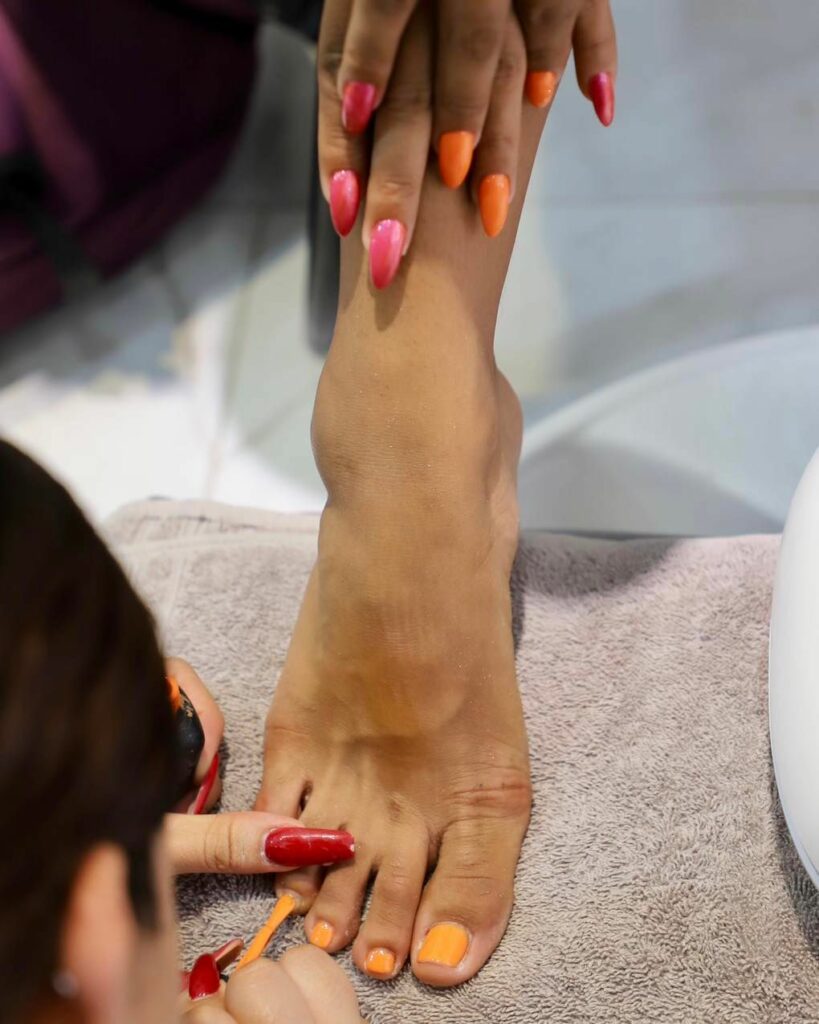
What is this mystical product that has taken the beauty world by storm? Well, let me spill the tea! Shellac is a gel polish boasting a rich palette of colors that beckons one into endless creativity.
Here’s where it gets a bit sciencey, but bear with me. Unlike your average polish, Shellac undergoes a ‘curing’ process under a UV light, transforming it into a beacon of longevity and shine on your nails. This magical transformation is all thanks to a blend of methacrylate monomers and radical initiators that harden and set when exposed to UV rays. Imagine this as a tiny dance on your nails, where the molecules whirl around in a frenzy until the UV light freezes them, granting you a hard, glossy finish.
I remember the first time I tried it; the science behind it almost felt like beautiful art, creating a masterpiece that lasted for weeks!
Dive Even Deeper: Beyond the Basics
For those eager to explore the fascinating world of gel polishes even further, I highly recommend a peek at Nail Magazine, an excellent reservoir of knowledge for all things nail-related. You’ll emerge as a veritable nail connoisseur, ready to dazzle the world with your insights and fabulous nails!
Shellac Manicure Process
The alluring world of Shellac manicures, where shine meets endurance, creates a masterpiece at your fingertips. As someone who has ventured down this path many times, I can’t wait to share a step-by-step guide sprinkled with personal insights to achieving that long-lasting and dazzling Shellac manicure. Grab a comfy seat and maybe a cup of tea as we walk down this glittering path together!
Step 1: The Perfect Canvas – Nail Preparation
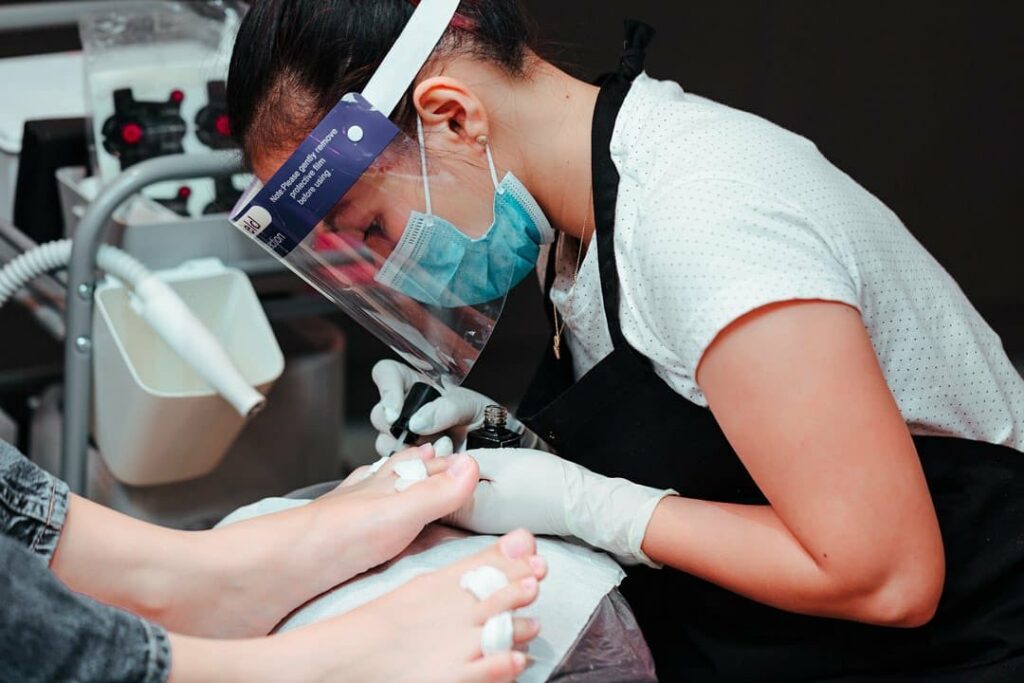
Like any great art, a fabulous manicure starts with a well-prepared canvas. Let’s dive right into the essential first steps:
- Start with shaping, filing, and buffing your nails to perfection (a relaxing ritual I often look forward to after a long week!)
- Pamper your cuticles with a gentle treatment.
- Treat yourself to a hand and lower arm scrub and a soothing massage. (I always feel like royalty during this step!)
- Sanitize those hands to create a clean slate.
- Lastly, ensure your nail plate is dry and devoid of excess oils, setting the stage for a flawless application.
Step 2: Laying the Foundations – Base Coat
Now, onto laying the foundations of our nail artwork with a superb base coat:
- Brush on a thin layer of Shellac base coat – it’s the herald of good things to come.
- Place your hands under a UV lamp for a brief 10 seconds, a moment of anticipation as you’re on the brink of witnessing magic.
Step 3: Dive into Color – Colour Coat
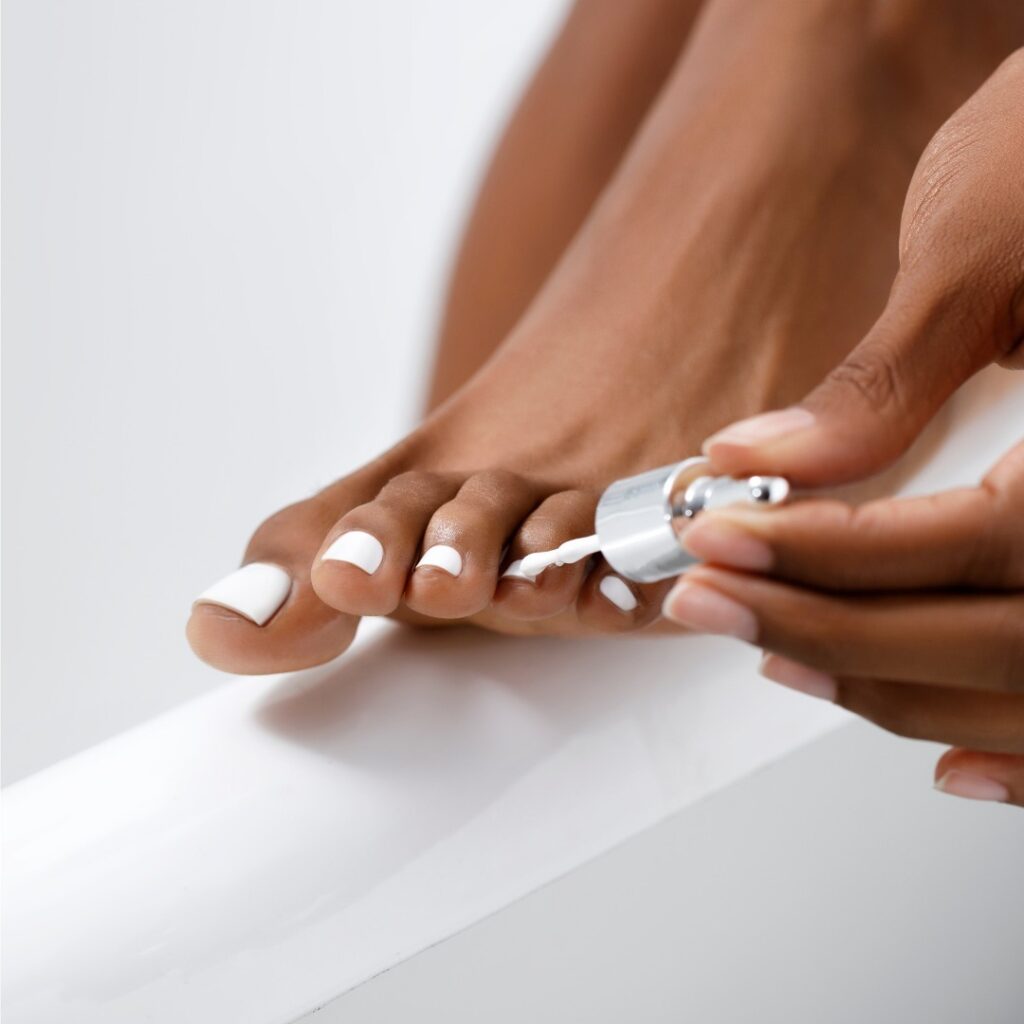
Oh, this is where the real fun begins, diving headfirst into the vibrant world of Shellac colors:
- Choose a hue that sings to your soul and apply a thin layer to grace your nails. (I always have difficulty choosing with the plethora of options!)
- Let them bask under the UV lamp for a full 2 minutes, a slight wait for a splash of vibrant beauty
- Double the fun with a second coat and another round under the UV light – because good things come in pairs, right?
Step 4: The Grand Finale – Top Coat
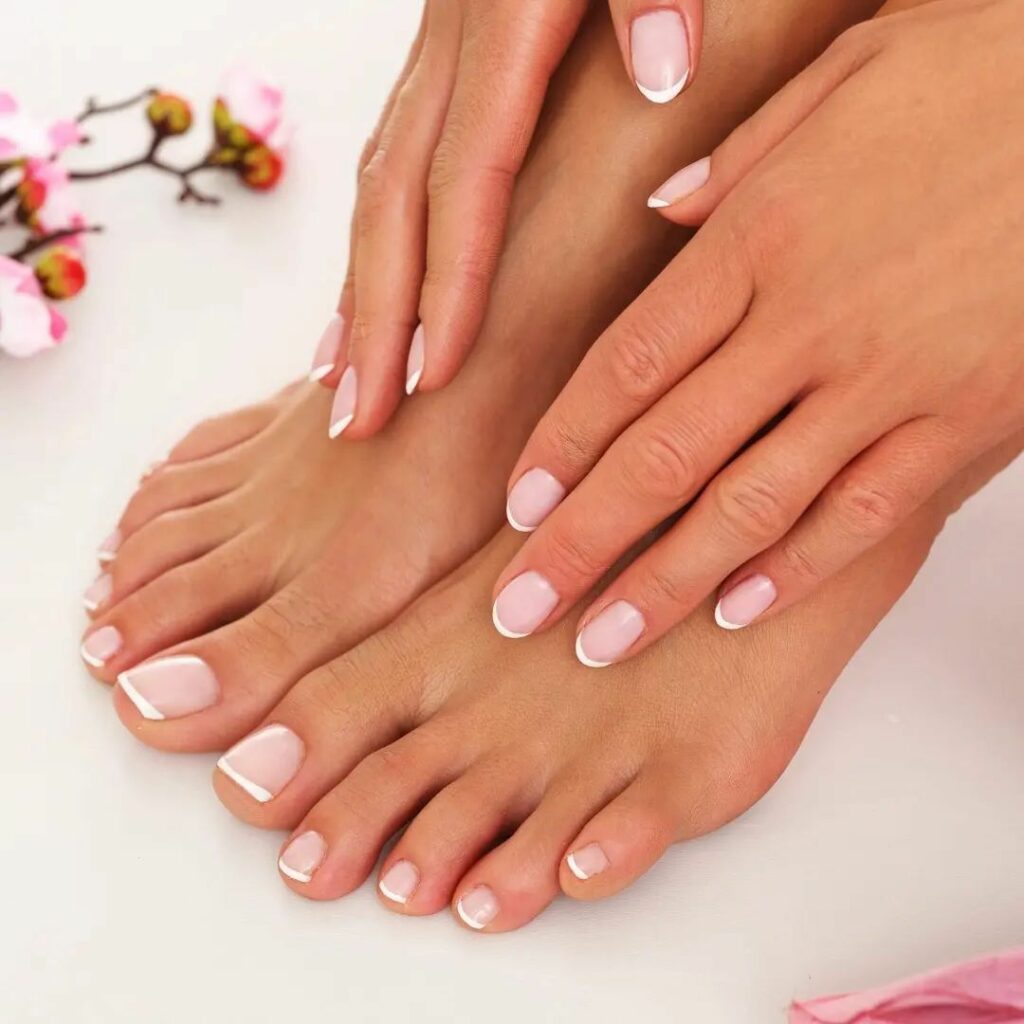
Here comes the grand finale, sealing the deal with a glossy top coat:
- Apply a glistening layer of Shellac top coat to crown your artwork.
- Please give it a final cure under the UV lamp for 2 more minutes; almost there!
- Unveil the masterpiece with a wipe soaked in 99% Isopropyl Alcohol, saying goodbye to the sticky top layer.
- Remember a nurturing touch of cuticle oil to balance the mighty Shellac polish, a tip I swear by for happy, healthy nails.
Preserving the Splendor: Tips to Make Your Shellac Manicure Last

Your journey doesn’t end here. Keeping that manicure pristine is an art in itself. Here are a couple of golden nuggets from my own experience to help you enjoy that flawless finish for a whole fortnight:
- Ensure a clean and oil-free nail plate before the application, a secret to enduring beauty
- Please resist the urge to pick at your manicure as it starts to lift. I know it’s tempting, but trust me, your nails will thank you for your restraint. Ripping off the polish harbors bacteria and can lead to nail damage that takes months to heal.
- When it’s time to bid farewell to your manicure, opt for a professional removal to keep those nails in tip-top shape, embracing a soaking process with acetone – your ticket to healthy and happy nails.
5 Benefits Of Shellac Pedicures Compared To Traditional Pedicures?
- Longevity: One of the standout benefits of a Shellac pedicure is its lasting power. While traditional pedicures might start to chip after a week or so, Shellac pedicures are known to retain their pristine finish for about two to three weeks, allowing you to enjoy your pampering for a longer duration.
- Glossy Finish: Shellac pedicures are famed for their glossy finish that catches the eye. This unique shine lasts throughout the pedicure’s lifespan, making your toes look polished and chic.
- Quick Drying Time: Thanks to the UV-curing process, Shellac pedicures dry quickly, reducing the risk of smudging, which can sometimes happen with traditional pedicures. This means you can slip back into your shoes shortly after the treatment, a real time-saver!
- Broad Palette of Colors: Like their manicure counterparts, Shellac pedicures come in a wide range of vibrant colors, offering more options for those who love to express themselves through their nail art.
- Less Damaging: When applied and removed correctly by a professional, Shellac pedicures can be less damaging to the nails than traditional nail polishes, which may contain harsher chemicals.
However, remember to give your nails a breather between applications to prevent them from becoming weak, and always prioritize nail health over aesthetics. It’s always a balance between enjoying the visual appeal and maintaining the underlying health of your nails. Happy pedicuring!
How Long Does A Shellac Pedicure Typically Last?
A Shellac pedicure is renowned for its impressive longevity. Typically, this type of pedicure can last anywhere from 14 to 21 days without chipping or losing its high-gloss shine. The exact duration can depend on various factors, including the skill of the technician who applied it, individual nail conditions, and how one maintains one’s pedicure during this period. It’s a fantastic option for those with a busy schedule who can’t make frequent salon trips or those looking to have picture-perfect toes for an extended vacation or special event. Remember, the key to enjoying your Shellac pedicure for the longest time possible is to take good care of your feet and avoid activities that can cause significant wear and tear on your nails.
Is Shellac Safe For Use On Nails?
When used correctly, Shellac is generally considered safe for use on your nails. However, as a beacon of beauty wisdom, let’s delve deeper into this topic for a comprehensive view.
First and foremost, the key to maintaining the safety and health of your nails is to ensure that any Shellac applications or removals are carried out by trained professionals. These experts know the tricks of the trade to minimize any potential damage to your nails.
Moreover, giving your nails a little pause between Shellac sessions is essential. This respite allows your nails to recover and regain their natural strength. I often treat my nails to a nourishing oil or cream during these breaks, returning them to their prime condition.
Let’s chat about the UV lamps used to cure Shellac polish. While the exposure is relatively brief, some individuals express concern about the potential for skin aging or even skin cancer with repeated UV exposure. To mitigate this, apply broad-spectrum sunscreen on your hands before your appointment – a little precaution that can go a long way!
Lastly, it’s essential to heed any advice or guidelines provided by your nail technician or a dermatologist, particularly if you have specific concerns or conditions related to your nails or skin.
By following these guidelines, you can enjoy the beauty and durability of Shellac while keeping the safety of your nails front and center. Happy pampering!
Conclusion
As we end this vibrant voyage through the world of Shellac manicures, remember that embarking on this journey is all about embracing both splendor and wisdom. While this beautifying process promises a fortnight of glittering, robust nails, being mindful of potential risks, like nail damage due to improper removal, is equally important. Always prioritize the health of your nails by seeking professional help for both application and removal – this way, you’re nurturing beauty and strength hand in hand. Moreover, make it a personal ritual to pamper your nails with nourishing cuticle oil to balance out the potent Shellac polish, a tip your nails will thank you for in the long run! Armed with these insights and tips, you’re all set to delve into the enthralling world of Shellac manicures with confidence and enthusiasm. So immerse yourself in this enriching experience, and remember to share your radiant journey with fellow beauty enthusiasts! Until next time, keep shining and spreading the joy of beauty.
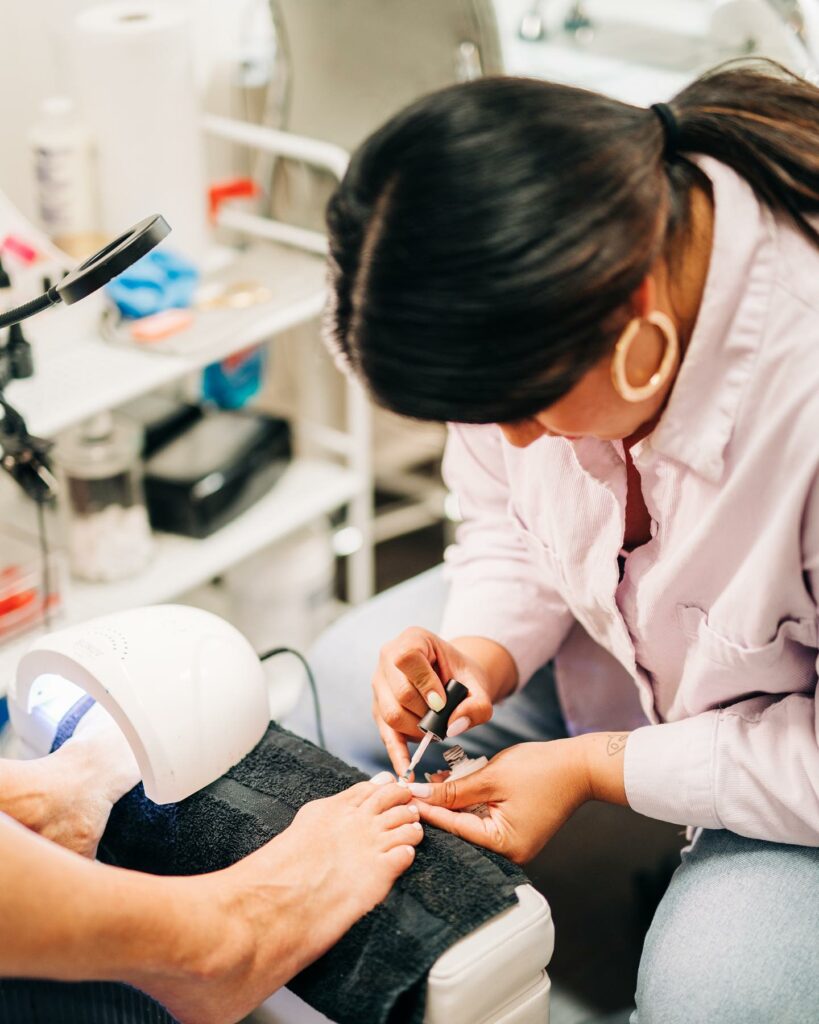
Feature Image Photo by plush_beautyspa on Instagram
