Table of Contents
With each tattoo, a sacred journey of healing commences, a transformative dance of skin and ink that could be broadly demarcated into three distinctive stages. It’s a process as unique as the countless individuals who’ve settled into our tattoo artists’ chairs, entrusting their bodies to a vision of enduring artistry. Let’s trace the contours of this fascinating journey, piecing together the day-to-day metamorphosis, as we help you anticipate what to expect from your personal tattoo healing odyssey.
Their stories, along with countless others, add a layer of human experience to this practical guide, offering a deeper understanding of the tattoo healing process, creating a connection that transcends the realm of mere ink and skin.
Stage One: Oozing and Soreness
Embarking on the journey of getting a tattoo is an exhilarating experience, but it’s important to remember that the real work begins once you leave the tattoo artist’s chair. As the needle’s artistry etches into your skin, a healing process commences, transforming the tattooed area into an open wound. Fear not, for this is the body’s natural response to initiate the clotting and scabbing process. To safeguard against bacteria, your skilled tattoo artist will cleanse the area with antibacterial soap and lovingly bandage or wrap your masterpiece until you reach the comfort of your home. It’s fascinating how each artist has their unique approach to wrapping, but many recommend leaving it on for 12-24 hours. The wrap, whether plastic, cloth, or second skin, acts as a shield, protecting your delicate canvas from external harm.
Stage Two: Itching and Flaking
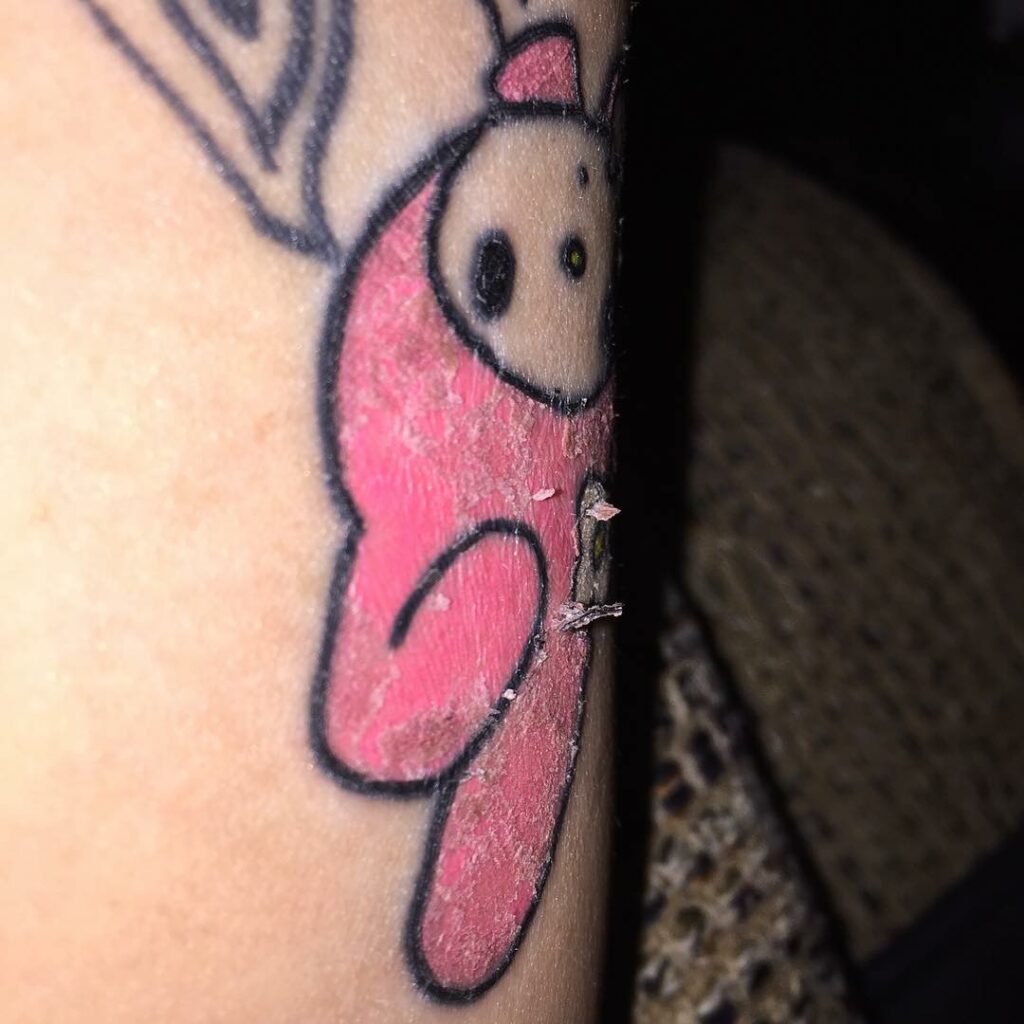
Once you unveil your newly adorned skin and bid farewell to the wrap, a sight awaits you—your tattoo, exuding a mix of blood, plasma, and ink. Don’t fret; this colorful concoction is entirely normal and signifies the intricate healing process taking place within. Your immediate focus should be on gently washing away the amalgamation of blood, ink, and gooey plasma. By doing so, you bid adieu to any substances that could potentially attract unwelcome pathogens.
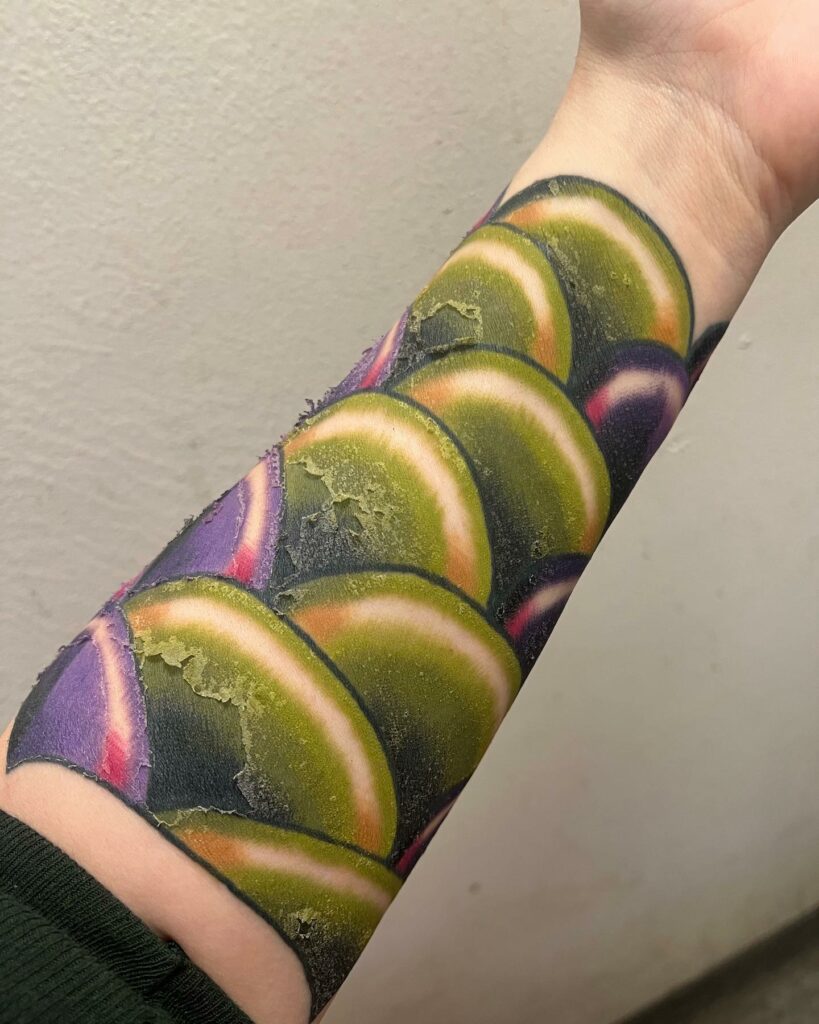
Fast forward to the dreaded itching and flaking stage, commonly considered the most challenging part of the healing journey. At this point, scabs have formed, some of the smaller ones even ready to embark on their flaking adventure. Over the next week, your skin will become noticeably dry and flaky. While it’s true that all new tattoos will experience some degree of flaking, the intensity may vary. So don’t be alarmed if your tattoo’s flaking process appears subtle; it doesn’t mean something is amiss. Lighter tattoos, especially those adorned with white ink, tend to flake and peel more delicately compared to their darker counterparts. During this phase, dryness becomes the primary catalyst for itching—a sensation that everyone loves to hate. Fear not, for there is a secret to combat this itch: keeping your skin moisturized. Resist the urge to scratch your tattoo, as this can have disastrous consequences. Scratching with abandon can ruin the beauty of your artwork. If the itch becomes unbearable, try lightly tapping the area or giving it another gentle wash. Remember, there are resources available to guide you through this challenging period if the itching becomes an insurmountable hurdle.
Stage Three: Dull & Cloudy
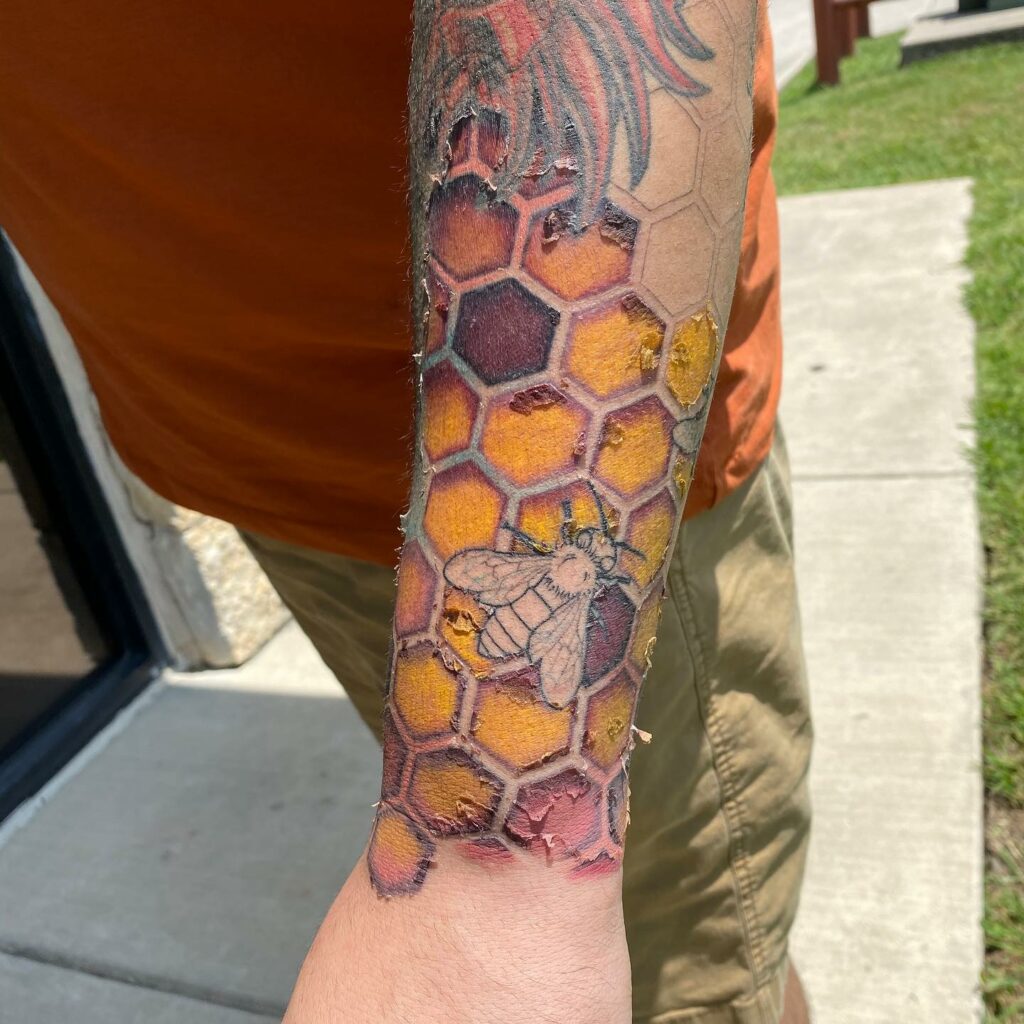
Now, onto the importance of moisturization during this second stage. After each wash, treat your tattooed canvas to a fragrance-free lotion, ensuring it remains well-hydrated. A meticulous moisturizing routine should ward off extreme dryness and itching. Personally, I have discovered a vegan aftercare product called After Inked Tattoo Aftercare Lotion, which stands head and shoulders above the rest. This miraculous potion not only keeps your tattoo hydrated but also soothes any annoying itching or irritation that may arise. By incorporating this lotion from the inception of the healing process, you can expedite the healing time while bidding farewell to any lingering dryness and scabbing. Remember to thoroughly dry your tattoo before applying lotion; otherwise, trapped water may cause your scabs to become waterlogged and sticky. You don’t want your scabs to cling onto bedsheets or clothing, potentially risking their premature removal. If you happen to apply excess lotion, gently pat it off with a paper towel until only a faint shine remains on the surface. Strive to strike a balance; your tattoo needs to breathe as it embarks on the journey to complete healing.
As you approach the culmination of this stage, expect more of your skin to shed and peel away, revealing fresh, vibrant layers beneath. It can be
Stage Four: Skin Regeneration
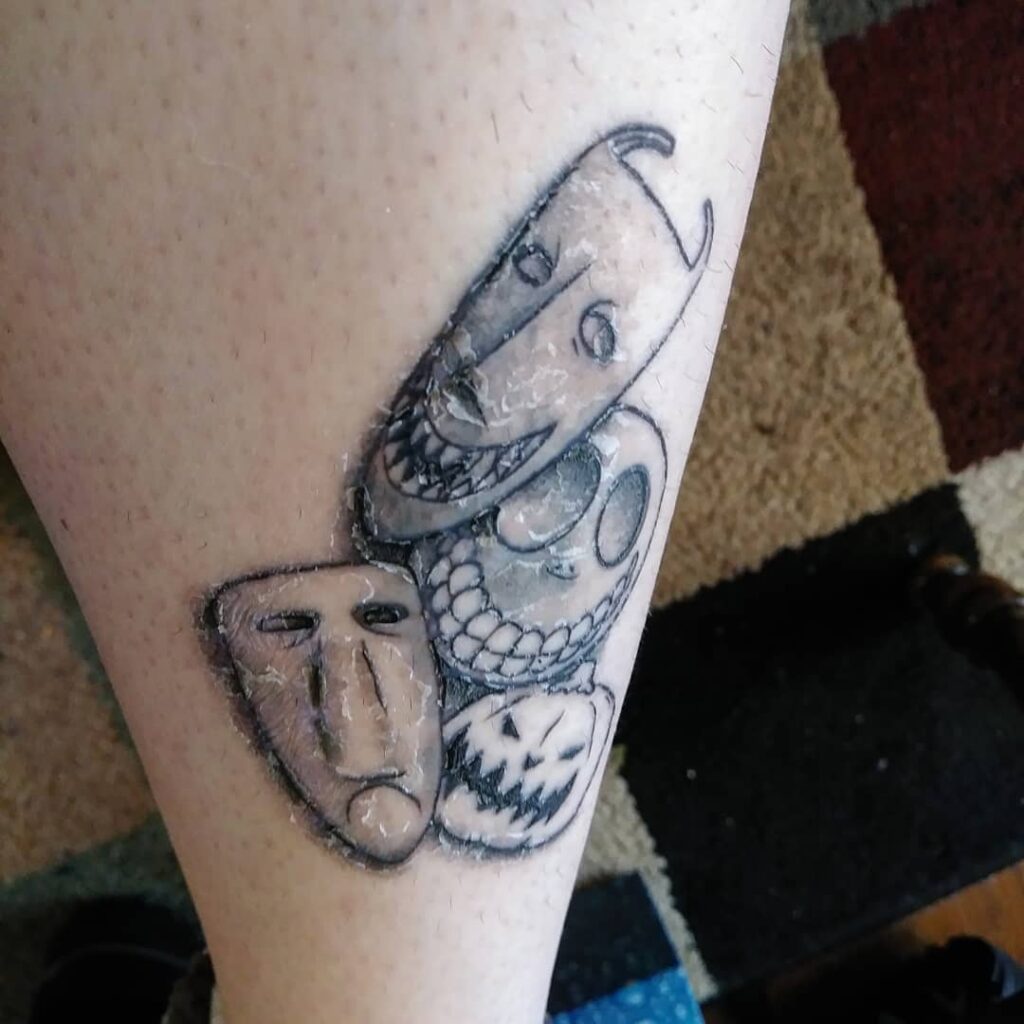
At this point, the initial scabs and flakes have bid their farewell, and a remarkable process of skin regeneration begins. The tattooed area experiences a shedding of the final layer of dead skin, unveiling the true brilliance of your artwork. As your newly-regenerated skin reaches the surface, the clarity and beauty of the tattoo are rekindled, revealing its full potential. While this phase may take a couple of months, it is worth the wait. During this period, it’s essential to maintain proper aftercare practices, such as moisturizing the skin and protecting it from excessive sunlight. Embrace the awe-inspiring transformation as your tattoo reaches its final form, ensuring that its vibrancy and allure endure for a lifetime. Remember to assess your tattoo for any potential issues, such as patchy spots or fading, and consult with your tattoo artist if necessary to arrange a touch-up. The journey of skin regeneration is a testament to the artistry and resilience of both the tattoo and the canvas it adorns.
Stage Five: Fully Healed
Recommended Products To help The Healing
During the tattoo healing process, it’s essential to provide proper care and nourishment to your skin. Here are a few recommended products that can aid in speeding up the recovery:
- After Inked Tattoo Aftercare Lotion: This vegan aftercare lotion comes highly recommended for its excellent moisturizing properties. It helps keep your tattoo well-hydrated and soothes any itching or irritation that may arise during the healing process.
- Hustle Butter Deluxe: Known for its all-natural ingredients, Hustle Butter Deluxe is a popular choice among tattoo enthusiasts. This buttery formula helps moisturize and nourish the skin, promoting faster healing while reducing redness and irritation.
- Aquaphor Healing Ointment: A trusted and widely available product, Aquaphor Healing Ointment provides intense hydration to your healing tattoo. It forms a protective barrier over the skin, preventing dryness and helping to expedite the healing process.
- Tattoo Goo Original Aftercare Salve: This salve contains a blend of natural ingredients, including olive oil, beeswax, and cocoa butter, which help moisturize and protect your tattooed skin. It assists in reducing scabbing and itching, allowing for a smoother healing experience.
- H2Ocean Aquatat Tattoo Ointment: Formulated specifically for tattoo aftercare, H2Ocean Aquatat Tattoo Ointment aids in the healing process by moisturizing and protecting the skin. It helps prevent scabbing and promotes vibrant, long-lasting tattoo colors.
Remember, always follow the instructions provided by your tattoo artist and consult with them if you have any concerns or questions about specific products. Every individual’s healing process may vary, so it’s important to listen to your body and adjust your aftercare routine accordingly.
Conclusion
In the heart of this inky journey, choosing the perfect placement for your tattoo and understanding the cost that comes with it is as essential as the healing process itself. Take it from Helen, a yoga instructor who got a lotus symbol subtly tucked behind her ear, or from Tom, a corporate honcho who wears a sleeve of Celtic knots, a testament to his heritage. The cost of their personal art ranged anywhere from a hundred to a thousand bucks, varying with the complexity of their designs and the reputation of the artists they chose.
Remember, tattoos are not just an aesthetic choice but also a significant commitment. While the price might pinch your wallet, it’s the potential risks and side effects that require due consideration. Each story of healing carries an undercurrent of discomfort – the initial oozing, the notorious itching, the aesthetic ‘dull phase’. But there’s also the slight risk of infection, scarring, or allergies which underscores the need for maintaining strict aftercare and choosing a professional, hygienic tattoo parlor.
In essence, the saga of getting a tattoo – from picking a design, to enduring the needle, to caring through the healing – is a deeply personal, transformative journey. It’s a rite of passage etched in your skin, a narrative of resilience, patience, and celebration, all painted with the broad strokes of a needle, and the finer ones of time and care. So, as you venture into your tattoo journey, remember these stories, these stages, and embark with a spirit of awareness, preparedness, and excitement.
| Stage | Description |
|---|---|
| Stage One: Oozing and Soreness | The immediate aftermath of getting a tattoo, where the tattooed area is an open wound. Plasma production, clotting, and scabbing begin. |
| Stage Two: Itching and Flaking | The stage where scabs form and start to flake off. The skin becomes dry and flaky, and itching can be intense. Proper moisturization is crucial. |
| Stage Three: Dull & Cloudy | The final stage where most scabs and flakes have disappeared, but the tattooed area may still appear dull, cloudy, or slightly scaly. |
| Stage Four: Skin Regeneration | The stage where the tattooed skin regenerates, shedding the final layer of dead skin. The tattoo’s clarity and vibrancy return. |
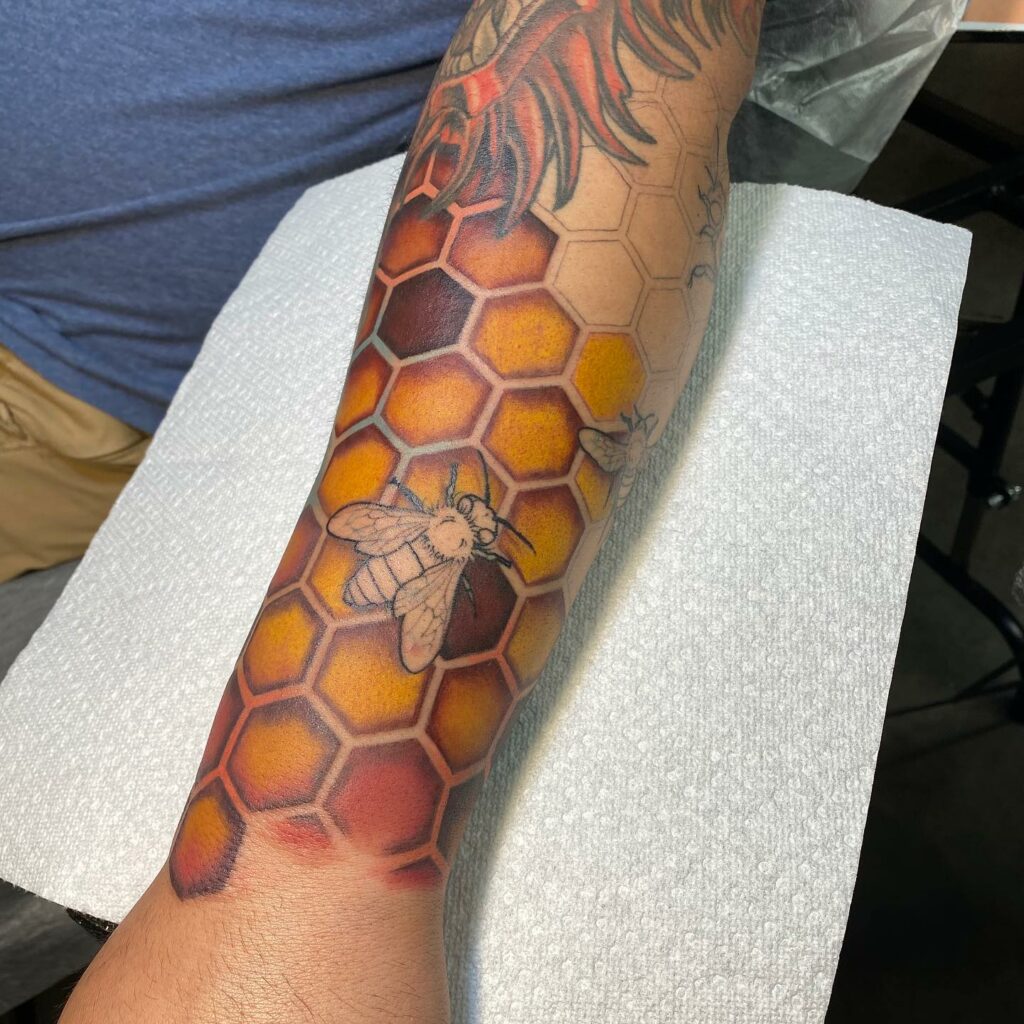
| Stage Five: Fully Healed | The point at which the tattoo is completely healed. The skin has fully regenerated, and the tattoo appears vibrant and settled. |
Please note that healing times may vary for each individual and the size/placement of the tattoo. It’s essential to follow proper aftercare instructions provided by your tattoo artist to ensure a successful healing process.
