Table of Contents
Hey there, let’s talk tropical nails—because if you can’t be on a beach, your nails can! We’re diving into the sun-soaked world of palm leaves, vivid hues, and all the exotic flair your tips can handle. Whether you’re a DIY gal or love being pampered at the salon, this post will guide you through the ins, outs, and in-betweens of achieving that perfect tropical mani. Expect a cocktail of designs, color palettes, and even some pro tips on long-lasting application. By the end of this post, you’ll be ready to turn those nails into a mini-vacation. My go-to? A teal base with a subtle golden palm leaf. Classy, vibrant, and surprisingly easy to pull off. Let’s get started, shall we?
Sunset Lovers Unite: Tropical Color Nails
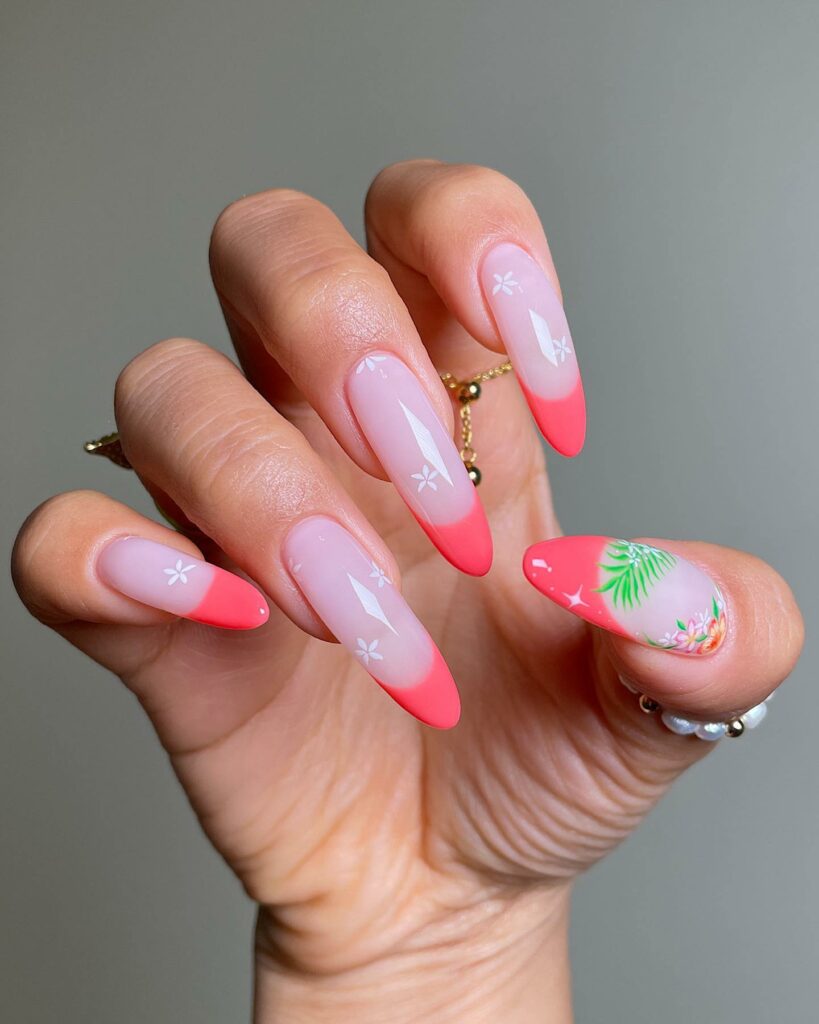
I’m a sucker for a good sunset, and these orange and pink nails are like watching the sun dip below the horizon. I like to add a nude accent nail to balance the vivid colors—so chic!
Turquoise Sparkle Ombre: Sea and Sparkle
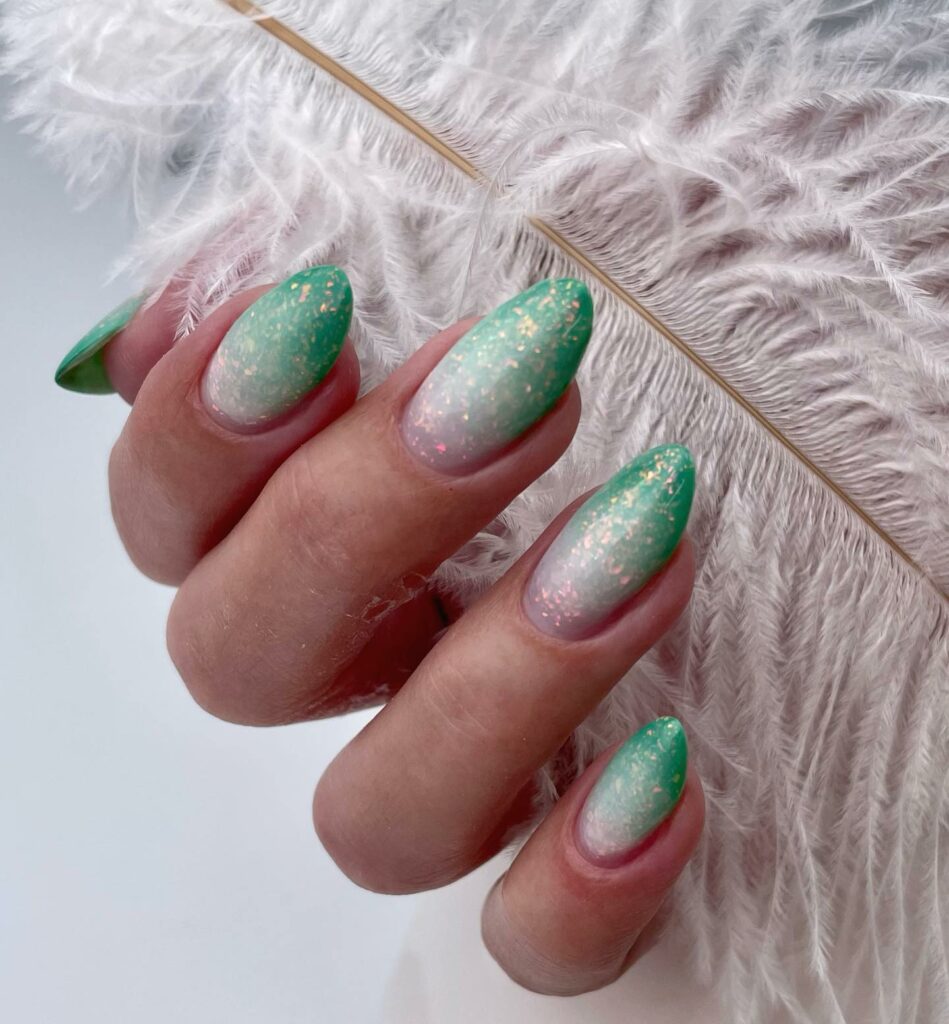
Lastly, let’s talk about this dreamy turquoise ombre with added sparkle. It’s like catching the glimmer of the sun on the ocean waves but on your nails.
Rock the Ocean Vibe: Blue Mermaid Nails
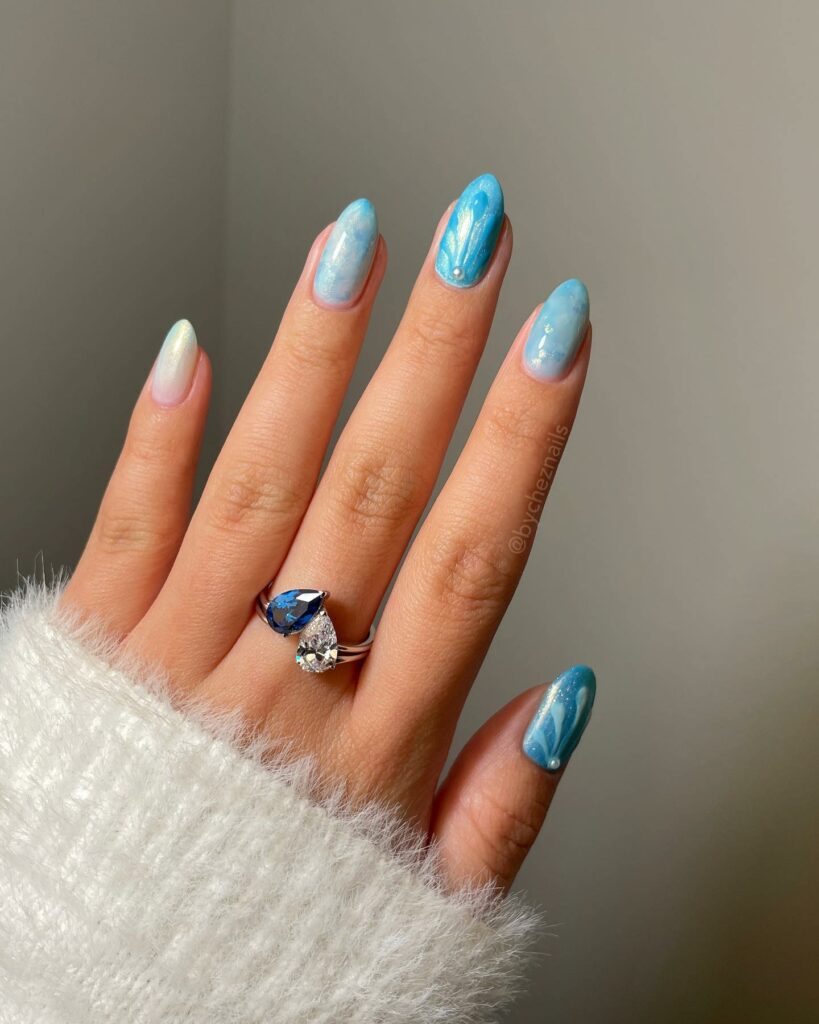
Ah, mermaid nails—my summer staple. Nothing screams summer like a set of nails decked out in ocean hues. I usually trust my go-to manicurist with intricate designs, but never hesitate to choose the color. A baby blue with some sparkle? Yes, please! These nails are Insta-worthy and make me feel like a sea goddess.
Clear & White Mermaid Nails: More is More
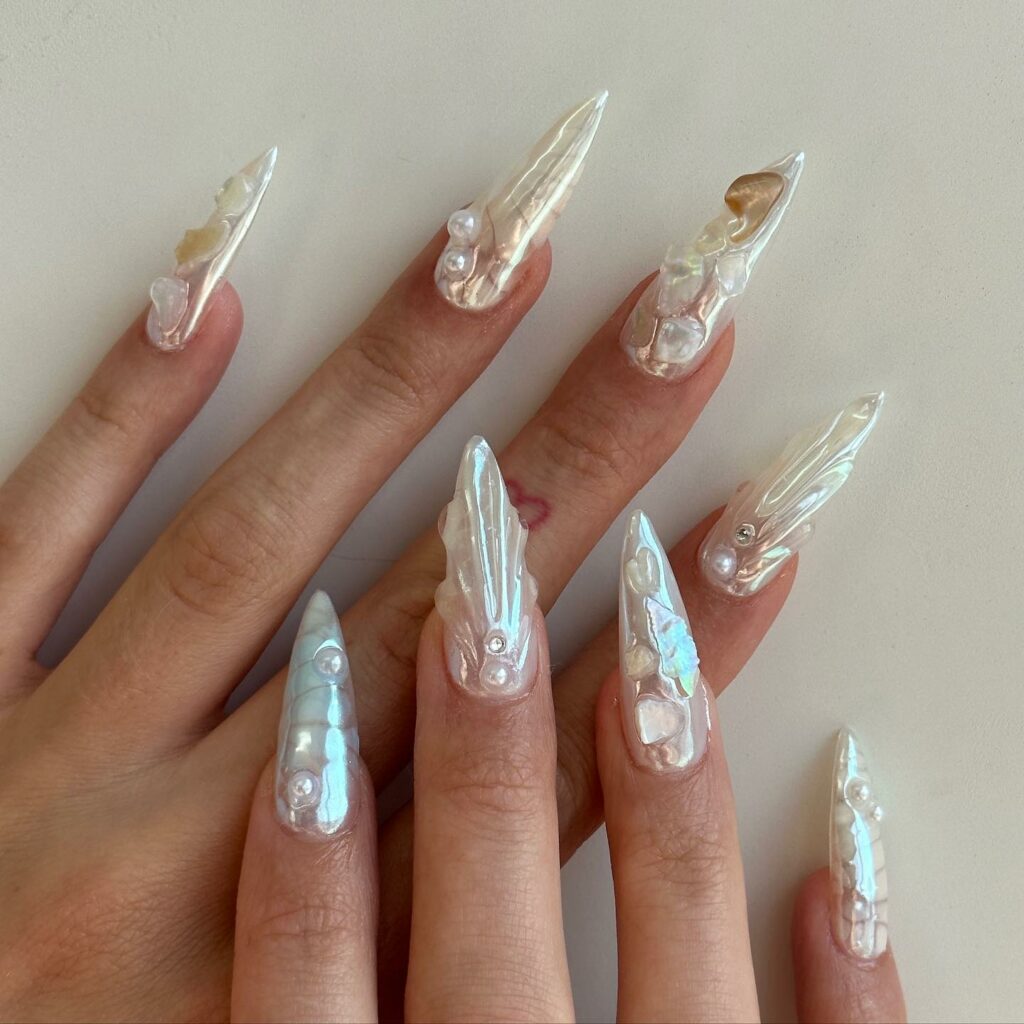
These nails are like a treasure from a mermaid’s cove—imagine a sleek, clear base with delicate white accents that have that iridescent shimmer, just like real seashells. Trust me, this design is the epitome of oceanic elegance, perfect for those of you wanting to capture a sophisticated yet whimsical underwater vibe.
Turquoise Ombre: With Gold Leaf
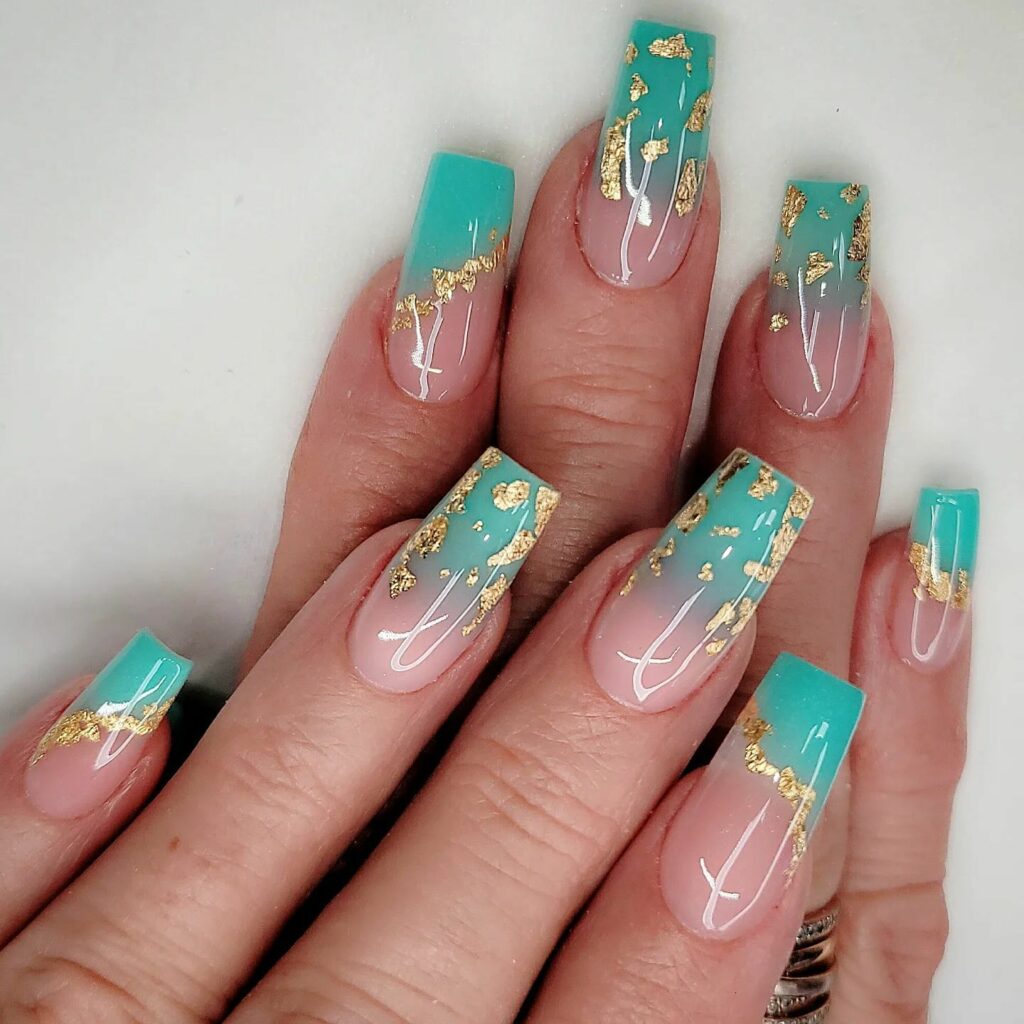
Ah, Turquoise Ombre with Gold Leaf nails are the stuff of summer daydreams, y’all! Picture this: a dreamy fade from pink to a deep turquoise, punctuated by flecks of real gold leaf—it’s like carrying a slice of the tropical ocean and a dash of sunshine right at your fingertips.
White Palm Tree Nails: Elegance Meets Beach
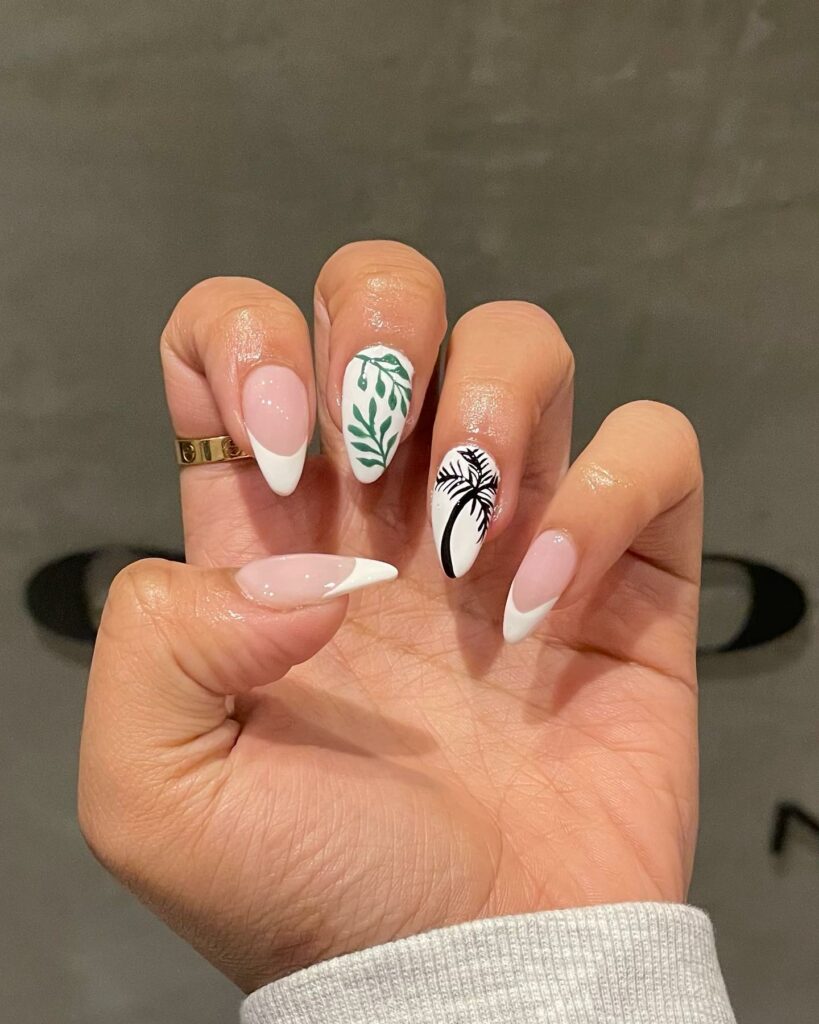
You can never go wrong with a classic white mani. But it’s summer, so why not add a tropical twist? A single palm tree on an accent nail can make all the difference. Super beginner-friendly!
Neon Pink Beach Nails: Turn Up the Heat
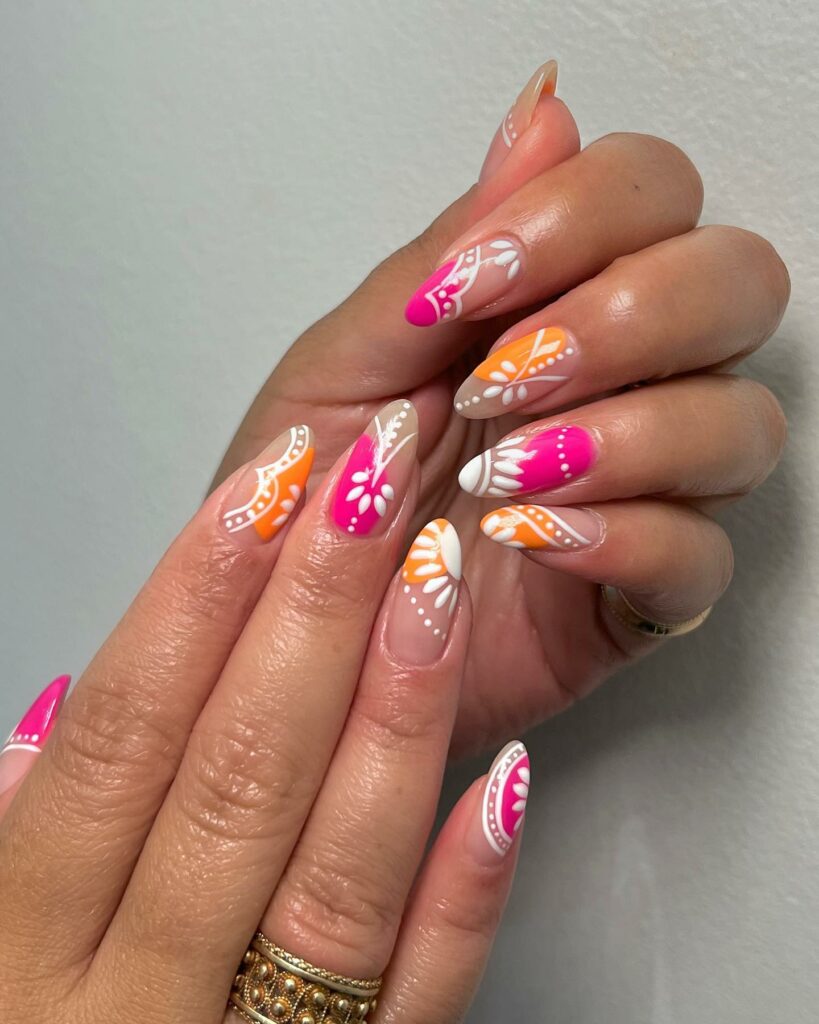
If you know me, you know pink is my jam year-round. But summer? That’s when you can go all-in with neon or hot pink. Amp it with palm tree designs or a glittery gradient accent nail. It’s summer in a nail design, basically.
Neon Beach Nails
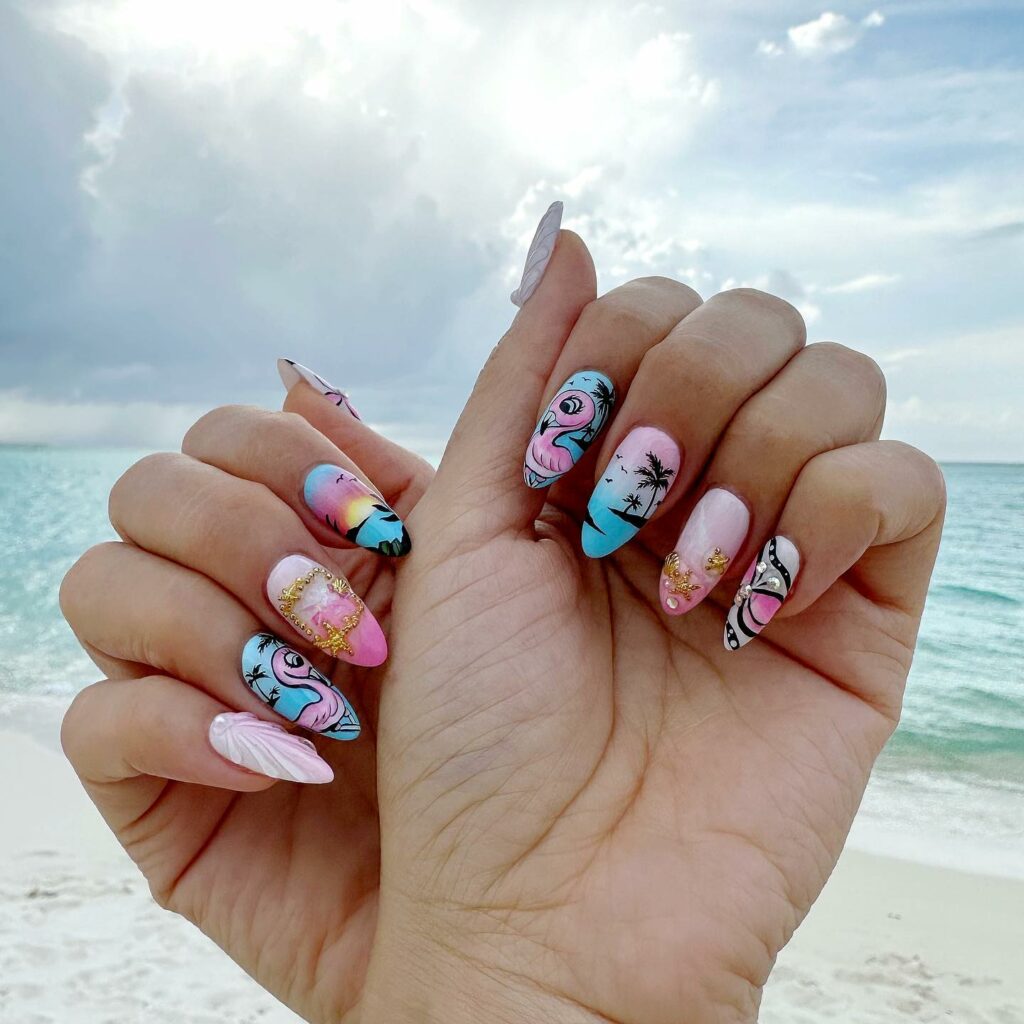
Neon Beach Nails adorned with palm trees and flamingos are your ultimate ticket to a never-ending summer vibe. With electric shades that pop and adorable, hand-painted details, these nails are like a beach party you never have to leave—flamboyant flamingos included!
White Summer Design: Chic & Simple
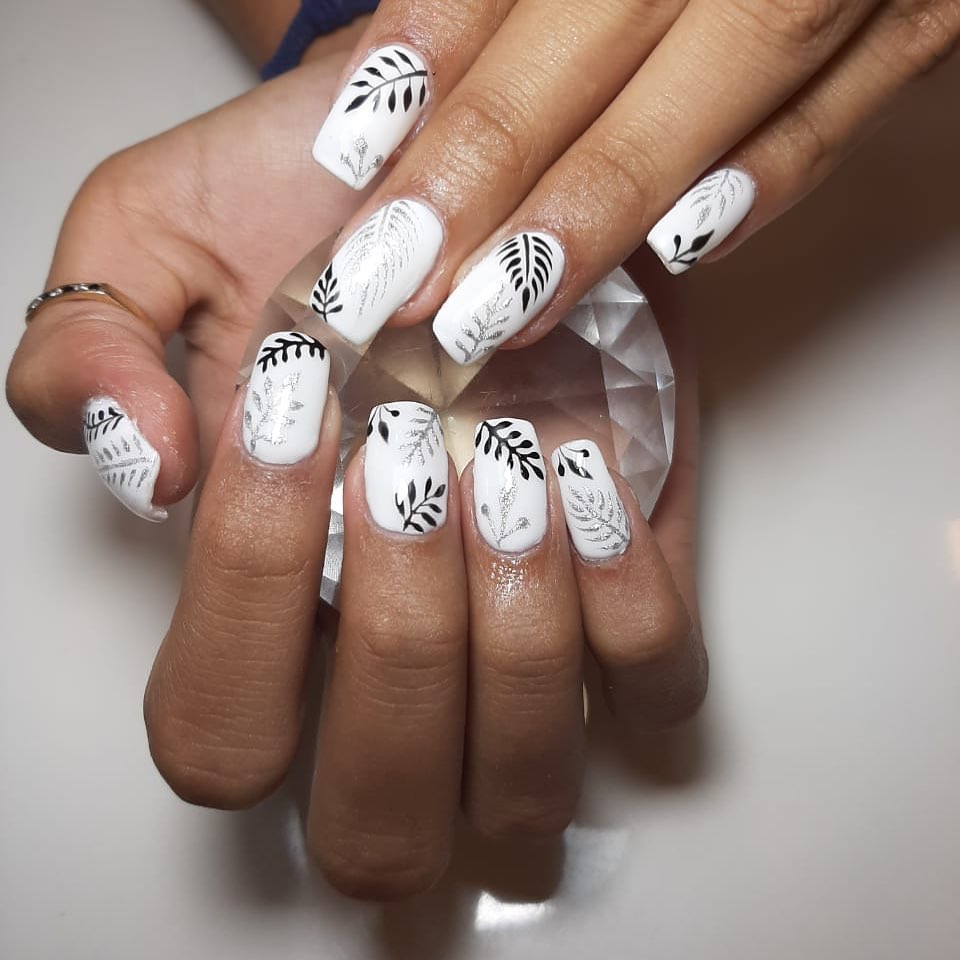
A white manicure is timeless. Add a few tropical accents, and you’ve got a mani that fits any summer occasion. Perfect for those “I want to look effortlessly fabulous” days.
French Floral Nails: Classic with a Twist
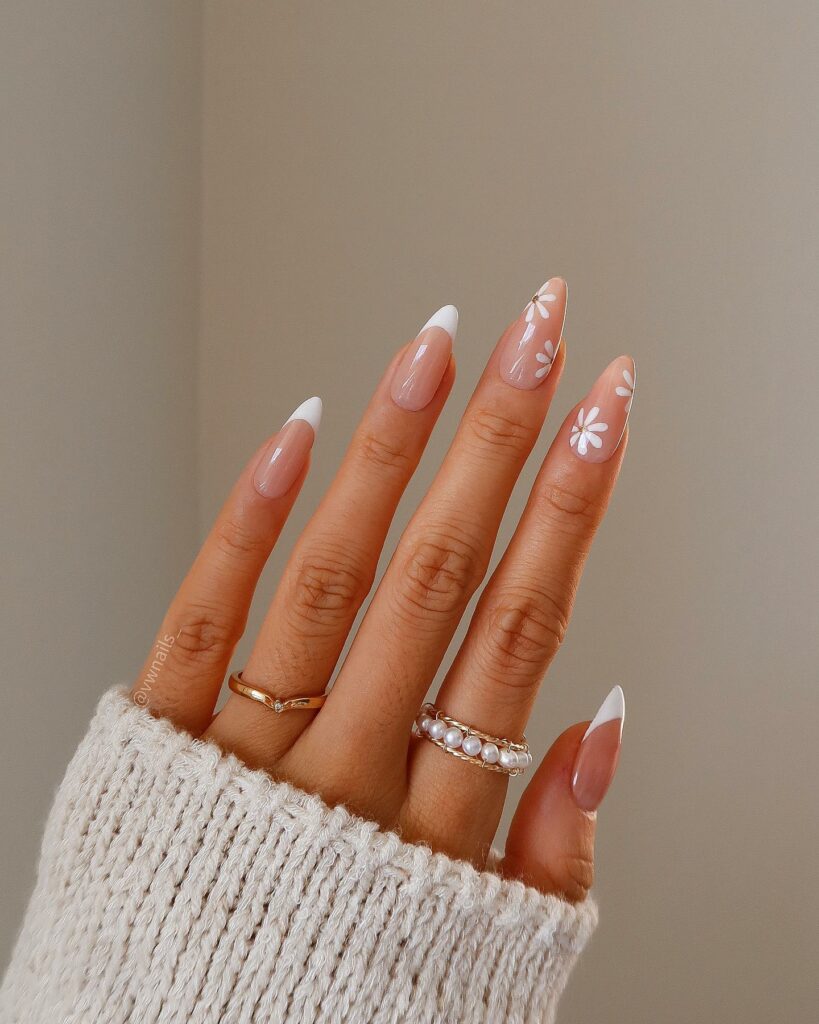
I love a good French mani, but who says you can’t give it a summery touch? Add tropical flowers in vibrant blues or any other bright color you adore. This one’s a subtle beauty.
Tropical Shades: Easy-Peasy Gradient
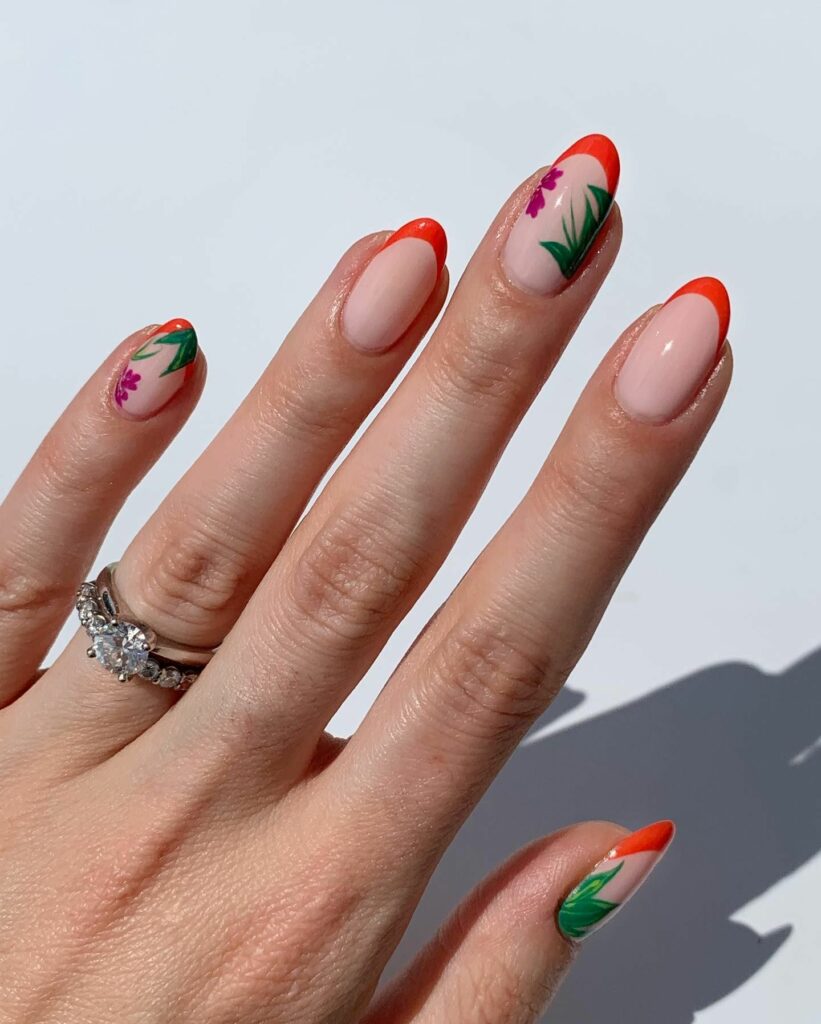
This gradient pink design is a must-try for those who love to DIY. Just pick a couple of pink shades and blend away. I recommend going for the brighter shades to make it pop even more.
Femme Fatale of the Sea: Purple & Shimmer Mermaid Nails
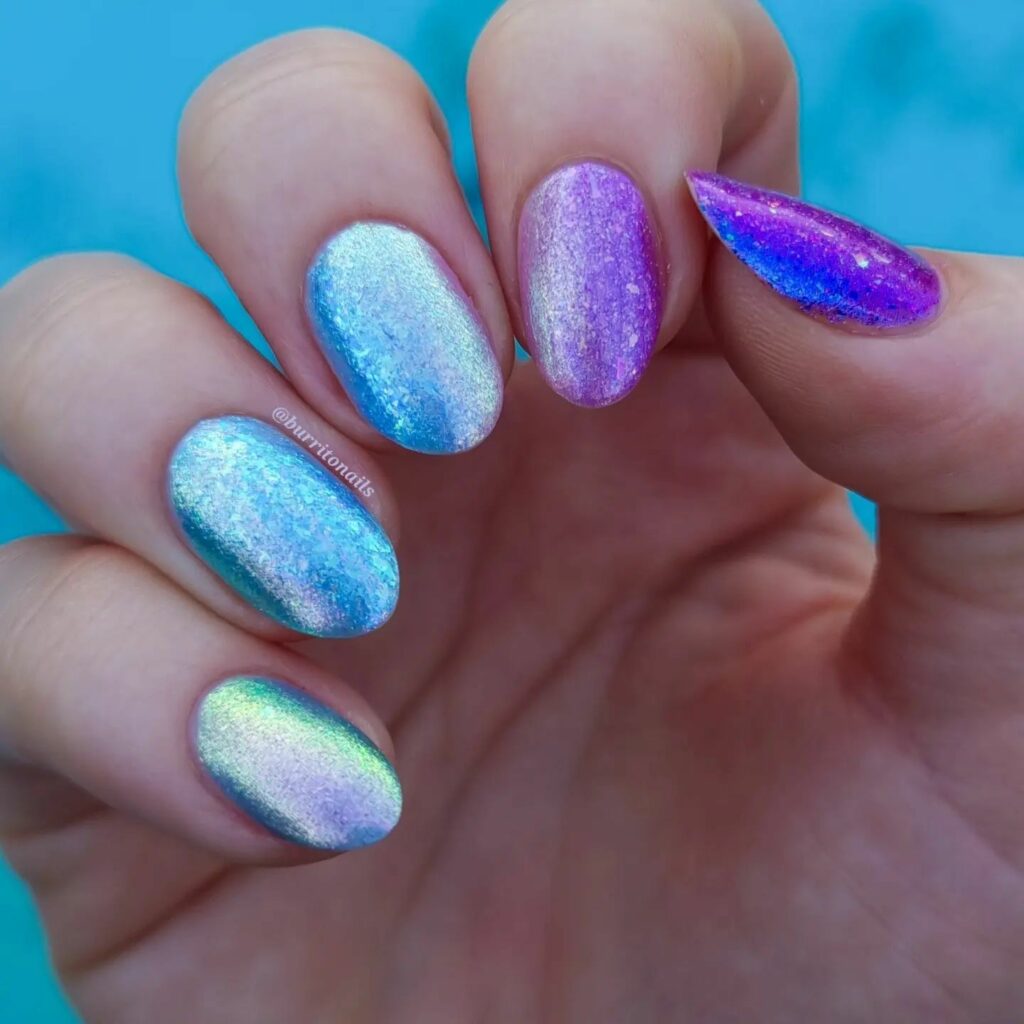
Want to stand out? Dive into these sultry, shimmering purple mermaid nails. The stiletto shape gives off this ultra-fierce vibe; you’ll feel like you’re not just any mermaid—you’re the one who rules the sea. Who wouldn’t want nails that look like they could lure sailors off their ships?
Quick & Chic: Ombre Beach Nails
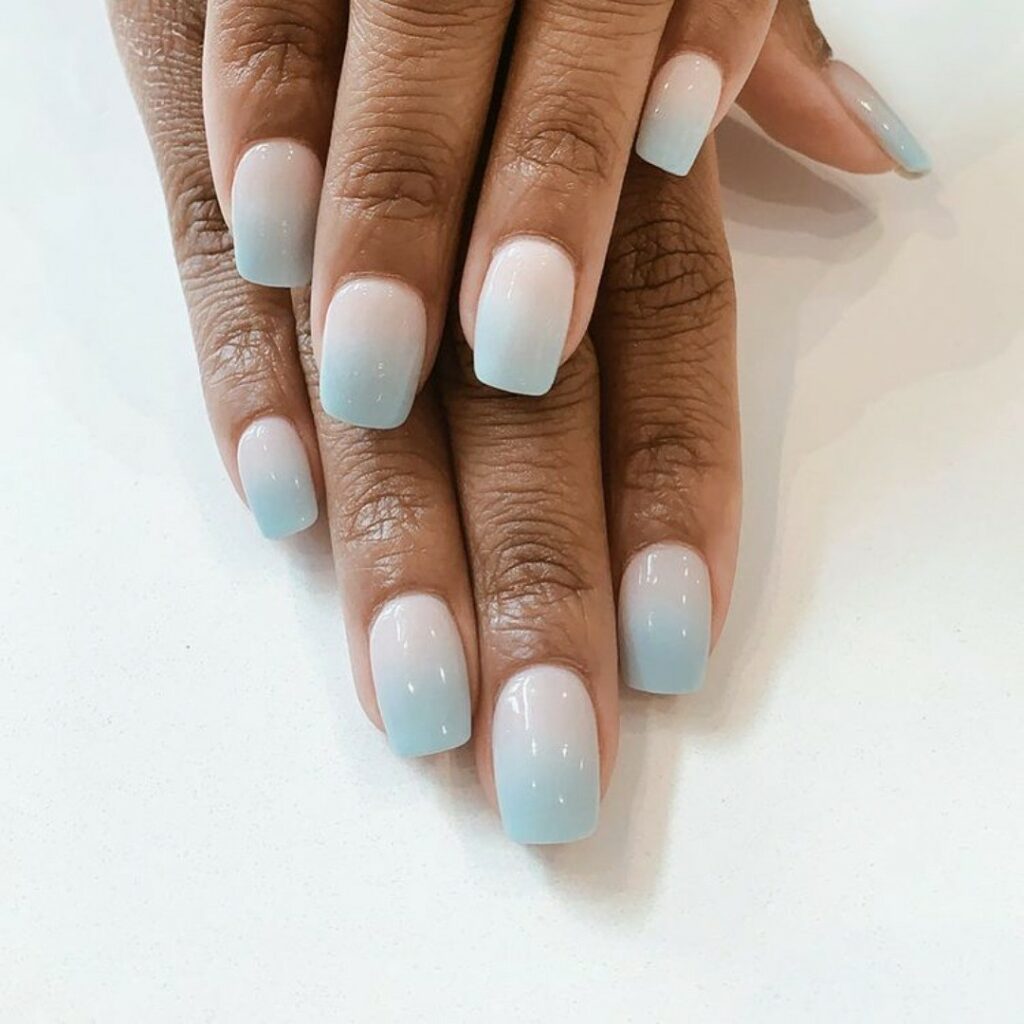
Need more time? No worries. Ombre beach nails are your quick ticket to tropical bliss, and guess what? You can DIY this one. I love mixing and matching colors, but go for it if you’re more about that cohesive life! Remember a sparkly topcoat for that extra glitz? I swear by Sally Hansen’s Diamond Flash topcoat for that extra sparkle.
Magical Mermaid Vibes: Ombre Mermaid Nails
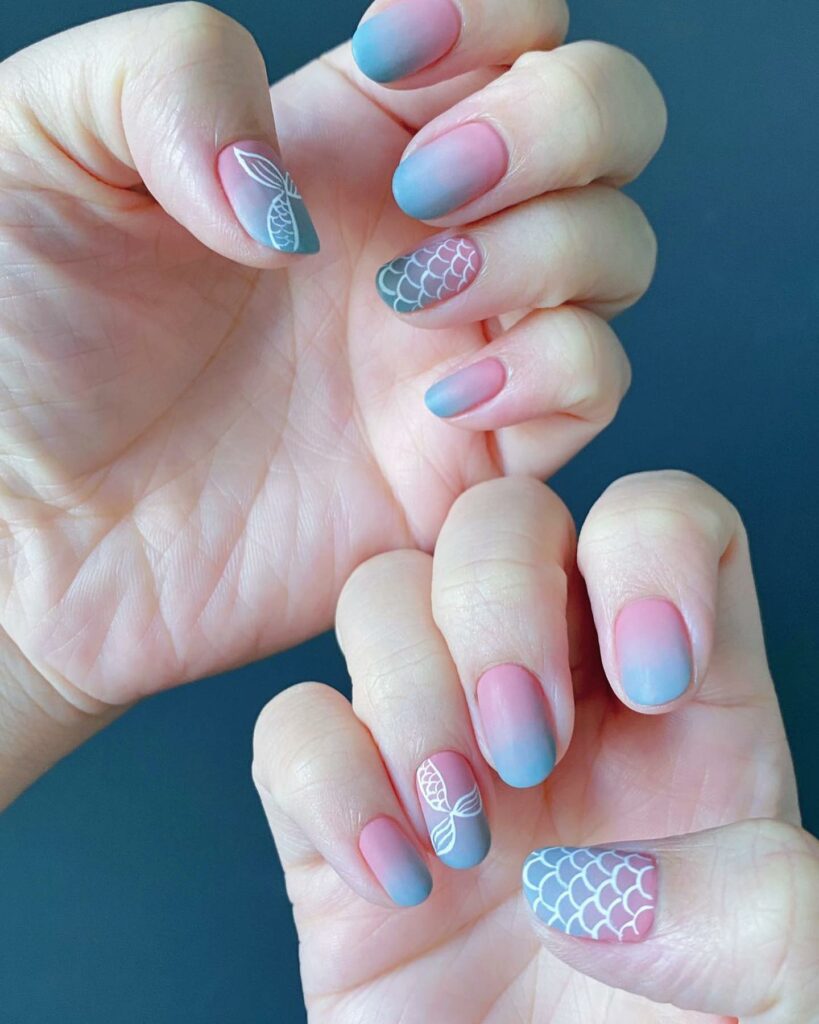
If you’re after the ultimate mermaid look, you’ve got to try ombre mermaid nails. The colors transition so beautifully, and I adore how each nail has its unique pattern, like fish scales! If you’ve got the time and the patience, this one’s a total show-stopper.
Mermaid Royalty: Turquoise Green Nails
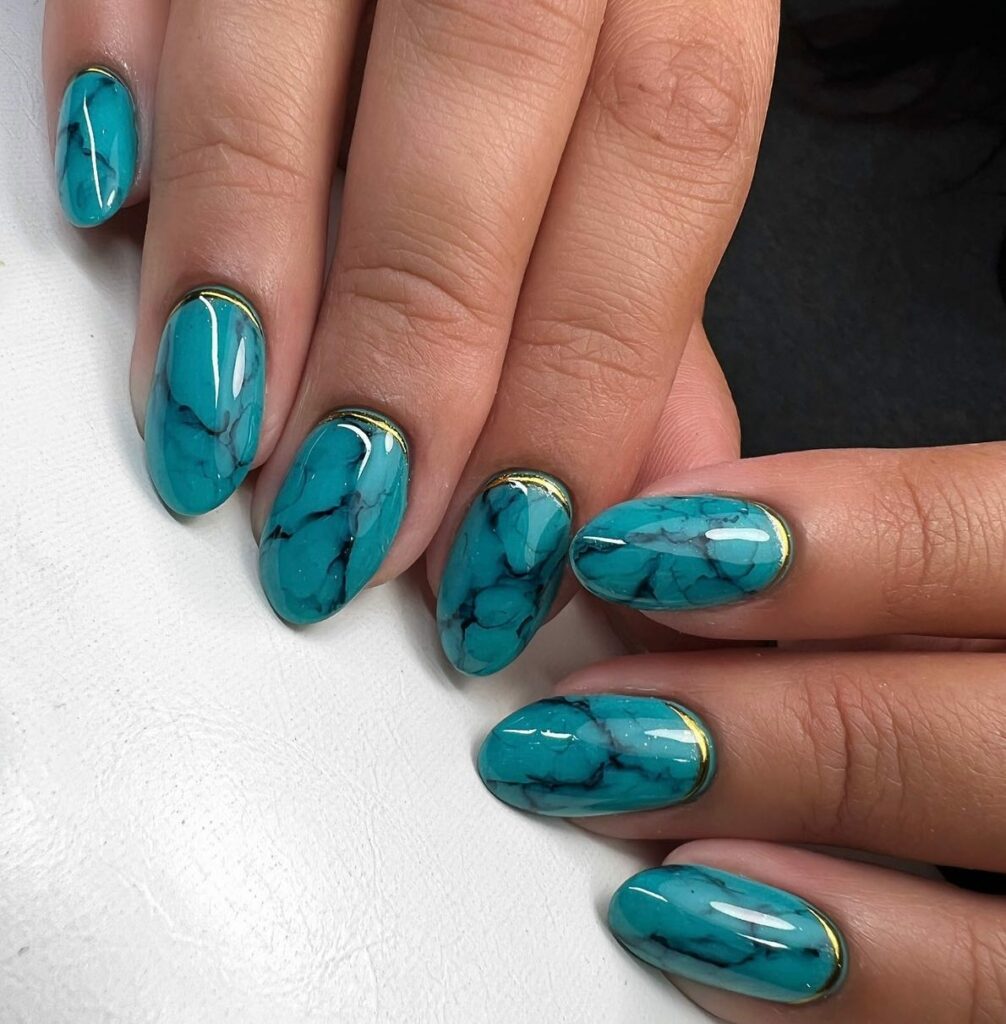
These nails scream ‘mermaid queen,’ and I’m here for it. Opt for a shorter ballerina cut if you’re not into super long nails. It’s still glam, still fab, and more manageable, especially if you’re like me and type a lot!
Soft White Shell Nails: More Is More
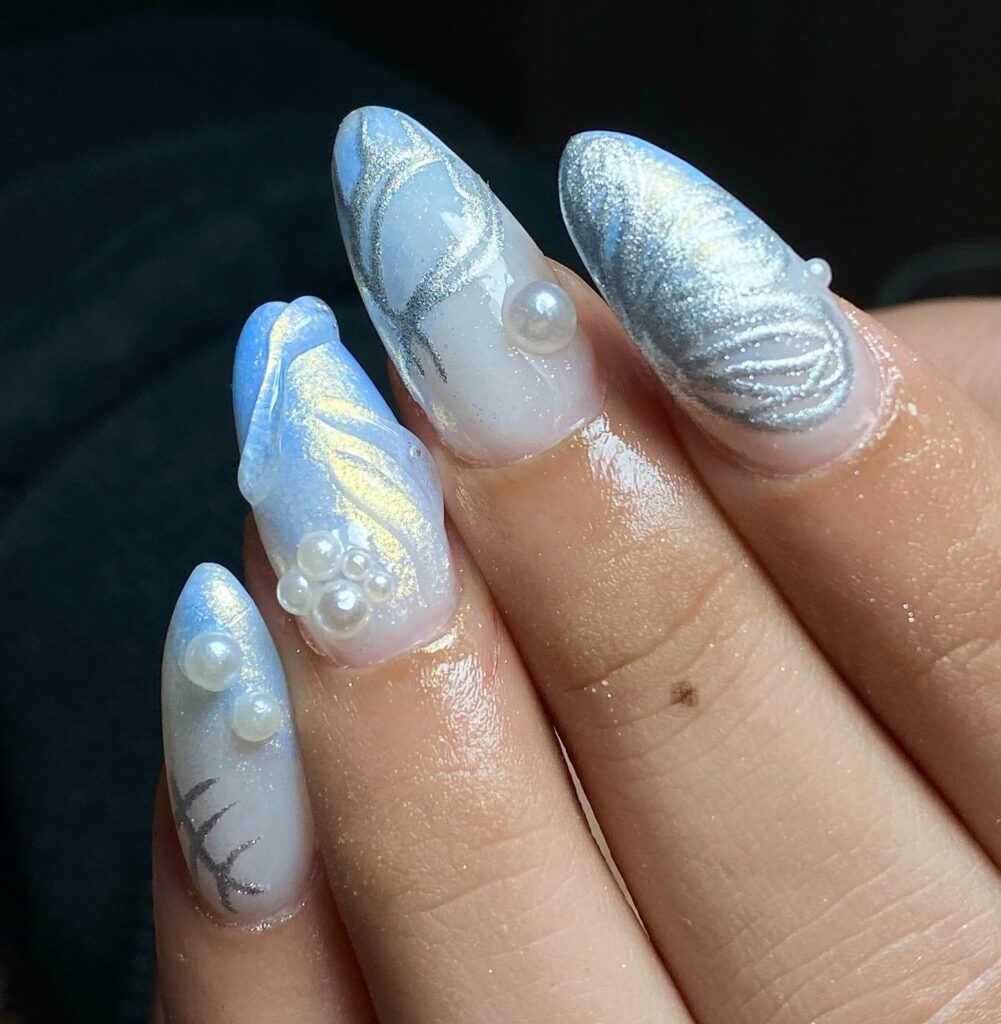
Okay, minimalism fans, these soft white seashell nails are for you. Elegant, simple, and oh-so-chic. They’re my go-to when I want that understated beach glam.
The Best Of Both Worlds: Accent Shimmer Mermaid Nails
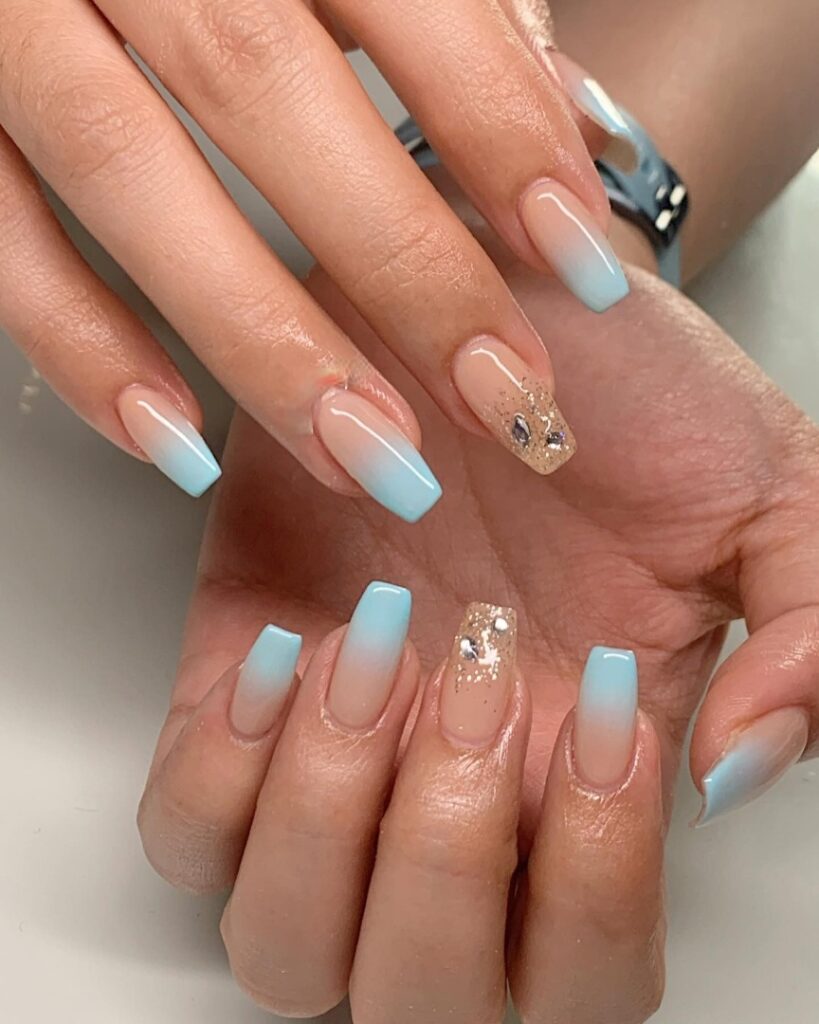
Not all of us want to go to the entire mermaid, and that’s totally okay. These accent nails let you dabble in the trend while keeping it classy. It’s like that pop of color in a neutral outfit—unexpected but oh-so-welcome.
Gold Ombre Seashell Nails
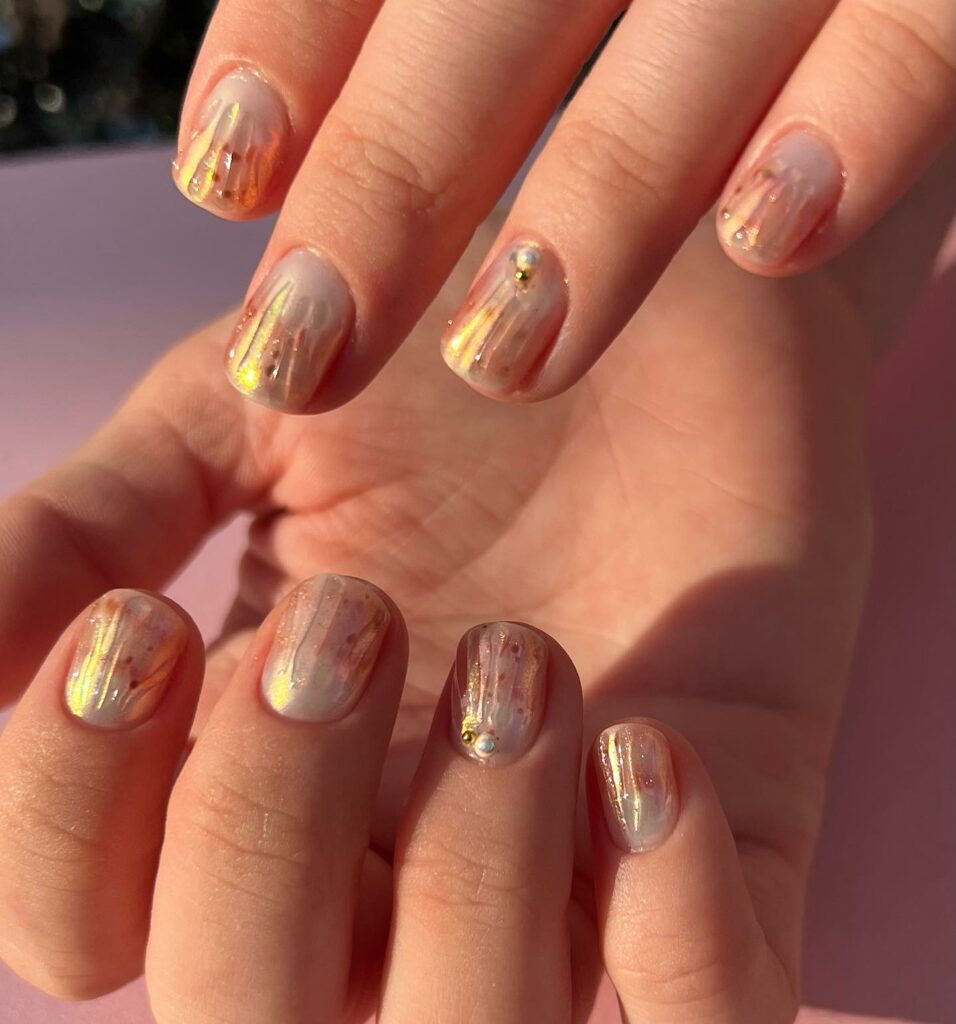
Gold Ombre Seashell Nails are the epitome of beachside glamour, perfect for those who want to combine a sun-kissed look with a touch of elegance. The golden gradient beautifully mimics a setting sun, while the delicate seashell accents transport you straight to a luxurious coastal escape.
Feeling Blue In The Best Way: Turquoise Beach Nails
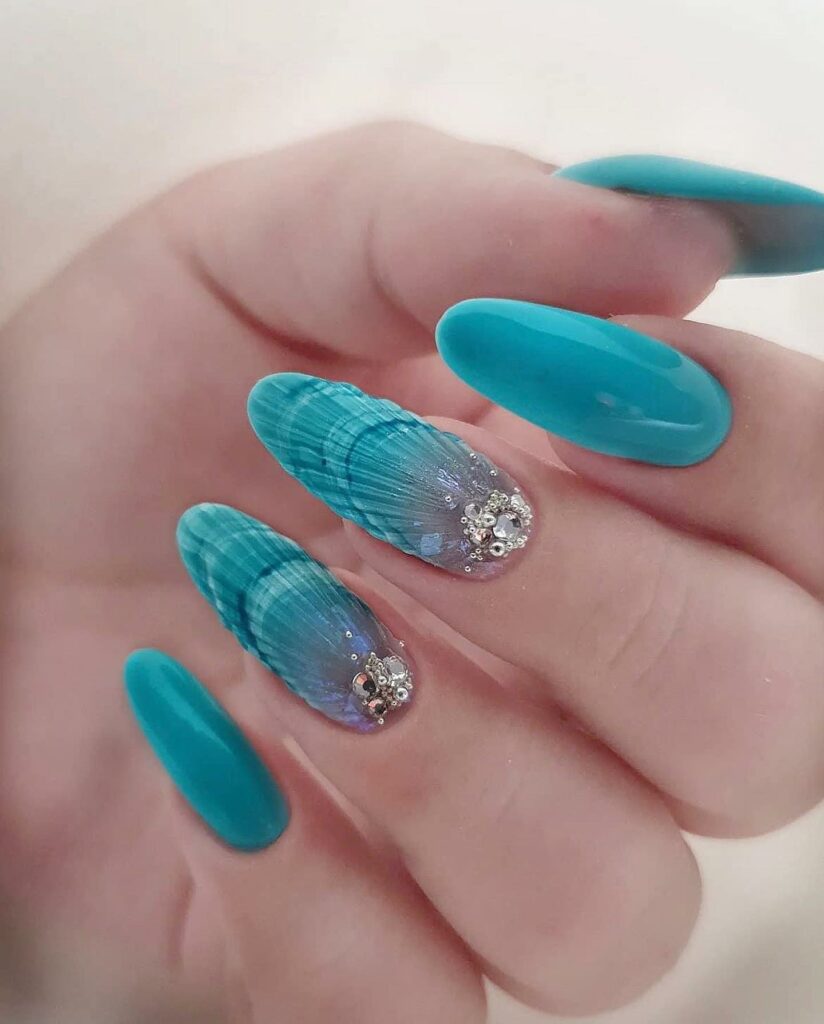
Turquoise is such a calming, beautiful shade—perfect for summer days. It makes me think of the clear ocean, and let me tell you, the compliments roll in when I rock this color.
Poolside Perfection: Pool Mermaid Nails
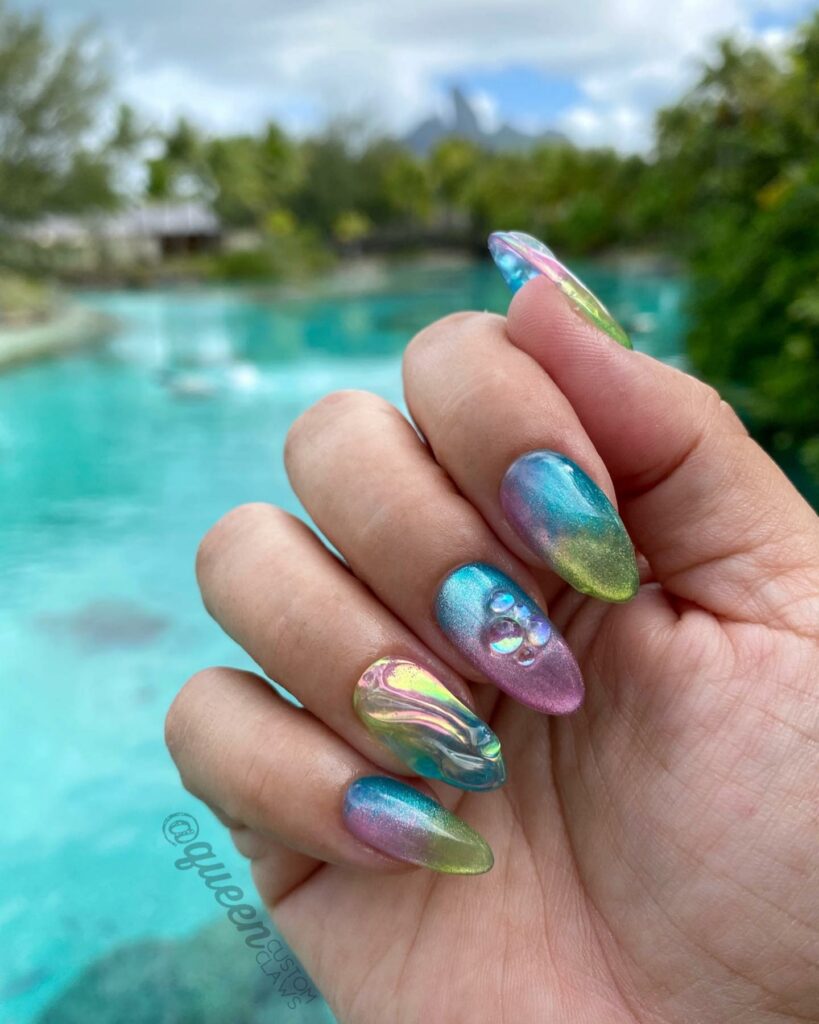
These nails are as versatile as they come. A beach trip or pool day, they’ve got you covered. The gradient and ombre effects make them fun to look at and even more fun to show off.
Chrome Chic: Metallic Ombre Beach Nails
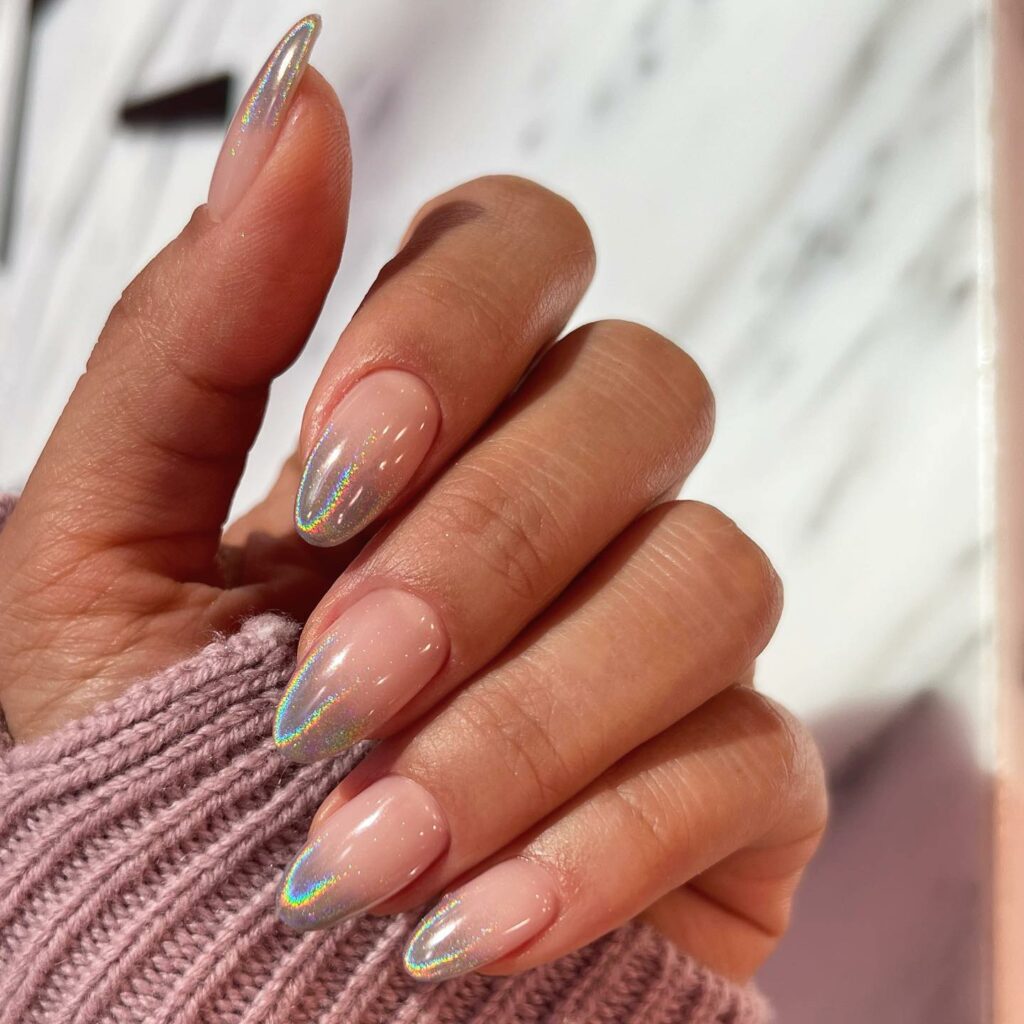
If you want to turn heads, metallic nails are the way to go. I’ve tried these in coffin shape for extra length, and let me tell you, they’re a hit. Choose your metallic hue and get ready for the compliments to flow in.
Colorful Mermaid Nails:
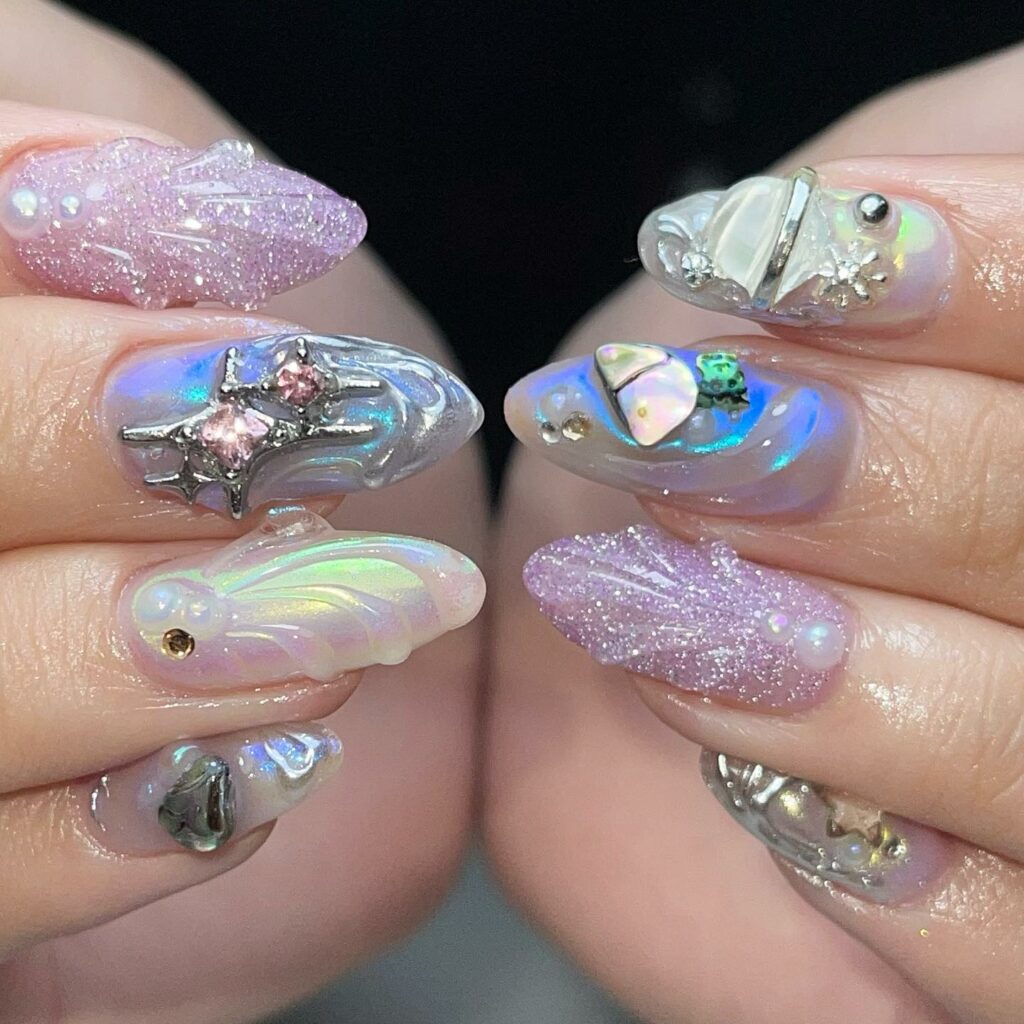
These nails are a mesmerizing blend of iridescent pastels and shimmering glitters, perfectly capturing the essence of a magical underwater world. The intricate seashell and starfish embellishments, paired with the ethereal play of colors, transport one straight to a dreamy, oceanic paradise.
Blue Marble Nails: A Twist On Classic
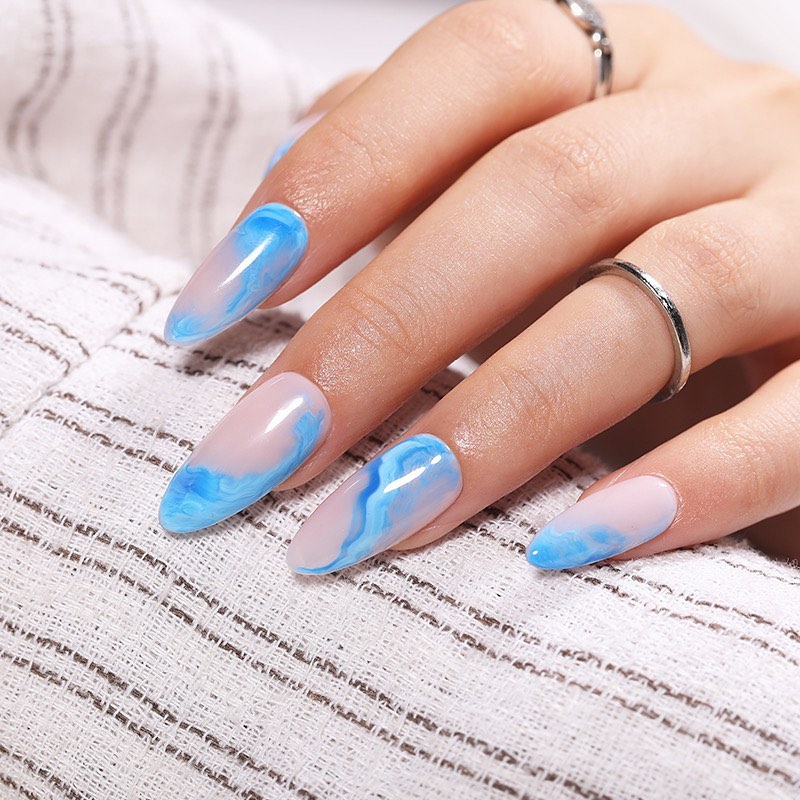
Bored of mermaid-inspired nails? Been there, done that. Try blue marble nails. They might not scream “tropical paradise,” but pick a bright blue hue, and you’ll feel like swimming in the ocean whenever you look at them.
Blue Palm Tree Accent: Tropical Flair
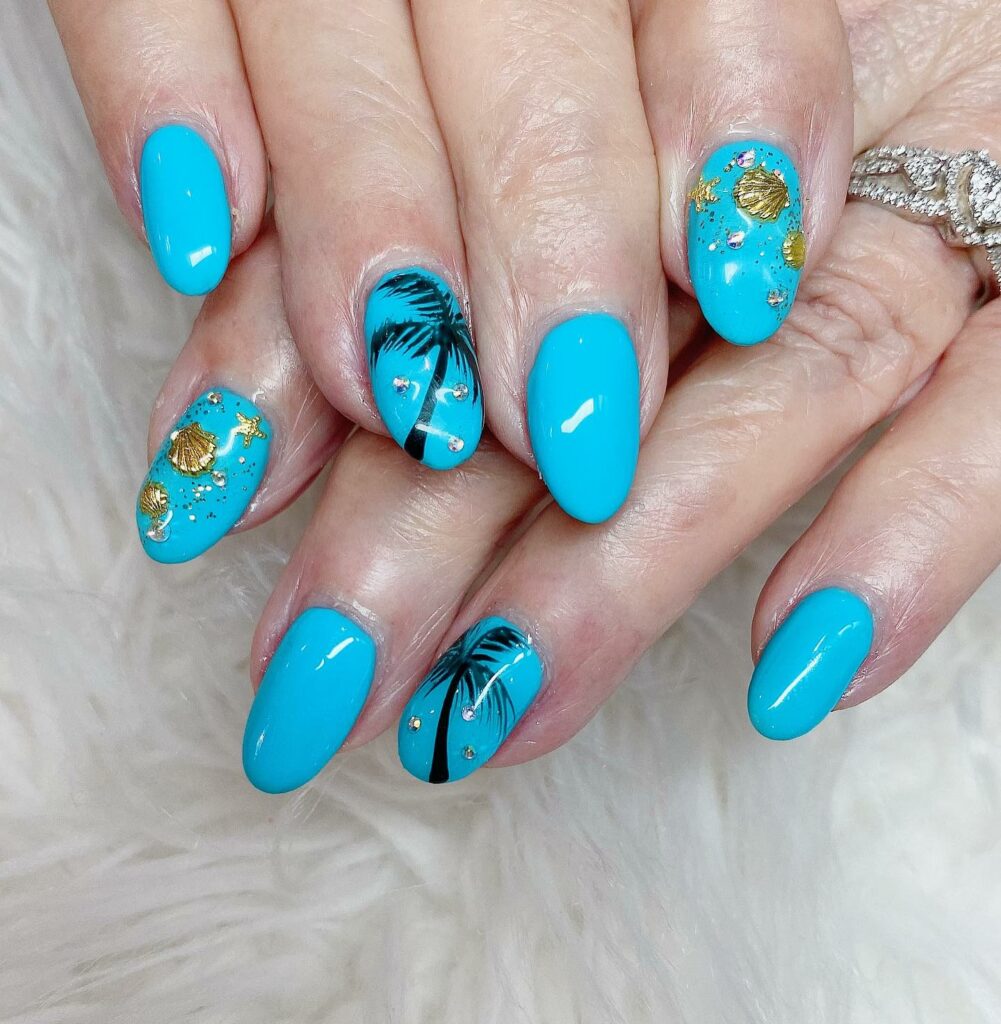
Speaking of blue, how about taking it up a notch with some palm tree accents? I practiced this one on a lazy Sunday afternoon, and it was simpler than I thought. Perfect for adding a little beach vibe to your day-to-day life!
Green Beach Nails: A Personal Fave
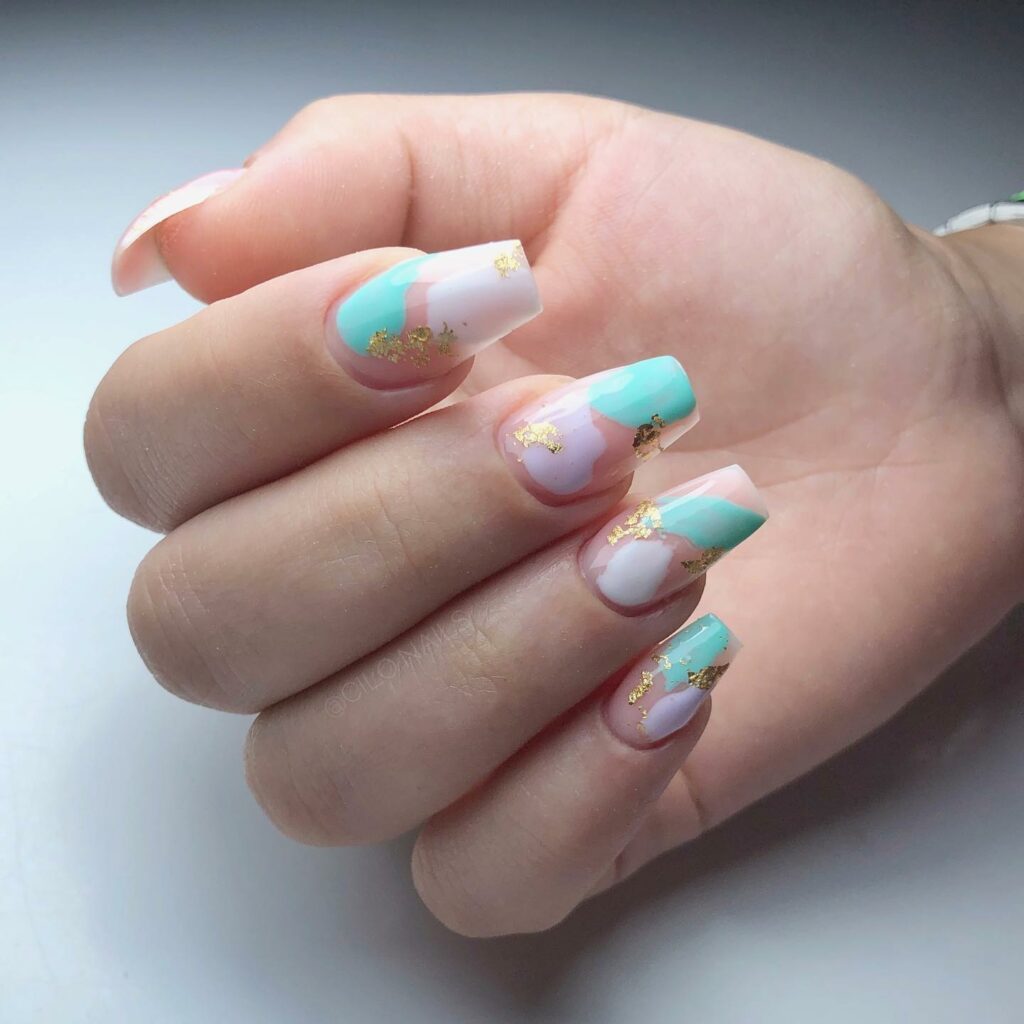
Green nails are my jam. For summer, I love pairing them with gold foils. It’s a simple design that speaks volumes, and the combo is versatile enough for all kinds of nail art.
Yellow Pineapple Designs: Sip & Dip
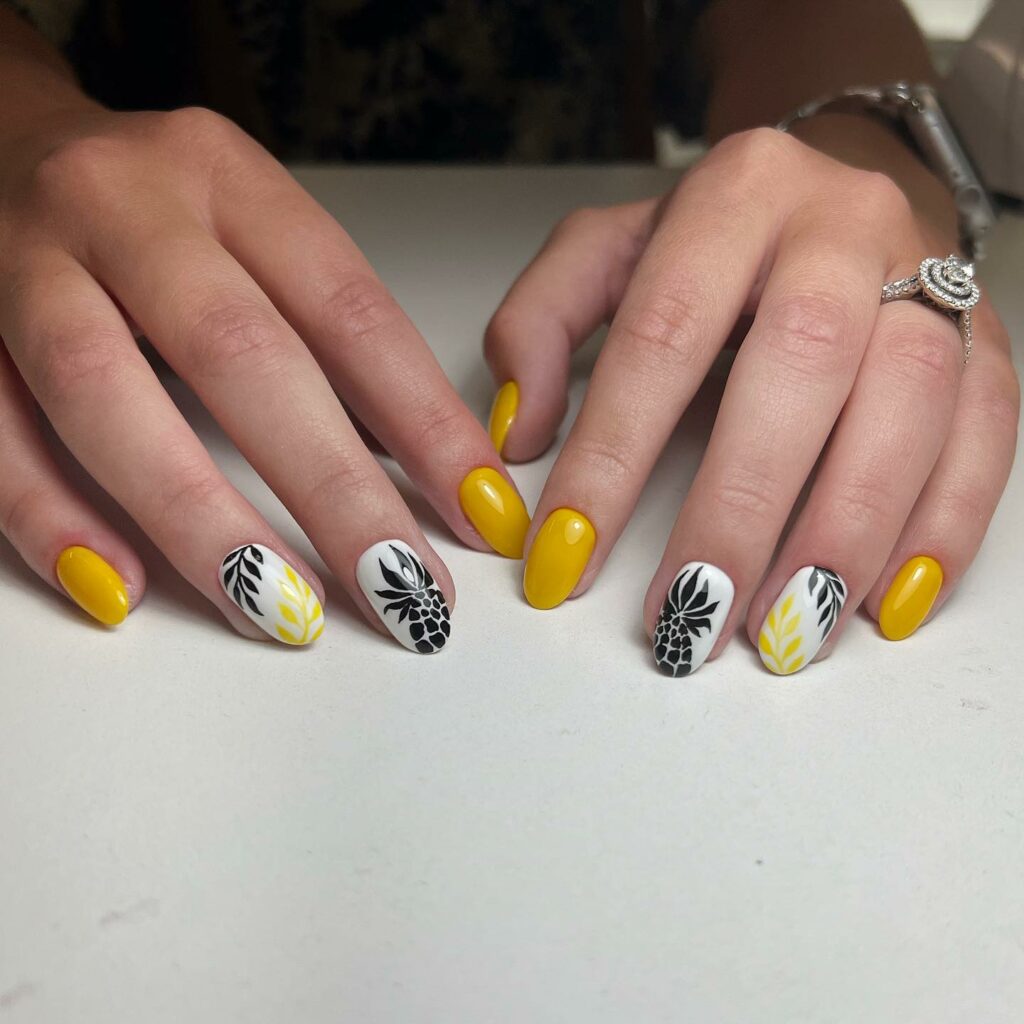
Who doesn’t love a good piña colada in the summer? Translate your favorite summer sip to your nails with cute pineapple designs. It’s like a beach party at your fingertips!
Black, Pink, & White Palms: Understated Elegance
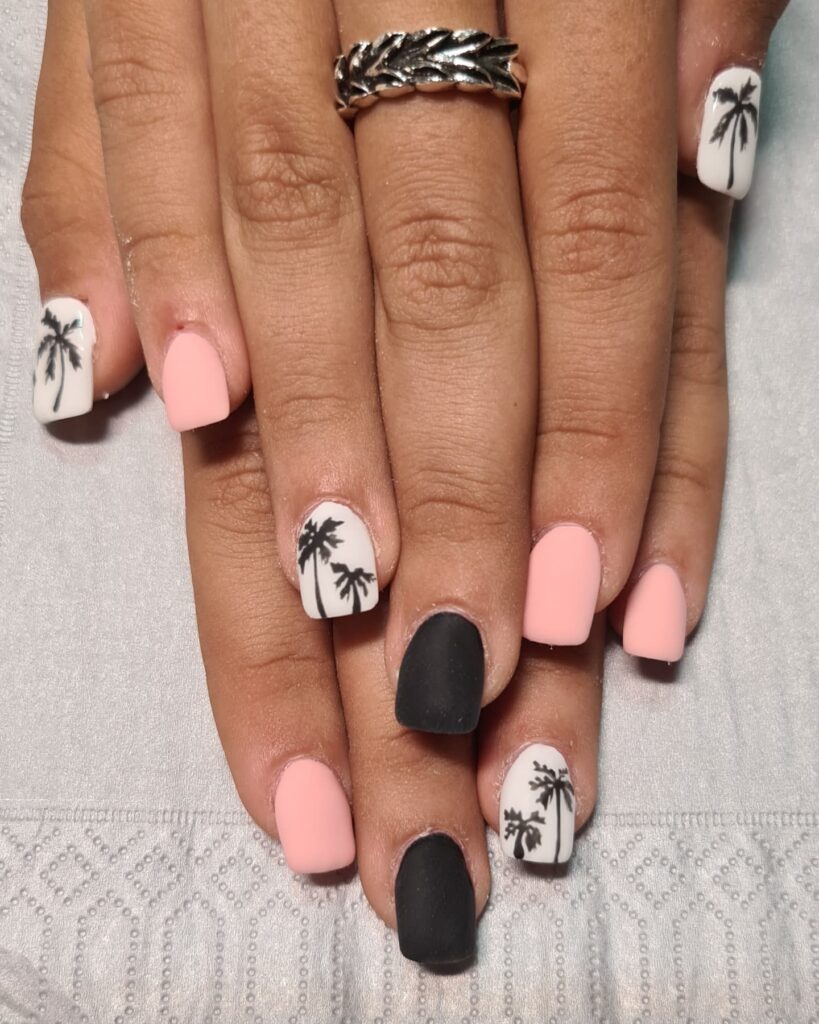
Palm trees instantly pop into my mind when I think of the beach. And what better way to bring those vibes to your fingertips than by adding some palm tree nail art? You don’t have to go all out; even neutral shades like black, white, and soft pink can make a huge statement.
Green & White Floral: Sophistication Meets Summer
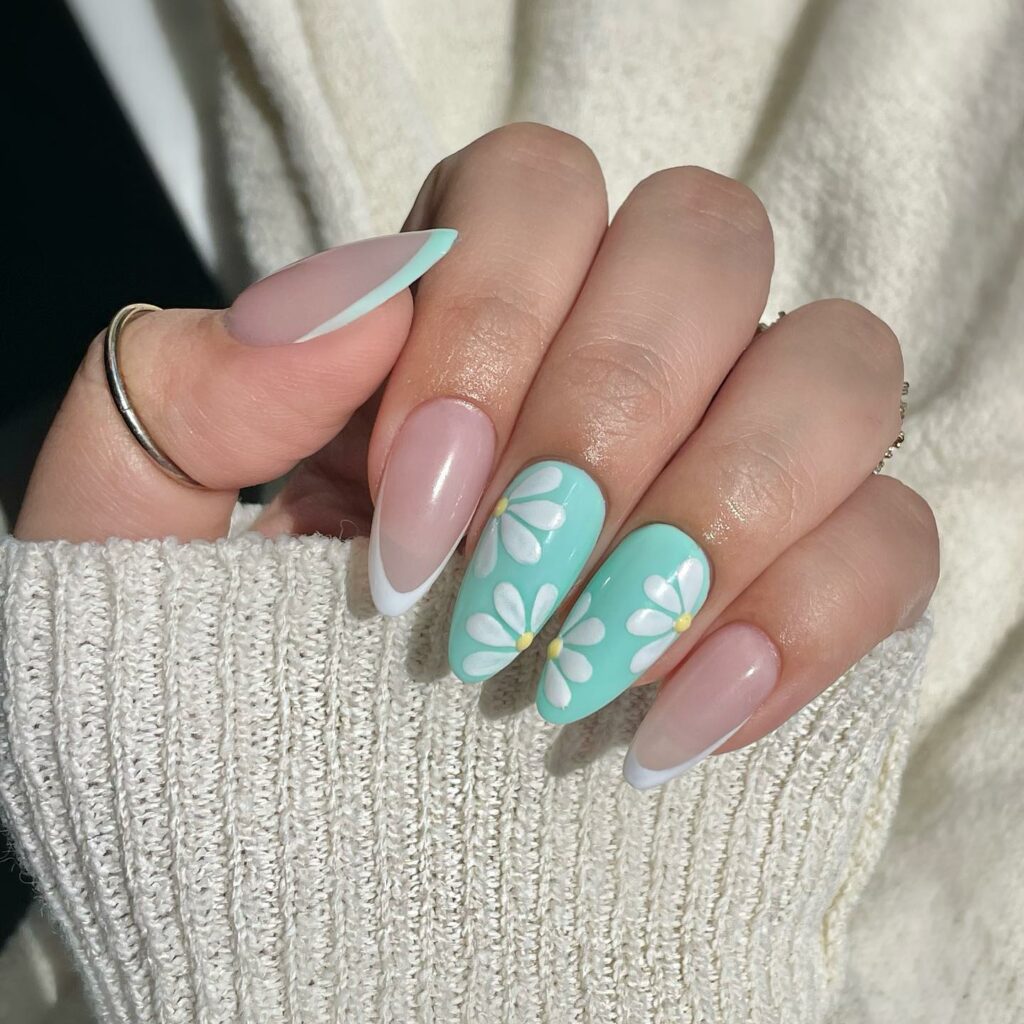
Oh my gosh, I am head over heels for this design. Picture this: varying shades of green and nude colors create this super elegant and summery atmosphere on your nails. Add some intricate tropical patterns, and voila! It’s like an island getaway on your nails.
Navy, Preppy Beach Nails: Chic and Unique
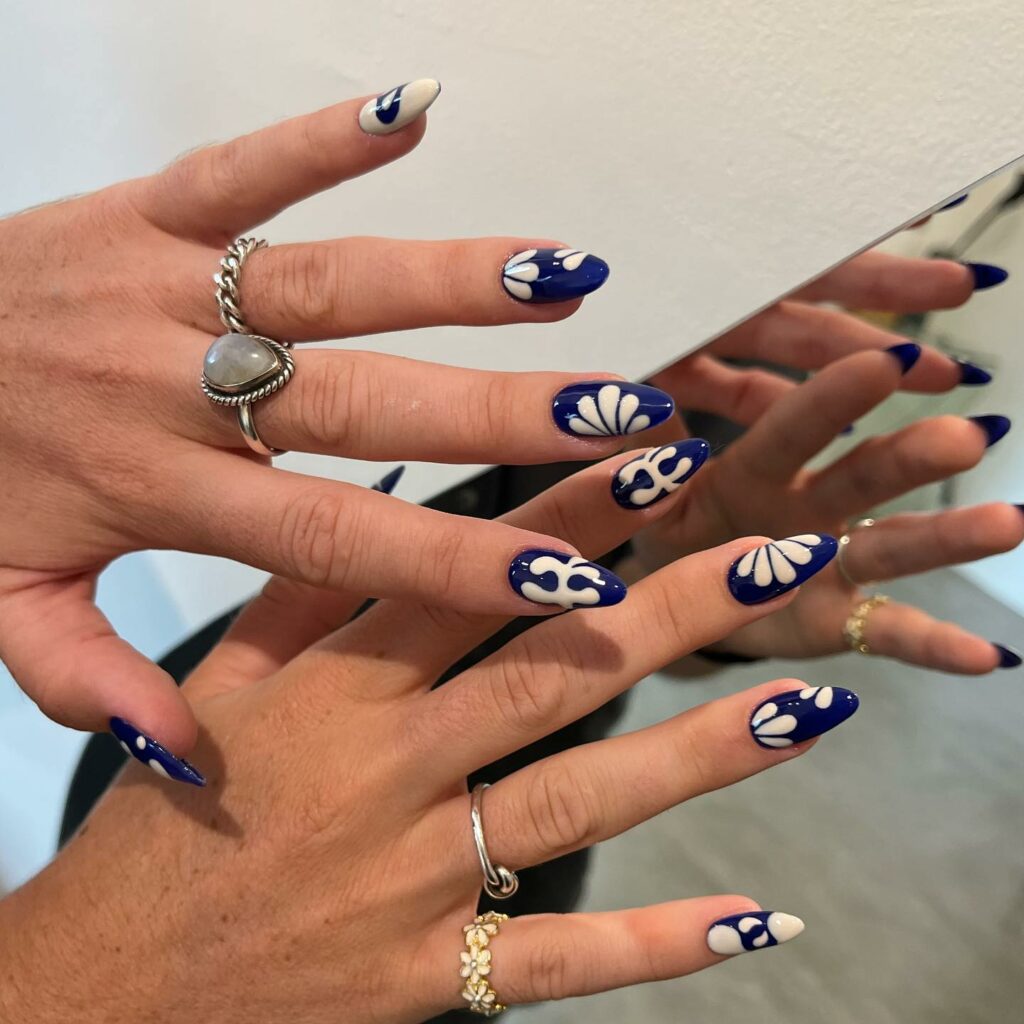
Usually, I save my darker hues for sweater weather, but navy blue is the rebel I make an exception for. Combine it with some sailor-themed art, and you have a preppy look that’ll still turn heads at the beach.
Pink Ombre Palm Nails: Pink, Pink, and More Pink
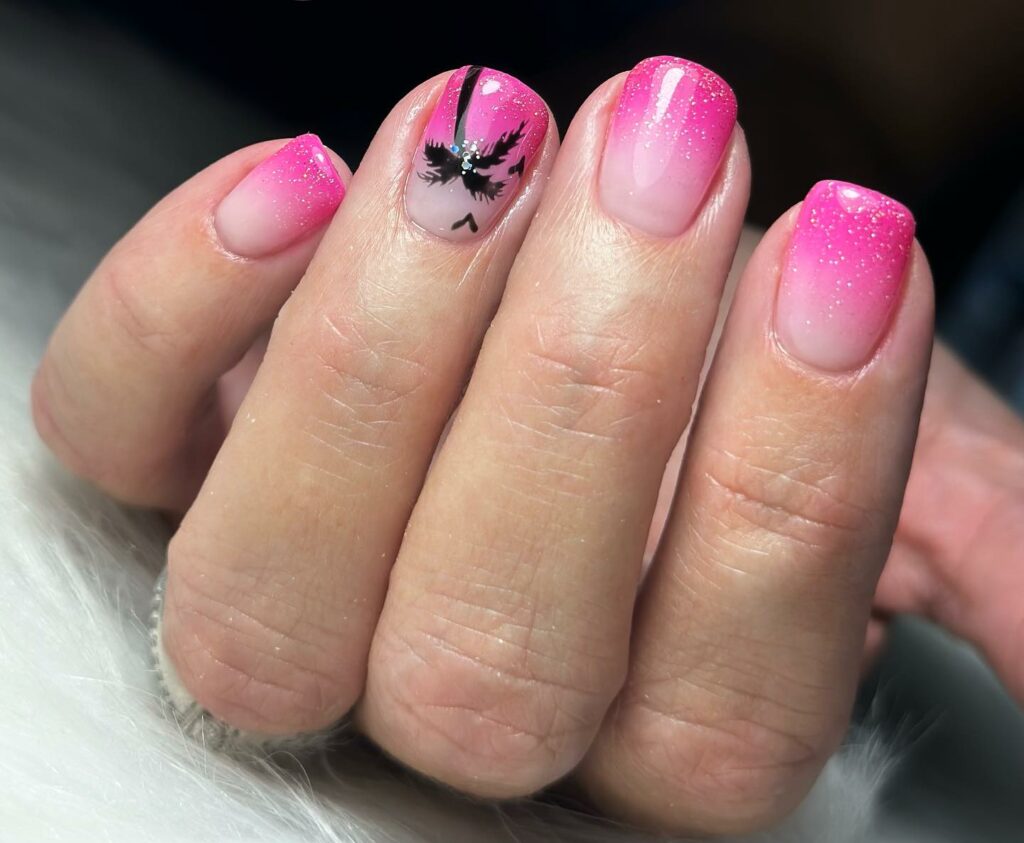
The more pink, the better, right? This nail design is a winner because it works on all skin tones and nail shapes. Add some ombre accents and finish with—you guessed it—palm tree art. It’s like a beach party on your hands!
Pink & Green Tropical Nails: A Match Made in Heaven
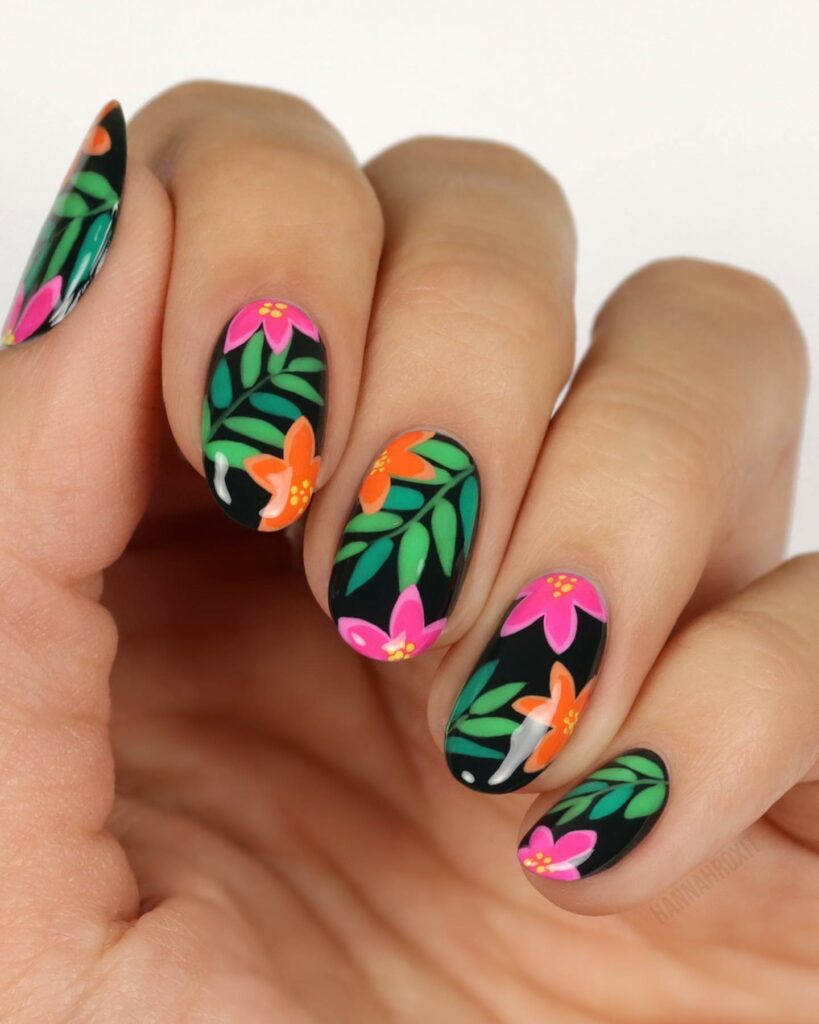
The rich green palm trees against the soft pink nails? Gorgeous! I’ve tried this one myself, and let me tell you, I couldn’t stop staring at my nails. It’s an eye-catcher, for sure.
Ocean Marble: Waves on Your Fingertips
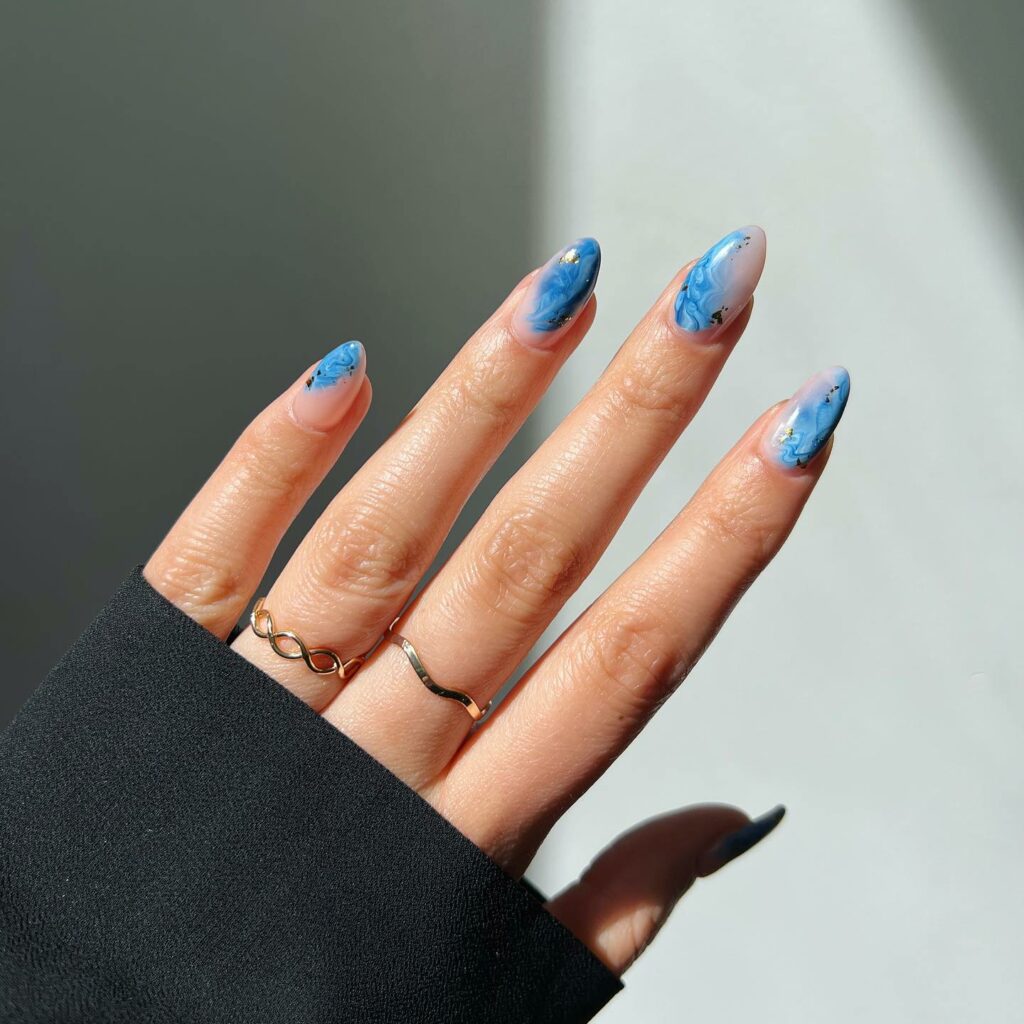
These nails make me miss the ocean like crazy. The marbled design mimics the ebb and flow of the waves, and you bet I’m rocking this design on my next beach vacation.
Royally Obsessed: Purple & White Mermaid Nails
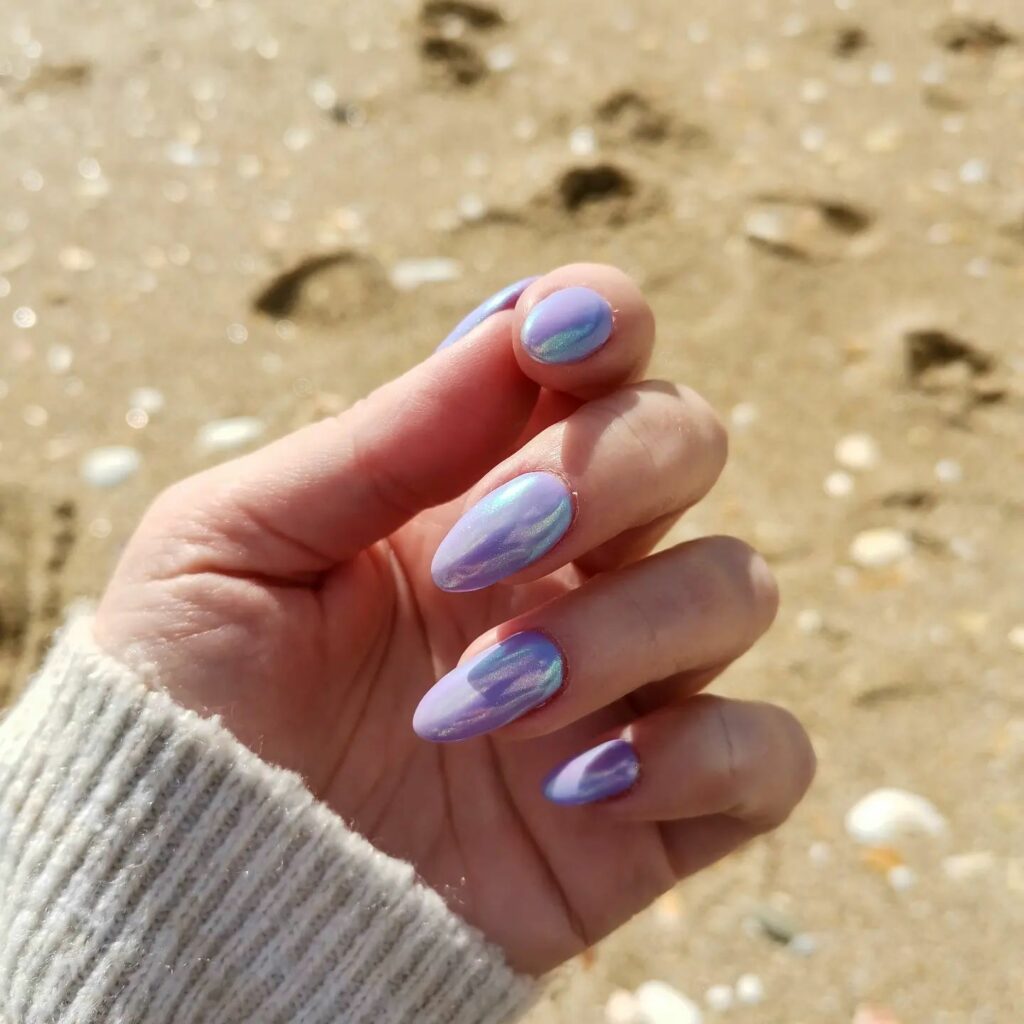
If you’re a purple lover like me, these nails will be your summer jam. From the iridescent finish to the seashell accents, it’s a beach party at your fingertips. I could wear this look all summer and never get tired of it. It’s that fabulous.
Mix it Up: Blue And Rhinestone Tropical Nails.
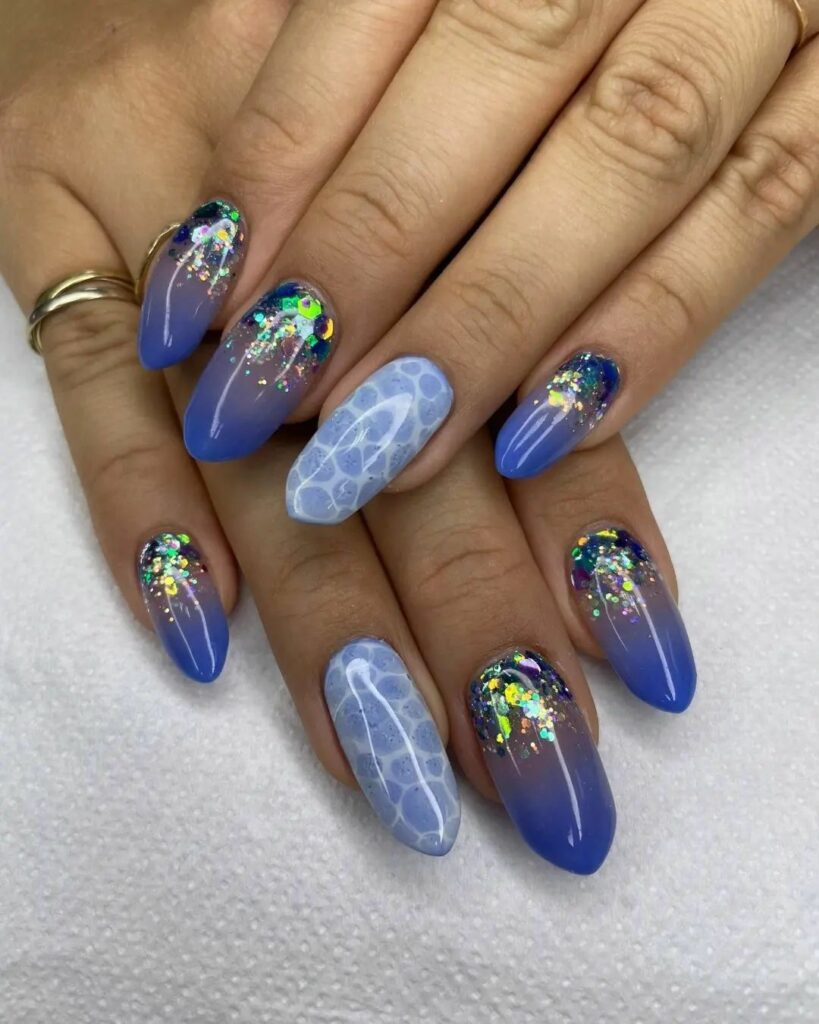
When summer hits, I’m all about those bold, vibrant shades. These nails are like a tropical smoothie—lots of flavors all in one. Adding a rhinestone or two takes the look from “wow” to “OMG, where’d you get those done?” It’s the perfect way to add a little bling without going overboard.
Seashell Glam: Unleash Your Inner Mermaid
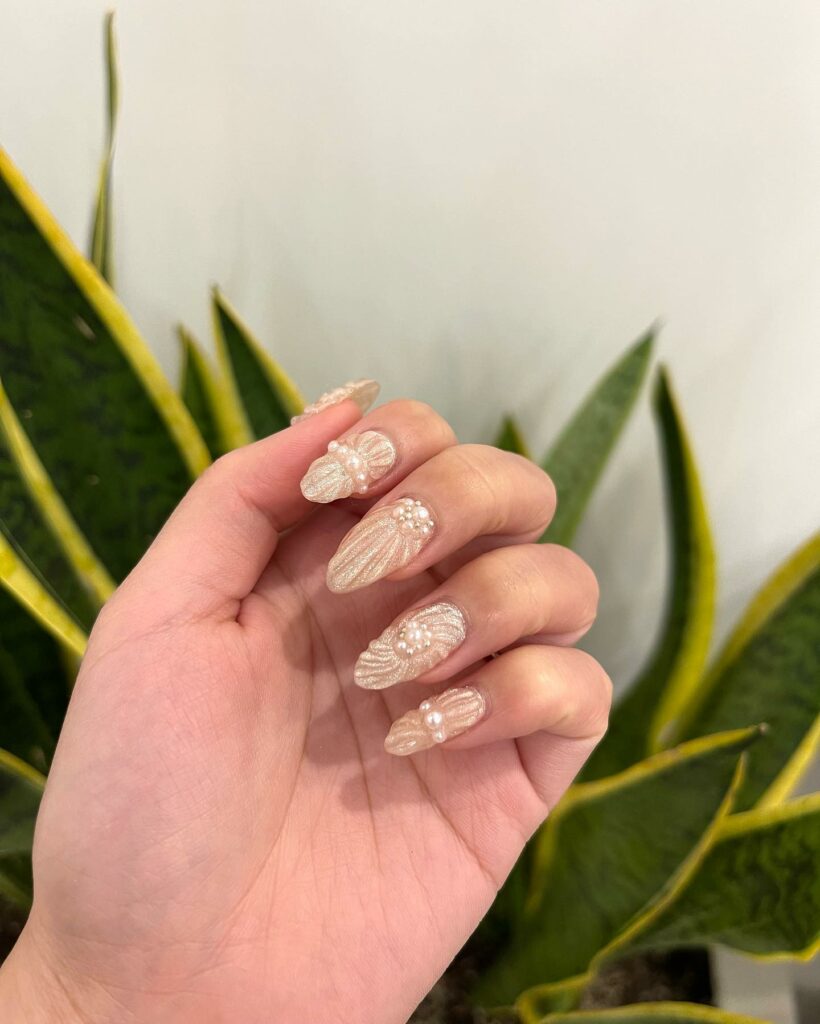
Hey, beach babes! Can we talk about how adorable seashell nails are? They’re a must if you’re beach-bound or even dreaming about the ocean. Picture it: you dipping those freshly painted nails into the waves—come on, it’s selfie gold! I can’t get enough of seashells paired with a neutral base color; it’s like wearing the beach on your nails!
What Are The Exact Steps For Achieving Tropical Nails?
Tropical nail art can be as straightforward or as intricate as you want. Whether a first-timer or a nail art pro, you’ll have a blast trying these out. So grab your favorite tropical shades, and let’s get started!
- Prep Your Nails – Before diving in, ensure your nails are clean, dry, and free from old polish. Push back those cuticles, and if you’re like me and can’t stand uneven nails, give ’em a quick file to your preferred shape.
- Base Coat – Apply a thin layer of base coat to protect your nails and help your polish last longer. Wait a couple of minutes to make sure it’s scorched. Trust me, this step is a game-changer.
- Apply Your Background Color – Choose a base color that screams “tropical paradise” to you. This could be ocean blue, sandy beige, or even a sunny yellow. Apply two coats for full coverage, letting each coat dry before applying the next.
- Unleash Your Creativity – This is where the fun really starts! Use your thin brush or dotting tool to create your tropical designs. Palm trees are an easy go-to: paint a thin brown line for the trunk and add some green fronds. Or you could go all out with a beach sunset, flamingos, or even waves. If you’re a beginner, nail stickers are your BFFs for this step.
- Personal Tip: I often keep a piece of paper nearby to practice my designs before I commit them to my nails. It helps me get the steadiness and proportions just right.
- Add Some Sparkle (Optional) – If you’re like me and think everything’s better with some sparkle, now’s the time to add glitter or rhinestones. Use a dotting tool or a pair of tweezers to place them exactly where you want.
- Seal the Deal – Once you’re happy with your tropical masterpiece and it’s dry—please make sure it’s dry—seal it all in with a top coat. This will give it a glossy finish and help your artwork last longer.
- Clean Up and Show Off – Dip a cotton bud in some nail polish remover to remove stray polish around your cuticles. And voila! You’re ready to flaunt those tropical beauties.
Now snap some pics, and remember to tag me if you’re sharing them online. Can’t wait to see what tropical wonders you all come up with!
What Are Some Pro Tips On Long-Lasting Applications?
- Start With Clean, Dry Nails – Oil and moisture are the arch-enemies of long-lasting polish. So make sure your nails are squeaky clean and completely dry. You can even go the extra mile and swipe your nails with vinegar or rubbing alcohol to remove any natural oils.
- Don’t Skip The Base Coat – I can’t stress this enough—always start with a base coat. It’s like a primer for your nails; it creates a smooth surface for your polish to adhere to and prevents staining. My favorite is OPI’s Natural Nail Base Coat; it’s a lifesaver!
- Thin Coats are the Key – This is a mistake I always made when I first got into nail art. I’d glob on the polish, thinking it would make the color more vibrant. Spoiler alert: It just makes it peel faster. So opt for multiple thin coats, allowing each layer to dry thoroughly before applying the next one.
- Mind The Free Edge – To seal the deal, swipe a bit of topcoat along the edge of your nail after you’ve finished painting. This is called “wrapping the tips,” which helps prevent chipping from the get-go.
- Top Coat Is Your Best Friend – Speaking of top coat, invest in a good one. I swear by Seche Vite’s Dry Fast Top Coat; it’s like an impenetrable shield for your nails. Apply it while your color coats are still tacky to help it adhere better. Reapply every 2-3 days to keep that glossy finish.
- Keep ’em Hydrated – Dry nails chip more quickly, so hydrate those cuticles with nourishing oil. Just be careful not to get any on the nail bed itself, mainly before you paint, as it could affect how well the polish adheres.
- Avoid Water Overexposure – Ever notice how your nails start to chip after a long soak in the tub? Water can seep into your nail polish and lift it from the nail. Avoid long soaks, and maybe consider rocking some rubber gloves when you do the dishes.
- Wear Gloves for Chores – Whether cleaning or gardening, physical work can wreak havoc on your manicure. Protect those babies by wearing gloves.
What Are Some Of The Best Color Palettes And Designs For Tropical Nails?
- Beachy Blues and Ocean Greens – Can we take a moment to appreciate the calming vibes of ocean blues and seaweed greens? If you want to channel the essence of the sea, shades ranging from turquoise to deep navy are your best friends. Add some gold foils for a sun-on-the-water sparkle, and you’ll daydream of your next beach getaway all day!
- Hot Pinks and Zesty Oranges – If you want to turn up the heat, nothing screams tropical louder than a poppin’ hot pink or a tangy orange. It could be the sunset color or those delicious fruity cocktails, but these shades make a big splash! Don’t hesitate to add a palm tree accent in white or gold to dial up the drama.
- Classic Whites with a Twist – Who says white has to be boring? A crisp, white background is the perfect canvas for intricate tropical designs like palm leaves, hibiscus flowers, or even a mini flamingo if you’re feeling extra. Pro Tip: Use a matte topcoat to give your design a chic, contemporary feel.
- Radiant Yellows and Sun-Kissed Gold – You can’t talk about tropical nails without nodding to the sun. Bright yellows or even subtle pastels can add that sunshiney touch. Go for a full sun or sunburst design, or keep it simple with gold accents. If you’re into nail art, why not paint a little pineapple for added cuteness?
- Earthy Tones and Floral Accents – Only some people want to go full-on neon for the beach, and that’s cool! Try using more muted earth tones like tans, browns, or even soft pastels for a toned-down but still tropical look. Add subtle floral accents or tiny palm fronds, and voila—you’ve got a chic, understated tropical mani.
- Mix ‘n Match Mania – Feeling indecisive? Go wild with an n-match look! Choose colors and designs from the palettes above and alternate them on different nails. It’s a fun, eye-catching style that says, “I’m here for a good time!”
- Bonus: Ombre All the Way! – If you’ve been rocking the ombre trend, don’t stop now. Whether it’s a sunset ombre with reds, pinks, oranges or an ocean ombre with blues and greens, the gradient look is still A-plus for tropical glam.
Still Looking for Inspiration, Then Check Out This Video
Conclusion
And there you have it, my beach babes! Whether you’re a DIY queen or love to be pampered at the salon, these summer nail designs are the cherry on top of your sun-kissed look. Remember, you don’t have to stick to the “traditional” summer colors or designs—feel free to mix it up and make it your own. After all, your nails are like little canvases waiting to be turned into art. And if you’re new to nail art, start simple. A palm tree accent or a dash of glitter can go a long way. So get those nails beach-ready and make a splash this summer!
Feature Image Photo By @pop_polished via Instagram


