Table of Contents
Today, we’re diving headfirst into a question I often find popping up in our community discussions: “Can you paint over acrylic nails?” Spoiler alert – yes, you can! But the how, the when, and the why are as fascinating as the result itself.
In this comprehensive exploration, we’ll unleash the world of acrylics and their potential to be a canvas for your creativity. Say goodbye to the confusion because we’ll break down everything from the nature of acrylic nails to the correct painting process over them. You’ll also learn about the potential pitfalls and pro tips to ensure a flawless result, with everyone complimenting your gorgeous digits.
Picture this: a detailed roadmap, expert advice, handy tips, and some exciting DIY ideas — a manicure enthusiast’s paradise, if you will. Buckle up and grab your favorite nail polish because we’re about to navigate through the versatile and glamorous world of acrylic nails, transforming what might seem like a daunting question into a game-changing trick up your sleeve. Let’s start this nail journey together, which promises to empower you with the knowledge and skills to keep your nails looking fabulous and fresh. Because remember, the beauty of acrylics isn’t just in their longevity; it’s also in their ability to be reinvented time and time.
Acrylic Nails: Your Quick & Easy Glam-up Solution!
Have you ever found yourself bored with your current nail look yet dreading the prospect of a full-blown manicure overhaul? Been there, done that! But here’s a little secret I stumbled upon – you can paint right over your acrylic nails, and voila, new manicure, who dis?
Is it a good idea, though? Let me take you on a journey through my acrylic adventures to answer just that! Plus, I’ll share my insider tips and tricks on the perfect way to paint over your acrylics, creating a fabulous new look in no time.
Getting to Know Acrylics: What Are They?
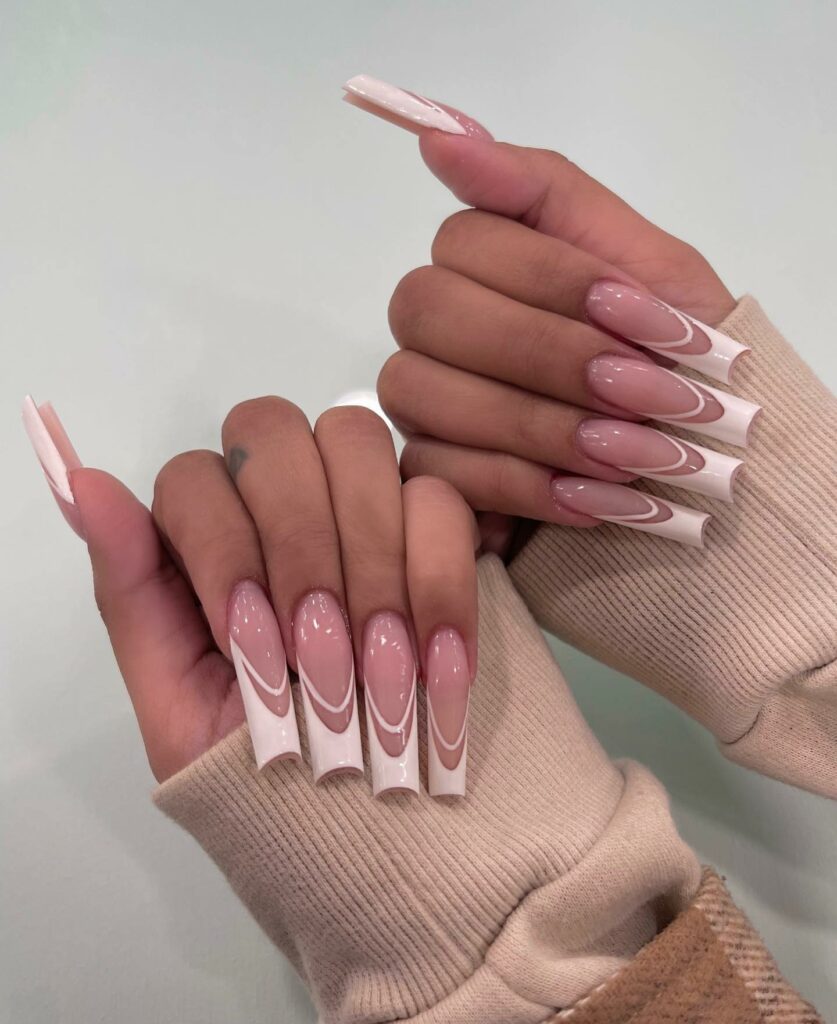
Acrylic nails are a fabulous, sturdy, artificial nail enhancement. Think of them as your favorite pair of versatile high heels for your hands!
They’re made by mixing a liquid monomer and powder polymer. This duo becomes a hard plastic that we sculpt over the natural nail to create the desired shape. Picture it as a magic transformation potion — one minute, you have short, perhaps even brittle nails, and the next, you’re flaunting naturally long and full-looking nails! I still remember my first set of acrylics. I could not stop waving hello to just about anyone I saw!
You can do anything with acrylic nails — from the ever-elegant French tips to wildly creative patterns sporting rhinestones and glitters galore. Though they require a pro’s touch for application, it’s worth the salon visit.
These durable beauties once applied and cured layer by layer, promise up to six weeks of a fantastic look without the typical chipping issues of regular polishes. It’s like your nails have their own personal bodyguard! However, remember, the armor must come off at the right time. The chemicals in the products can be harsh, so ensure proper removal to keep your natural nails happy and healthy.
All Hail the Acrylics: Perks of Wearing Them
Acrylic nails, constructed with their superhero duo of acrylic powder and liquid monomer, offer a robust and long-lasting alternative to our delicate natural nails. If you’re like me, with nails that crumble at the slightest pressure, acrylics will be your new best friend!
The quick-drying acrylic gel used here gives a firmer adhesion and more extended wear than other artificial nails. I recall going on a two-week beach vacation with my acrylics intact while my friend’s gel nails barely survived the trip!
What I love about acrylics is the creative freedom they offer. Want round, almond, or maybe nails shaped like your favorite fruit? Acrylics have you covered! Their thickness allows for an array of designs that will make your hands the talk of the town.
You’re signing up for an easy, low-maintenance beauty regimen with acrylics. No need for constant filing, buffing, or polishing — it’s almost like a mini vacation for your hands. And, with the proper care, they last you up to six weeks.
The best thing about acrylic nails is their customization. I remember attending a themed party with acrylics painted to match my outfit and let me tell you, it was a hit! With acrylics, your natural nail limitations fade away, opening the door to endless possibilities for expressing your unique style. Now, isn’t that a beauty lover’s dream come true?
The Life Expectancy of Acrylic Nails: How Long Do They Last?
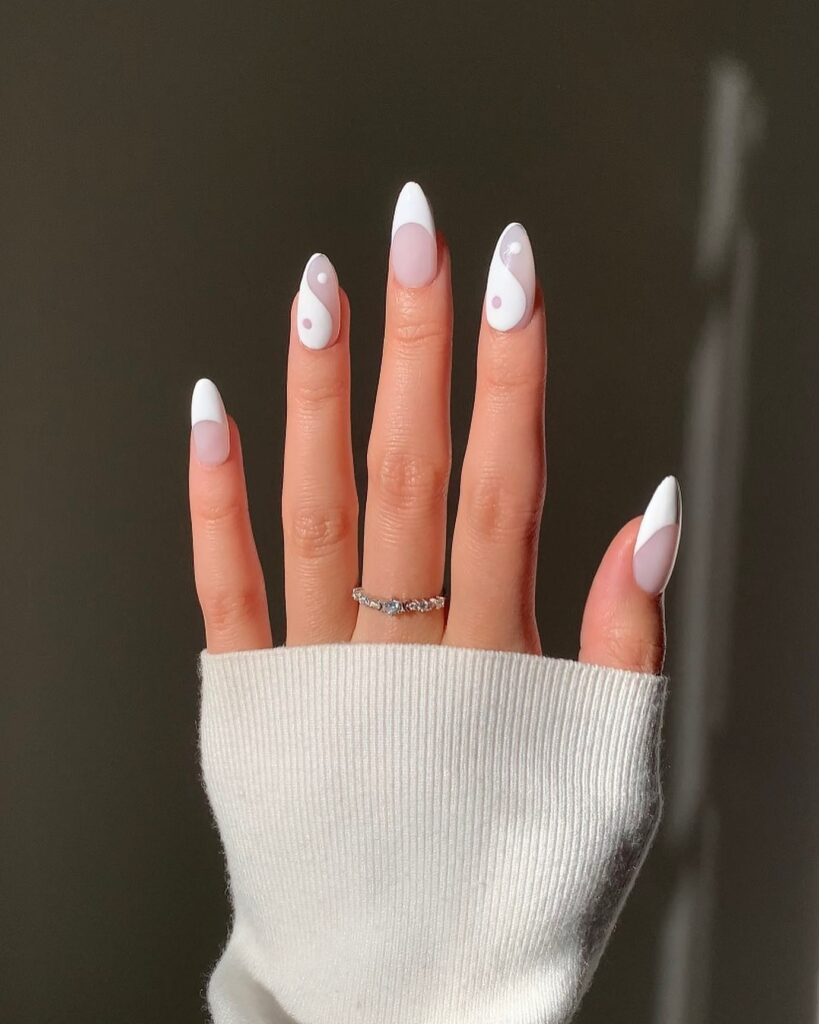
In the fabulous universe of acrylic nails, durability is the name of the game. Acrylics typically stay amazing from anywhere between 3 to 6 weeks. But here’s the fun part — it depends on your lifestyle, the quality of the products used, and your nail care routine.
I remember my first set of acrylics like it was yesterday. They lasted six weeks, even surviving a family vacation, including sandy beaches and numerous pool dips!
Regular fills and touch-ups can be your best ally to keep your acrylics in top-notch condition. It’s like providing the necessary “nail fuel” for them to thrive and shine.
Another trick is to keep them as dry as possible and limit their exposure to harsh chemicals or detergents. Trust me; I’ve learned this the hard way. During an enthusiastic spring-cleaning session, a forgotten pair of gloves led to a prematurely damaged manicure. So treat your nails carefully during tasks like gardening or doing dishes.
One thing that’s worked wonders for me is incorporating Vitamin E oil into my routine, which nourishes the natural nails under their acrylic armor.
For those seeking even more extended wear, dip powder systems can be a game-changer. They offer a stronger bond between the natural nail and the product, helping it last longer without irritating or damaging the nail bed. Ideal for busy bees or those who prefer more extended periods with their acrylics!
Unleashing Creativity: Can You Paint Over Acrylic Nails?
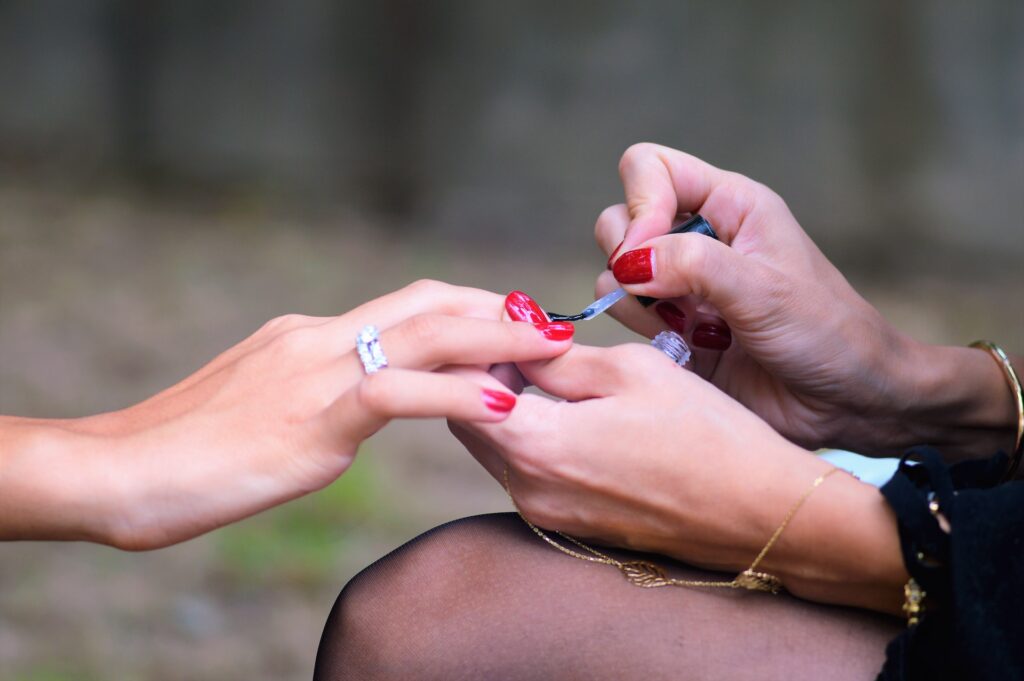
Here comes the million-dollar question — can you paint over acrylic nails? Yes, you absolutely can! But it’s a bit of an art form.
If you’re sporting a polished set of acrylics that needs an update, the old polish has to exit before the new one takes the stage. However, if your acrylic color is fading over time, you’re all set to paint away without any extra steps.
Ensure you’ve removed any old polish before introducing your acrylics to a fresh coat. I usually begin by using a damp towel and rubbing alcohol to wipe off all traces of the old polish. There’s something oddly satisfying about revealing a clean canvas for your new nail look!
If you spot chipped surfaces, fill them with a suitable polymer product. This ensures a solid foundation for your top coat and nail polish.
Next, apply a base coat designed specifically for artificial nails. This little hero creates a strong bond between the acrylic and the new polish, ensuring your freshly painted nails look salon-perfect. Depending on the type of finish you desire, matte or glossy, you may need to add additional base coats.
Refreshing Your Look: Can You Paint Over Gel Nails?
Indeed, you can! Painting over gel nails is like giving your manicure a magical makeover without the hassle of removing and reapplying gel polish. I remember the first time I tried this—my nails went from a shimmering silver to a vibrant, sunny yellow, and it was like waving a wand and transforming my look!
Before diving into your color adventure, there are a few essential steps to ensure the best possible results. It all begins with a quality top coat. This little gem serves as a shield, protecting your underlying color from quick chipping or fading.
Ensuring your nail polish layers are dehydrated before adding another is crucial. This helps prevent smearing or running colors, keeping your mani-pedi looking neat. I learned this the hard way once, rushing between layers only to end up with a messy mix of blues and greens!
A word of caution: steer clear of darker colors as they can stain lighter shades if not cared for properly. Always remember to use a quality base coat with each color layer. This way, they adhere well and stay longer without flaking off or loosening.
Repainting Acrylic Nails with Regular Nail Polish: Yes, You Can!
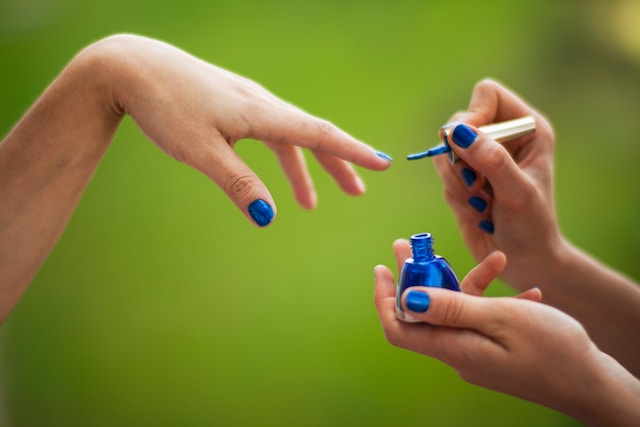
The answer is an exciting yes, but you must tread carefully here. It is crucial to opt for acetone-free nail polish—it lacks harmful ingredients that might damage your acrylic nails.
My advice? Start using acetone-free nail polish remover or warm water with a mild detergent to clean off the old polish. A cotton ball works wonders for this task.
After thoroughly cleaning and drying your nails, it’s time to give them a new lease of life with a fresh coat of regular nail polish. Proper preparation ensures the new polish adheres well, resulting in a long-lasting, chip-free, and fade-resistant finish.
When applying regular nail polish, I find it helpful to start at one end of the nail and paint in small strokes. And always remember to let each layer dry completely before applying another for full coverage.
The Ultimate Guide: How to Paint Acrylic Nails with Nail Polish?
Ready to transform your acrylic nails? Begin with squeaky clean hands. Remove and dry your hands thoroughly, leaving no dirt or oils on the nail bed.
Next, use a cotton swab soaked in acetone-based polish remover to remove any remaining polish from your nails gently. Once the old polish is out and your nail beds are spick and span, you’re all set for a color makeover.
Apply two coats of nail polish, allowing each coat to dry thoroughly before applying the next one. You can add layers without worrying about a thick buildup on the nail surface.
Seal the deal with a high-quality topcoat. This extra layer locks in color and adds a much-desired glossy finish. For optimal results, each step needs to be executed carefully. Rushing the process could mean a shorter lifespan for your fabulous new nails.
After your artistic endeavor, give your nails plenty of time to dry. Then, sit back, relax, and admire your beautiful, freshly painted acrylic nails. Removing them later can be done using warm water or specific tools for gentle gel and acrylic nail removal. Trust me; it’s all worth it when you get to flaunt those stunning nails!
Getting Your Acrylic Nails Ready for Regular Polish: Step-By-Step
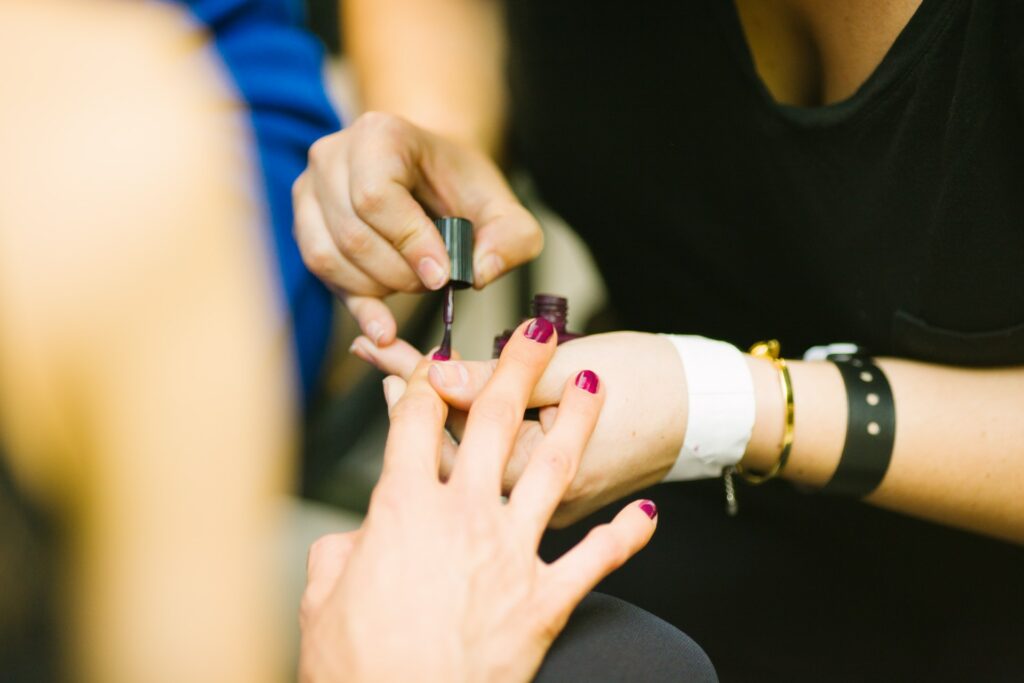
Ladies and gentlemen, prepping your acrylic nails for a color revamp is an art, and I’m here to guide you on this journey. I still remember my early days when the magic of acrylics first enchanted me—I was as excited as a kid in a candy store. But let’s not get sidetracked; we’ve got some nail-prepping to do!
First things first, let’s get your nails squeaky clean. Wash them thoroughly with an antibacterial soap, and gently wipe away any residual products or dirt. Remember, patience is key here—we need those nails bone dry before moving to the next step.
Next, we will put our trusty nail file or buffer to work. We want to remove any shiny residue that may have been left from the acrylic application process. This step creates an ideal surface for our fabulous polish to cling to later.
A little note of caution here: stay moderate with your filing. Overzealous filing can potentially harm your nail bed, and we don’t want that, do we? Once you’re done, quickly check for sharp edges on the tips and gently file them down if necessary.
Finally, it’s time to shower some love on your cuticles. Apply cuticle oil or cream around each nail and massage it in. The goal is to spread it evenly across each pin. This step ensures that the skin around your nails stays hydrated, soft, and, more importantly, safe from potential bacterial infections.
The Importance of a Base Coat: Acrylic Nails Edition
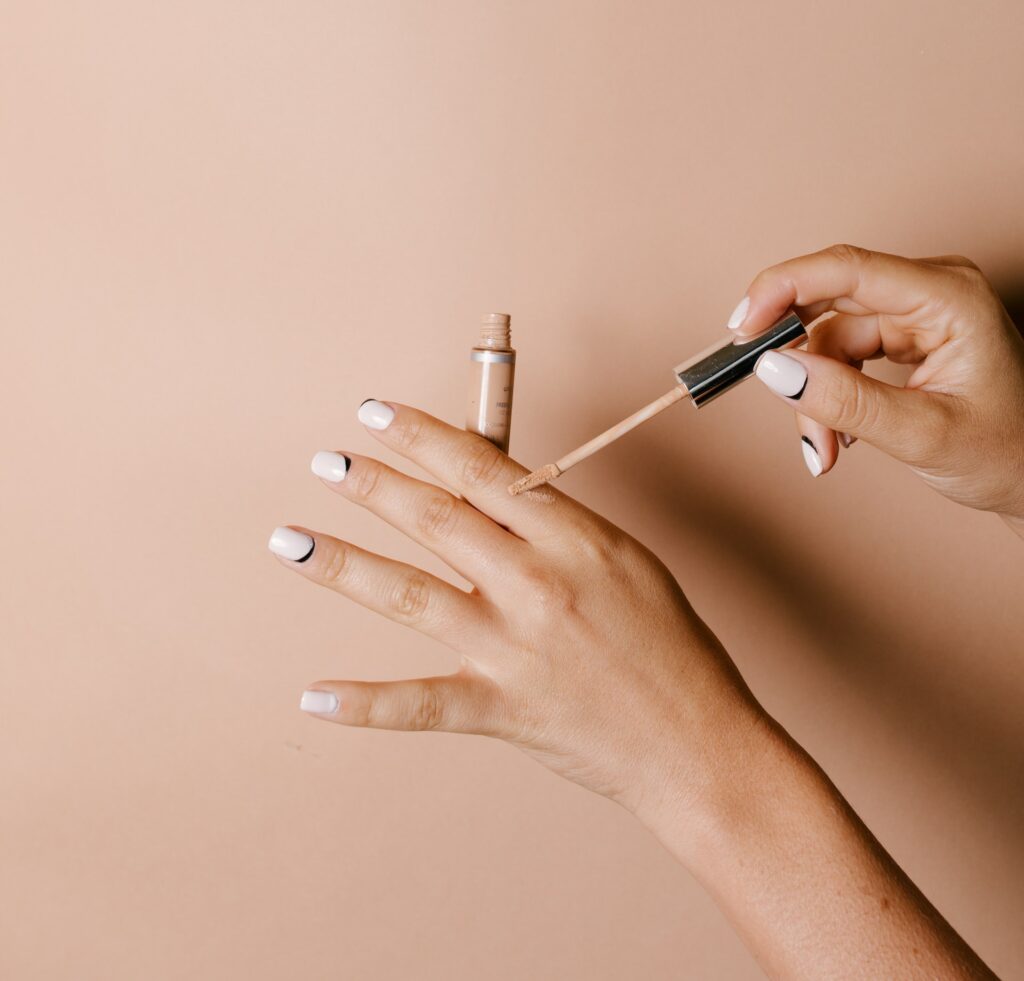
Whether dealing with regular or acrylic nails, beginning your nail art journey with clean, prepped nails is crucial. This includes thoroughly cleaning your nails and cuticles, filing away any ridges or bumps, and pushing back those cuticles. All these steps help to create a smooth canvas for our art—our polish.
Now, when it comes to acrylic nails, an extra step is an absolute game-changer: using a base coat.
Have you ever wondered why some nail beds become discolored or stained over time, especially after using certain polishes? Here’s the culprit—missing out on the base coat. A base coat on acrylic nails shields the surface from color staining and helps maintain that fresh manicure look for longer.
So yes, a base coat is your new best friend when painting over acrylic nails. Trust me, I’ve learned this from experience—after many polish sessions, the base coat is what keeps my polished look from turning dull and lackluster.
Before polishing, a quick swipe of your favorite base coat ensures that each layer sticks around for much longer than without one. This is particularly important when using those long-lasting gel polishes—you’ll want to get the most out of your manicure after all that effort. It’s like a trusty anchor for your beautiful, vibrant colors, keeping them in place even in the roughest nail weather. And that, my friends, is the power of a good base coat.
5 Potential Pitfalls To Be Aware Of
Oh, the wonderful world of acrylic nails! They can be a game-changer, offering strength, length, and style in a snap, but it’s important to tread carefully when it comes to painting over them. Here are some potential pitfalls you should be aware of:
1. Inadequate Prep Work: Diving straight into the painting without properly prepping your acrylics is a no-no. The remnants of old polish, dust, or oil can interfere with the adherence of the new polish, leading to uneven application and early chipping. So, clean your nails thoroughly before going in with that first layer of color.
2. Forgetting the Base Coat: Even though your acrylic nails aren’t natural, they still need a base coat! This unsung hero of the nail world provides a smooth, stain-resistant surface for your polish, ensuring vibrant color and extended wear time.
3. Using Products with Acetone: Acetone is definitely not a friend to your acrylics. This powerful solvent can weaken or even dissolve acrylic nails. So, ensure that any nail polish or nail polish remover you use is acetone-free.
4. Rushing the Drying Process: We all know the feeling—watching paint dry isn’t a thrill. However, rushing the drying process can lead to streaks, bubbles, or uneven textures. So, embrace patience, or opt for quick-dry formulas if you’re usually pressed for time.
5. Poor Maintenance: Finally, even the best paint job will only last for a while. Regular touch-ups are essential to keep your acrylics looking their best. Also, remember to moisturize your cuticles and hands, as acrylics can sometimes dry.
This helps you navigate the journey to perfectly painted acrylics! With some knowledge and the proper techniques, you can avoid these pitfalls and enjoy the fabulous look you desire.
5 Steps To Properly Remove Acrylic Nails & Keep Your Nails Healthy
Let’s talk about one of the most crucial parts of the acrylic nails journey: the removal. I know, it’s not as glamorous as picking out your next nail design or color, but it’s just as important. Incorrect removal can cause damage to your natural nails, which we definitely want to avoid. So, let’s go step-by-step through a safe and healthy process.
Step 1: Clip and File
Start by clipping your nails down to a short, manageable length. Then use a nail file to buff the top layer of the acrylic gently. You want to remove the gloss but be careful not to file too deep—you’re not trying to remove the whole acrylic just yet.
Step 2: Prepare a Soak
Next, you’ll need to soak your nails in acetone, a strong solvent that can safely break down the acrylic. You can do this by using a small bowl filled with acetone and placing your fingers in it. Alternatively, you can soak cotton balls in acetone, put them on your nails, and wrap each finger in aluminum foil to keep the cotton in place.
Step 3: Patience, Darling!
This is the step where patience truly is a virtue. Let your nails soak in the acetone for about 20-30 minutes. I usually use this time to catch up on my favorite podcast or TV show. Don’t rush this process, the acrylic needs time to soften properly.
Step 4: Gently Does It
After soaking, the acrylic should be soft and pliable. Gently remove it by using an orangewood stick or a cuticle pusher, pushing it from the cuticle to the tip of the nail. If you feel resistance, don’t force it. Instead, go back to soaking for a little longer.
Step 5: Show Your Nails Some Love
Once all the acrylic is removed, give your natural nails some much-needed TLC. Buff them gently to smooth out any leftover roughness. Then apply a cuticle oil or a nourishing nail treatment. I also like to take a break for a week or so between acrylic applications to let my natural nails breathe and recover.
Remember, if you’re not comfortable removing your acrylics at home, there’s no shame in returning to your nail tech—they’re the experts, after all! By correctly removing your acrylics, you’ll keep your natural nails healthy and ready for the next time you add a bit of glamour. Stay fabulous!
How Long Do Acrylic Nails Typically Last?
Hello, my lovelies, let’s dive right into the world of acrylics and tackle one of your most frequent questions: “How long do acrylic nails typically last?”
Acrylic nails are beloved for their longevity. Proper care and regular touch-ups can last anywhere from 3 to 6 weeks. But remember, everyone is unique – including your nails – so this time frame can vary based on lifestyle, nail care habits, and even the quality of products used.
The Role of Maintenance
Acrylic nails are strong and durable (that’s why we love them!), but they enjoy some pampering just like us. Regular fill-ins or touch-ups every 2 to 3 weeks can extend their lifespan. So consider these salon visits as non-negotiable dates in your diary.
Protecting Your Nails
One of the secrets to my acrylics lasting longer is keeping them away from water as much as possible. This means that when you can’t escape dishwashing duties, it’s time to put on your fancy gloves! It’s also wise to avoid contact with harsh chemicals or detergents that could damage your beautiful acrylics. So be sure to take extra care during your daily activities.
Nourishing Your Natural Nails
Remember the natural nails underneath your acrylics! I always recommend using Vitamin E oil products to keep your natural nails nourished and healthy. Trust me, your nails will thank you for it!
Looking For a Longer-Lasting Solution?
For my fellow beauty enthusiasts who are always on the go and want their acrylics to last even longer, dip powder systems might be your new best friend. They offer a stronger bond between the natural nail plate and the product, which allows it to last longer while still being gentle on your nails. This is an ideal solution if you’re planning to rock your acrylics for an extended period.
Remember, your acrylics are like your beauty armor, and taking care of them properly ensures they’ll keep looking fabulous until they’re ready to be filled or replaced. Happy nail care, beauties!
Regular Polish vs Gel Polish: Which Reigns Supreme for Acrylics?
Hey gorgeous! Let’s face it, acrylics are an absolute game changer when it comes to nail aesthetics. They allow us to maintain the length and shape we desire, and let’s not forget the canvas they provide for some killer nail art! Now, onto the burning question we’ve all pondered at some point: should we go with regular or gel polish for our acrylics? Let me break it down for you.
Application: Is There a Clear Winner?
When it comes to ease of application, regular polish takes the crown. It’s straightforward, fuss-free, and doesn’t require any special equipment. I’m sure we’ve all had those moments of slapping on a quick coat of polish while binge-watching our favorite show, am I right?
On the other hand, gel polish is a bit more demanding. You’ll need a UV or LED lamp to cure it, and the process is more methodical and time-consuming. However, the results are worth it. The glossy, fresh-from-the-salon finish you achieve is unparalleled.
Durability: Battle of the Long-Lasting Manis
Gel polish reigns supreme in terms of durability. There’s nothing worse than spending ages perfecting your mani only for it to chip the next day, right? Gel polish could last up to two weeks without chipping, peeling, or cracking. Talk about a warrior in the nail department!
Regular polish, despite its convenience, simply doesn’t have the same staying power. Even with top-tier brands, you might find yourself battling chips within a few days. Still, it holds a certain charm for those of us who love changing our nail color more often.
Removal Process: Unmasking the Culprit
Gel polish is admittedly more difficult to remove. It requires soaking your nails in an acetone solution and gently scraping off the polish. This process can be a bit harsh on your nails if not done properly. Remember, patience is a virtue during the removal process! Rushing can damage your nail bed and we definitely don’t want that.
Regular polish, on the other hand, is far easier to remove. A few swipes of polish remover and voila! You’re ready for your next color adventure. Just be sure to use an acetone-free remover on your acrylics to avoid any damage.
My Top Product Picks for Your Acrylics: Keep Them Looking Flawless!
Hi there, beauties! I know that navigating through the world of nail products can feel like you’re lost in a jungle. There are so many choices, and we all want the best for our fabulous acrylics, right? So, I’ve decided to share some of my personal favorites that have always delivered on their promises. Grab a cup of tea (or coffee, no judgment here!), and let’s dive in!
Base Coat: The Foundation of Your Nail Game
A good base coat can mean the difference between a manicure that lasts and one that chips away before your next Instagram post. One of my all-time favorite base coats for acrylic nails is CND’s Stickey Base Coat. This product provides a solid foundation for your polish, ensuring it adheres better and stays chip-free for longer.
Nail Polish: Colors That Pop and Last
When it comes to nail polish, you want something that delivers rich, vibrant colors and has staying power. OPI Nail Lacquer is a fantastic choice. With a range of shades to die for, OPI’s formula is long-lasting and works wonderfully on acrylics. I have a soft spot for their shade “Lincoln Park After Dark” – it’s a deep, seductive purple that I think you’ll adore!
If you’re more into gel polishes, Gelish Soak-Off Gel Polish is a winner. It’s highly pigmented, lasts for up to three weeks, and their collection offers a variety of shades that will leave you spoilt for choice.
Top Coat: The Cherry on Top
Your mani isn’t complete without a glossy and protective top coat. My personal pick is Seche Vite Dry Fast Top Coat. This baby leaves a beautiful glossy finish and extends the life of your manicure. It dries super fast, which is a lifesaver for those of us who can’t sit still for too long!
Cuticle Oil: Don’t Forget Nail Care
Our nails, just like our skin, need a little TLC too. Keeping your cuticles moisturized is crucial, especially when you’re rocking acrylics. CND SolarOil Nail & Cuticle Care is my go-to. It’s a blend of jojoba oil, sweet almond oil, and vitamin E, which works wonders for keeping cuticles healthy and nourished.
Keep Your Acrylics On-Point: A Guide to Maintenance and Fills
Hey, lovelies! I hope you’re all having a dazzling day. Our chat today revolves around something super important that we often tend to overlook – Acrylic Nail Maintenance and Fills. It’s one thing to get your nails done and another to ensure they stay looking fabulous for as long as possible. So, let’s dive into some essential tips and tricks to keep your acrylics on point!
The Maintenance Mantra: Love Thy Nails
So you’ve just got your acrylics done, they look fantastic and you’re feeling on top of the world. Great! But remember, with great beauty comes great responsibility. So, the first rule of the Acrylic Club is – Treat them gently! Your acrylic nails are your babies; be mindful of them during everyday tasks.
Fun fact: Once, in my early days of sporting acrylics, I learned this the hard way. Picture me, wrestling with a stubborn soda can and ‘SNAP!’, there went my beautiful new nail! Lesson learned, always use a can opener!
Wash, Dry, Moisturize: The Holy Trinity
Regularly wash your hands and nails using antibacterial soap to prevent any chance of infections. But, here’s the catch – Don’t let your nails stay wet for too long! Always dry your hands and nails thoroughly after washing them, because prolonged exposure to water can cause your acrylics to lift and lead to fungal infections.
Now, don’t forget about moisturizing. I swear by using cuticle oils regularly to keep my cuticles healthy. It also keeps the skin around your nails hydrated and gives your acrylics a fresh and shiny look.
“Fill”ing Good: Know When to Refill
Usually, your nails grow out leaving a gap between your cuticle and the acrylic nail. That’s when you know it’s time for a fill. Depending on how fast your nails grow, you’d typically need a fill every 2-3 weeks.
Fills are crucial, guys! I cannot stress enough how important they are in extending the life of your acrylics. Also, getting fills done in time can save you from some potential nail traumas, trust me!
Conclusion
And there you have it, my lovelies! A comprehensive guide to ensuring your acrylic nails are perfectly prepped and ready for that new splash of color. Always remember: cleanliness is key, gentle filing creates the perfect polish-ready surface, and cuticle oil is your skin’s best friend. It’s also crucial to never forget the nail art superhero—the base coat! It’s an extra step, but it’s the secret to keeping your manicure fresh and vibrant for longer.
But as always, we’re in the real world, where beauty sometimes comes with its challenges. Be mindful of the potential risks—vigorous filing can damage your nail bed, and remember the dreaded staining that comes with skipping the base coat. Don’t let these frighten you, though—they’re just reminders to treat your nails with the TLC they deserve.
And my most important piece of advice? Have fun with it! The world of nail art is a beautiful place to express yourself. Let your nails tell your story, be it bold reds, soothing pastels, or dramatic glitter. And remember, every time you have a brush or a file in your hand, you’re not just doing a manicure—crafting a masterpiece! Happy polishing!
Feature image @nailsbydvisy via Instagram


