Table of Contents
Like a statement necklace or a killer pair of shoes, your nails can be the unexpected game-changer in your style arsenal. This summer, there’s no need to settle for mediocrity in the nail department. From eye-popping neon hues to intricate art pieces that turn each nail into a canvas. In this blog post, we’ll dive into the riveting world of nail art and polish trends that capture the imagination this summer. I’ll guide you through a kaleidoscope of colors, textures, and designs that have stormed onto the scene and explain how to implement them into your lifestyle. Whether you’re a DIY devotee or all about that salon finish, there’s something here for everyone.
So grab your polish remover, set your creativity free, and prepare to upgrade your look from tip to toe. By the end of this read, you’ll be updated on the must-try styles and gain insider techniques to ace your nail game. Ready to revolutionize your summer aesthetic? Let’s dive in!
Smiley Face Nails: Happiness at Your Fingertips
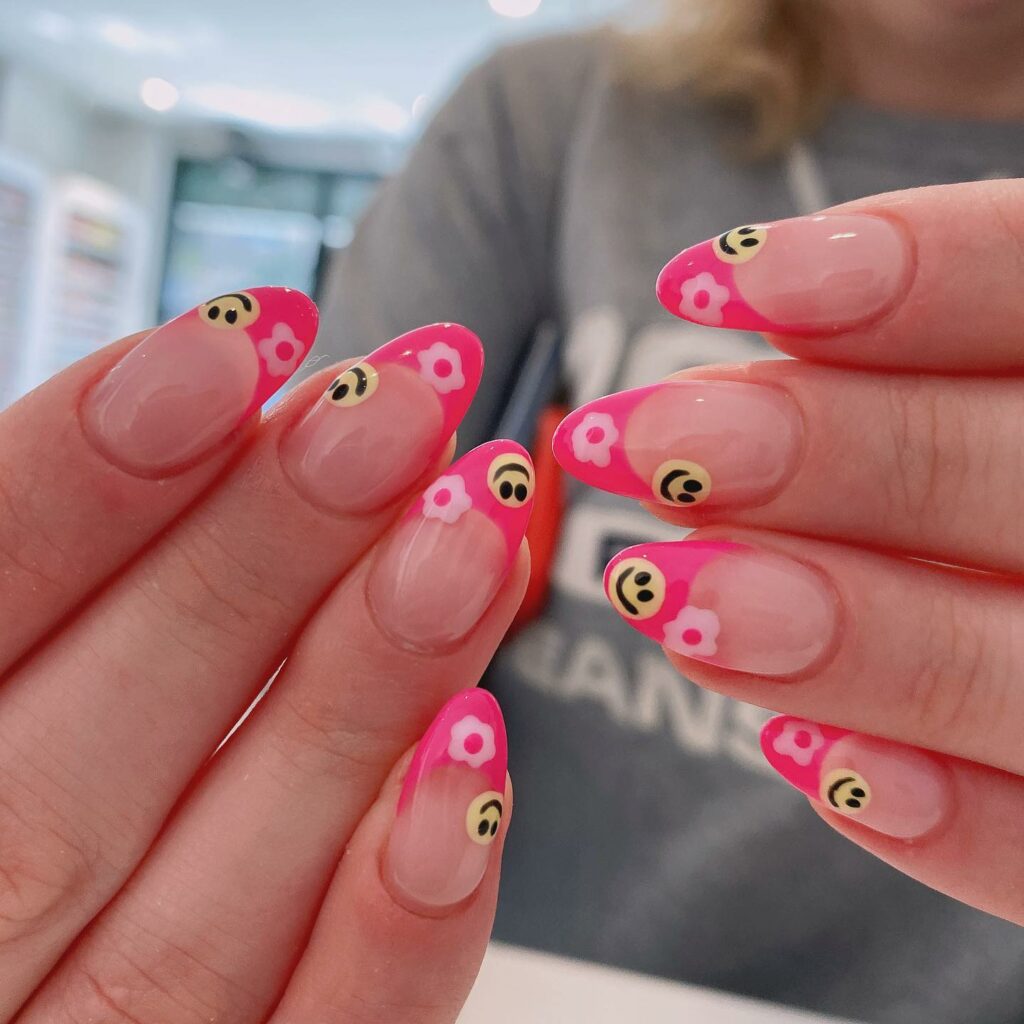
Have you ever felt like smiling every time you look at your nails? Smiley face nails are hitting the scene this summer like sunshine. Picture this: small grin-adorned accents on a nude base or even within flowers. Trust me, the playful nature of smiley faces brightens your look and spreads positivity wherever you go.
Pastel Hues: Softness Meets Style
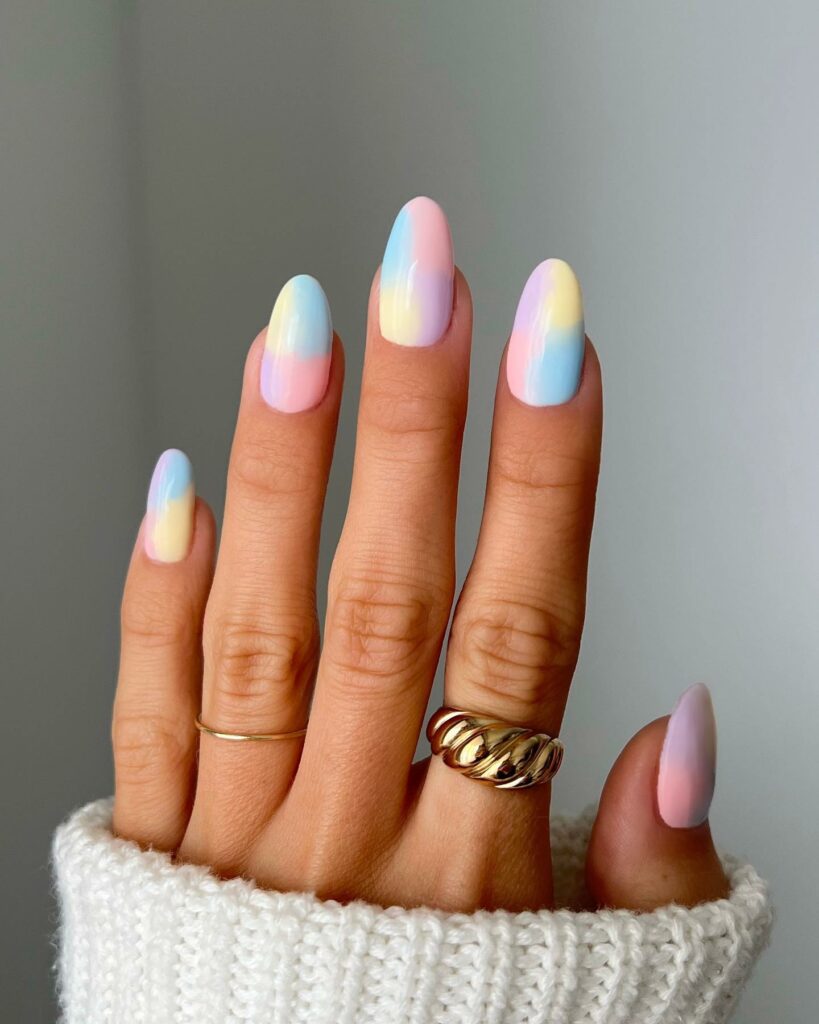
If vibrant shades seem too overwhelming, you’re in luck. Pastels are having their moment this summer. Imagine lilac, soft pinks, and even pastel rainbows! I recently paired a pastel blue mani with my favorite summer dress, and the compliments wouldn’t stop.
Gradient Galore: The Color Spectrum on Your Nails
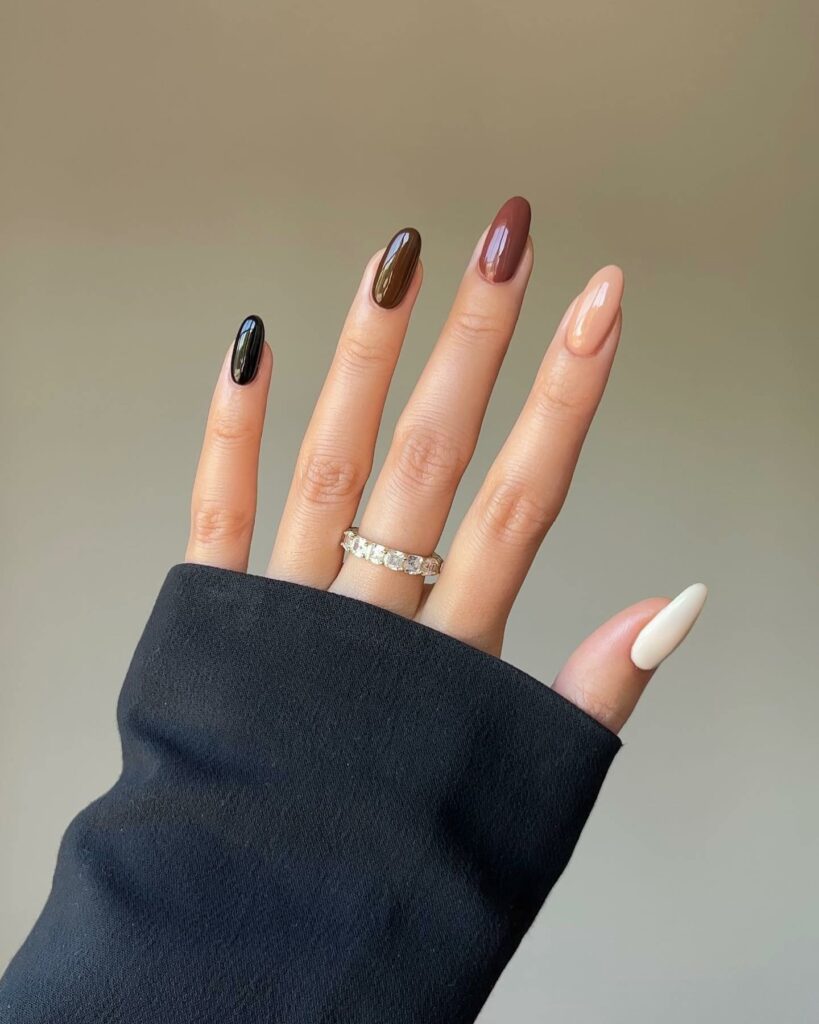
Gradient nails are a spectacle to behold. Multiple shades transition seamlessly on a single nail, making each fingertip a little canvas.
Colorful Individuality: One Nail, One Shade
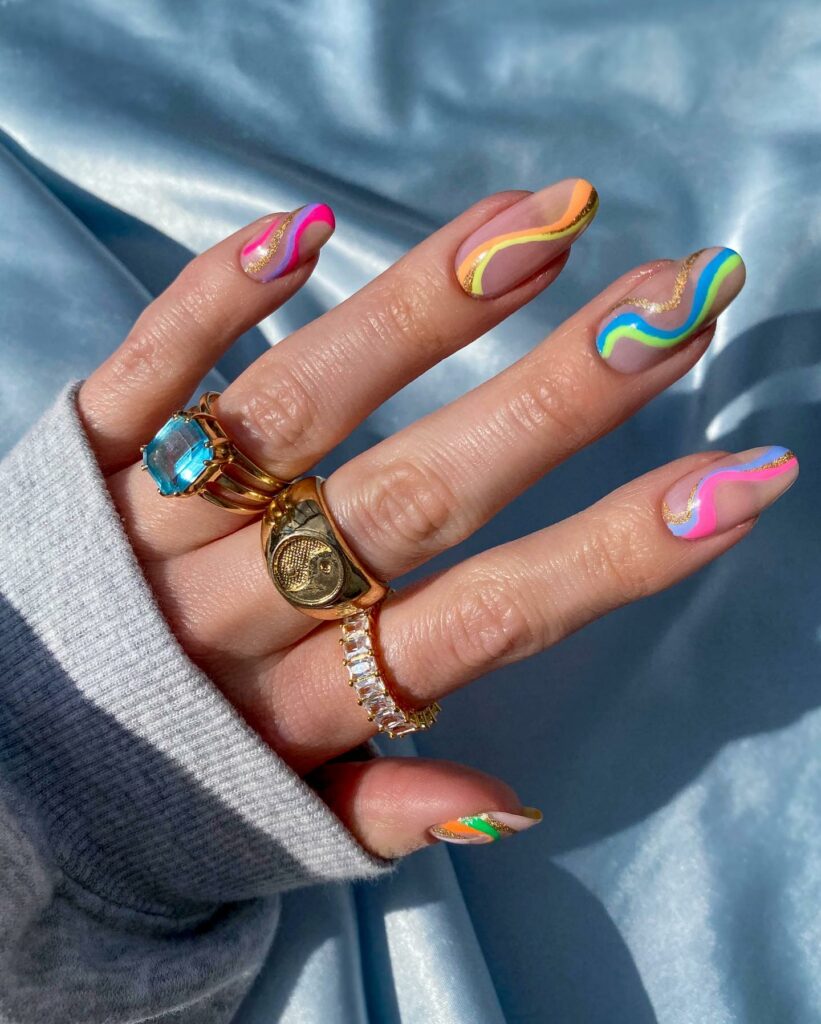
Remember when a single color for all ten nails was the status quo? Well, the tides have turned. Pick your favorite shades—yes, multiple—and have a fiesta on your fingertips. Last month, I tried a multi-colored French tip; let me tell you, it was a game-changer. Another trick up my sleeve? Diagonal tips for that avant-garde look. You’ve got to try it!
Abstract Artistry: Unleash Your Inner Picasso
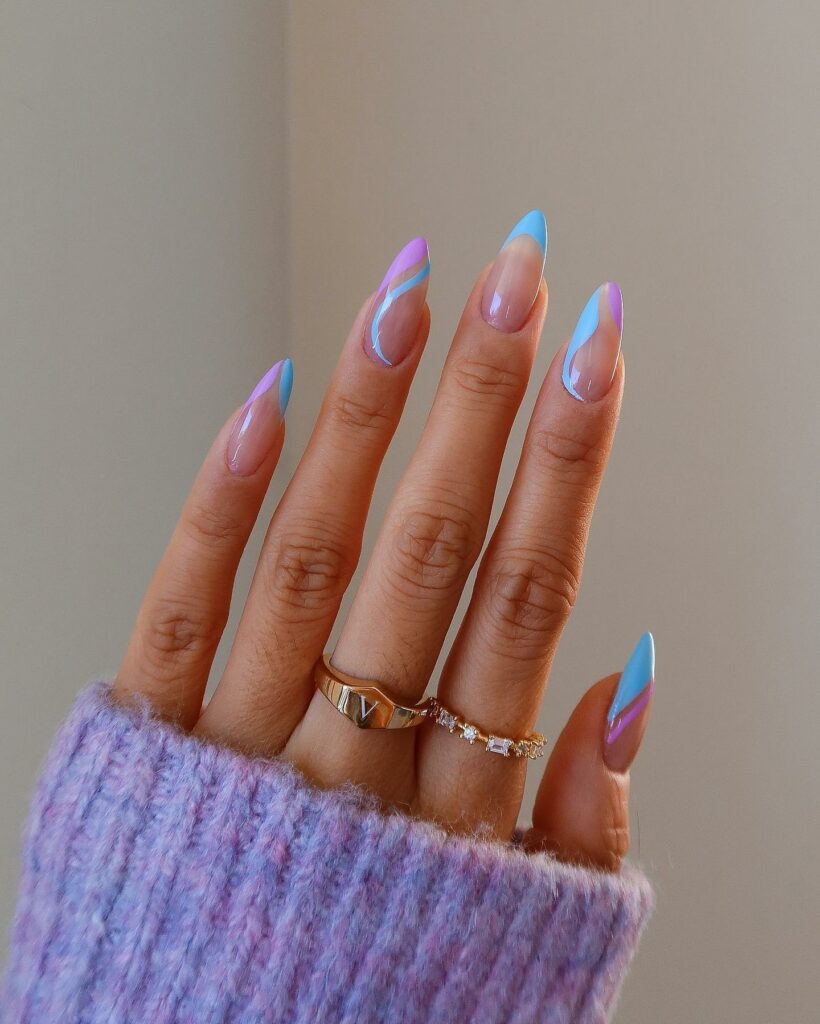
Abstract nail designs are like mini art projects. You’re not limited to a singular pattern; you can mix and match to your heart’s content.
Ride the Wave: Ocean-Inspired Manis
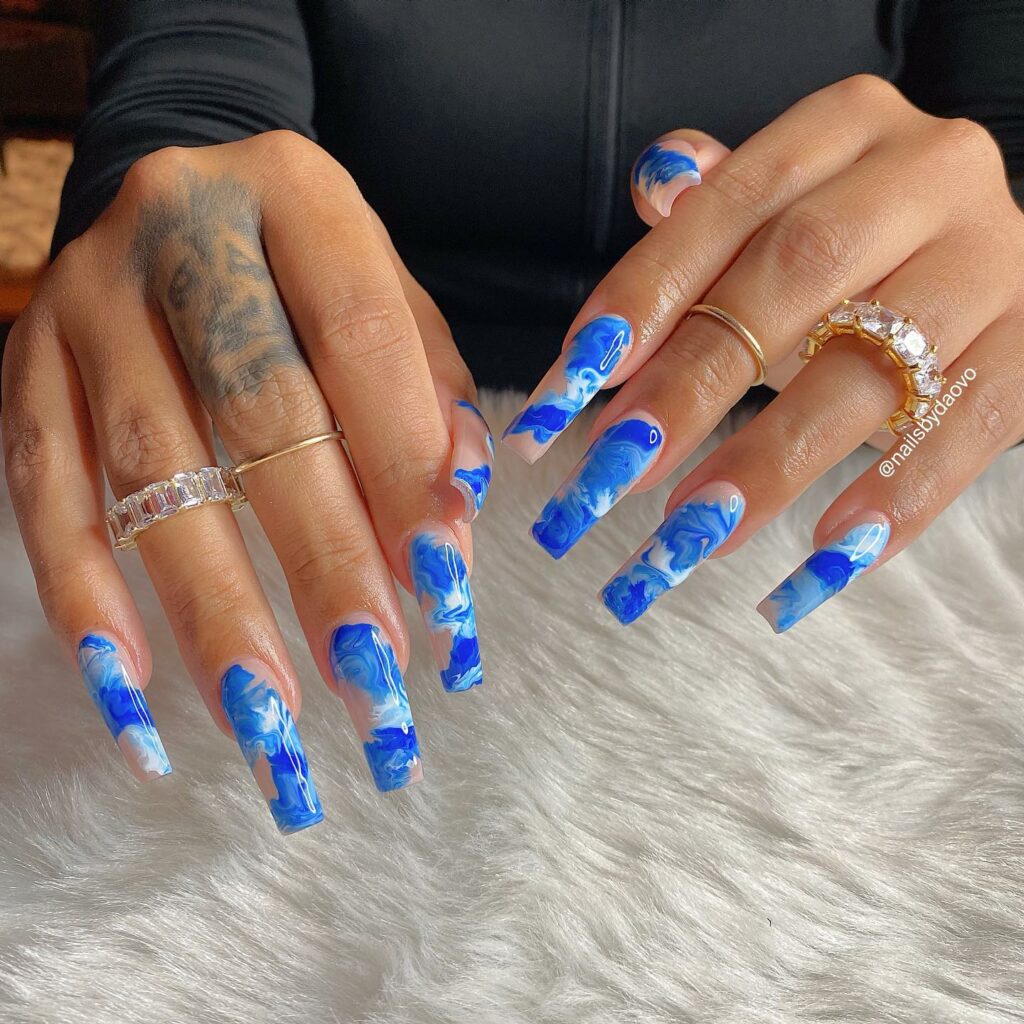
Is it even summer without waves? This design gives you plenty of room for interpretation. You can paint waves across the entire nail or opt for elegant curves on a nude base.
Tie-Dye Mania: Retro Vibes, Modern Twist
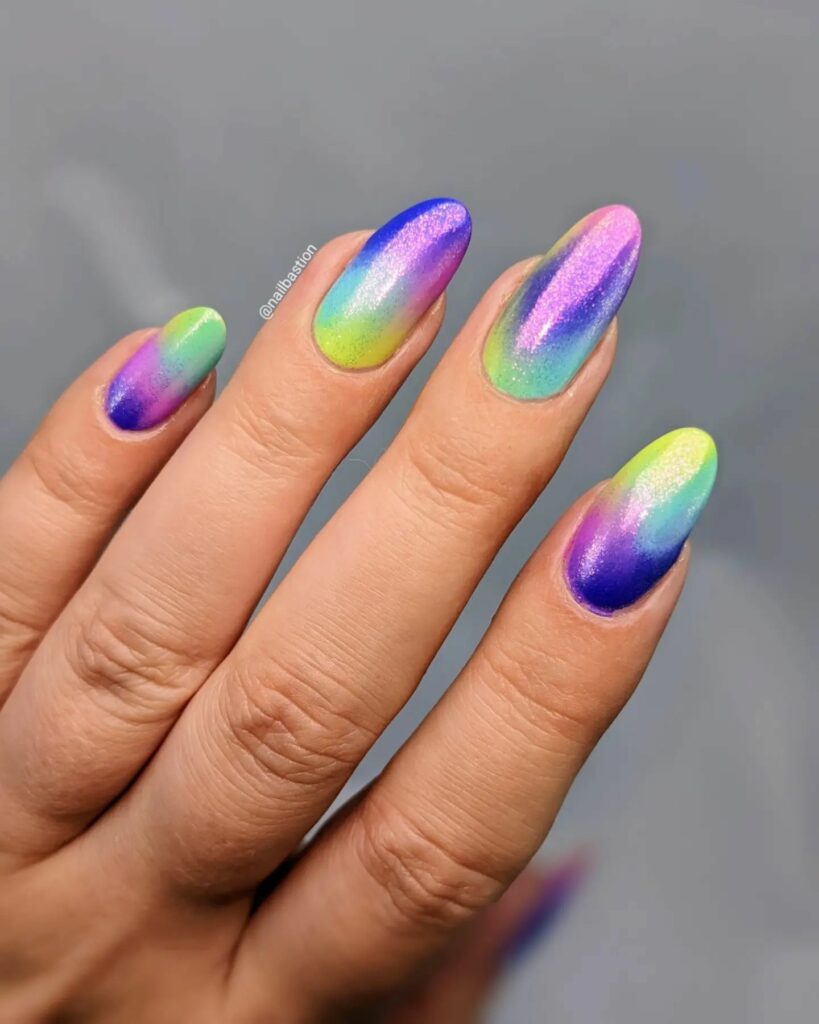
Tie-dye nails bring a playful, retro flair to your style. Try classic tie-dye patterns, or choose something more modern. The technique might take a bit of practice, but practice makes perfect.
Ombre Elegance: From Light to Lush
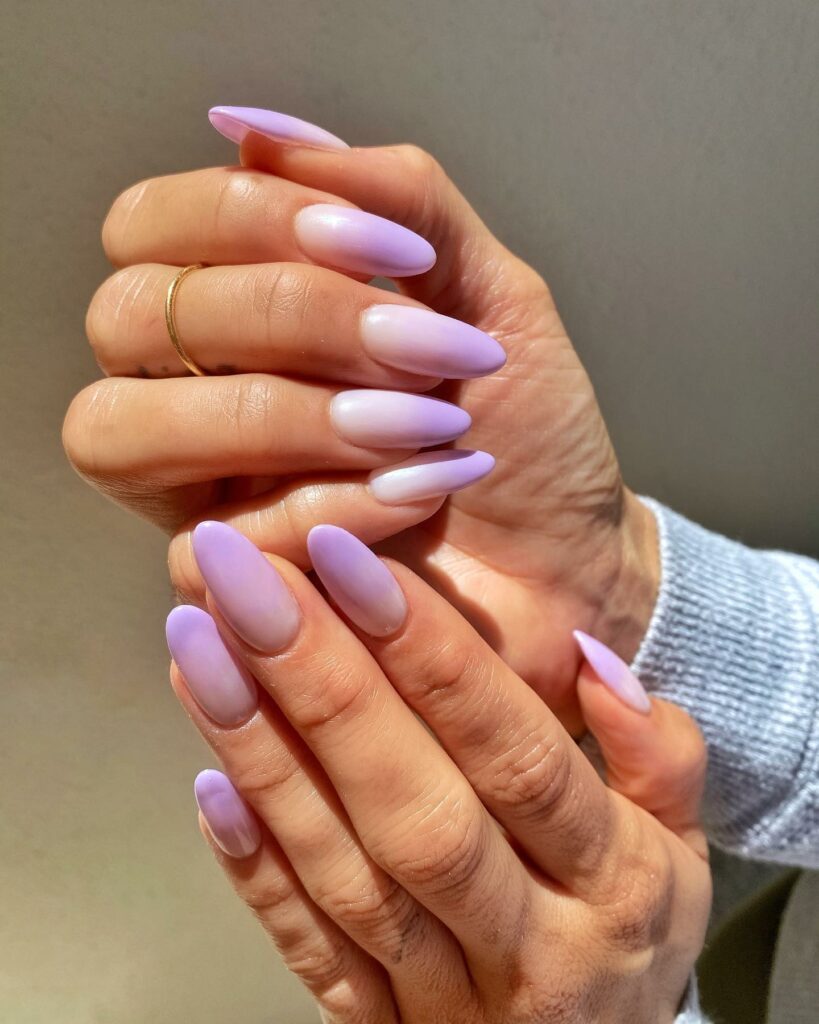
For a refined touch, ombre nails are the way to go. Think of one color fading elegantly from its lightest to darkest shade. I tried this with a coral shade last summer, and it was an absolute hit at every garden party I attended.
Fruity Finesse: Deliciously Stylish
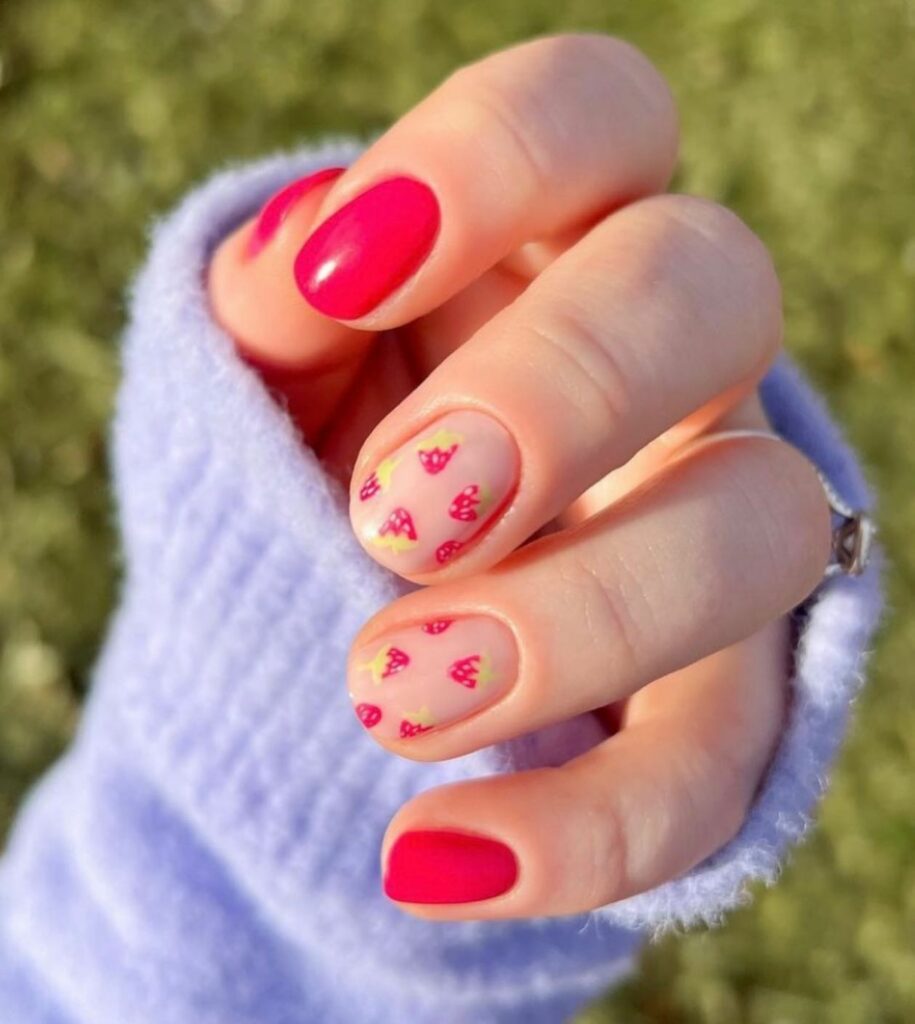
Incorporate a slice of the tropics with fruit-themed nails. I once added tiny clay slices of fruit for that 3D pop. A tiny tip? They’re not just good for your nails; these clay slices work wonders in crafts, too!
Rainbow Radiance: Color Spectrum Realness
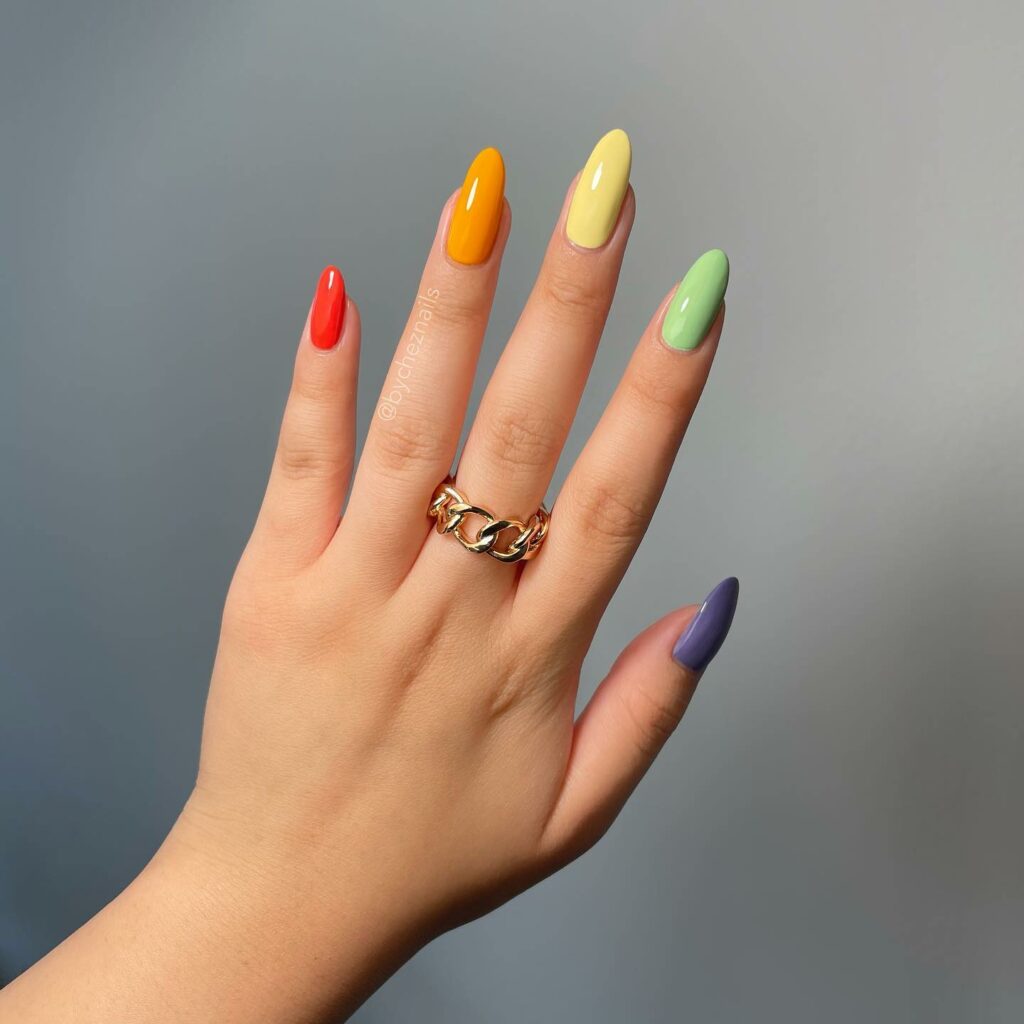
Rainbow nails are a perennial classic. I did this for Pride last year, and my nails were practically a celebration.
Tropical Escapes: Vacation Vibes on Your Nails
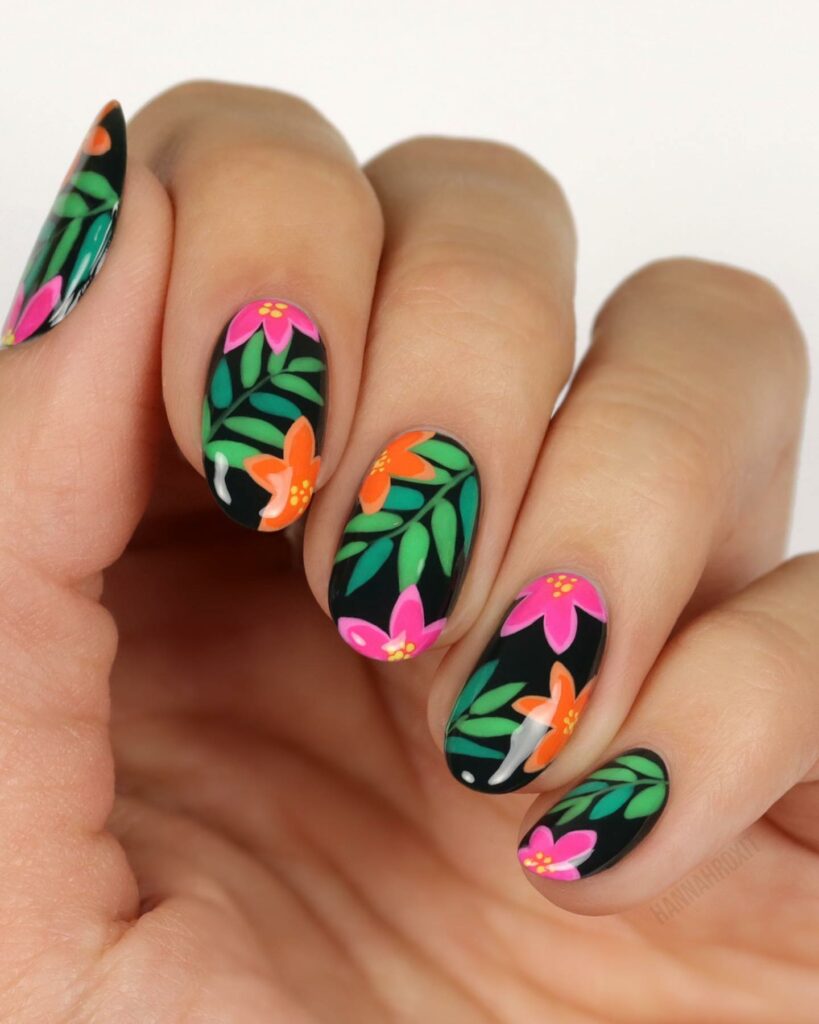
Who says you need a plane ticket for a tropical escape? Palms can bring the vacation to your fingertips. I once mixed a zebra print with some palm leaves, and it was like a safari on my nails!
Blooming Beauties: Floral Fantasies
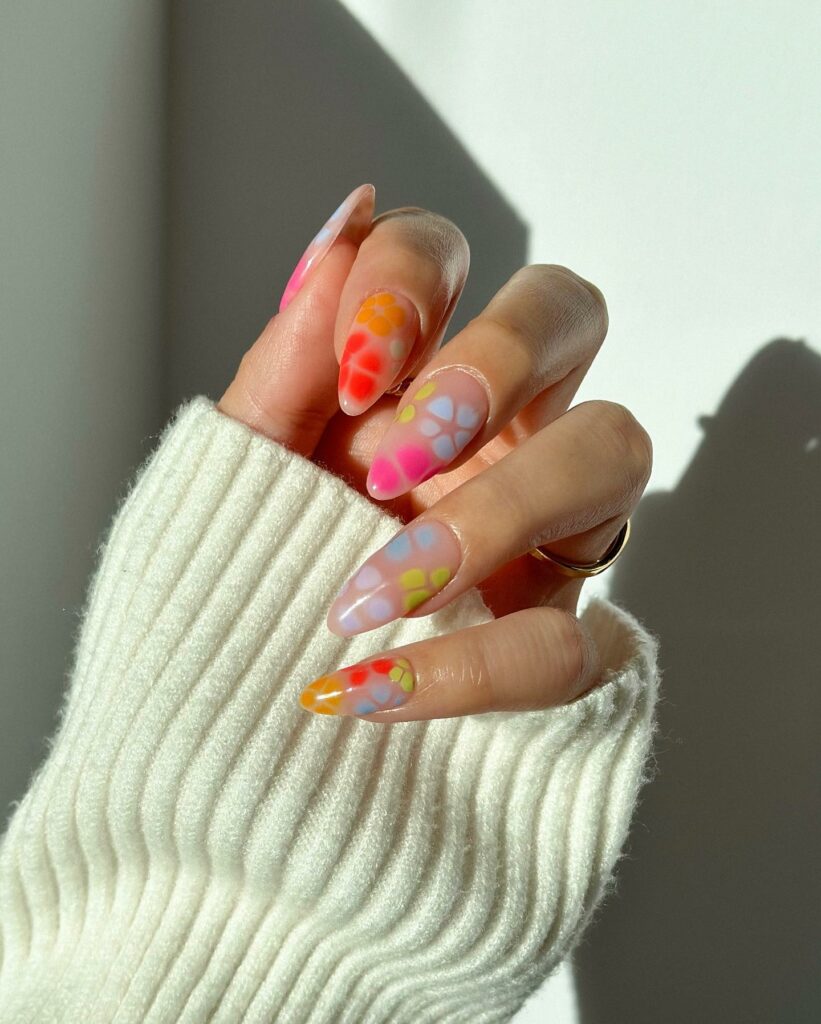
Florals? For summer? Groundbreaking but also irresistibly charming. Paint your favorite flowers on a base of your choice. I love using a light lavender background and adding roses and daisies; it’s like a bouquet without sneezing.
Glitter and Glam: Not Just for the Holidays
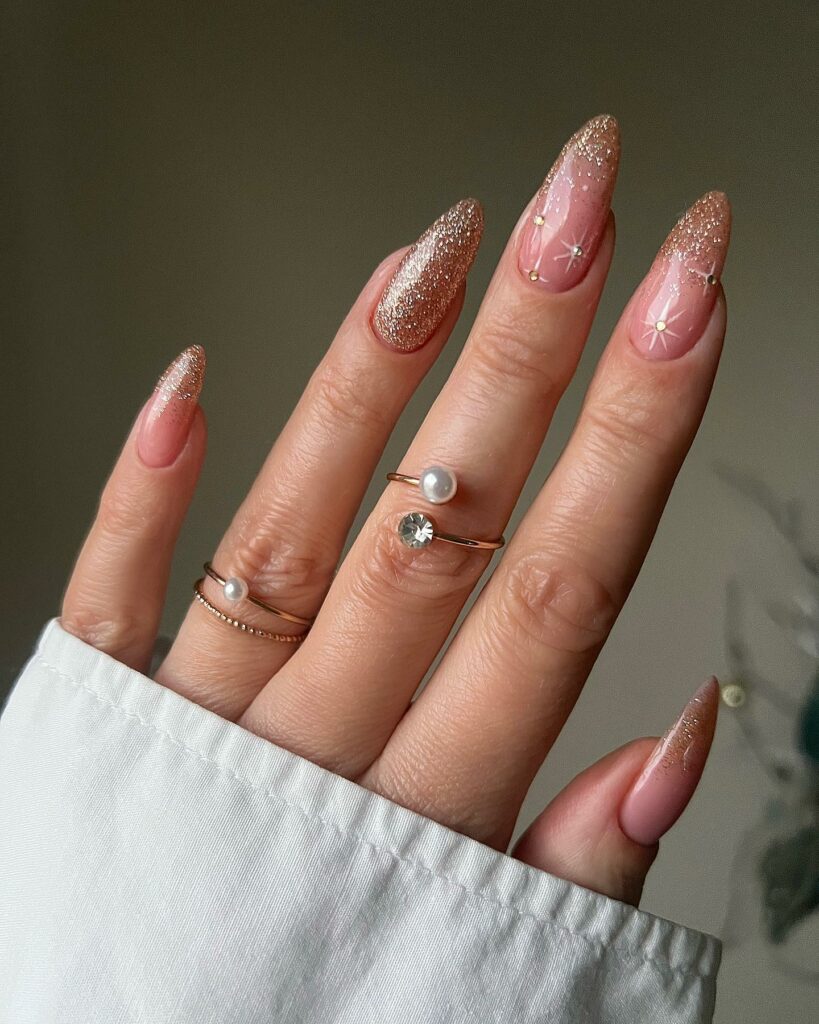
Think glitter is only for the winter holidays? Think again! Summer is a season that loves sparkle just as much. Whether you go full-on glitter or add strips of sparkle, this trend is turning heads.
9 Tips & Tricks To Get The Gradient Nail Trend
It’s like having a tiny sunset at your fingertips, and who wouldn’t want that, especially in the sunny season? Achieving the gradient look is surprisingly easier than it appears, and the result is downright captivating. Here’s a straightforward guide to get you painting like a pro.
Supplies You’ll Need:
- Your chosen nail polishes (at least two colors for the gradient)
- A good quality base coat and top coat
- A makeup sponge
- Liquid latex or tape (for easier cleanup)
- Nail polish remover and a cleanup brush or cotton swabs
Step-by-Step Guide:
Step 1: Base Coat
Apply a base coat to protect your natural nails and enhance the longevity of your manicure. Let it dry completely.
Step 2: Base Color
Choose a light color (usually the lightest shade you’ll use for your gradient) as your base. Apply a coat or two and let it dry thoroughly. This acts as a canvas for the gradient, making the colors pop more vividly.
Step 3: Prep for Mess
Put liquid latex or tape around your nails. This will protect your skin from getting polish all over it and make the cleanup process far easier.
Step 4: Sponge Time!
Take your makeup sponge and apply stripes of the slightly overlapping nail polish colors you wish to blend. You can go horizontally or vertically, depending on the design you’re aiming for.
Step 5: Dab, Don’t Drag
Press the sponge gently onto your nail, moving it slightly up and down to blend the colors. You should repeat this step a few times to achieve the desired opacity.
Step 6: Repeat
Do steps 4 and 5 on each nail. You’ll have to reapply polish to the sponge for each nail.
Step 7: Clean Up
Once you’re happy with how your gradient looks and it’s had a minute to dry, remove the liquid latex or tape. Clean up any excess polish around the nail with a brush dipped in nail polish remover.
Step 8: Seal the Deal
After your gradient masterpiece has dried, apply a clear top coat to seal in the design, add shine, and prevent chipping.
Bonus Tip:
You can also add designs on top of your gradient base—think of small floral accents, dots, or even a layer of subtle glitter for that extra summer sparkle.
So, there you have it! Now, you’re armed with the know-how to rock one of this summer’s hottest trends. The gradient look not only adds depth and dimension to your nails but is also endlessly customizable. The combinations are limited only by your imagination and the number of polishes you own.
6 Tips For The Perfect Tie-Dye Nail Design
The tie-dye nail trend is a vibrant, playful look that perfectly captures the free-spirited vibe of summer. Whether you’re a seasoned nail art pro or a complete newbie, achieving tie-dye nails is doable with some preparation and patience. Let’s delve into some expert tips for nailing this groovy design.
Essential Supplies:
- Multiple bright or pastel nail polish colors
- Base coat and top coat
- Thin nail art brushes or toothpicks
- Small cup of water
- Liquid latex or tape for cleanup
- Nail polish remover and cleanup brush or cotton swabs
Step-by-Step Guide:
Step 1: Laying the Foundation
Start with a clean, prepped nail and apply a base coat. Once it dries, apply a white or light-colored base to make the tie-dye colors stand out.
Step 2: Barrier Up!
Apply liquid latex or tape around your nails. This is an optional but highly recommended step to ease the cleanup later.
Step 3: Color Droplets
Take your first color and place a small drop in the center of your nail. Do the same with your second, third, and any additional colors, layering them one on top of the other. You should have a tiny puddle of layered polish on your nail.
Step 4: Swirl Time
Using a thin nail art brush or toothpick, gently swirl the colors together to create that tie-dye effect. Do this carefully to avoid muddying the colors.
Step 5: Clean the Canvas
While the design is still wet, remove the liquid latex or tape from around your nail. Use a cleanup brush dipped in nail polish remover to clean any stray polish from around your nail bed.
Step 6: Seal and Shine
Once you’re sure that the tie-dye design is dry, apply a top coat to seal in your work, add some gloss, and extend the life of your manicure.
Pro Tips:
- Work Quickly: Nail polish can dry fast, so try to work quickly when you’re doing your tie-dye to keep the colors malleable.
- Less is More: Stay moderate with the swirling; less is often more when achieving a clean, clear tie-dye design.
- Color Choice: Opt for colors that blend well to prevent your design from turning into a muddy mess.
- Test First: If you need clarification on color combinations or swirling techniques, do a few practice runs on paper.
- Precision: Use pointed cotton swabs for cleanup; they offer more precision than a brush.
With these tips in hand, you’re well on your way to capturing the quintessential summer vibe right at your fingertips. The tie-dye trend is all about embracing color and creativity, so don’t hesitate to mix and match shades and techniques. Gather your colors and let your nails be your canvas for this exciting summer trend!
9 Incredible Intricate Nail Art Designs To Try This Summer
Botanical Details
Think beyond basic florals and envision a full-on garden on your nails. Incorporate a variety of flowers, leaves, and even tiny fruits in detailed designs for a lush summer garden vibe.
Mosaic Patterns
Take a page from ancient art and create intricate mosaic patterns. Use tiny, square-shaped pieces of different colors to form a complete, unified design across your nails.
Celestial Themes
Starry skies, phases of the moon, or even astrological signs can be incredibly intricate and perfect for those clear summer nights. Glow-in-the-dark polish can add an extra touch of magic.
Micro-Painting
If you’ve got an extremely steady hand or are planning to visit a professional, micro-paintings like tiny landscapes or portraits can transform your nails into minute canvases.
Negative Space Art
Utilize the natural color of your nails as a part of the design. Create complex patterns, geometries, or even text by painting around the natural or nude base.
Lace Patterns
Mimic the look of intricate lace on your nails. This can be done using specialized nail stencils or freehand for the more experienced artists.
Themed Storylines
Design a sequential theme across your nails. For example, you could depict a beach scene starting with the ocean, followed by sand, then palm trees, culminating in a radiant sun or sunset.
Geode-Inspired
Replicate the look of beautiful, intricate geodes by layering shades of the same color, accentuated by veins of metallic or glitter polish.
Textured Embellishments
Go 3D by adding tiny beads, rhinestones, or even miniature shells for a tactile, intricate effect. Keep in mind that these might not be the most long-lasting designs!
Mixed Media
Combine several of the above styles for a truly one-of-a-kind look. Think celestial designs with rhinestones as stars or botanical themes with 3D embellishments like tiny, flat-backed pearls.
Stained Glass Effect
Use thin black lines to partition your nails into sections, then fill them with translucent, jewel-toned colors to mimic the look of stained glass.
Holographic Stripes
Implement ultra-thin holographic strips in strategic patterns over a solid color for a modern, intricate twist on the traditional striped manicure.
Intricate nail designs can be a fabulous way to express your creativity and individuality. Whether you opt for DIY or professional help, remember that the key to any great nail art is patience and practice. So why wait? Dive into the mesmerizing world of intricate nail art and let your fingertips do the talking this summer!
Conclusion
And there we have it, folks—a comprehensive guide to making your fingertips as fashion-forward as your wardrobe this summer. From the cheerful charm of smiley faces to the artistic allure of abstract designs, there’s a style for every personality and mood. While nail art is a playground for creativity, some plans may require a steady hand or professional assistance for optimal results. Don’t let that deter you; experimentation is the cornerstone of great style. Use high-quality polishes and tools to ensure your manicure stays vibrant and long-lasting. Don’t forget, a good base and top coat are your best friends for any nail venture. So go ahead, grab those polishes, and unleash your creativity. Your nails are the canvas, and this summer is the gallery. Happy painting!
Feature image @vivianmariewong via Instagram


