Table of Contents
In today’s post, we’ll guide you through an unexpected yet wonderfully effective method of removing your gel nail polish at home, saving you time and money. You may be thinking, “Sugar? Really?” – Oh yes, my beauty enthusiasts, Sugar isn’t just a sweet treat and a surprising lifesaver in your DIY beauty regime.
We will be delving into the nitty-gritty details of this unconventional approach, from why it works and how to do it to the precautions you need to take. We’ll also shed light on other fantastic, little-known sugar hacks for your beauty routine. So, get ready to step into your kitchen and transform it into a sweet beauty lab as we unravel this fascinating and fun beauty solution.
Remember, the beauty world is as vast and varied as we want it to be. By embracing novel methods like this, we continue to grow, experiment, and ultimately empower ourselves. So, grab your cup of tea or coffee if that’s more your thing, and let’s dive headfirst into this sugary journey of beauty discovery together. Get ready to be amazed because beauty, like life, is sweeter when you’re in control.
Let’s sparkle, and let’s sweeten, ladies! It’s time for some ‘Sugar Spa’ at home.
The Truth About Gel Nail Polish

Before we dive into the how let’s tackle the why. Why is gel nail polish so stubborn when it’s time to take it off? Well, as it turns out, the qualities we adore in gel manicures make them a little hard to bid farewell to.
When you slide your fingers under that UV or LED light, a chemical reaction bonds the gel pigment to your nails, this helps your manicure withstand everything from dishwashing sessions to impromptu guitar lessons, but it also makes removal tricky.
Remember when you looked at your nails after your first gel manicure and thought, “Wow, this looks so much more durable than my regular polish?” That’s because it is. Gel polish contains polymers and resins that give it its super strength. The result? A sturdy and glossy look that lasts for weeks but needs a bit more elbow grease to remove.
The Usual Gel Polish Removal Process
When it’s time to change the look of your nails, the removal process for gel polish is usually more intense than regular polish. You may be familiar with the usual scenario: soaking your nails in acetone, then wrapping them in cotton and foil. This method breaks down the molecular bond between the gel and your natural nails.
The process can feel like preparing your fingers for a space expedition. The last time I did this, my niece walked in and thought I was auditioning for a role in a sci-fi movie! It can be quite a sight, but the goal is to prevent any damage to your natural nails or cuticles.
To speed up the process and protect your skin, soaking your nails in warm water first can be a game changer. It helps dissolve the gel polish faster and mitigates the drying effect of acetone on your skin.
The Lifespan of Gel Polish

Let’s answer the question I’m sure you’ve been asking: “How long does gel polish actually last on my nails?” It’s like asking how long a chocolate bar will last in my pantry – it depends!
Ideally, a gel manicure should stick around for up to four weeks, depending on how well you care for it. And let me tell you, some of my most memorable manicures have lasted through vacations, kitchen experiments, and even a pottery class!
The longevity of your gel manicure isn’t just about the manicure itself—it also depends on how you treat your hands post-application. Regular exposure to harsh chemicals or water can chip away at its lifespan. I learned this the hard way when I tried to clean my house without gloves shortly after a gel manicure. Lesson learned!
So, to maximize the longevity of your gel polish, treat your nails like the queens they are. Use gloves when cleaning, avoid hot water when washing hands, and regularly nourish your cuticles with an oil-based cream.
The Sweet Solution: Removing Gel Nail Polish with Sugar

Now, onto the moment you’ve all been waiting for: how to remove gel nail polish with Sugar, no acetone needed. I stumbled onto this method when I was in a pinch—I had an old gel manicure ready to go, but my acetone bottle was mysteriously empty. In desperation, I turned to my kitchen and discovered that Sugar, my sweet baking companion, could also be a nail-saving superhero.
Start by trimming any extra length and lightly buffing your nails until all the shine is gone. This is like baking a cake—you have to preheat the oven and mix the batter before enjoying the sweet result.
Then, instead of an acetone soak, you’ll use a homemade sugar scrub to exfoliate and lift the polish off gently. This method is just as sweet and easy as it sounds.
And if you’re looking for an extra boost, try the soak-off method. All it takes is a warm water soak for about 10 minutes, then carefully using a cuticle pusher or wooden stick to lift the polish off. It’s like how a warm bath can make even the longest day melt away.
Why Gel Nails Are the Cat’s Meow but Tough to Remove
Gel nail polish is like that clingy ex who doesn’t want to let go. It’s glossy, glamorous, and oh-so-resilient, thanks to its unique blend of polymers and resins. When you get a gel manicure, your nails get a UV or LED light treatment, bonding the polish to your pins like a dream. That’s why they last so long without chipping or fading.
However, the clinginess becomes less adorable when it’s time to break up – I mean, take off the polish. The gel’s sturdy composition makes it a tough nut to crack, requiring more intense removal methods than regular nail polish.
The Sweet Sugar Solution

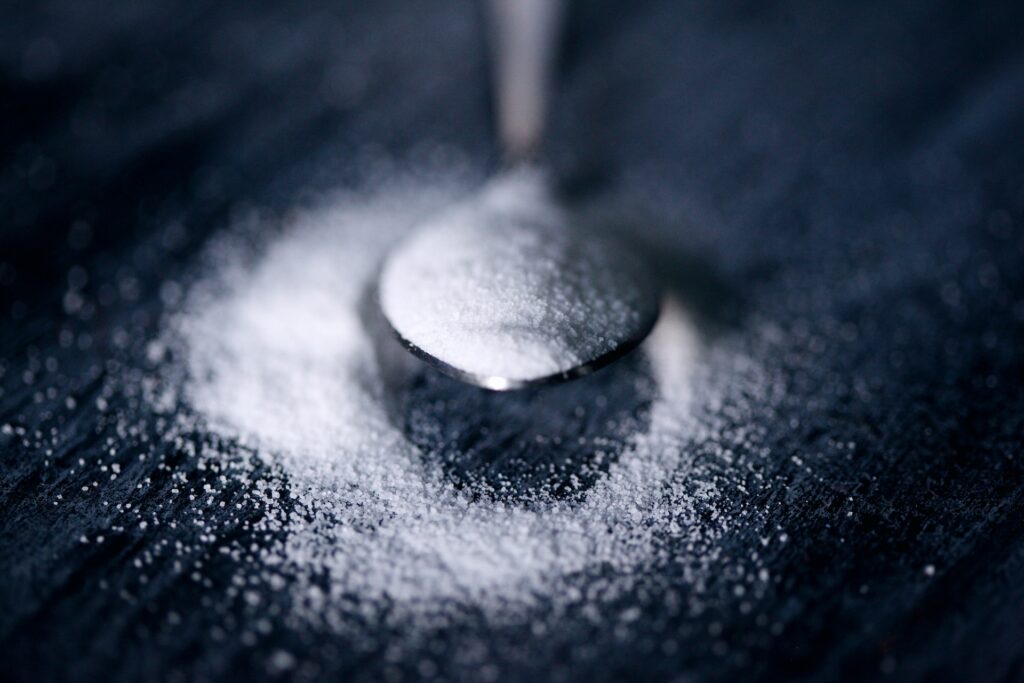
When you think you’ve exhausted your at-home gel removal options, a sweet surprise comes – Sugar! Yep, you heard it right. This household staple isn’t just for sweetening your morning coffee. The same granulated Sugar or powdered sucrose used in your kitchen can become your secret weapon against stubborn gel polish.
This sugar solution is gentle on your nails and skin and can effectively loosen the tenacious gel polish molecules. It’s a less harsh alternative to acetone, making it an ideal DIY solution for at-home gel nail polish removal.
The Sugar Rush: DIY Gel Nail Polish Removal
Once I stumbled upon this trick, I couldn’t wait to share it. Here’s the step-by-step guide to getting those gel nails off with sugar magic.
Step 1: Pour a teaspoon of granulated Sugar or ground sugar into a shallow dish. Add lukewarm water and stir.
Step 2: Dip your hands in the sugar-water mixture for 10-15 minutes. The Sugar will work on breaking down the gel nail polish.
Step 3: Dry your hands with a towel, then take a cotton ball, dip it in the sugar-water mix, and gently rub it over each nail. The sugar granules will act as a gentle abrasive, helping to remove the gel polish.
Step 4: Rinse and repeat until all the gel polish is gone. Remember, patience is a virtue here!
Step 5: Once the gel nail polish is off, dry your hands and treat your nails with nourishing cuticle oil to restore their natural shine.
Voila! That’s all it takes to remove gel nail polish at home with Sugar – without any damage to your nails or cuticles.
Nail TLC: Post-Removal Pampering
Removing gel nail polish can be hard on your nails, so it’s essential to give them some TLC afterward. Here’s my routine to restore the health and beauty of my nails post-gel removal.
Step 1: Buff your nails gently to remove any residual polish and smooth the edges.
Step 2: Apply cuticle oil and massage it into each nail bed and cuticle. This helps replenish the moisture and strength your nails may have lost during the gel removal.
Step 3: Try my favorite homemade nail spa treatment for an extra treat. Mix equal sugar and moisturizing oil (like jojoba or coconut oil) until it forms a paste. Dip your fingers into this magical mix, gently rubbing it over each nail. Rinse with warm water. This will exfoliate and hydrate your nails at the same time!
Step 4: After these treatments, moisturize with cuticle cream or oil.
And there you have it! A simple, at-home, DIY method to remove gel nail polish using Sugar and some essential nail treatments to keep your natural nails and cuticles looking beautiful and healthy. Beauty routines should be fun and rewarding, not daunting or damaging. Stay sweet!
What Other Little-Known Sugar Hacks Are There For Beauty Routines?
Sugar isn’t just a sweet treat; it can be a potent and versatile addition to your beauty routine! Here are some additional sugar hacks you might love:
1. Natural Lip Exfoliator: Mix some Sugar with olive oil or honey for a completely natural lip scrub. The Sugar gently removes dead skin cells while the oil or honey moisturizes, leaving you with softer, more kissable lips.
2. Facial Scrub: Sugar granules can act as a natural exfoliant that helps to remove dead skin cells from your face and reveal a glowing complexion. Mix a small amount of Sugar with your usual face wash for a gentle scrub, or blend it with coconut oil for a hydrating, exfoliating mask.
3. Body Scrub: You can create a homemade body scrub by mixing Sugar with a moisturizing oil like coconut or almond. This combination exfoliates and hydrates your skin, making it feel silky smooth.
4. Hand Rejuvenator: Mixing Sugar with lemon juice creates an effective hand scrub. Lemon juice is a natural bleach that can lighten dark spots while Sugar helps to exfoliate and soften rough hands.
5. Scalp Scrub: Have issues with product build-up or a flaky scalp? Mixing Sugar with your shampoo can help! The Sugar can exfoliate your scalp, eliminating dead skin and product build-up. Be sure to rinse thoroughly.
6. Foot Soak: A sugar foot soak could be just the ticket if you need a pedicure. A mix of Sugar and warm water can create a soothing soak that helps to exfoliate dead skin, softening callouses and rough patches.
Remember, while Sugar is a great natural alternative for your beauty routine, doing a small patch test first is essential to ensure you won’t have any adverse reactions. Enjoy exploring these sweet sugar hacks!
Conclusion
And there we have it, my lovelies, the sugar-coated truth about removing gel nail polish! Don’t let the process intimidate you. With the sweet power of Sugar on your side, you can remove that stubborn gel polish in a gentle, safe, and skin-friendly way. Remember, no matter what removal method you choose, always prioritize the health of your nails. Give them the TLC they deserve with moisturizing oils and treatments, and they’ll thank you by staying strong and beautiful. Be patient with the process, and don’t be too harsh on your nails. After all, we’re not just after instant beauty here but long-term nail health. It’s all about feeling empowered to take control of your beauty routine in the most considerate and sustainable way possible. You’ve got all the tools and knowledge you need, now go forth and conquer that gel manicure with your newfound sugar solution expertise! As always, stay beautiful inside and out.
Feature image by Stefan Lehner on Unsplash


