Table of Contents
Hello, trendsetters and aficionados of minimalism! Do your nails ever feel like a blank canvas waiting for an understated masterpiece? Then you’ve landed in just the right corner of the internet. Today, we’re diving into a topic that marries the elegance of simplicity with the artistry of nail design. That’s right; we’re talking about 40 Simple Nail Designs for those who appreciate the beauty in restraint. From the timeless appeal of monochromatic shades to the subtle pop of minimalist patterns, we’ve curated a list that caters to the nuanced taste of those who believe less is more.
If you’ve been scouring Pinterest boards and Instagram feeds for inspiration but are overwhelmed by the extravaganza of glitter, decals, and intricate art—take a breath. We’ve got you covered with effortlessly chic yet incredibly easy to execute ideas. By the end of this blog post, you’ll be equipped with design inspirations and gain insights into selecting the right hues, textures, and tools to create your minimalist nail art. Whether you’re a DIY queen or planning your next salon visit, prepare to discover designs that are both timeless and modern, easy and stylish—all while staying true to the minimalist ethos. So, without further ado, let’s get down to the basics, but in the most fashionable way possible!
A Fresh Spin on French: Bright Lines
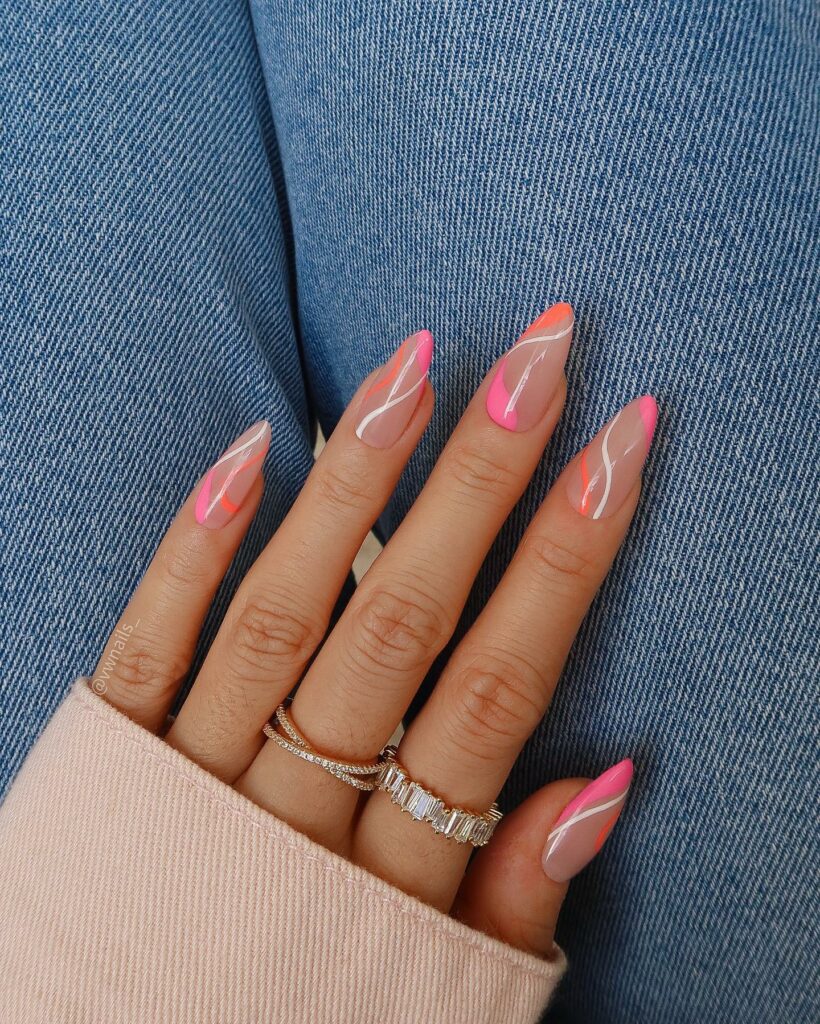
Let’s give it a refreshing twist. Instead of the traditional white tips, why not alternate with some bright colors for that pop of personality? When I first experimented with this; I was thrilled at how a little color could make such a difference. It felt like I was wearing my mood on my fingertips!
Small But Mighty: Little Hearts
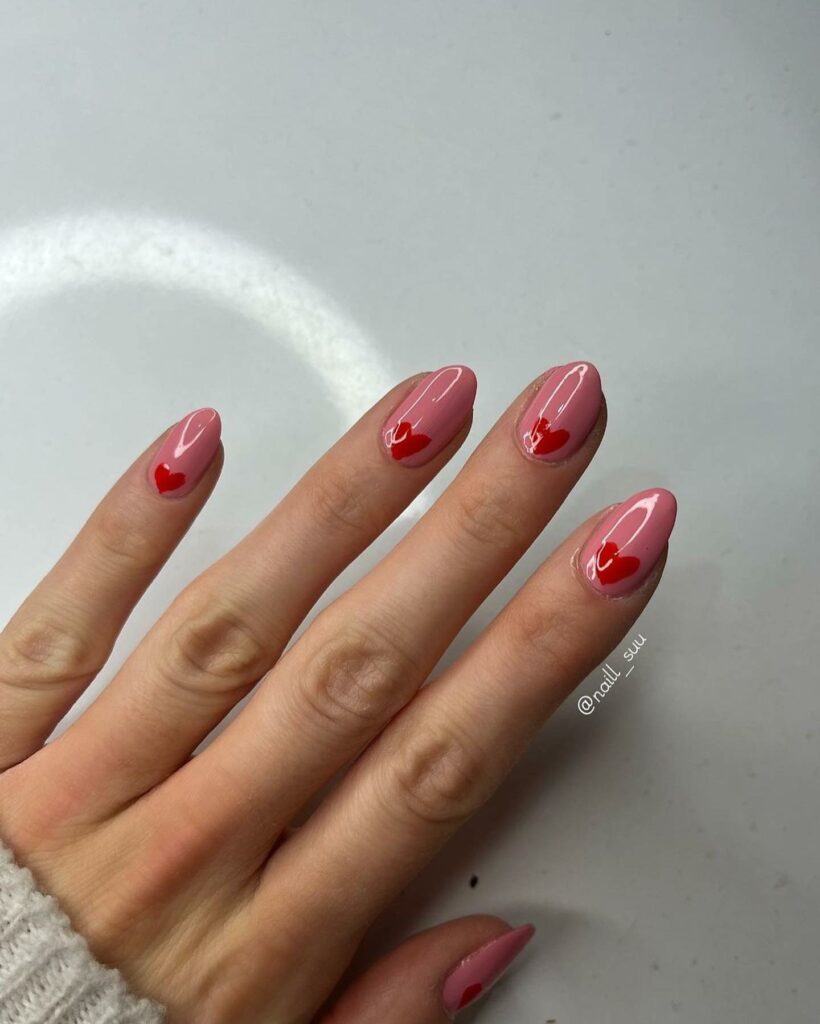
Small accents can make a world of difference. A tiny heart on a simple nail can be a little wink to the world. Want to make it edgy? Go for black polish. Trust me, it’s a conversation starter—I’ve had people notice and compliment these little hearts in the most random places, like while paying for coffee!
Two-Fold Chic: Half and Half
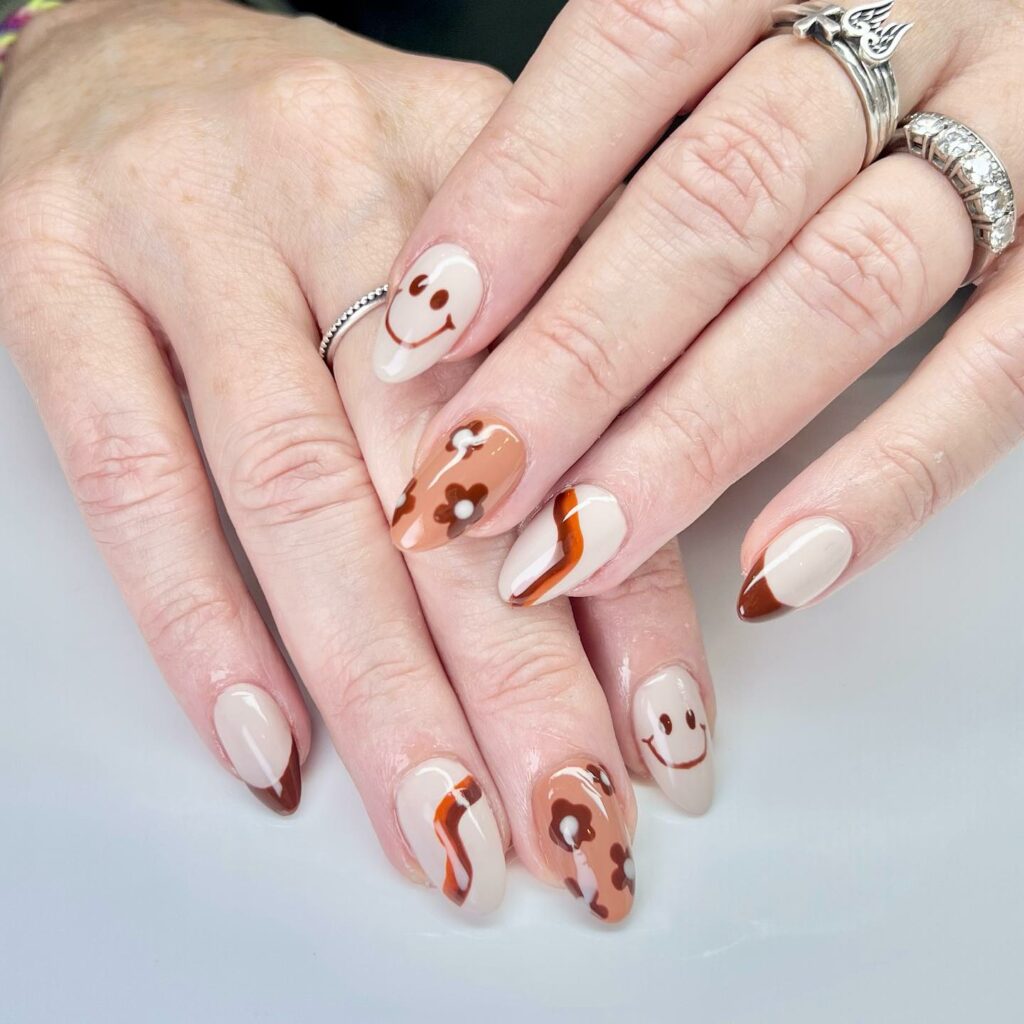
When one color won’t do, why settle? A two-tone look gives you the best of both worlds. NYC nail salon Sundays has a muted version that’s totally stealing my heart. I tried this with a coral and beige combo last summer, and let me tell you, it’s as versatile as it gets.
The Magic of Dip Dye
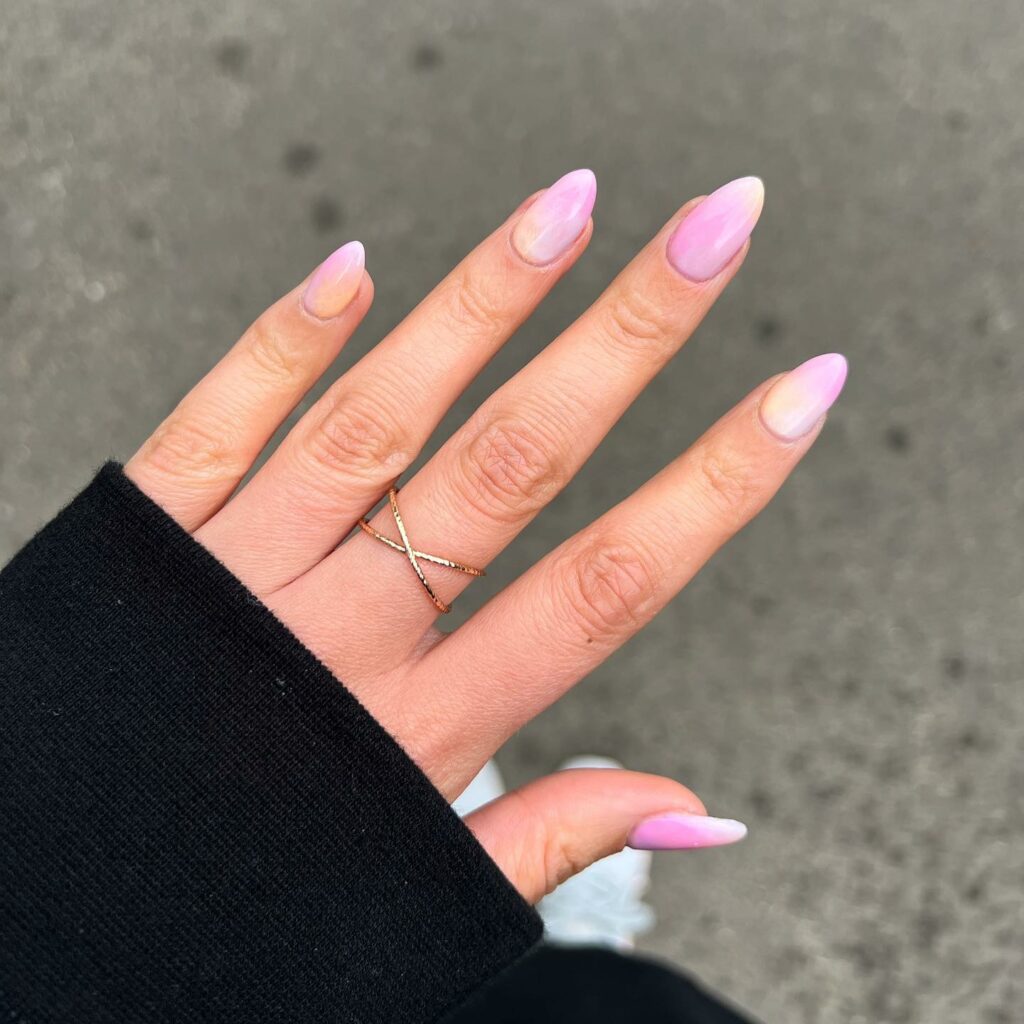
Fancy yet easy—that’s how I’d describe the dip-dye effect. Just drop some polish into the water and dip your nails in. Clean up is a breeze; some polish remover on the cuticles, and you’re good to go. This technique is my go-to for when I want something eye-catching but don’t have the time for intricate designs.
For the Love of Florals: Dainty Flowers
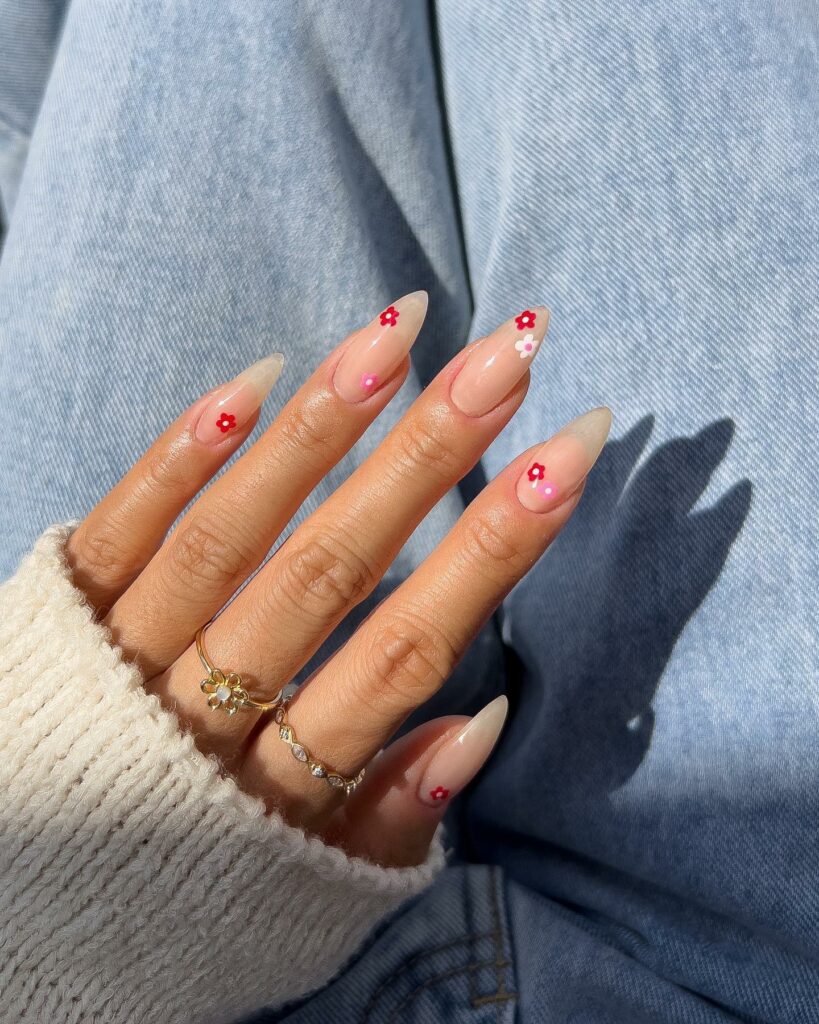
Floral designs don’t have to be loud to make an impact. A few simple dots can create a stunning floral pattern. When I first tried this, I used a toothpick as my dotting tool, and the result was still fabulous. It’s perfect for those who want a hint of nature without going full-on botanical.
Highlight Your Life: Negative-Space Neon
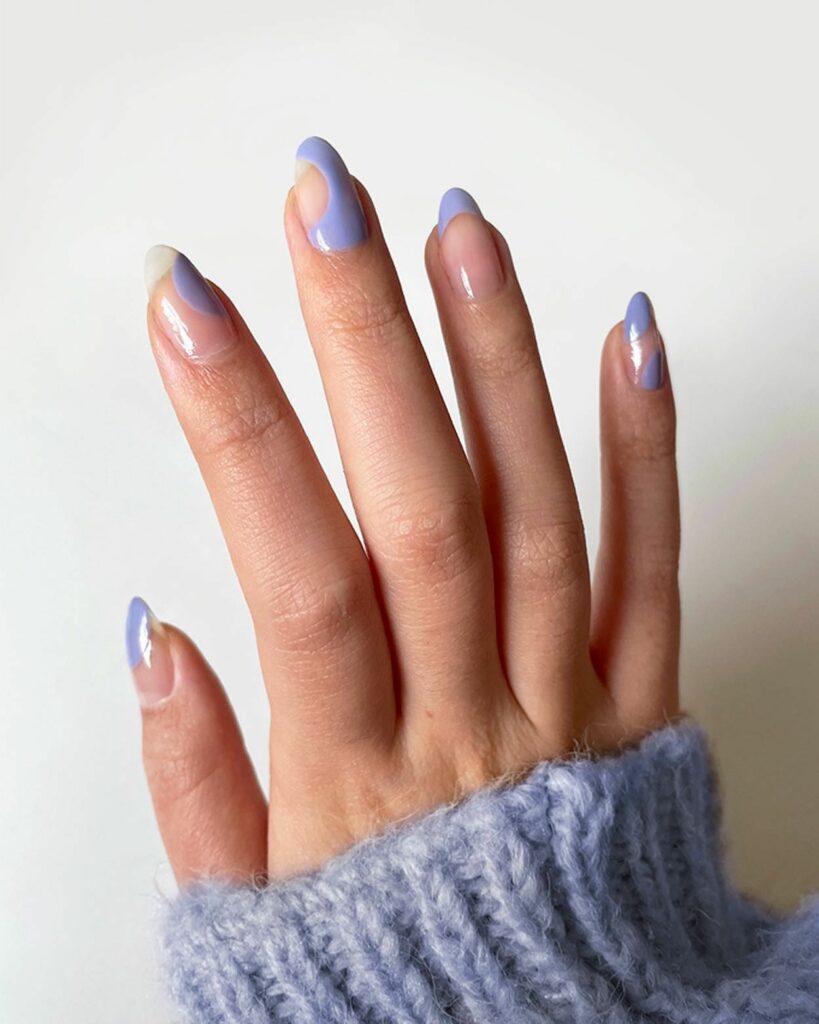
Swirls of neon on a neutral base can work wonders, especially if you want to break away from monotone designs. I’ve always found neon to be a pick-me-up. It’s like carrying a little piece of sunshine wherever you go.
The New Glitterati: Glitter Tips
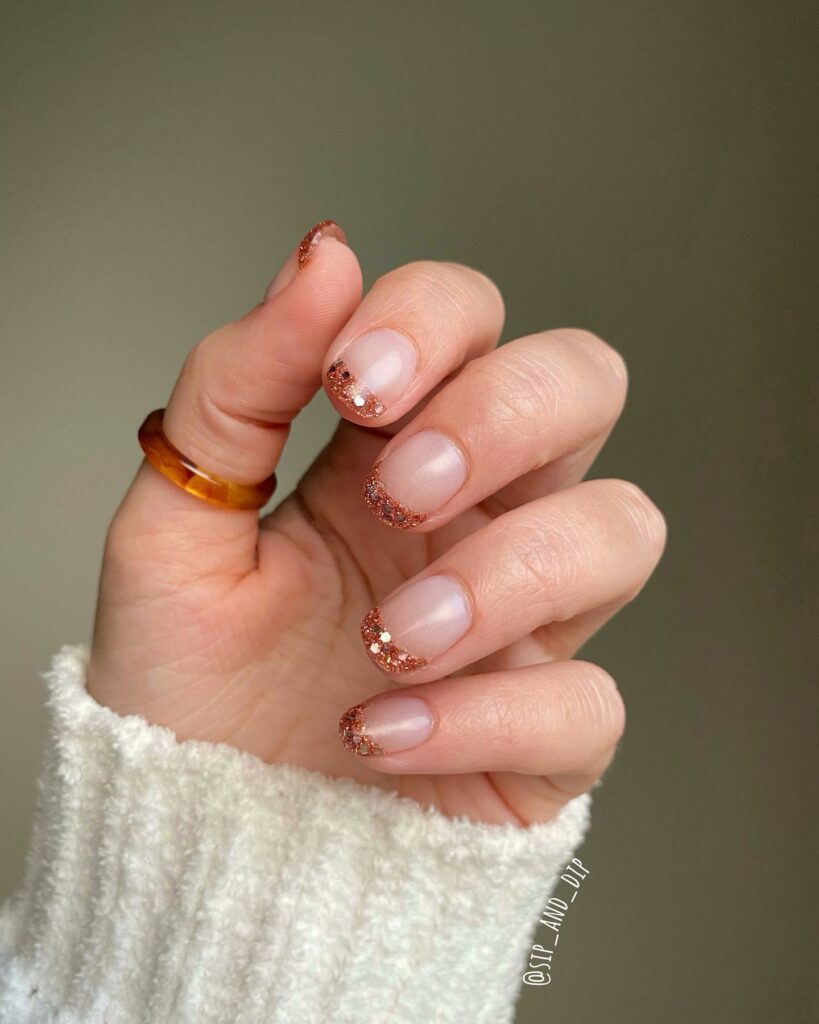
Tom Bachik, the celebrity nail artist, calls this the “glitter liner,” and it’s what Jennifer Lopez flaunted. Forget the classic French tip; let’s usher in the era of glitter. It’s not as loud as a fully glittered nail, but it adds enough sparkle to make a statement.
Go Berrylicious: Berry Cute
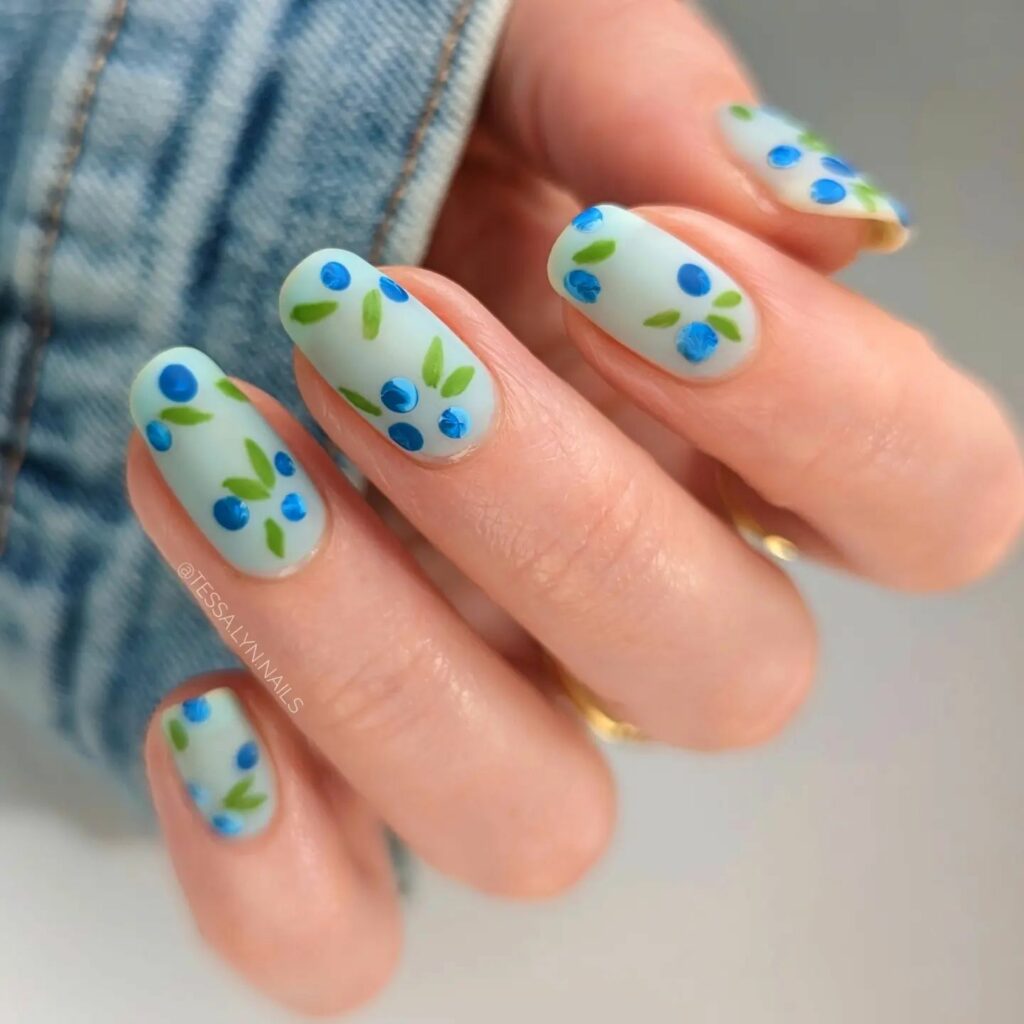
A few simple flicks and dots, and voila, you have adorable blueberries on your nails. I remember doing this design for a garden party, and it was such a hit. It’s quirky, cute, and takes minimal effort—what’s not to love?
Mix It Up: Marble Mani
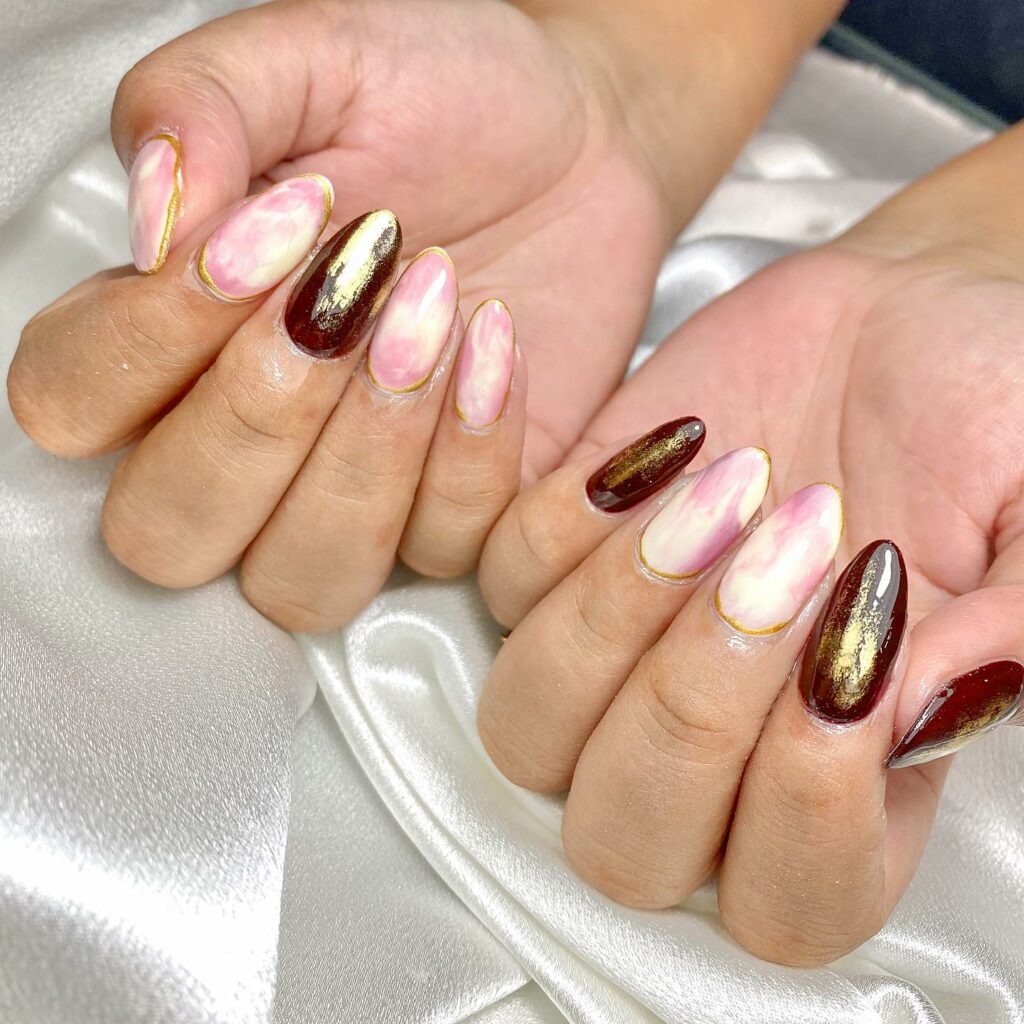
Creating a marble effect is easier than you think. Limit your palette to three or four shades to avoid a muddled look. A clean brush, a few swirls, and you’ve got yourself an abstract masterpiece. It’s the kind of art where imperfections add character.
Unleash Your Inner Feline: Snow Leopard
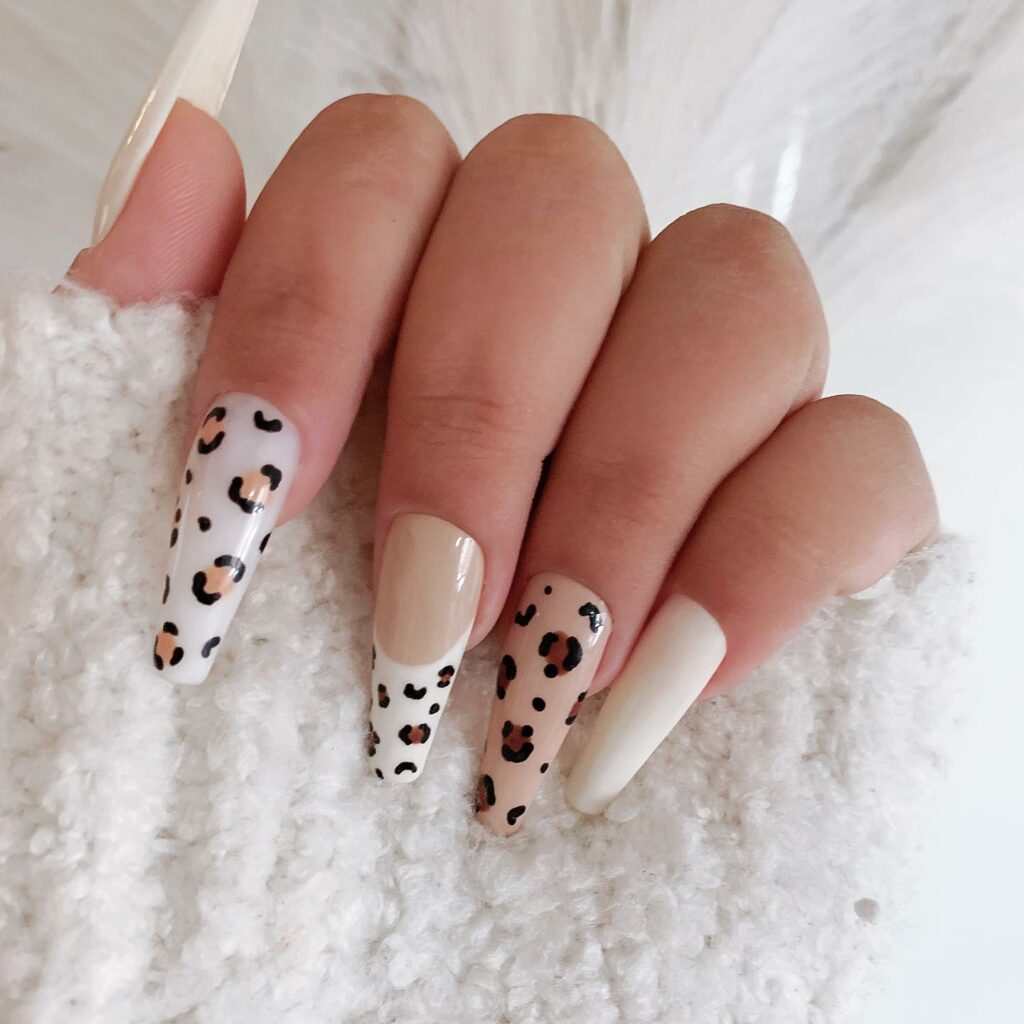
I adore how this looks in white! Just dot some polish around your nails, and you’re set. Plus, who wouldn’t want to channel their inner snow leopard once in a while?
The Art of the Dot: Minimalist Dots
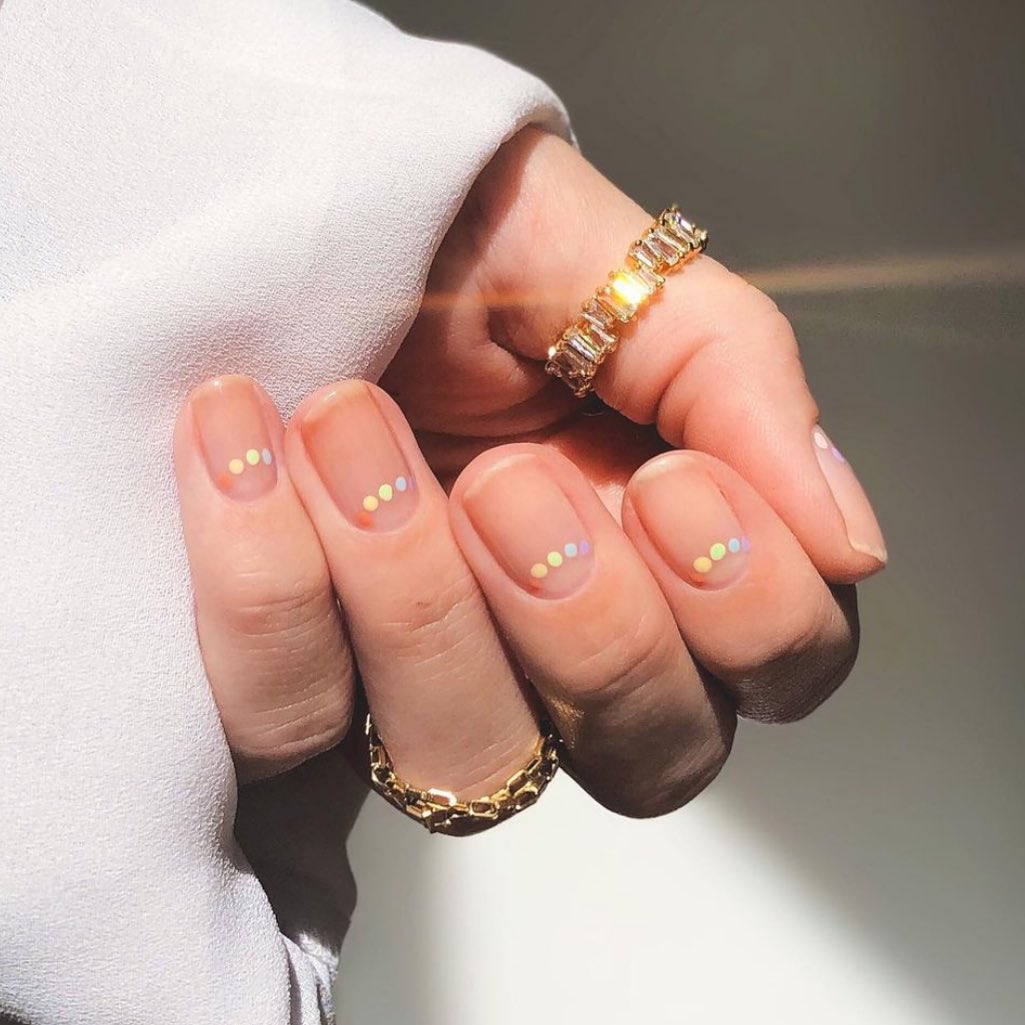
Just one dot can transform an ordinary look into something chic. Remember, minimalism is about letting each element shine, and boy, do these dots shine. The first time I tried this was before a dinner party, and it took me five minutes. But guess what? It was the topic of conversation all evening!
A Spectrum of Chic: Rainbow Half-Moons
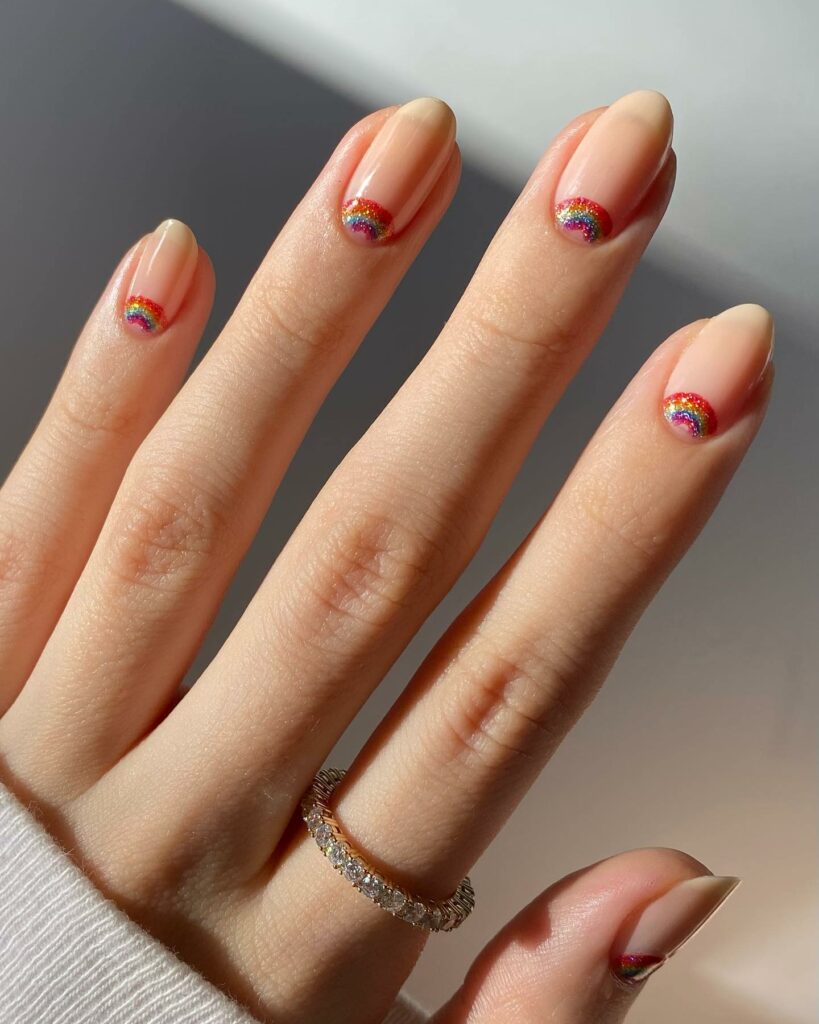
Ever tried using hole-punch stickers as your painting guide? Well, you should, especially for creating snazzy half-moons. The real challenge here isn’t the technique but choosing from a rainbow of shades. This is one design where you can let your color sensibilities roam free, and it’s always a hit at summer get-togethers.
Gaze Protection: Evil Eyes
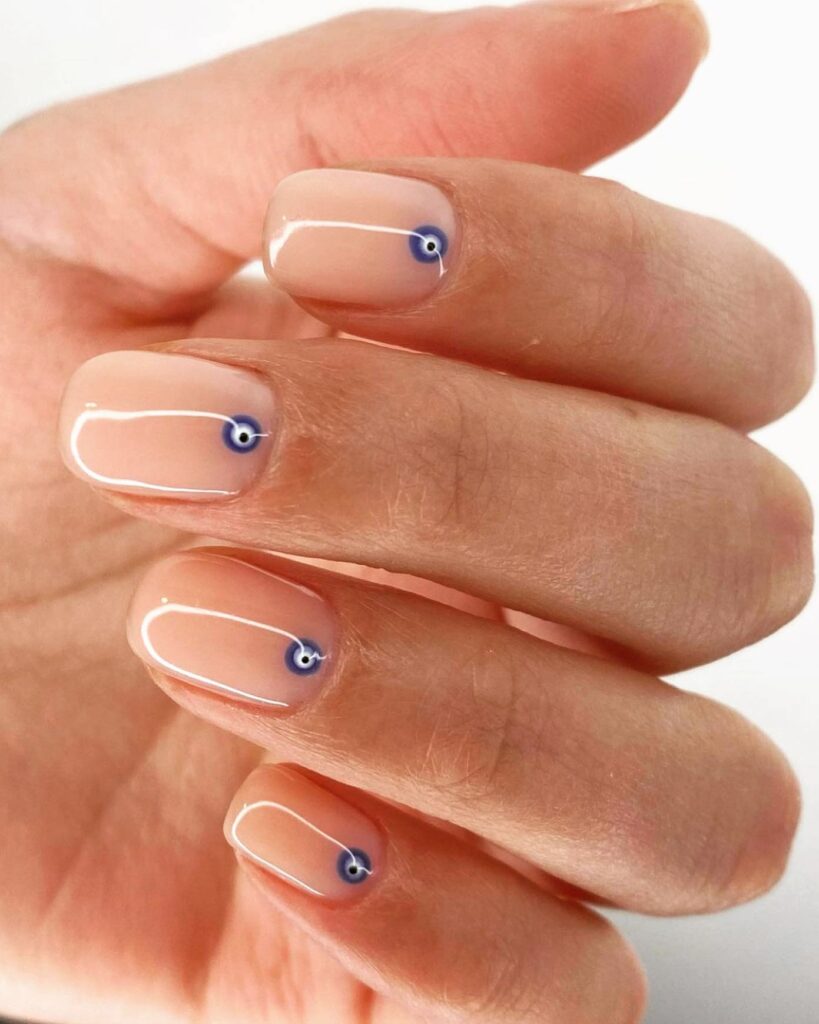
Protective eye motifs are culturally rich and high fashion when done right. Betina Goldstein shows us how it’s possible with nothing but well-placed blue polish and a sprinkle of sparkle. I tried this before an important meeting, and not only did it make me feel empowered, but it also drew compliments from everyone in the room.
Straight to the Point: Modern Art
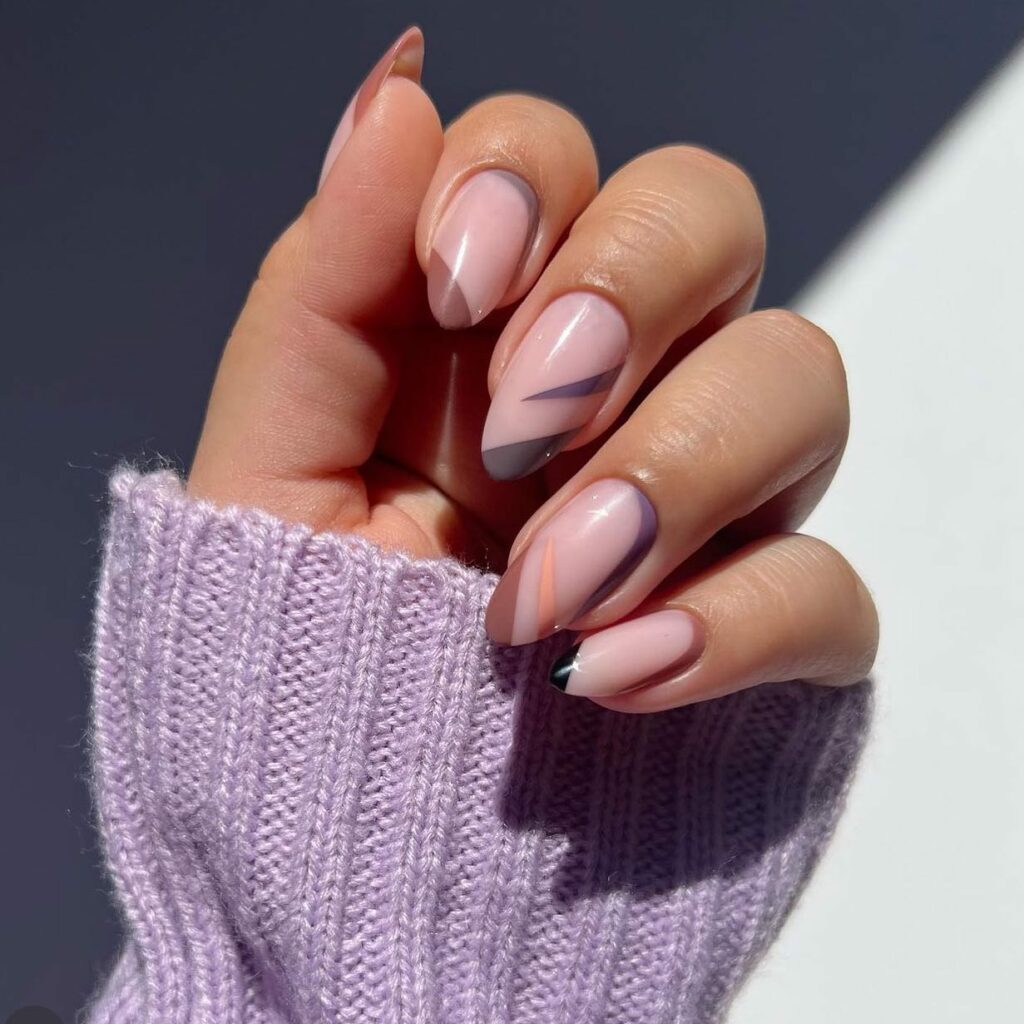
You’ve already conquered this look if you’ve got a steady hand for straight lines. Think of your nails as a canvas and your lines as the brushstrokes. It’s abstract, modern, and the quickest way to make a style statement. Pro tip: Use a piece of tape to guide ultra-straight lines.
Love, Simplified: Single Heart
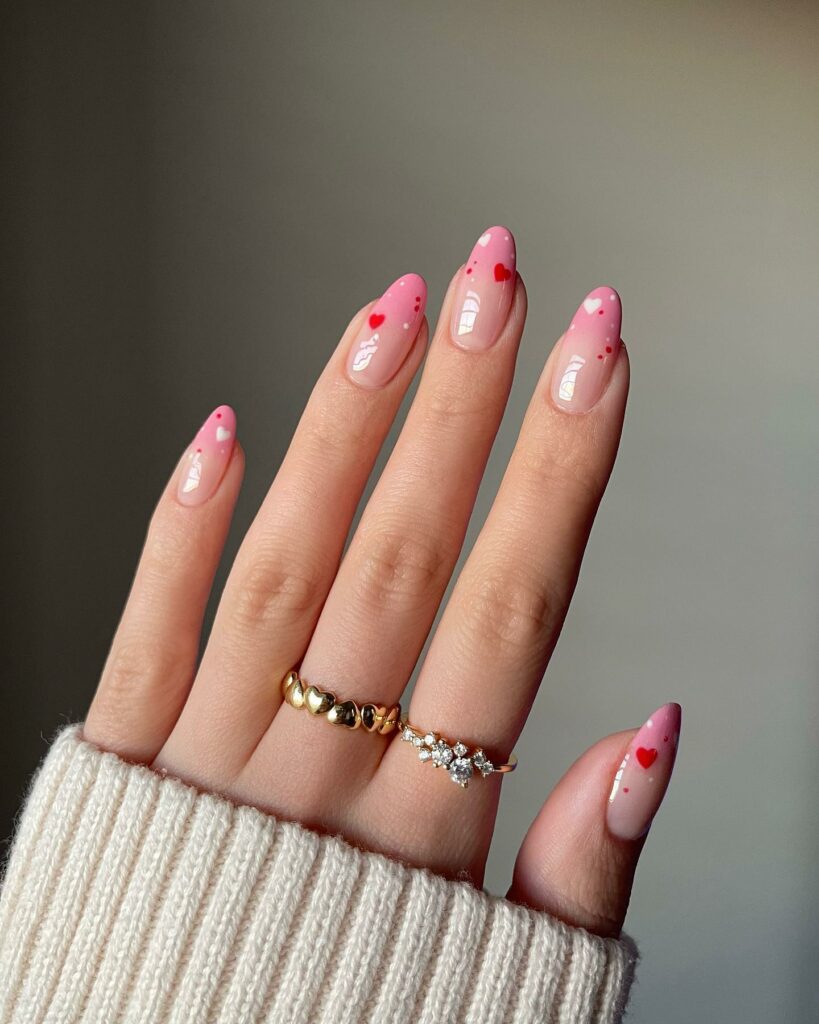
Creating a heart on your nail doesn’t get easier than this. A Q-Tip and a dash of nail polish remover are your best friends for this design. It’s the perfect style to wear when you’re feeling romantic or want to spread some love.
Slow and Steady Style: Tortoise Texture
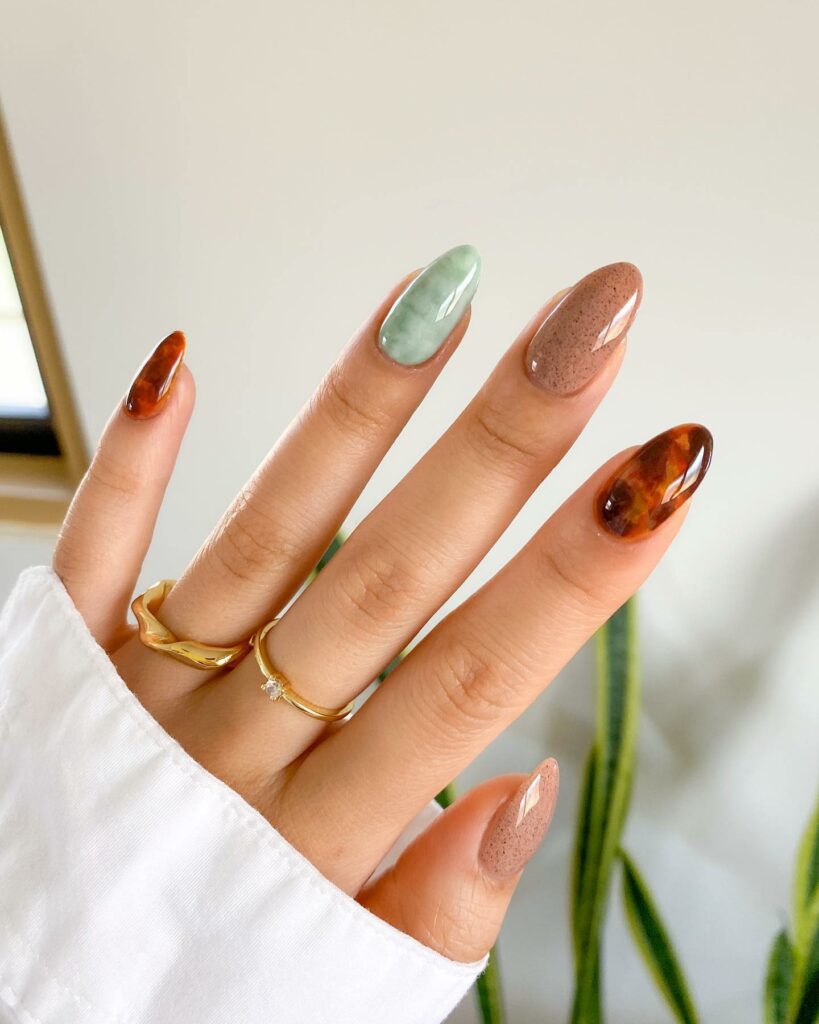
Are you ready to go beyond the basics? Tortoise texture nails require alternating amber and black polish drops, followed by a tiny blend. I sported these at a nature hike, and they perfectly complimented the autumnal scenery.
Ephemeral Beauty: Subtle Aura
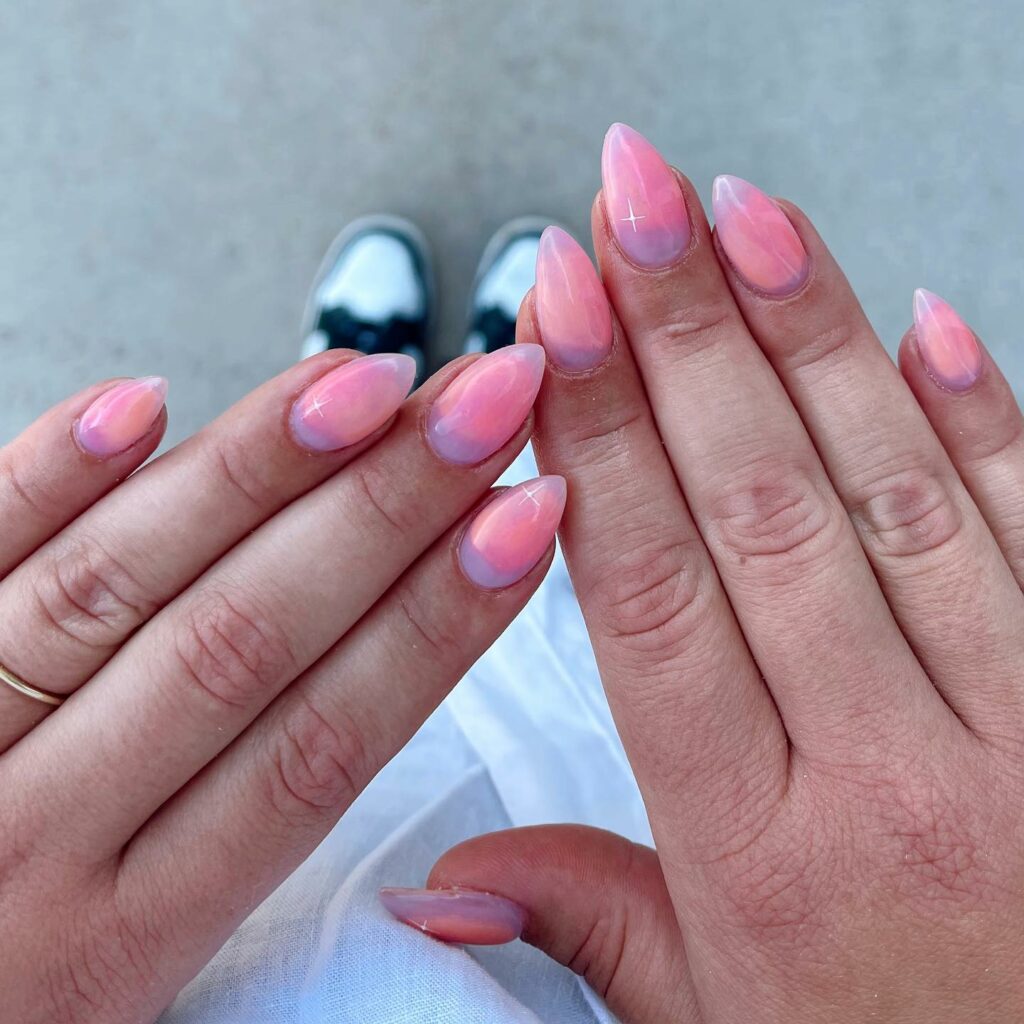
Achieving a consistent aura effect might call for professional help. However, you can get close with a makeup sponge if you’re adventurous like me. The key is in the gradient and the blend, making your nails look like tiny masterpieces.
Curve Appeal: Shiny Swoops
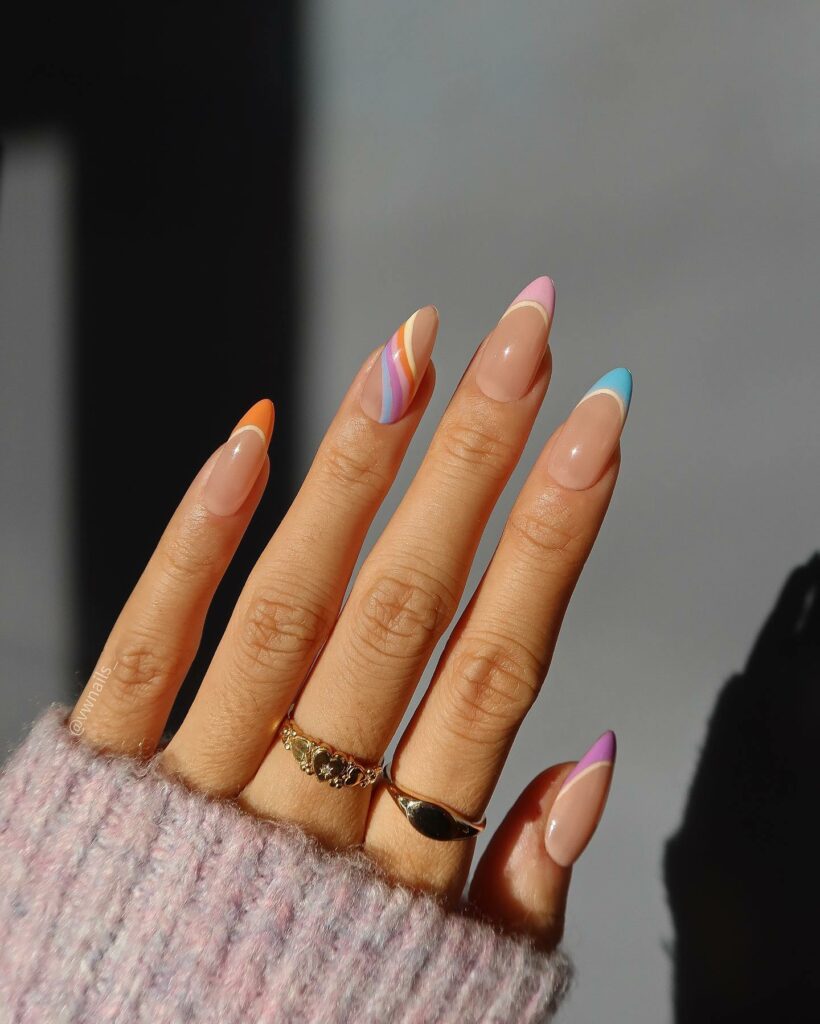
For this look, patience is key. After letting your base polish dry completely, choose a contrasting shade for the swoop. I tried this with matte and metallic polishes, and let me tell you, the contrast was stunning.
Freestyle Chic: Loose Lines
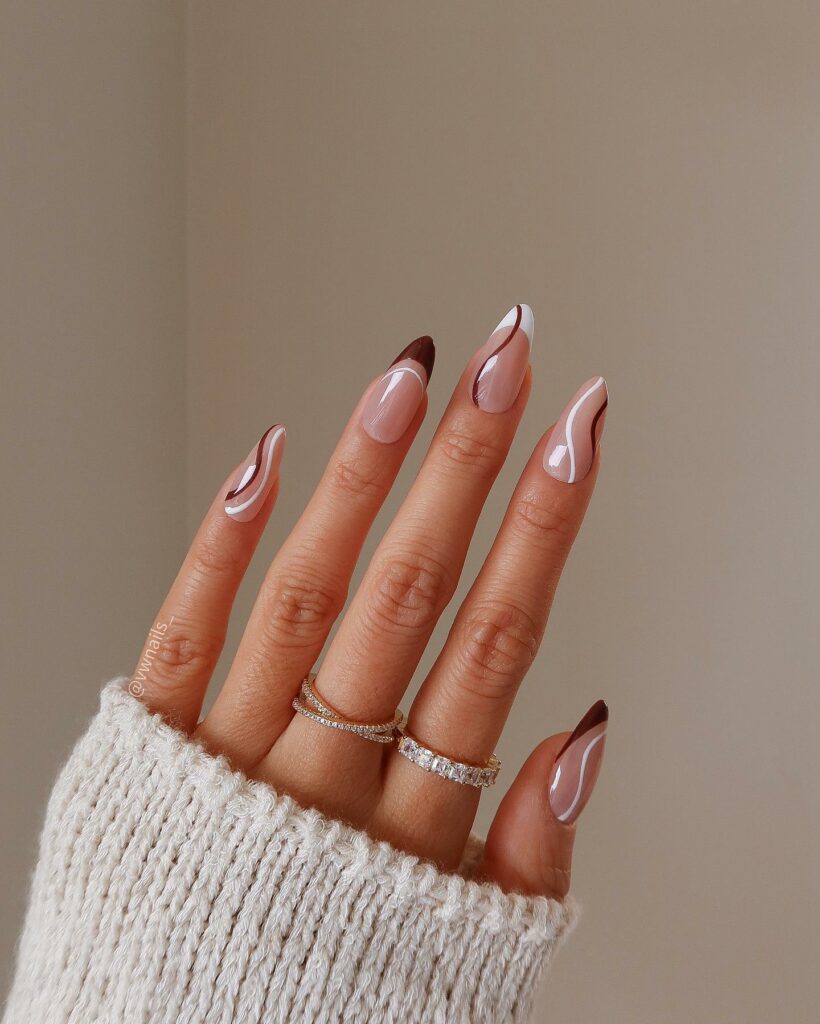
Attention, daydream doodlers! Your habit just became a fashion statement. Grab a couple of nail polish pens and let your imagination run wild. I did this while binge-watching my favorite show, which was relaxing and rewarding.
Glam in Detail: Sequin Dream
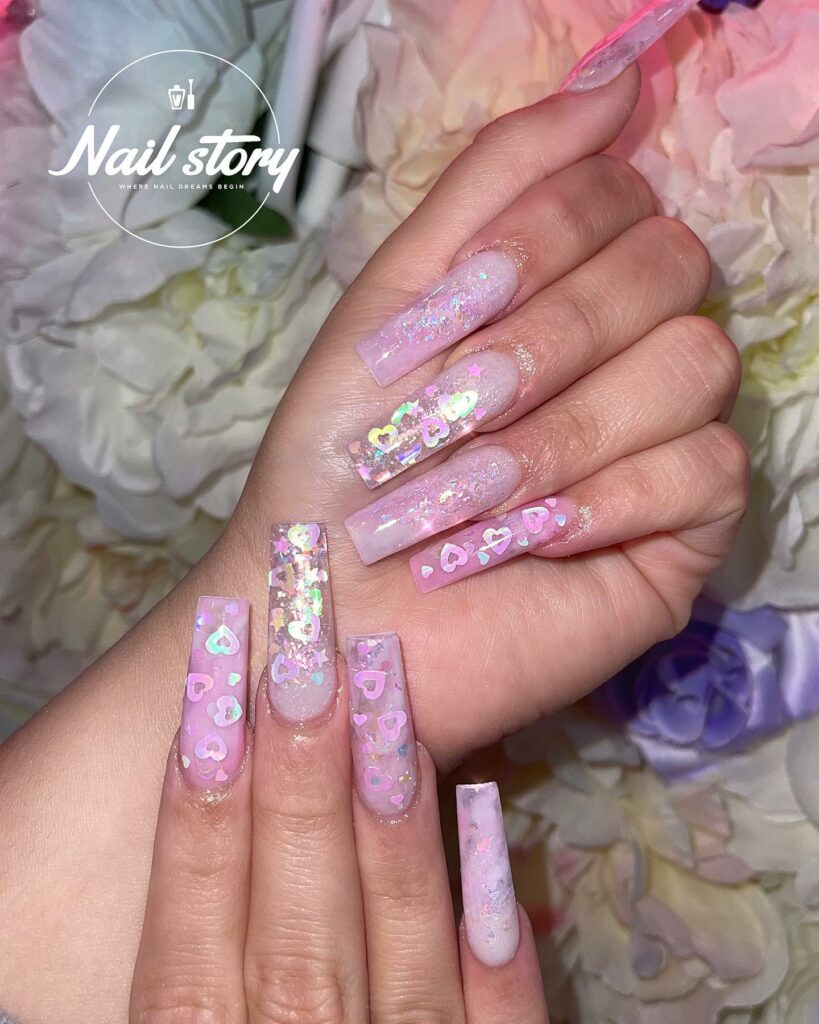
If you have the patience for meticulous placement, go for it. But if you’re like me and prefer an easier route, glitter polish will still get you that star-studded look.
The Power of One: Accent Stripe
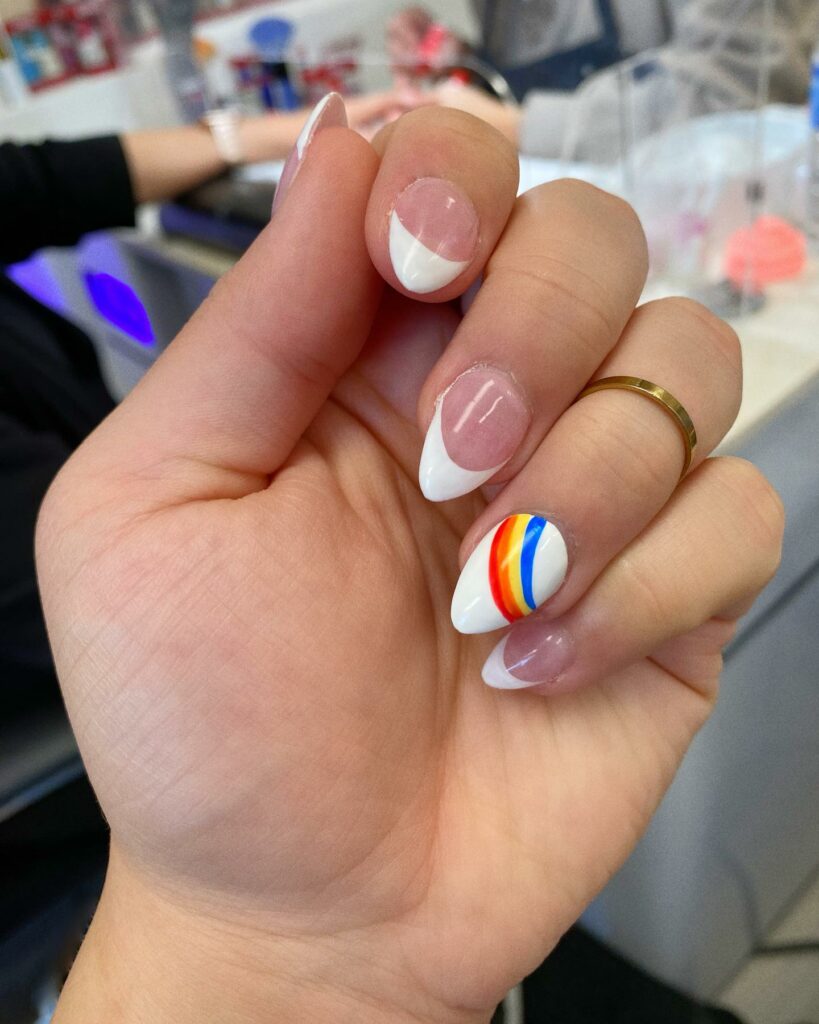
I sported this look at an art gallery opening, and it was a subtle yet striking way to add flair to my overall ensemble. No one could believe it took just seconds to pull off!
Dazzle with Detail: Studs and Spots
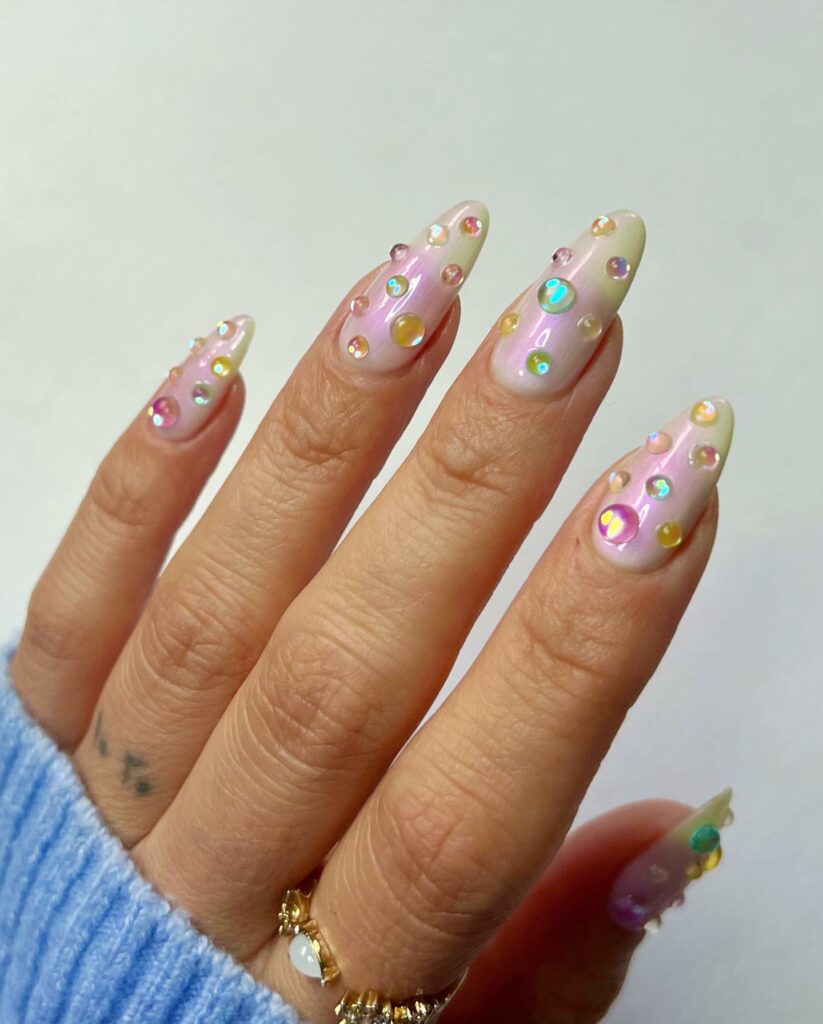
Who said polka dots can’t be glam? Elevate the timeless design with a smattering of rhinestones. I was heading to a friend’s birthday bash the first time I tried this. The added sparkle drew so much attention that it became the icebreaker of the evening. A small addition for a big impact!
A Tale of Two Shades: Yin & Yang
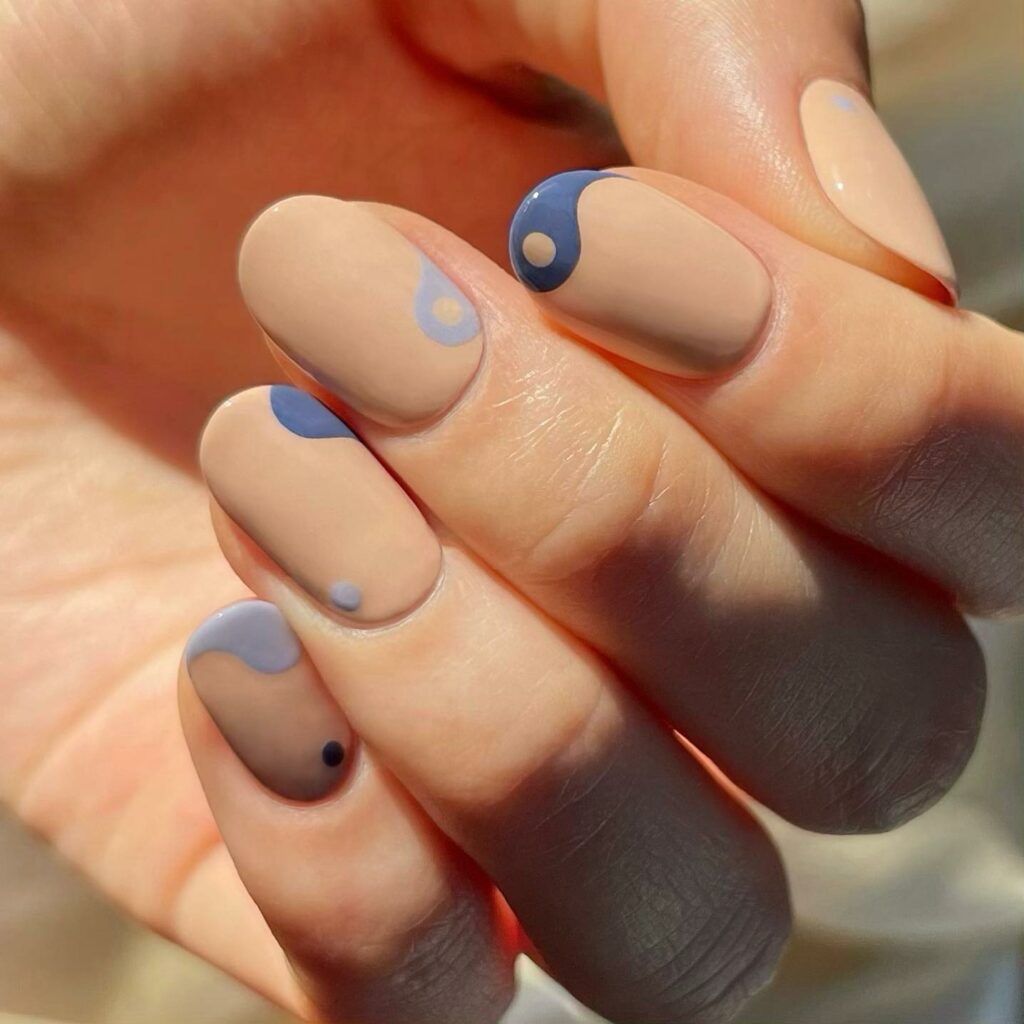
We’ve all tried different shades on each hand, but how about adding a Yin and Yang accent nail to complete the look? This inspired design adds a philosophical touch to your nails. This is a perfect talking point during networking events; it shows you have a sense of style and depth.
A Study in Contrast: Opposites Attract
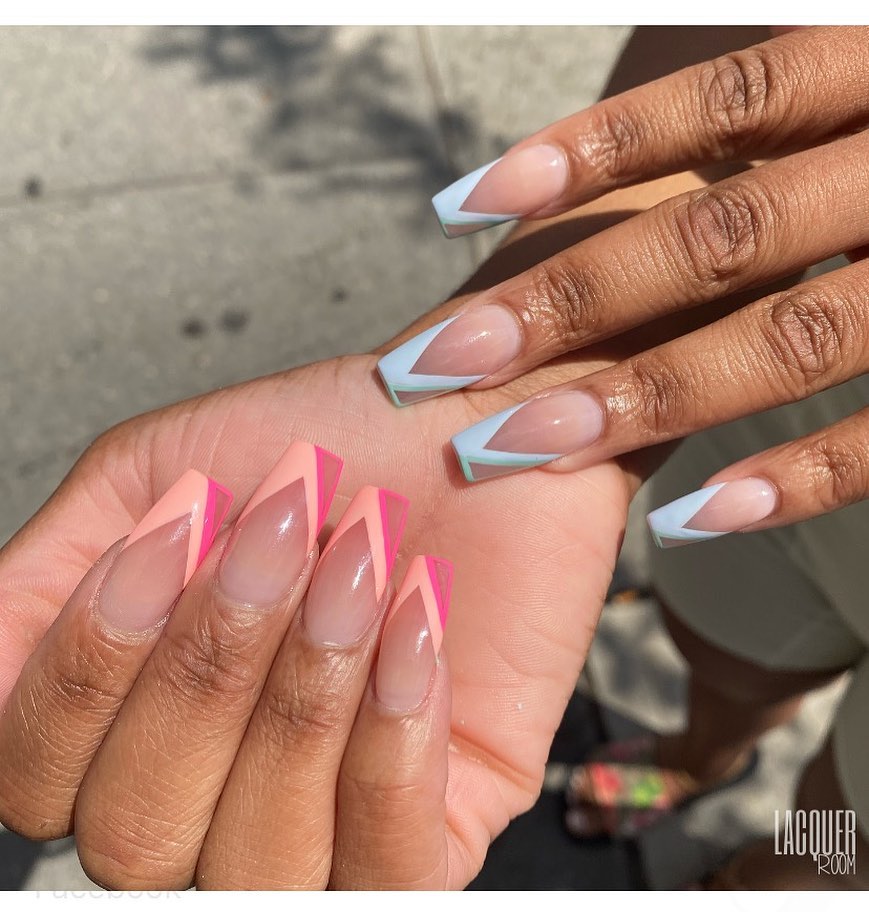
Ready to mix things up a bit? Try alternating between classic French tips and reverse French designs on each nail. It’s a fresh, modern twist that instantly elevates the entire look. I once wore this design for a week-long conference, and it was just as suited for formal meetings as it was for the evening cocktail hours.
The Perfect Imperfection: Cloudy Skies
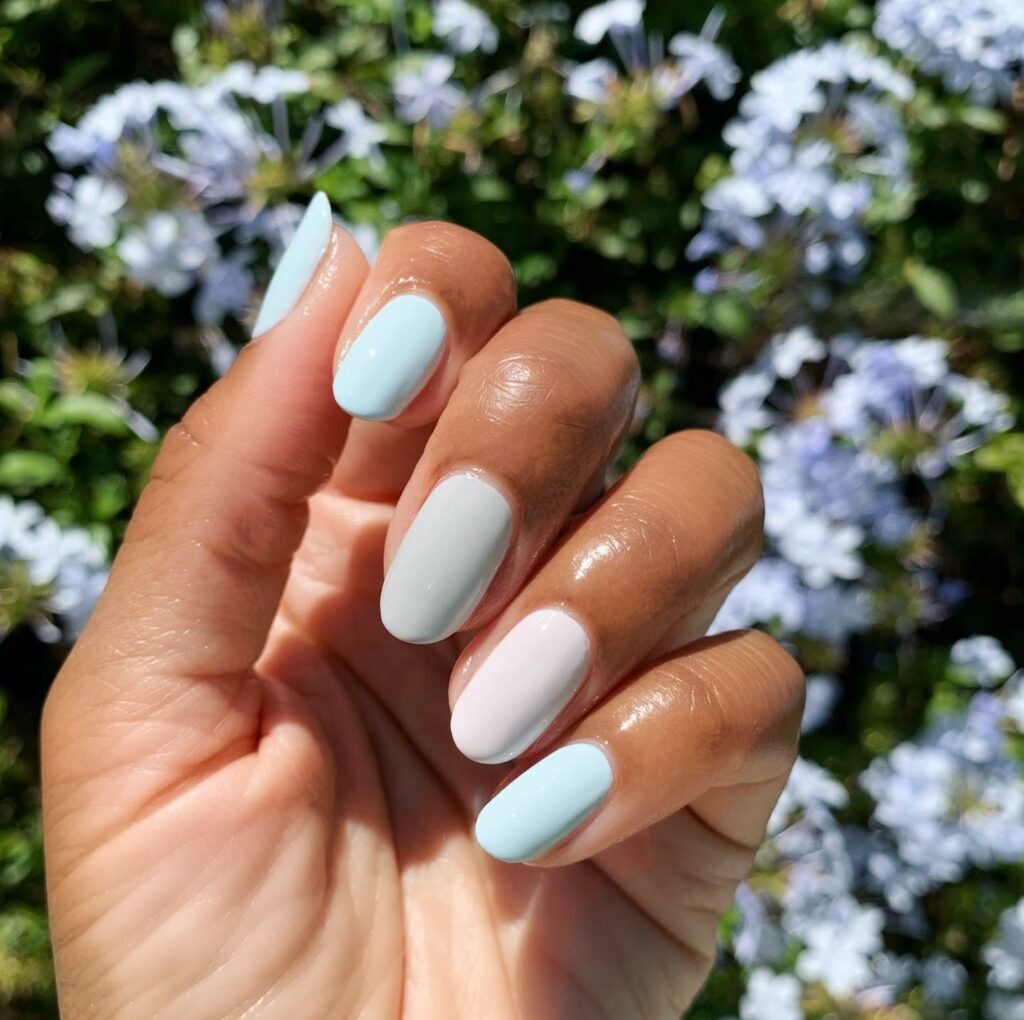
The beauty of this design lies in its natural imperfection. Clouds come in all shapes and sizes, just like us. I remember doing this design before a weekend getaway and found it wonderfully liberating not to aim for perfection. They’re still unmistakably clouds even if they don’t look exactly like the pictures.
Geometric Bliss
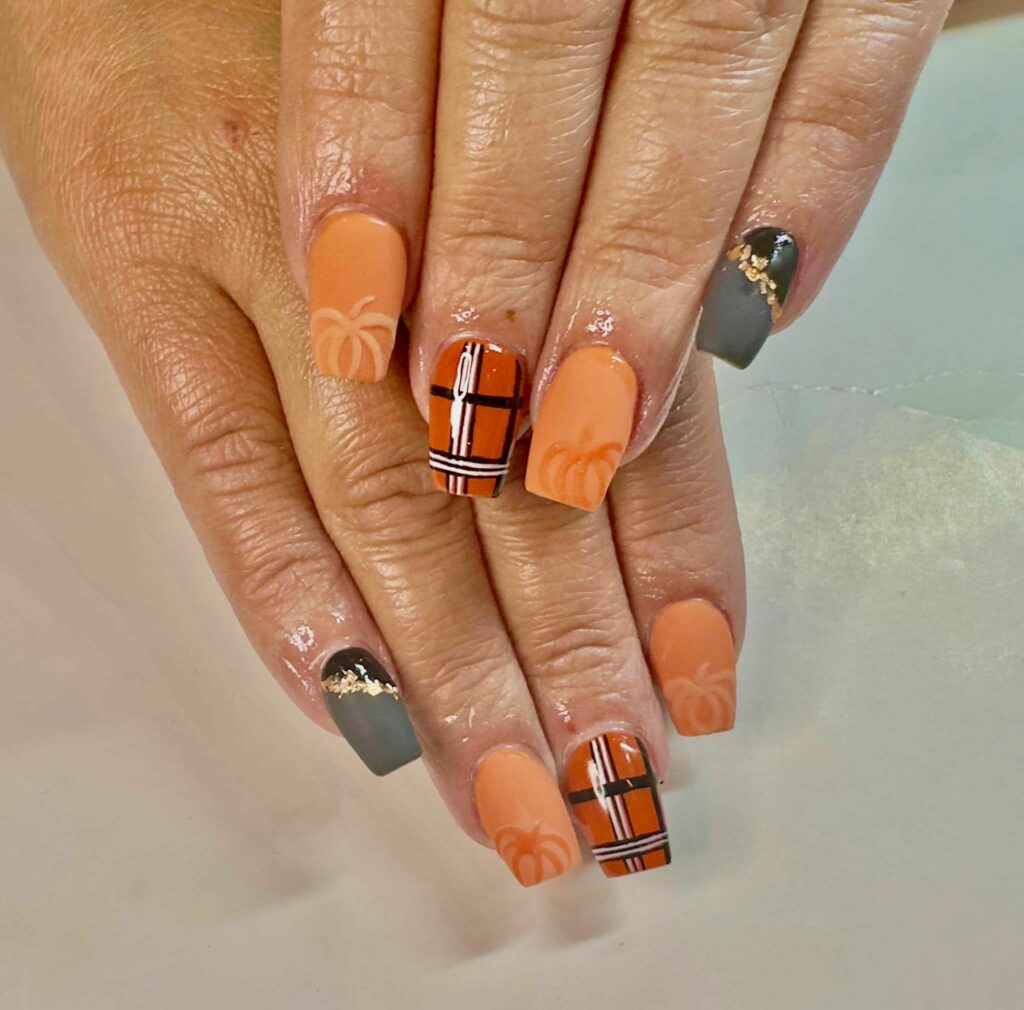
If you’re into shapes and angles, why not incorporate them into your nails? Using a thin brush or tape, create overlapping geometric patterns for a sophisticated and intriguing look.
Metallic Accents
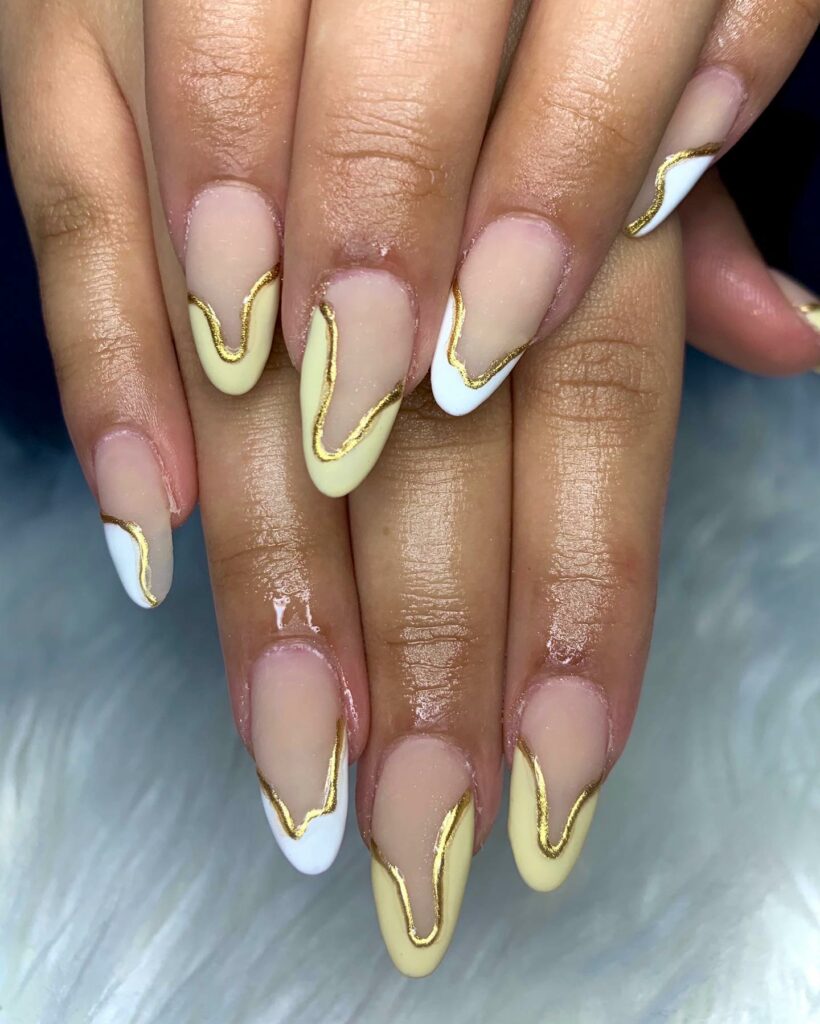
A metallic stripe or dot can instantly glam up a monochrome base. I wore this look to a wedding once, and it perfectly complemented my simple, elegant attire while adding a dash of luxury.
Ocean Waves
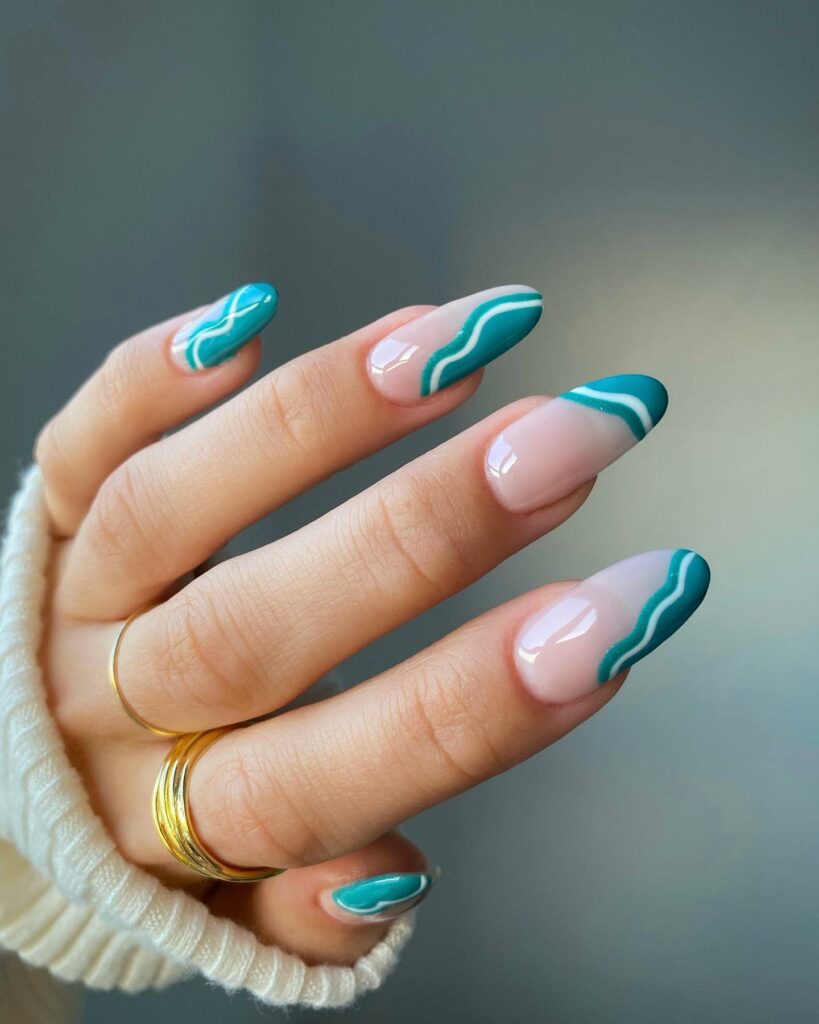
Create a wavy pattern using shades of blue to capture the essence of the ocean. This design transports me back to my last beach vacation every time I look at it, and it’s surprisingly easy to create.
Glitter Fade
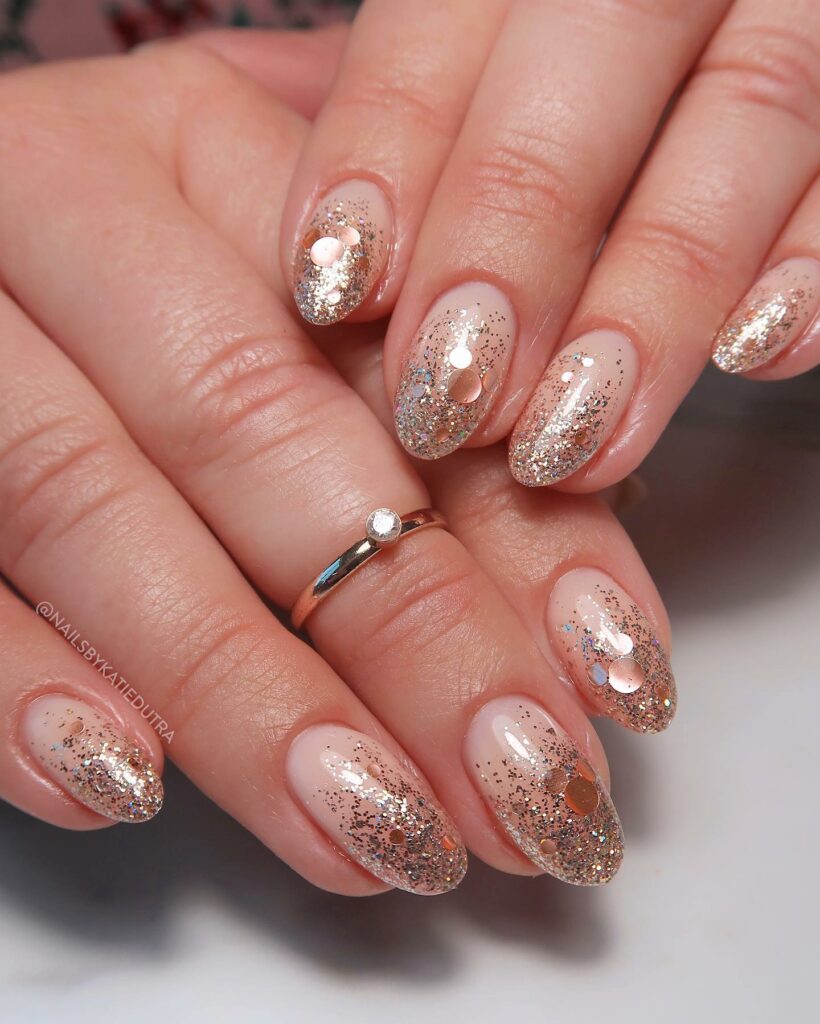
Start with a solid base color and let a glitter polish fade up from the tips. It’s perfect for those days when you want to sparkle but not overwhelm; a subtle way to bring the party to your fingertips.
Matte and Gloss Combo
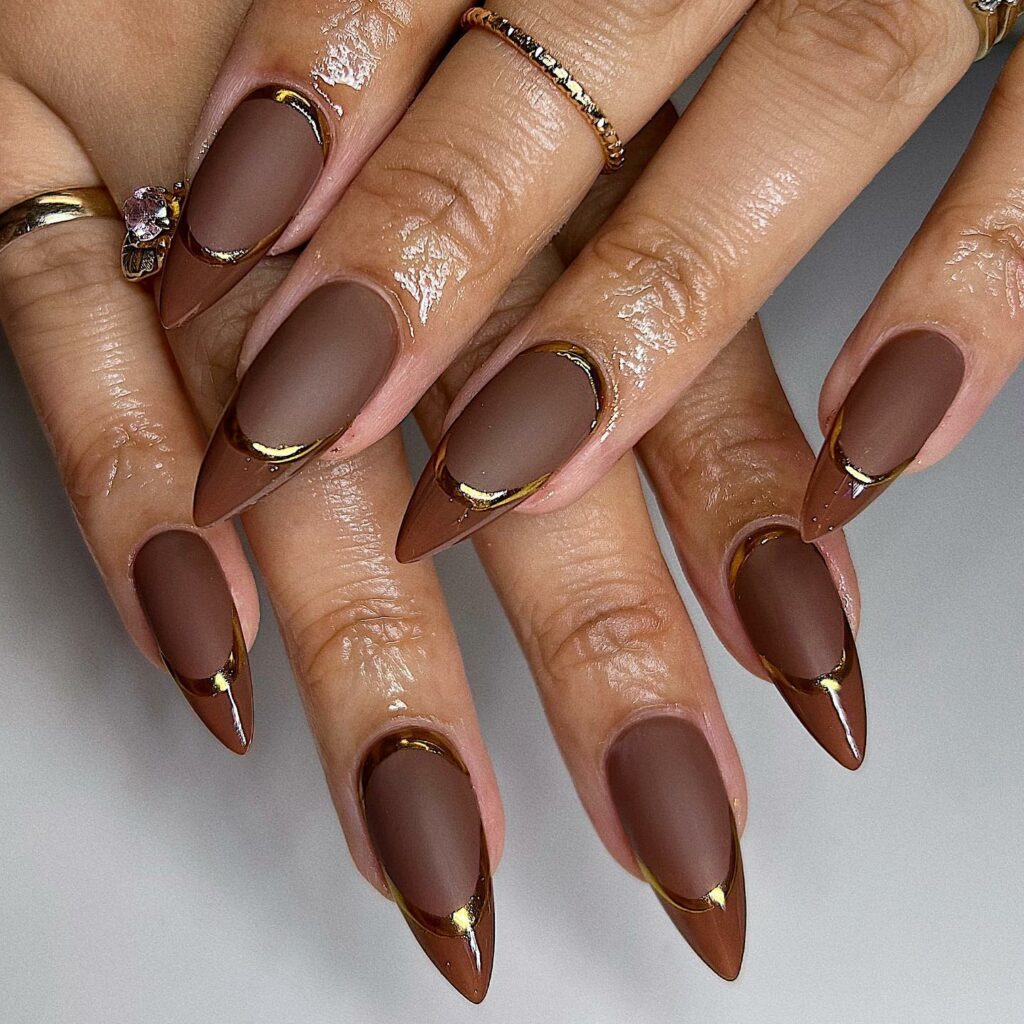
Combine a matte finish with glossy tips for an intriguing contrast. I tried this once when I was indecisive and ended up loving how it turned the texture into a feature.
Ethereal Pastels
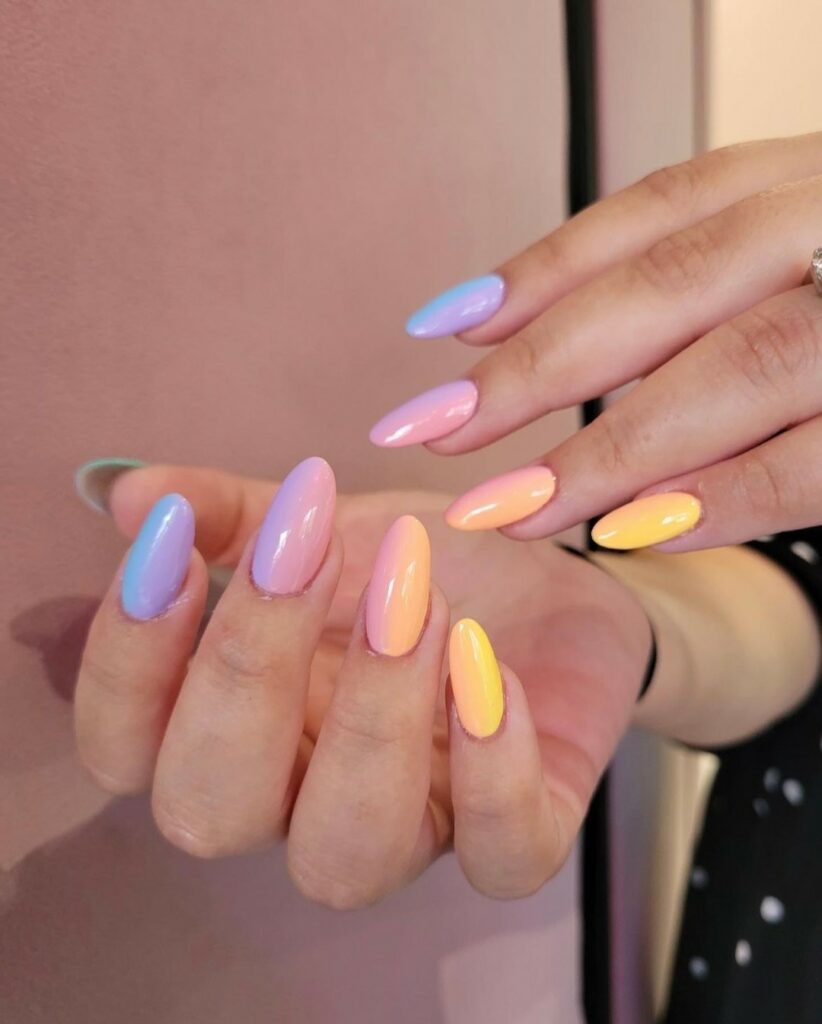
Soft pastel shades can give your nails an ethereal look. These colors work for any occasion and provide a soft, engaging pop of color without being too loud.
Black and White Minimalism
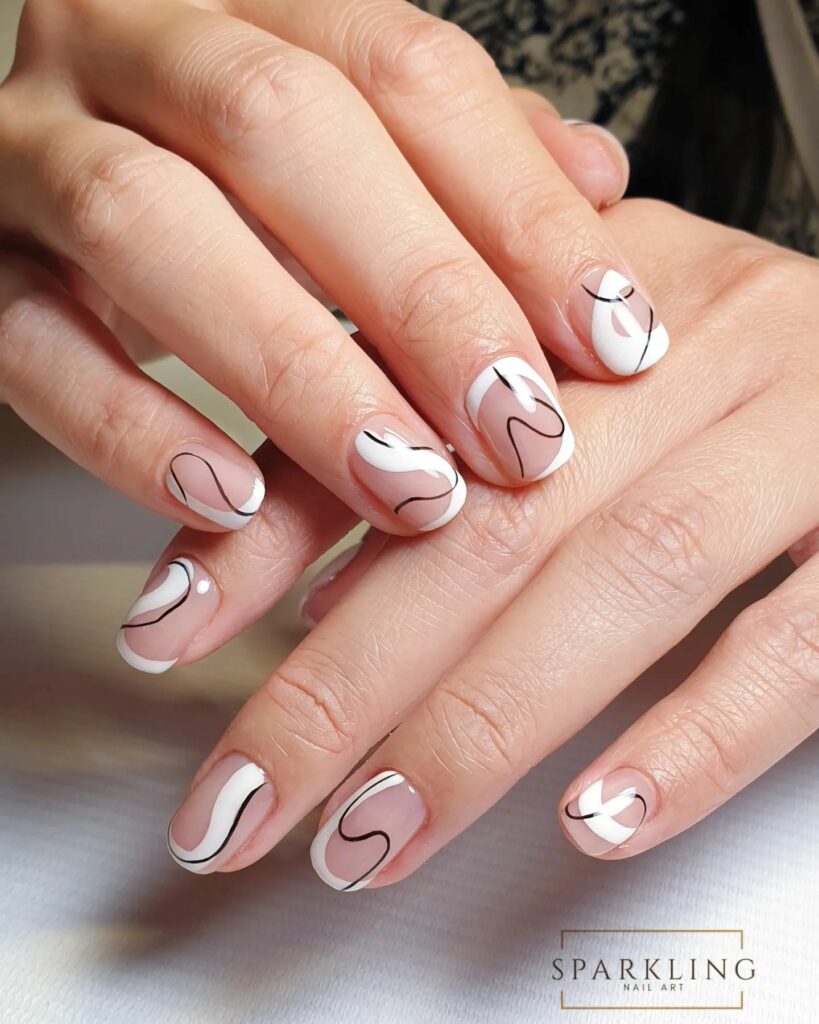
Stick to black and white for a timeless, minimal look. Opt for simple designs like stripes or dots, and you have a look that pairs well with almost anything.
Tip Confetti
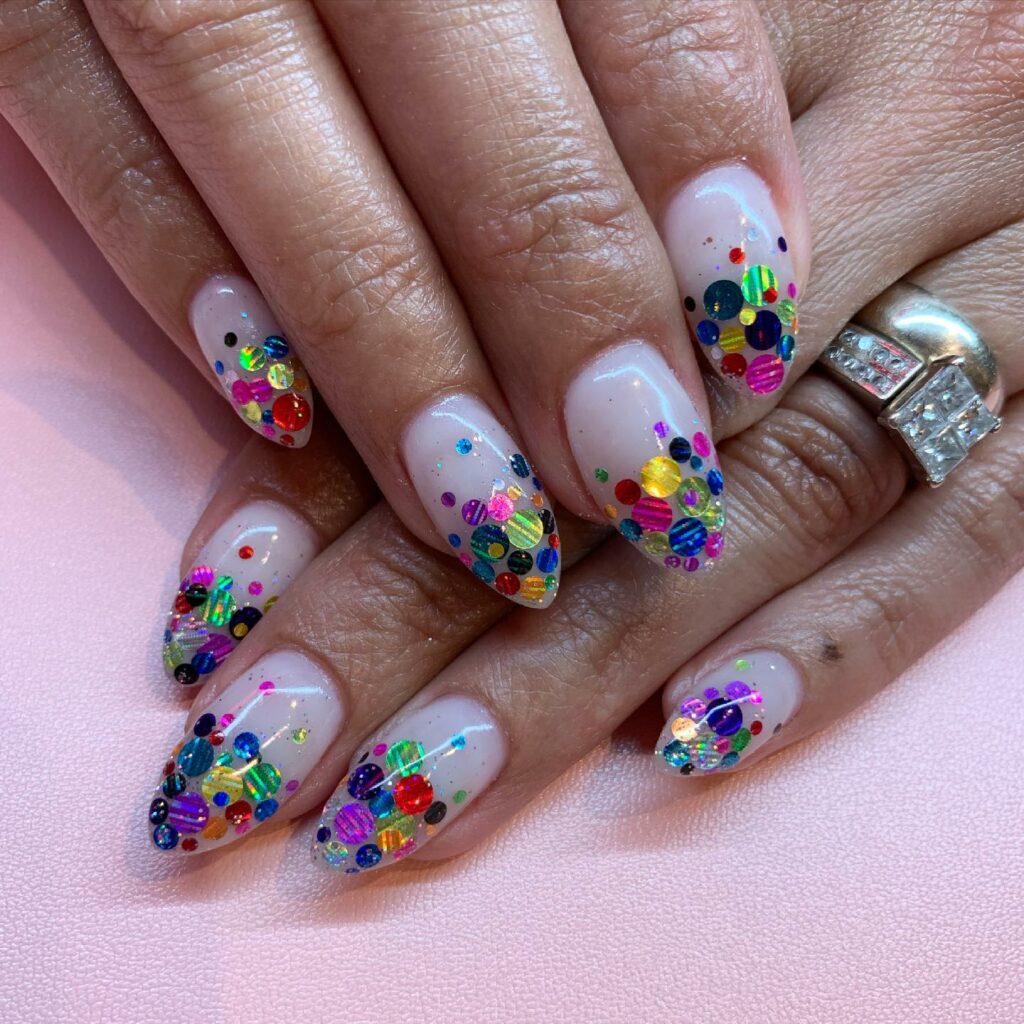
Use a thin brush to apply tiny, colorful strokes at the tips of your nails. It’s a festive yet understated look that I’ve found to be a hit at casual gatherings and birthday parties.
Checkerboard Chic
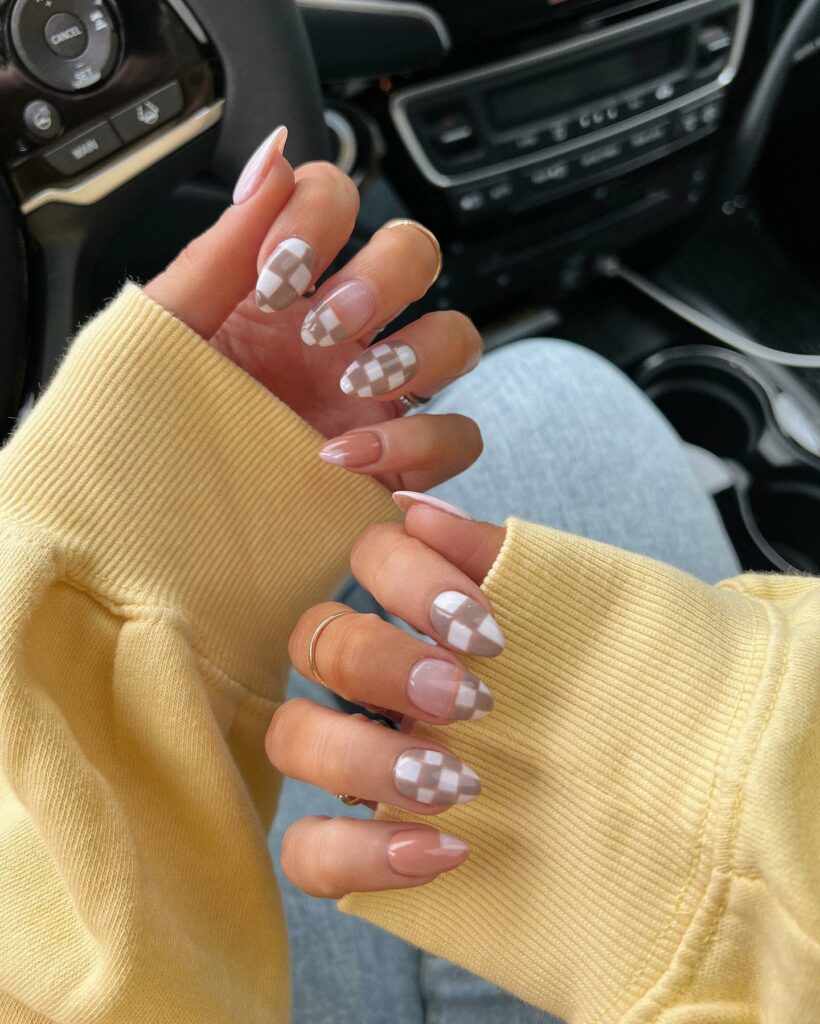
Turn your nails into a mini checkerboard with alternating black and white squares. This look always makes me feel like I’m both stylish and ready for game night.
V-Shaped Elegance
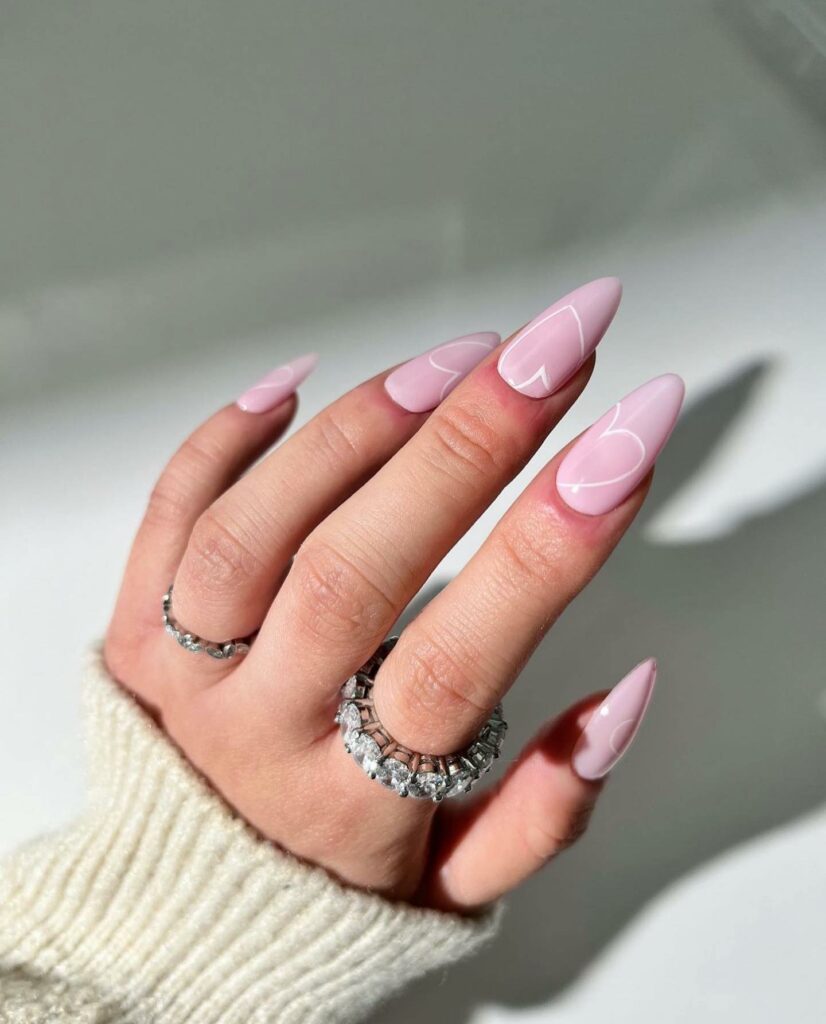
Consider creating a V-shape at the tip of each nail. It’s a simple yet high-impact design that elongates the appearance of your nails and adds an edge to your look.
Cosmic Dots
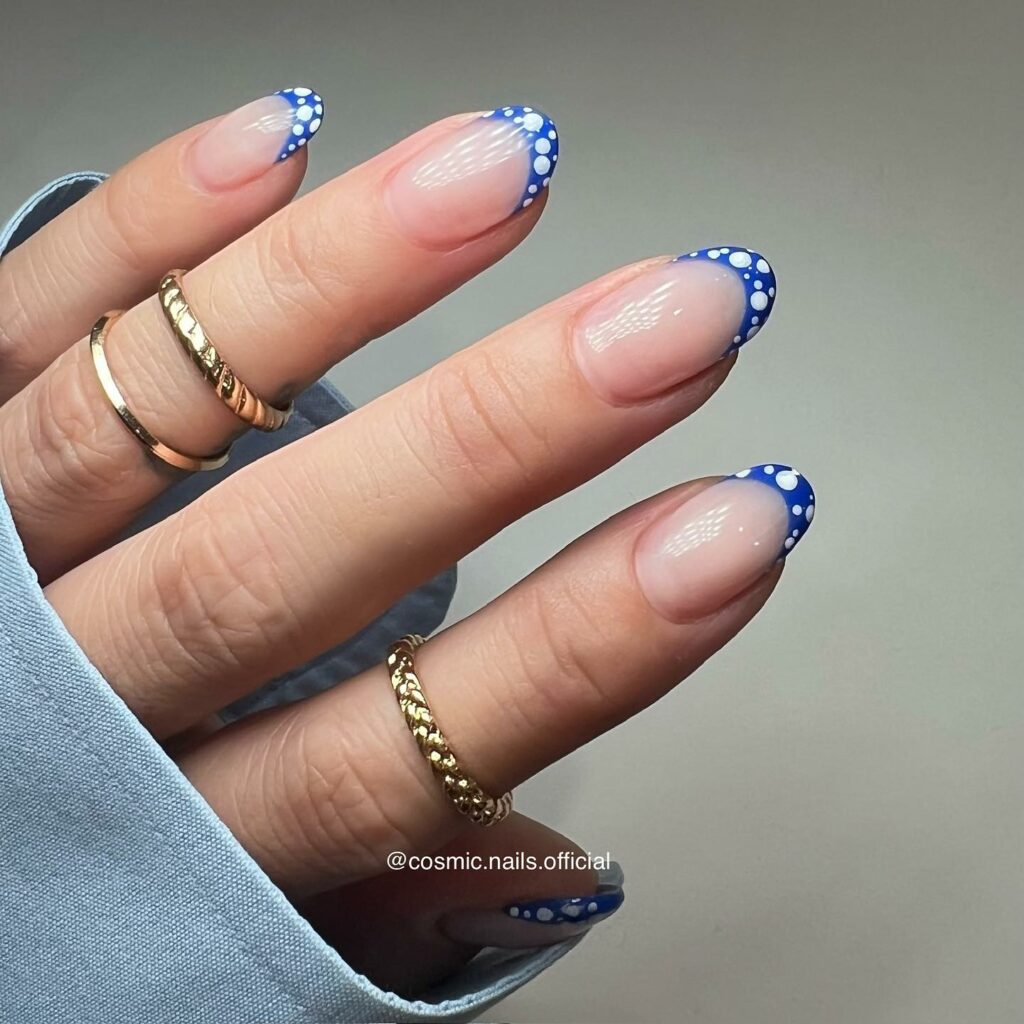
Transport your nails to another galaxy with tiny dots that mimic stars against a dark base coat. It’s as if you’re carrying a piece of the night sky. This look was a real conversation starter at a recent astronomy-themed event I attended.
Textured Nudes
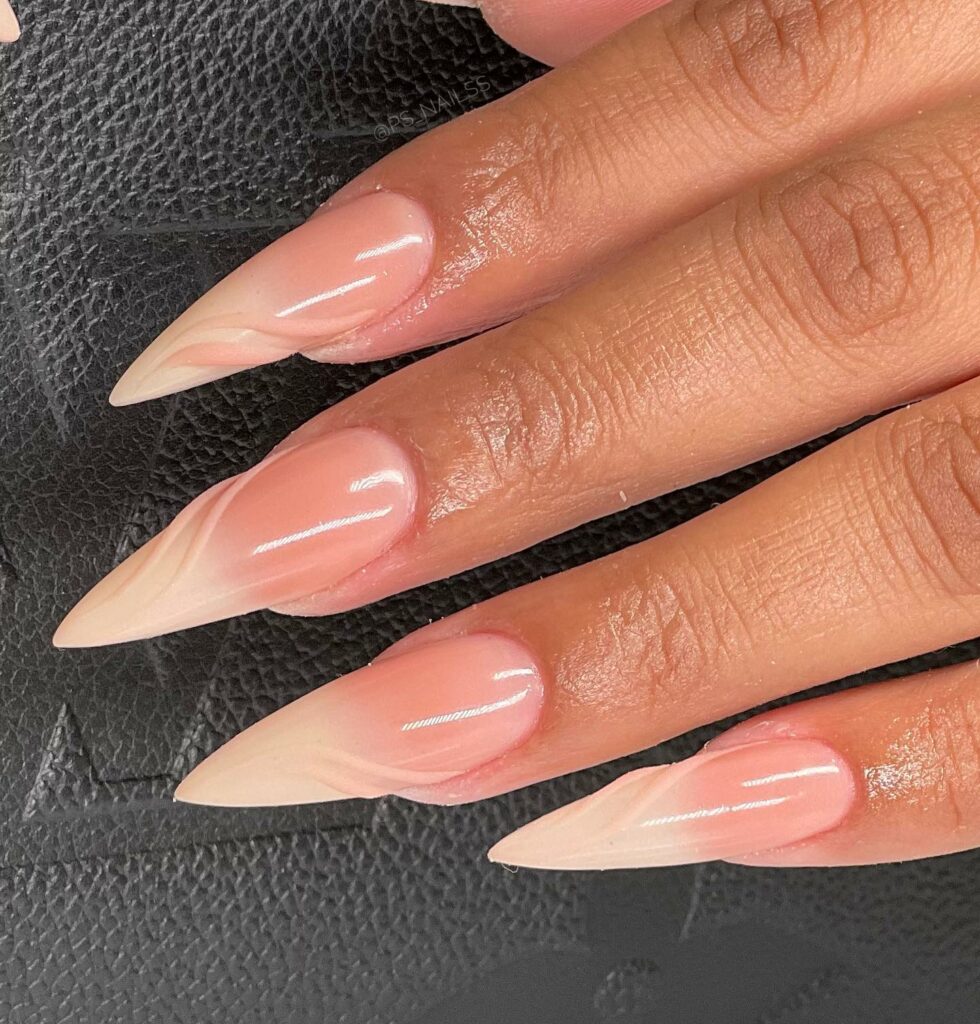
Choose two or three nude shades closely resembling your skin tone and play with texture—think a glossy base with matte tips. This creates an understated yet captivating look that I find perfect for professional settings.
Sunburst Tips
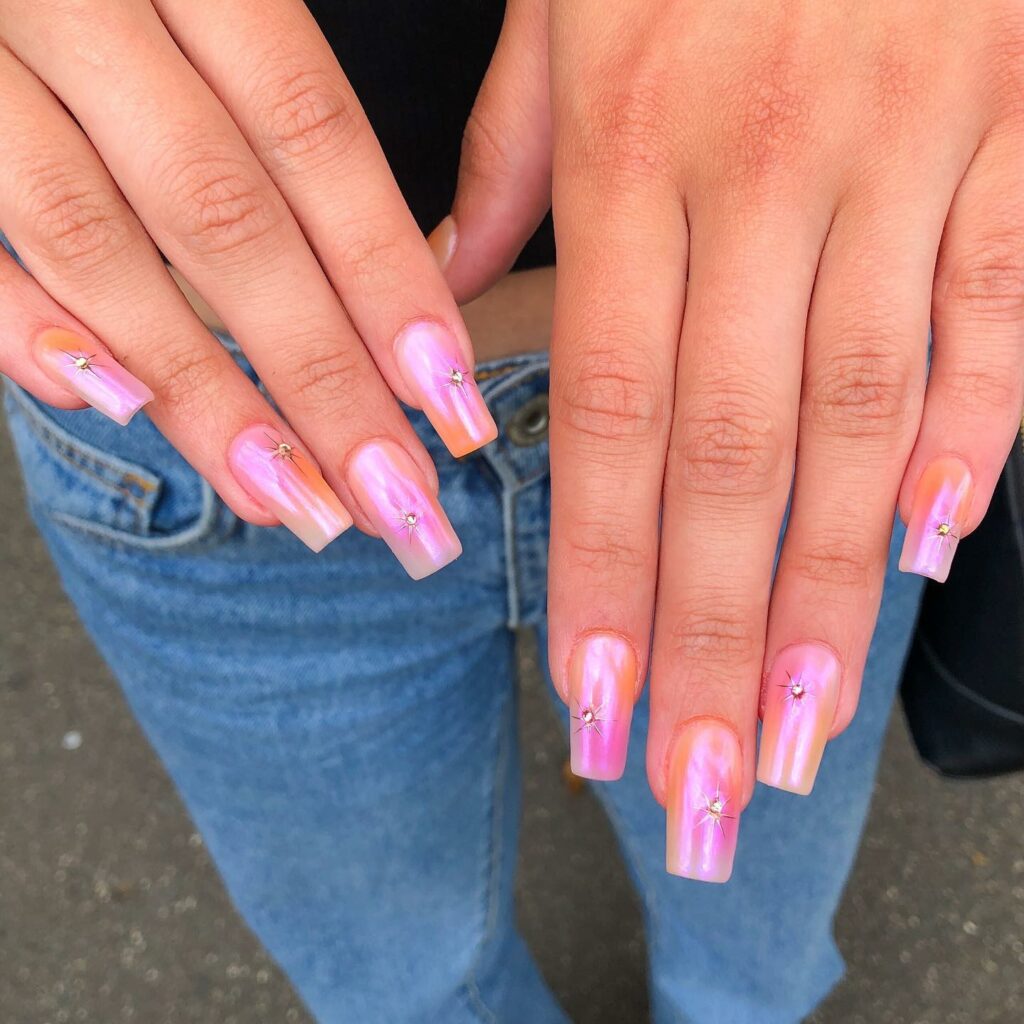
Think of a sunrise emanating from your fingertips by blending shades of orange and yellow at the tips. I wore this design to a morning yoga session, and it felt like I was greeting the day twice!
Mini Rainbows
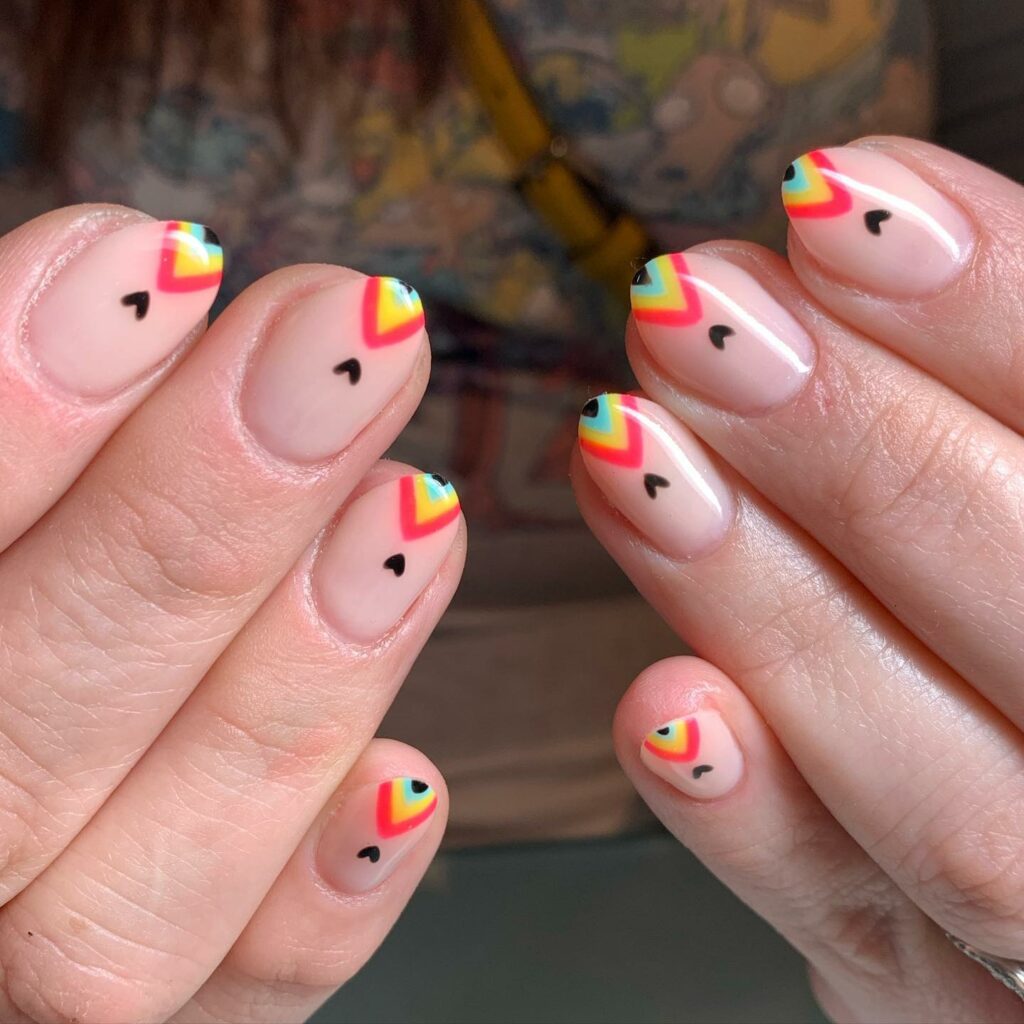
Paint each nail a different color to get the full spectrum of the rainbow. It’s a cheerful design that always lifts my spirits and an instant mood booster for anyone who catches a glimpse.
Half-Moon Magic
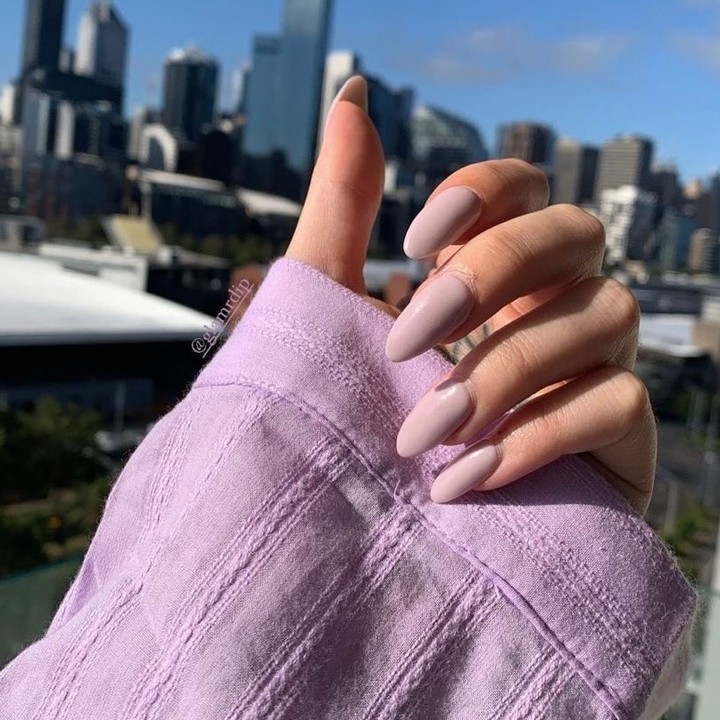
Paint the half-moons at the base of your nails a contrasting color from the rest of your nail. This simple yet stylish design always reminds me of classic Hollywood glamour, making me feel like a starlet when I wear it.
5 Tips I Recommend To Help Choose the Right Hues, Textures, & Tools for Minimalist Nail Art?
Navigating the landscape of hues, textures, and tools for your minimalist nail art journey can be overwhelming, especially with the many options available. But worry not! I have some tips to help you make the most informed decisions.
Choosing the Right Hues
- Match Your Skin Tone: Opt for colors complementing your skin’s undertone. For example, cooler undertones work well with blues and purples, while warmer undertones shine with oranges and reds.
- Consider the Occasion: Lighter, more neutral tones are usually suitable for professional settings, while bolder hues might be more fitting for casual or festive occasions.
- Follow the Seasons: Think pastels for spring, brights for summer, earth tones for autumn, and deeper shades for winter.
Picking the Right Textures
- Matte vs. Glossy: Matte textures give a more subdued, modern look, while glossy finishes offer classic glamour.
- Glitter and Metallics: These add a touch of luxury, but use them sparingly to maintain the minimalist feel.
Tools for the Win
- Fine Brushes: These are indispensable for creating precise lines and intricate details. I often keep a set of art brushes specifically for my nail designs.
- Dotting Tools: Perfect for creating dots or small designs. You can also improvise with the tip of a bobby pin.
- Tape and Stickers: Nothing beats the precision of using tape or pre-cut stickers for straight lines or more complex geometric shapes.
- Quality Polish: This can’t be emphasized enough. Quality matters, not just for the longevity of your design but for the health of your nails.
A Few Extra Tips
- Test First: Always test your colors and textures on a piece of paper or a single nail before committing to the whole set.
- Top Coat: A clear top coat can seal your design, making it last longer and reducing the risk of chipping.
Remember, the most crucial aspect is to have fun and let your creativity flow. The minimalist approach offers a versatile playground, so don’t be afraid to experiment. With the right hues, textures, and tools, you’re well on your way to mastering the art of minimalist nails.
11 Tips & Tricks I Use for Executing These Designs
Tips for At-Home Execution
- Prep Your Nails: Make sure your nails are clean, dry, and old polish-free. A bit of nail prep goes a long way in ensuring the longevity of your design.
- Base Coat is Essential: Never skip this step; a good base coat provides the ideal canvas and helps to prevent staining.
- Steady Hands: If you need more confidence in your brush skills, try resting your hand on a stable surface while painting.
- Thinner is Better: When it comes to polish, thinner coats dry faster and are less prone to smudging. If the color isn’t as vibrant as you’d like, adding a second or third thin coat is better.
- Seal the Deal: Always finish with a top coat to seal in your art and add a layer of shine or matte finish, depending on your preference.
Tips for Salon Execution
- Communication is Key: Be very clear about what you want. Show the nail technician photos of the design you’re aiming for.
- Sanitation Matters: Ensure the salon follows strict hygiene protocols. The last thing you want is an infection.
- Quality Check: Look at the brands of nail polish and other materials being used. You want to ensure they’re of good quality.
- Pricing: Minimalist designs can sometimes cost less than more intricate designs, but it’s always good to confirm pricing upfront to avoid surprises.
General Tips for Both
- Patience is a Virtue: Good art takes time, whether you’re doing it yourself or waiting for a technician. Rushing through the process could lead to streaks or uneven designs.
- Wear and Tear: Regardless of where you get your nails done, be mindful of activities that could chip your polish soon after. Gardening or washing dishes? Save that for later or wear gloves.
The process is almost as necessary in both scenarios as the result. Take your time, enjoy the experience, and remember: even if things don’t turn out perfectly, it’s all part of the creative journey. Now that you’re armed with these practical tips, you’re ready to bring your minimalist nail art visions to life!
Conclusion
In wrapping up, it’s clear that minimalist nail art offers endless possibilities for self-expression, even with the most straightforward designs. From stripes and dots to textures and tones, there’s a wealth of simple yet impactful styles to suit every mood and occasion. The beauty of these designs lies in their flexibility—you can be as creative as you like within the framework of minimalism. While the risks are low, especially with the simpler designs, always remember to use quality polish and tools to ensure longevity and avoid any potential nail damage. Nail care, after all, is an extension of overall well-being. So go ahead, explore these designs, and discover what resonates with you. Here’s to flaunting your unique style effortlessly, one nail at a time!
Feature image @heluviee via Instagram

