Table of Contents
What if I told you that you could achieve salon-quality nails in your home without even needing to wield a nail polish brush? Intriguing, right? Well, today is your lucky day! This post will dive deep into the vibrant world of imPRESS Nails, the press-on manicure revolution that promises salon-like results without effort. We’re getting up close and personal, exploring every nook and cranny of this product to give you a comprehensive review on what might be the secret weapon in your at-home beauty arsenal.
Whether you’re a busy professional, a hands-on mom, or someone looking for a convenient and affordable beauty solution, this post will be a game-changer. I’ll walk you through what imPRESS Nails are, the array of designs they offer, how to apply them for a seamless fit, and how they stand up in terms of durability and comfort. And, of course, I’ll share my personal experience and insights because, as your trusty beauty guide, I’ve tried and tested this product to ensure you get the real scoop.
Ready to elevate your nail game to new heights? Let’s kickstart this journey to discover the best at-home manicure— the world of imPRESS Nails. Your hands are about to thank you!
Manicure Magic At Home

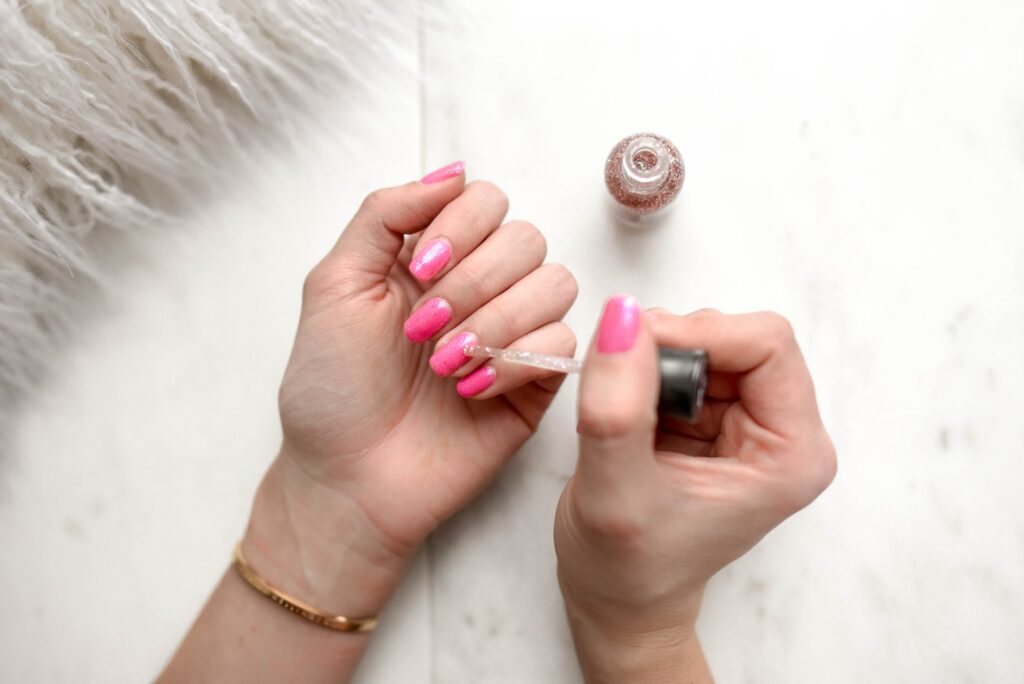
Applying imPRESS nails at home is a breeze, and I’m not exaggerating! What’s not to love about an affordable solution that takes the salon to your living room? A fun, stylish, and wallet-friendly way to spruce up your look!
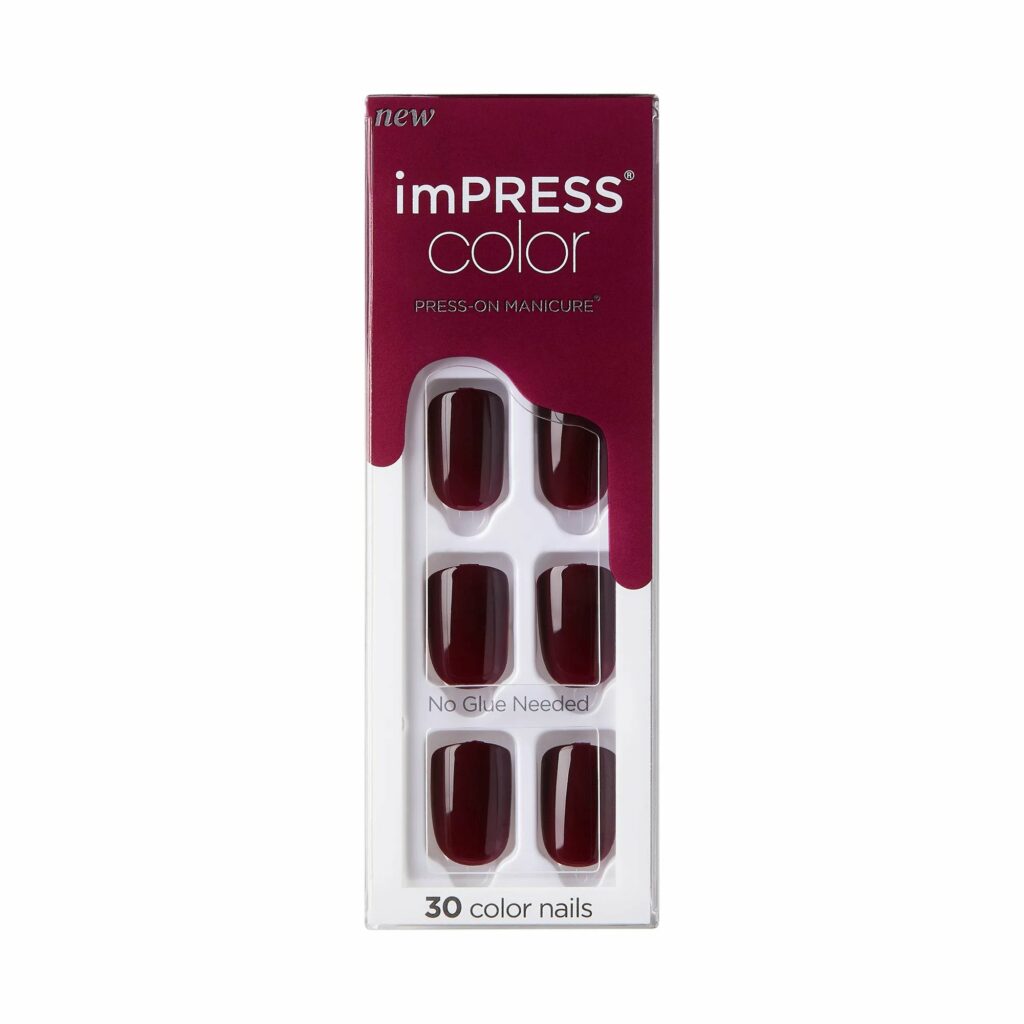
Each imPRESS kit comes with a whopping 30 nails, which means, hold onto your nail files, two full-fledged manicures from one little box. Do the math, and it’s just a few dollars per manicure. Talk about a steal!
I can complete this mini makeover at about the same time it takes to brew coffee. A 10-minute transformation? Now that’s a game-changer.
ImPRESS-ed and Obsessed: Tips to Make Your Manicure Last
So, you’ve bagged your favorite imPRESS Nails set and are ready to dive in. Hold on, fashionista, let’s ensure we get the most bang for your buck. Follow my tried-and-true tips and watch your manicure go from fleeting to fabulous.
1. Nail the Prep
Gently push back your cuticles using an orangewood stick. Yes, each set comes with one, but I have a personal favorite that I swear by. Then, proceed to trim your cuticles—I highly recommend this user-friendly cuticle trimmer, which has been my trusty sidekick through many manicures!
2. A Perfect Match
Once you’ve prepped, pick your press-on. If you’re going for a classic look with a solid color like Pick Me Pink, sizing is your prime concern. For those feeling adventurous with multiple designs, take a moment to arrange and see what suits your style best. Tip: I often use an accent nail on my ring finger for that extra pop!
Remember, opt for the smaller one if you’re torn between a smaller and a giant nail. Overlapping onto your skin can shorten the lifespan of your gorgeous manicure. And hey, each nail has sizing numbers etched beneath, making future applications a breeze!
3. Fine-Tune with Filing
Often, the press-on nails come with a tiny plastic bump at the ends. A quick file will sort it out in seconds. If you prefer a shorter look, please file them down more. It’s all about making them perfect for you.
Now, with these pearls of wisdom at your fingertips, it’s time to give yourself the immaculate, impressive manicure you deserve!
4. Timing is Everything: The Perfect Moment for Manicures
They say timing is everything, and they’re not wrong! I’ve found the sweet spot for applying my imPRESS Nails just before I hit the hay. While catching those Z’s, your nails have a whole night to bond with the press-on, unbothered by the challenges of daily tasks.
Speaking of challenges, dishes are my number one nail nemesis! For those unavoidable run-ins, I’ve found my armor—dish gloves. Yes, they might not be the height of fashion, but trust me, your manicure will thank you!
5. Be Prepared: Keep an imPRESS Arsenal
We all know that life loves to throw curveballs, and the dreaded nail snag is no exception. The solution? I carry a cute little pill case filled with a few spare nails. If a nail decides to part ways with my hand, it’s a quick, clean switch with no messy glue.
6. Supercharge Your Mani with Extra Nail Glue
Here’s a twist—I love extra nail glue, even though imPRESS nails already come with an adhesive backing. I’ve found that a dab of nail glue can help extend the lifespan of my manis. This budget-friendly nail glue from Amazon has been a game-changer for me. Try applying it from the get-go along with the built-in adhesive—you might see a noticeable difference in durability!
7. Keep Up with the imPRESS Trends
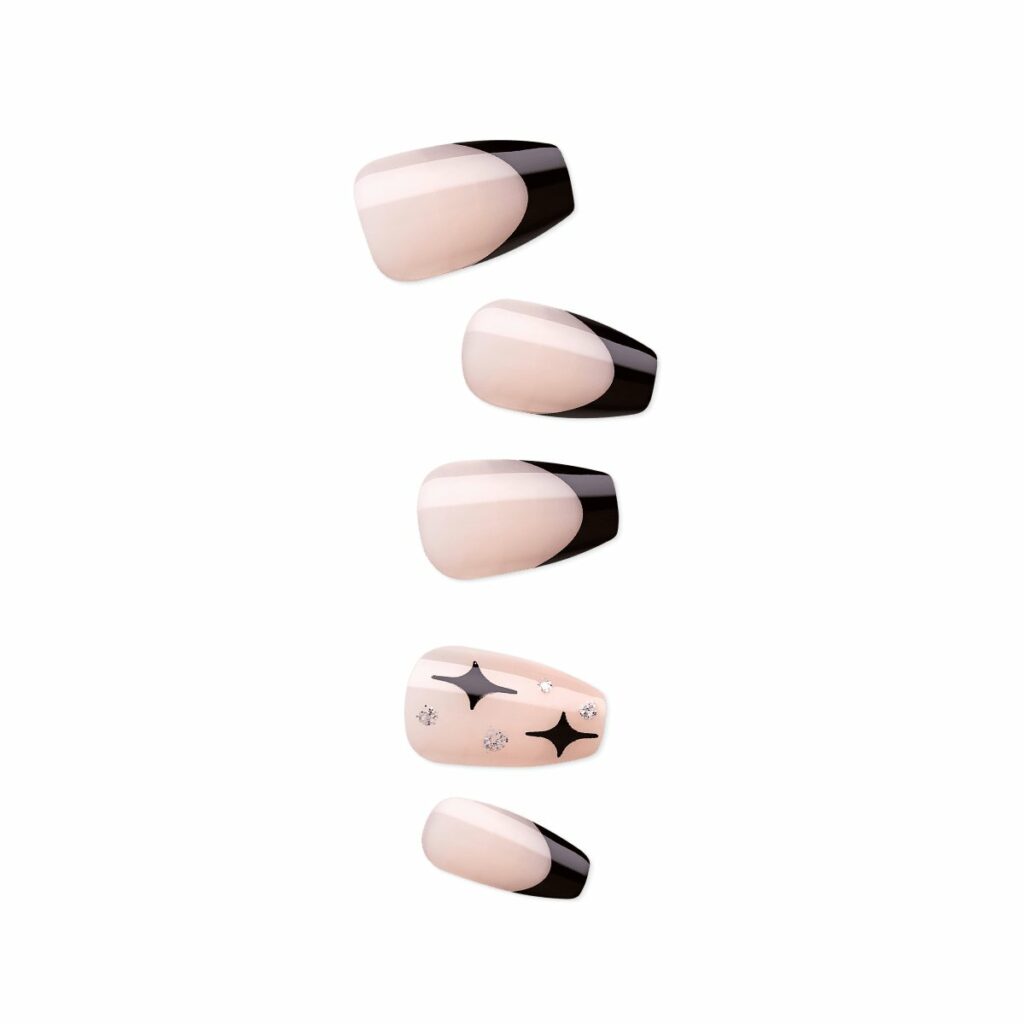
One of the many things I adore about imPRESS is their penchant for frequently rolling out exciting new collections. Ensure you stay in the loop by checking their website regularly—trust me, trendy designs like “For the Night” can sell out faster than hotcakes!
A little insider’s tip—the newer designs seem to have better endurance than the older ones. So keep your eye on the latest collections!
8. To Long or Not to Long: Nail Length Matters
If you’re not used to flaunting super-long talons daily, I’d recommend opting for the short-length imPRESS nails. While undeniably glamorous, the medium length felt impractical for everyday tasks. Fear not, the “short” ones still offer elegance and length!
9. Explore Your Shape Preference
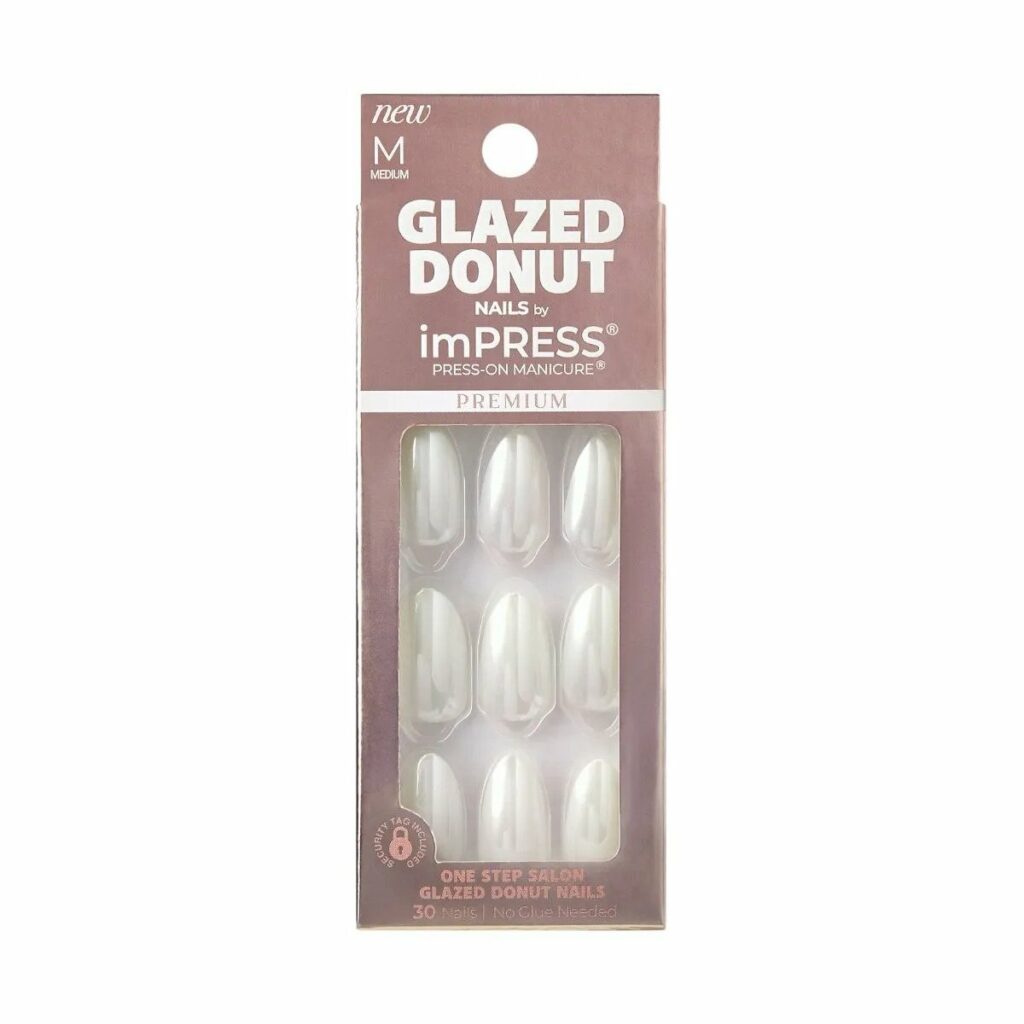
imPRESS Nails have various shape options, from chic oval to stylish square and even the bold coffin shape. As much as I adore the look of the oval and coffin shapes, the practicality of typing and texting with them left something to be desired.
Being an efficiency devotee, I tend to stick to square-shaped nails for daily wear—they’re a perfect blend of style and functionality. But when it’s vacation time, and my laptop’s out of sight, I let my nails live a little with an adventurous oval or coffin shape. The “Vanilla Glazed” nails are next on my holiday hit list!
What Are imPRESS Nails?
imPRESS Nails are press-on nails produced by the beauty brand KISS. These nails have gained significant popularity for their ease of use and the variety of designs and styles they offer. Unlike traditional acrylic nails requiring a visit to a nail salon, imPRESS Nails can be easily applied at home without needing messy glues.
Each kit has 30 nails in different sizes to fit all fingers comfortably. One of the most notable features of these press-on nails is their built-in adhesive. This means you can apply them directly to your natural nails without additional glue, although some users like adding extra adhesive for a stronger hold.
imPRESS Nails also appeal to users due to their affordability and longevity. When applied correctly, they can last up to two weeks. In addition, they offer a variety of designs, colors, lengths, and nail shapes to suit different styles and preferences. From solid colors and French manicure styles to intricate nail art designs, there’s a wide variety of choices to match any occasion or mood.
In summary, imPRESS Nails offer a convenient and cost-effective way to enjoy stylish, salon-quality nails from the comfort of their home.
How Durable Are imPRESS Nails?
imPRESS Nails are known for their relatively high durability compared to other press-on nails, especially considering their ease of application and affordability. When applied correctly, imPRESS nails can last up to a week or two, depending on the user’s activities and the care taken to protect the nails.
Factors affecting the durability of imPRESS nails include:
- Preparation of natural nails: Ensuring your natural nails are clean, dry, and free of oil or lotion before applying imPRESS nails will help the adhesive bond more effectively, increasing longevity.
- Activities and lifestyle: If your daily routine involves heavy use of your hands or exposure to water and chemicals (like washing dishes, swimming, or using cleaning products), the nails may only last for a short time. Wearing gloves during chores can help protect the nails and extend their lifespan.
- Maintenance and care: If an imPRESS nail pops off, it can be easily replaced or re-adhered using extra nail glue, helping to maintain the overall look longer.
Remember, the key to longevity with imPRESS nails is proper application and careful maintenance. They may last less time than salon acrylics, but they offer a good balance of style, convenience, and durability for a press-on option.
How Do You Apply imPRESS Nails?
Applying imPRESS nails is a straightforward process and one of the reasons why they are so popular. Here are the steps to achieve a great-looking at-home manicure:
- Preparation: Start by thoroughly washing your hands, especially your natural nails. Any dirt, oil, or residue can affect how well the press-on nails adhere.
- Choose the Right Size: Each pack of imPRESS nails includes nails of various sizes. Match the press-on nails to each of your natural nails, choosing the size that best fits without overlapping onto your skin or cuticles.
- Prep Your Natural Nails: Most imPRESS sets include a prep pad to cleanse your natural nails before application. This step is crucial as it ensures the adhesive on the press-on nail can form a strong bond. If a prep pad isn’t unavailable, use rubbing alcohol instead.
- Peel and Stick: Each imPRESS nail has a clear backing that, once peeled off, reveals the adhesive side of the nail. Align the nail with your cuticle, press it onto your natural nail, and hold it down for a few seconds to ensure a good bond. Repeat this process for each nail.
- Enjoy Your Manicure: You’re good to go once all the nails are in place! Unlike traditional nail polish or salon acrylics, there’s no dry time needed.
- Optional – Apply Nail Glue: Though not required, some users like to apply a dab of nail glue onto their natural nails before pressing on the imPRESS nail. This can help the press-on nail last longer, especially for users with heavy hand usage or who frequently have their hands in water.
Remember, removal is also a breeze. You can peel off the nails starting from the sides, or if you prefer a more gentle removal, use a bit of nail polish remover around the edges to help loosen the adhesive. Avoid forcing or pulling the nails off, as it may damage your natural nail.
Conclusion
And there you have it, my fabulous friends! My go-to tips for embracing the imPRESS Manicure revolution. From timing your application right to equipping yourself with a ready-to-go arsenal of spare nails, it’s all about ensuring your manicure experience is smooth and fuss-free.
Do remember the risk of occasional nail snags—don’t forget, even the most glamorous press-ons can occasionally pop off! But with a dash of additional nail glue, you’ll be ready to tackle these minor mishaps like a pro.
Remember to check out the ever-evolving imPRESS collections, balancing practicality and style by selecting the right length and shape for your lifestyle. It’s all about finding your style and having a blast while you’re at it.
Manicures are no longer limited to the salon—you have the power to create beauty at your fingertips, right at home. With the right tips and tricks, your journey with imPRESS nails will be impressive. So why wait? Dive in, experiment, and let your hands do the talking. Happy manicuring!
Feature image by Chelson Tamares on Unsplash


